


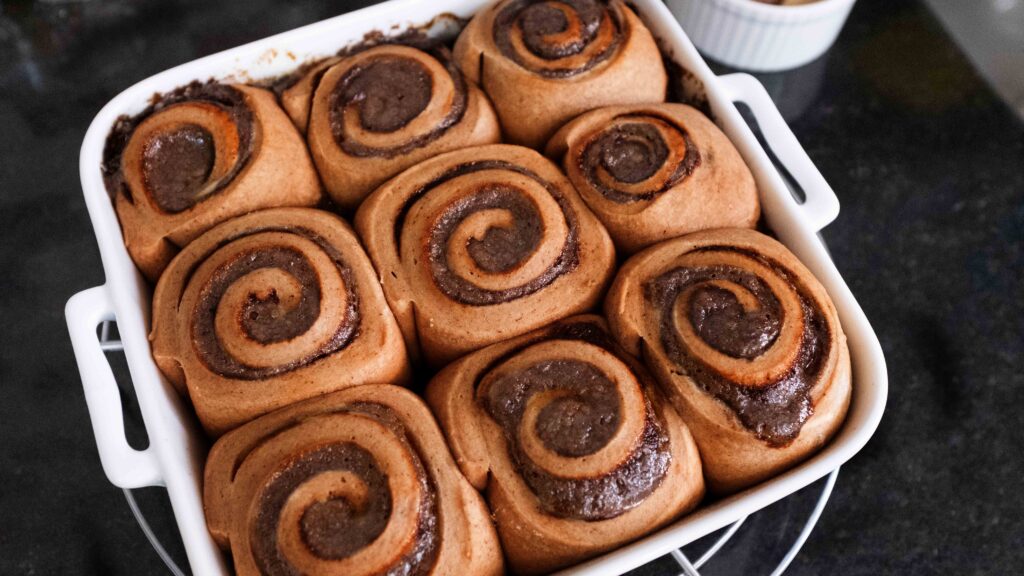
Makes 9 rolls; 2 ½ x 2 ½ inches, each
Pssst! Have you heard about the perfect cinnamon rolls? You know. Sticky bottoms swathed in melted butter and fused together with treacly cinnamon-sugar? Golden-brown crusty tops scored by pale intersections where the rolls are standing cheek to cheek? Tender, just-about-baked-fluffiness all along the coiled length of the inner scrolls? These homemade cinnamon rolls are all that and much more! Perfectly soft, humming with cinnamon through and through, and slathered with our buttery cream cheese icing, they’re best enjoyed with a shot of strong black coffee, or a steaming mug of hot chocolate.
At a glance
– This recipe comprises cinnamon rolls + vanilla cream cheese icing.
– You will need an 8 inch square baking pan (a brownie pan will work) and 2 ramekins.
– This recipe has been broken into 2 stages for ease and comprehension. Please read the entire recipe from start to finish before beginning.
Stage 1: cinnamon rolls
Ingredients
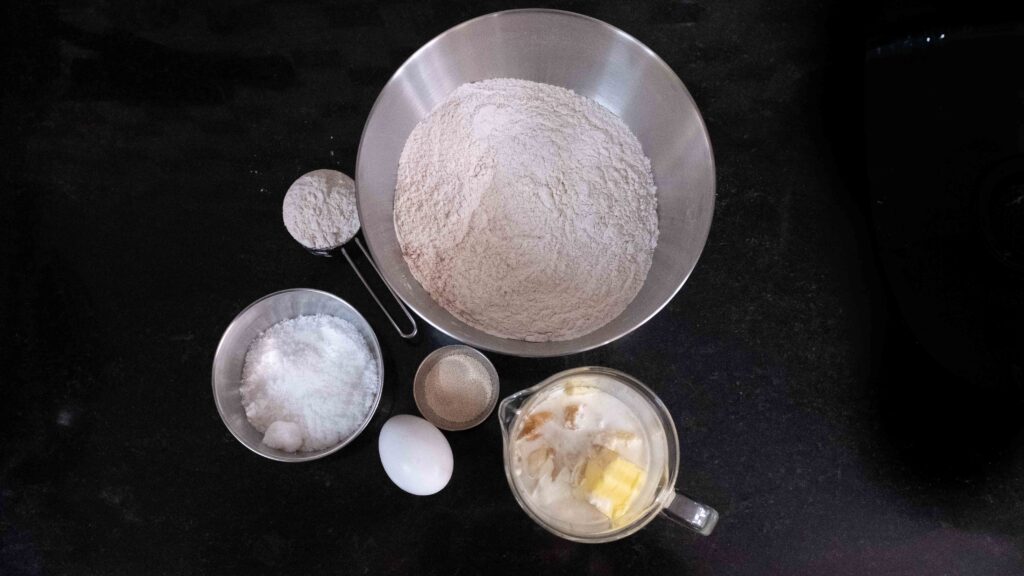
For the dough:
1. 325 gm all purpose flour plus more for dusting
2. 1 tsp bread improver like this
3. 75 gm castor sugar
4. ¾ tsp salt
5. 1 ½ tsp instant yeast
6. 1 tbsp. cinnamon powder* like this
7. 1 large egg (in-shell weight 58 gm) at room temperature
8. 90 ml UHT milk or whole milk boiled and cooled
9. 90 gm sour cream
10. 65 gm unsalted butter
11. ¾ tbsp. pure vanilla extract
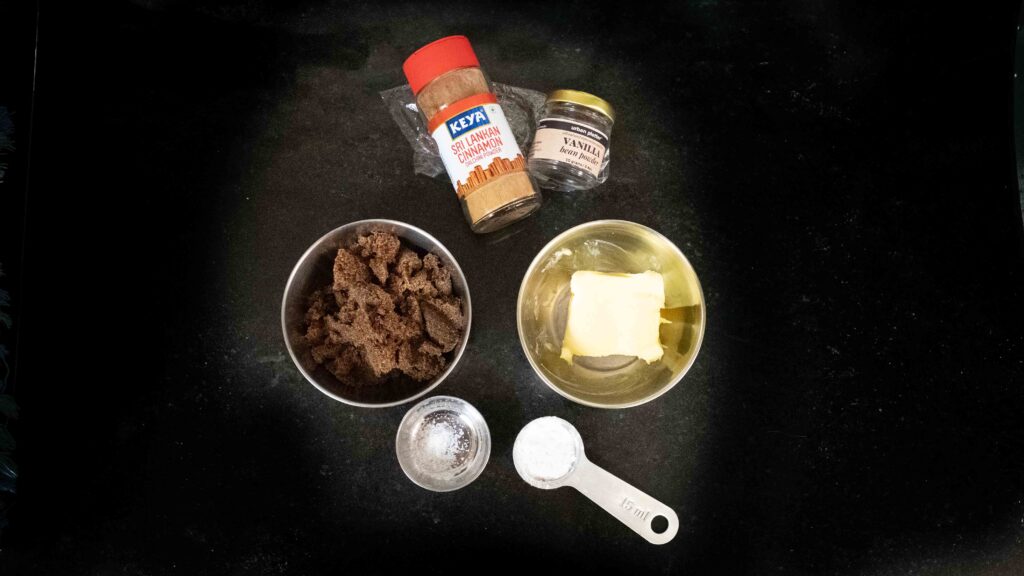
For the filling:
12. 60 gm unsalted butter at room temperature and very soft
13. 100 gm dark muscovado sugar like this
14. 1 tbsp. cinnamon powder* like this
15. 1 tsp vanilla bean powder like this
16. 1 tbsp. corn flour
17. 1/8 tsp salt
If you’re not using UHT milk, you must boil your milk first. Certain whey proteins in milk can weaken gluten formation—preventing doughs from trapping gasses and rising properly. What you’ll get is a dense and heavy crumb. When you boil the milk, you effectively deactivate (denature) the whey proteins—allowing for maximum gluten formation, and a light and airy crumb. *When using cinnamon in this recipe, please look for Ceylon Cinnamon (true cinnamon) powder. Ground Cassia chips (dalchini/darchini) should not be substituted, as they’re not the same thing. Cinnamon is made from the trunk of the tree; and is very fragrant, tastes sweet, and is milder than Cassia. On the other hand, Cassia is made from the bark of the cinnamon tree—and is much coarser, harder, and spicier—making it unsuitable in this dish. Cassia is best used sparingly or as whole chips; to lend a warm note to curries, stews, and more. Plus, because it’s so hardy, you’ll never be able to get a really finely ground powder using cassia chips, no matter how powerful your home grinder. This will make your cinnamon rolls gritty, unpleasant, and really hard to swallow.
Method
1 – To a medium bowl, add the flour, bread improver, salt, and cinnamon powder. Whisk together well to combine. This is the dry mixture. Transfer ¼ cup of the dry mixture to a small bowl and set both bowls aside.
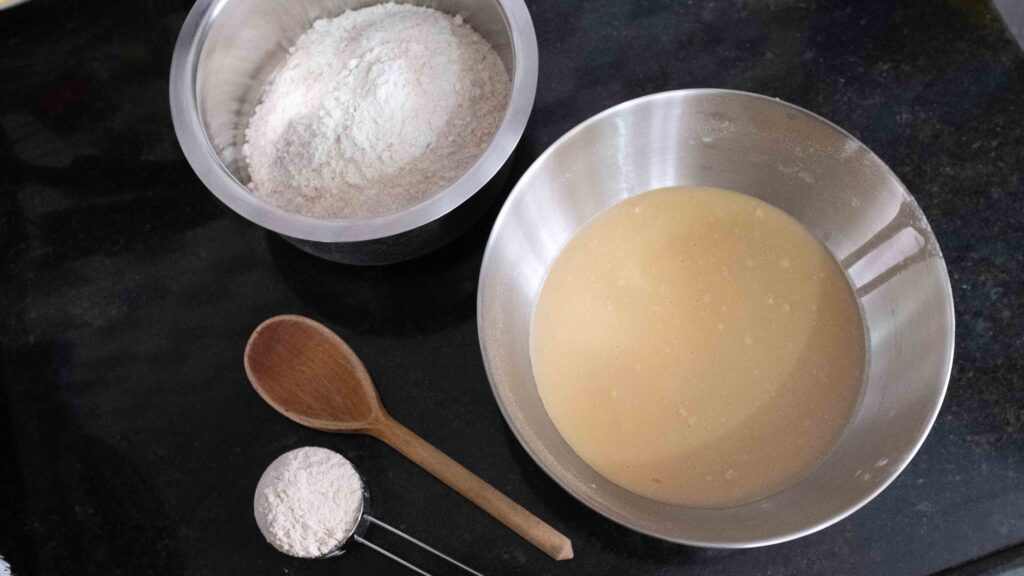
2 – To a microwave safe bowl, add the milk, butter, vanilla extract, and sour cream. Microwave in 30 second increments until all the butter has melted and the mixture is warm to the touch (about 44OC).
3 – Now add the sugar and the yeast to the warm milk mixture and give it a quick stir to make sure all the yeast is submerged.
4 – Lightly whisk your egg and then add it to the warm milk mixture.
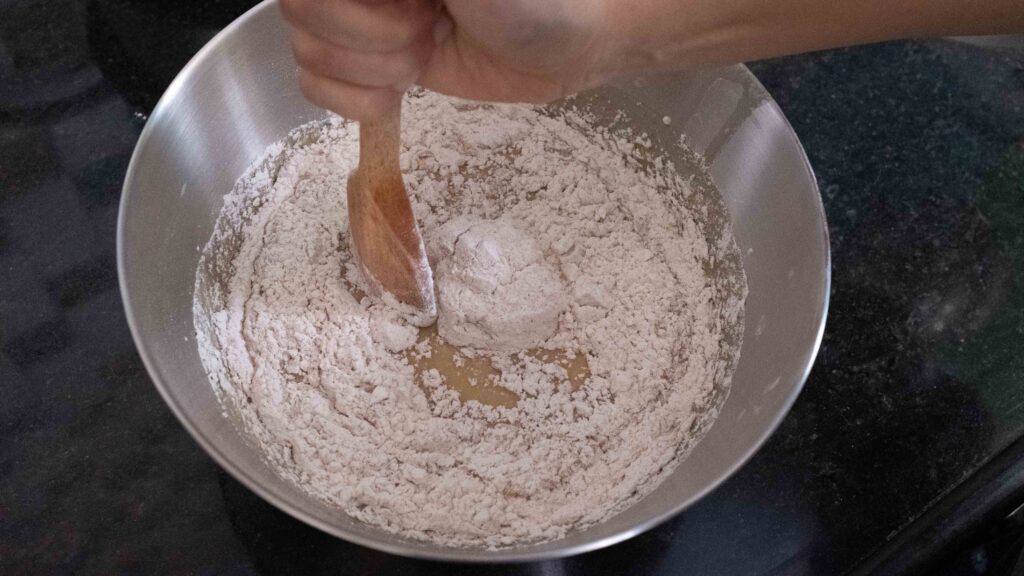
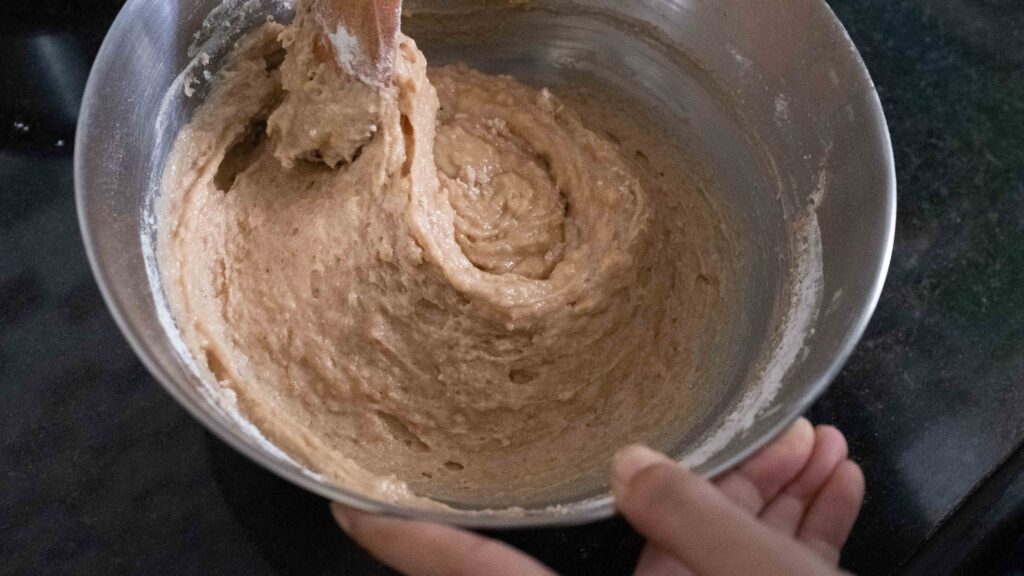
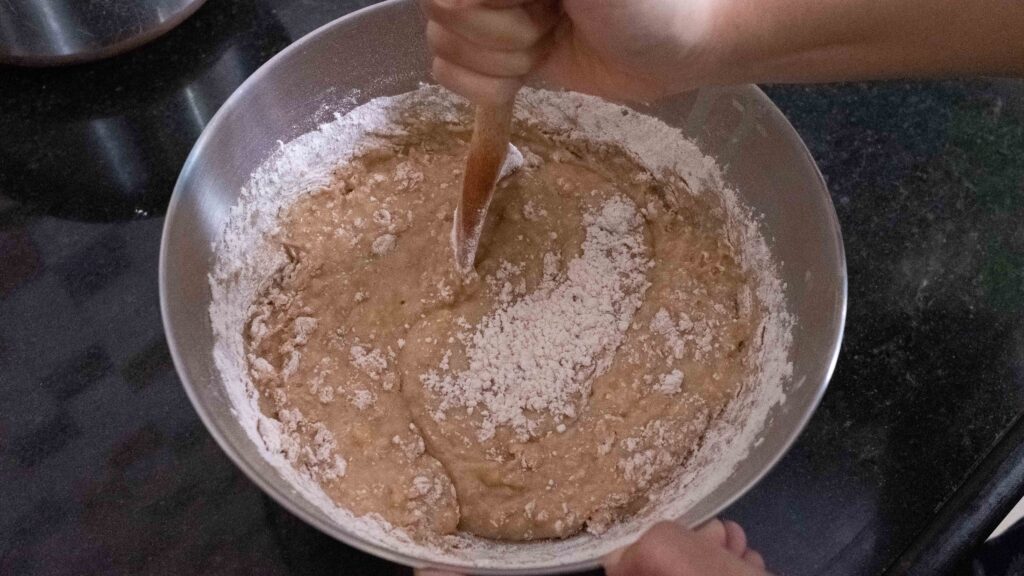
5 – Pour the entire warm, wet mixture into a large bowl. Add the larger portion of the dry mixture to the wet mixture, about ¼ cup at a time, stirring with a wooden spoon to incorporate each new addition. Hold the spoon straight down into the bowl and rotate your arm in a cranking motion (almost as if your arm is the dough hook in a stand mixer). Use a scraping motion, gathering any big bits of loose flour into the dough and pressing them in. Your dough will be shaggy and very tacky.
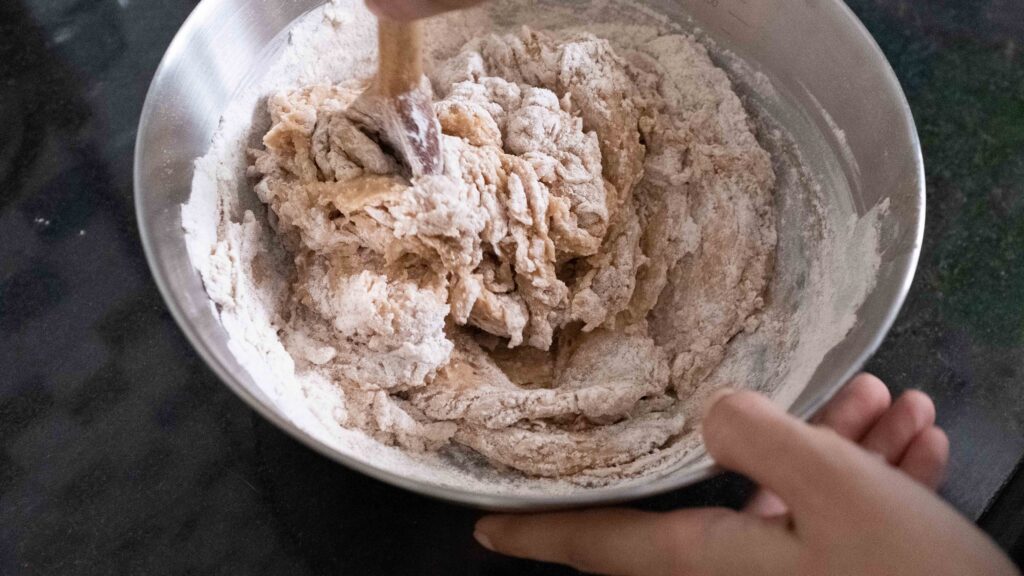
6 – Remember the ¼ cup of dry mixture you had set aside? Tip it onto your work surface. Now transfer the dough to your work surface. It will be very wet and hard to manage. Do not panic! It will come together as you progress.
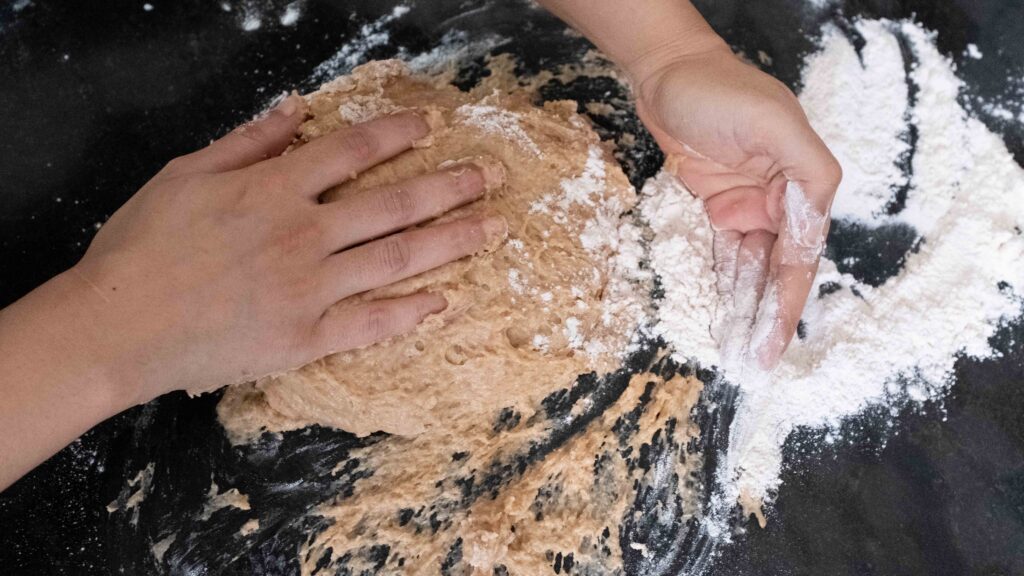
7 – Incorporating the rest of the dry mixture a little at a time as you’re kneading, knead the dough for 8-10 minutes on your counter. To knead; fold the dough over itself towards you, push it down, and then give it a quarter turn. Scrape in flour whenever it gets too sticky to handle. Repeat until all the flour has been incorporated and the dough is smooth, elastic, and bounces back when you lightly press your finger in.
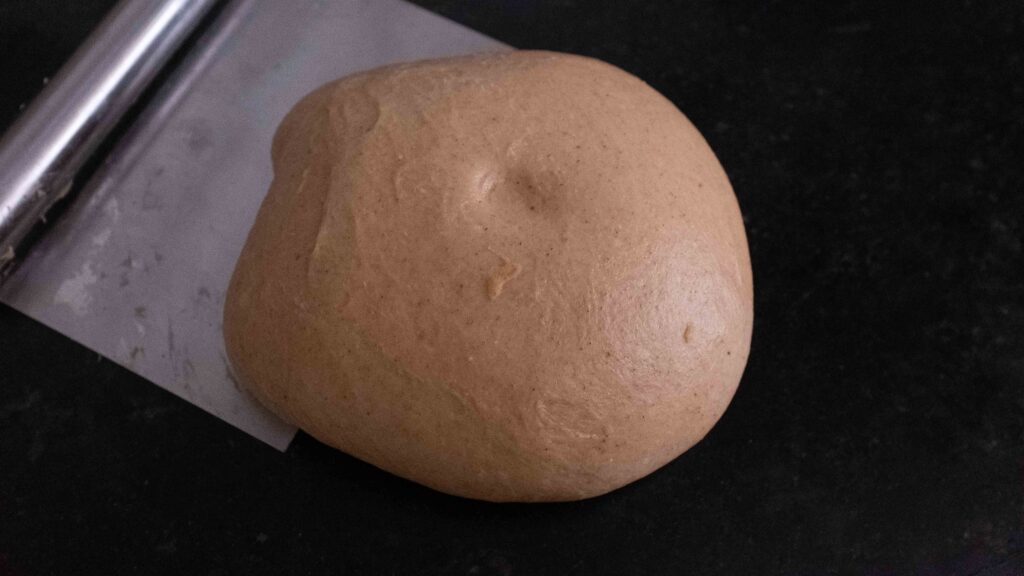
8 – Grease your mixing bowl with vegetable oil. Form the dough into a neat ball and place it in the bowl. Lightly coat the dough ball in the oil and then cover the bowl with cling film.
9 – Place the bowl in the fridge and allow the dough to ferment for 8-24 hours. If you want to bake the rolls on the same day, ferment the dough in a warm place for 90-120 minutes or until the dough has doubled in size. I have done both types of fermentation with equal success, but I prefer working with a refrigerated dough as it’s a lot easier to handle and shape.
10 – After the dough has had its proof, transfer the chilled dough onto a lightly floured surface. Let it sit at room temperature for 5-10 minutes. This will make it easier to roll out. If you didn’t ferment your dough in the fridge, you will need to deflate the dough by pressing out the extra air before transferring it to your floured work surface.
11 – Butter the bottom and sides of your 8-inch square baking pan as well as two ramekins. Keep aside.
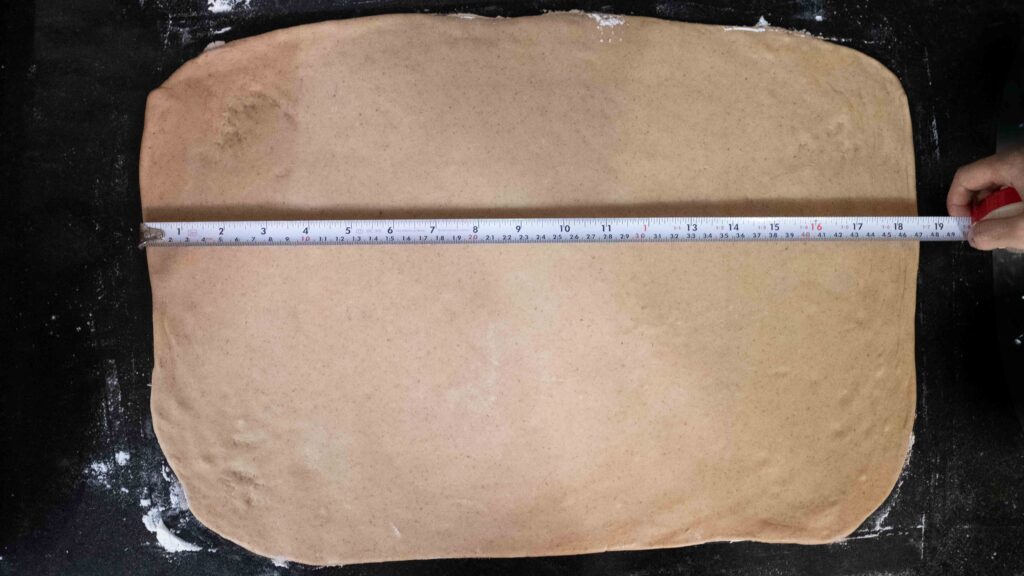
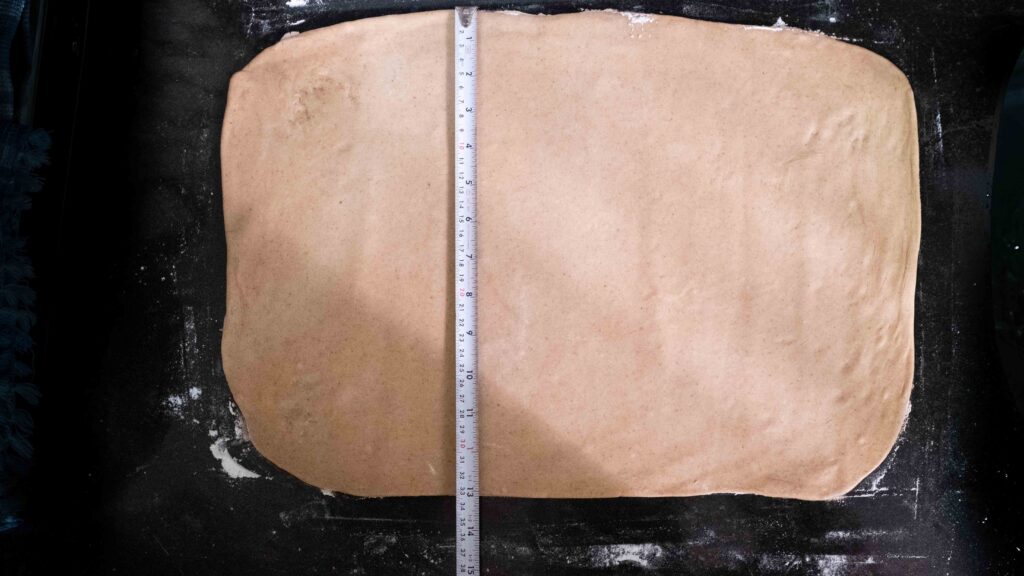
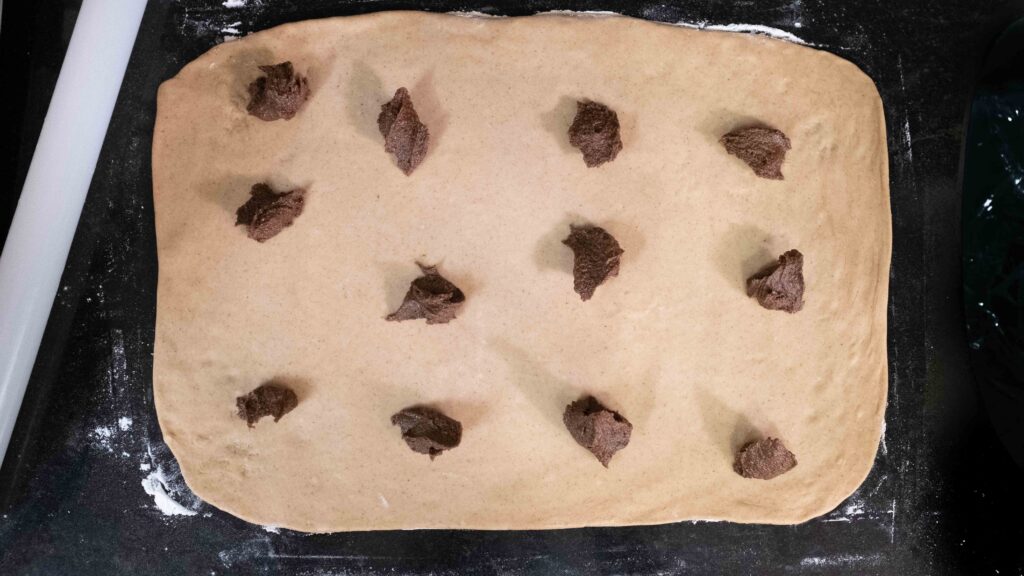
12 – Using a lightly floured rolling pin, roll out the dough into a flattened rectangle, roughly 18 inches long, 12 inches wide and to a thickness of ¼ inch.
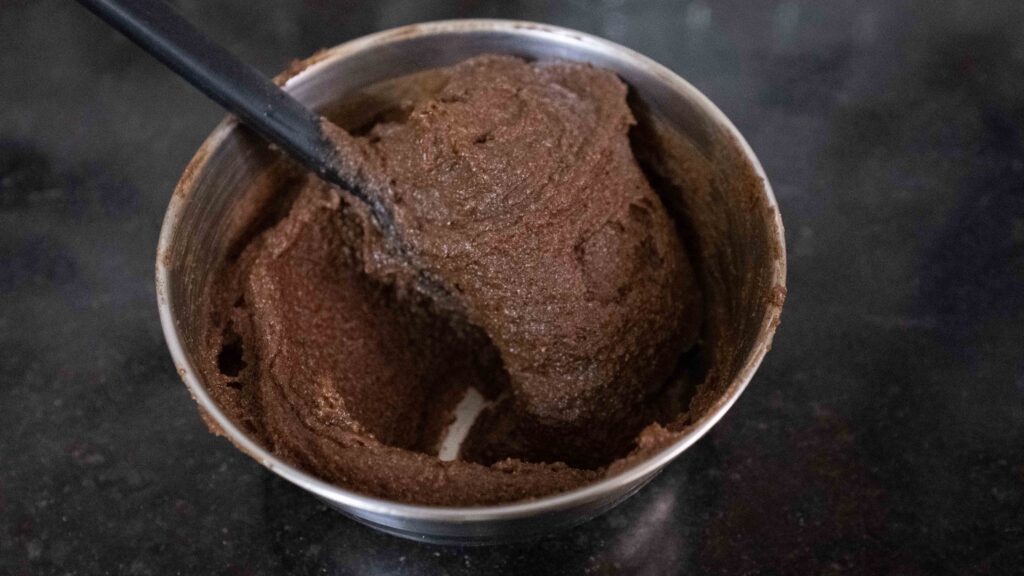
13 – Ready your filling; mix all the ingredients listed in ‘for the filling’ into a thick, spreadable paste.
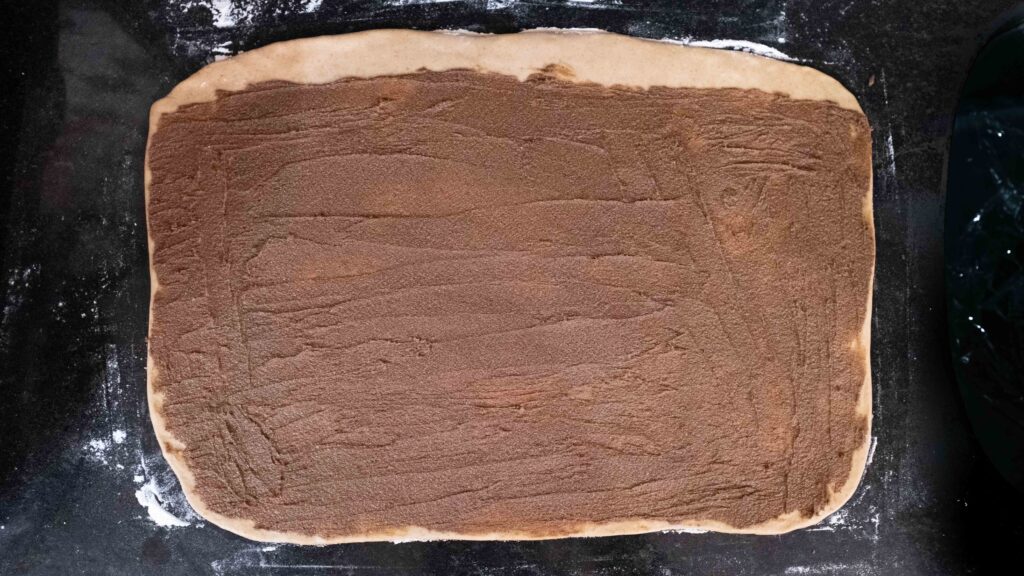
14 – Dollop bits of the filling all over the surface of the rectangle and then use an off-set spatula to spread the paste in a thin, even layer, leaving a 1-inch strip untouched on the 18-inch side of the dough that’s further away from you.
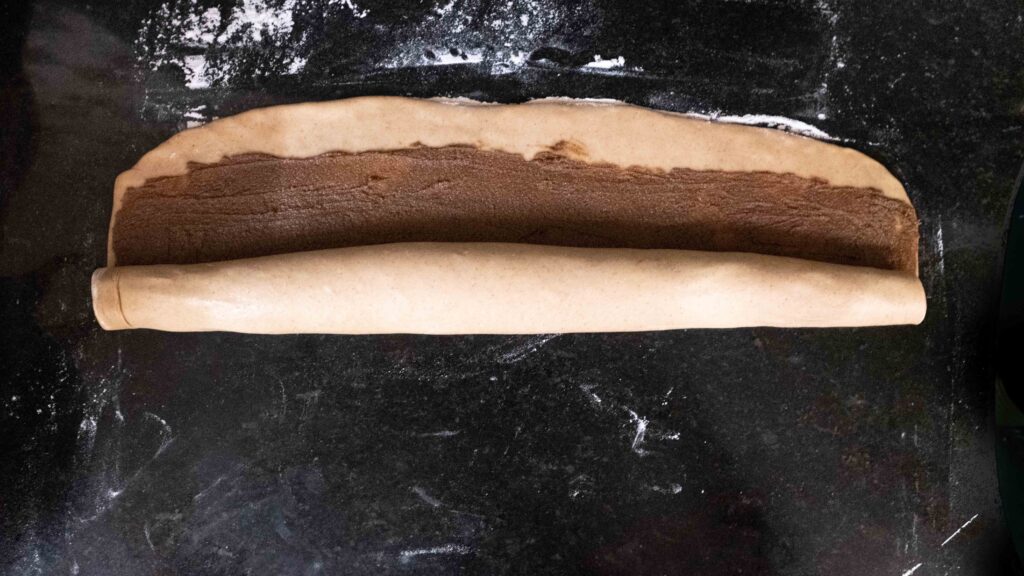
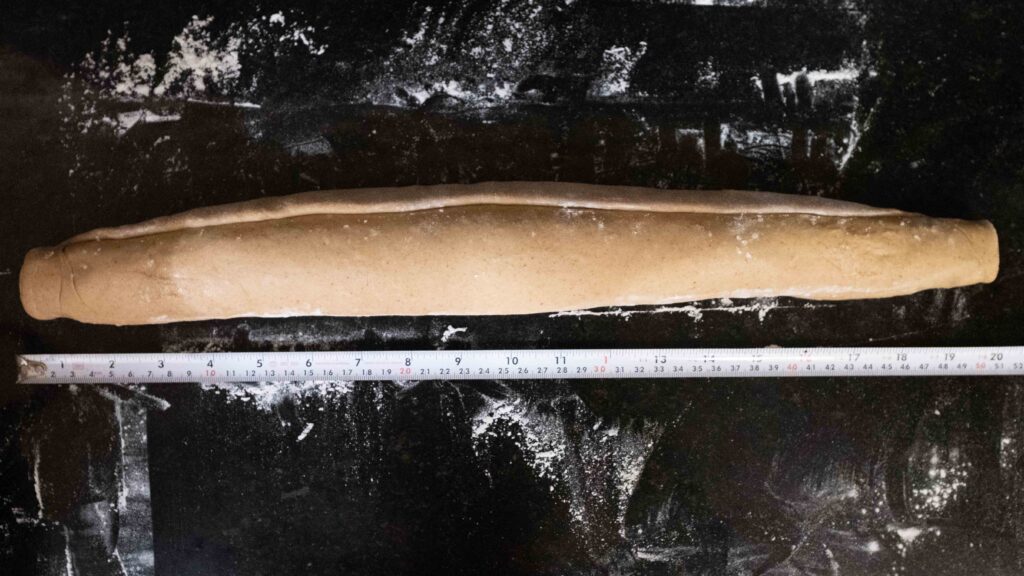
15 – Starting from the 18-inch side that’s closer to you, roll the dough up into a tight log (without squishing down), ending with the 1-inch strip of untouched dough. The tighter you roll, the more domed your rolls will be. If you want rolls that bake flat, don’t apply pressure while rolling up your log. After rolling, my log was about 20 inches long. If your log feels very soft and difficult to manage, carefully roll it onto some parchment paper and place it on a baking sheet. Chill it in the fridge for 20 minutes or the freezer for 5 minutes and then move to the next step.
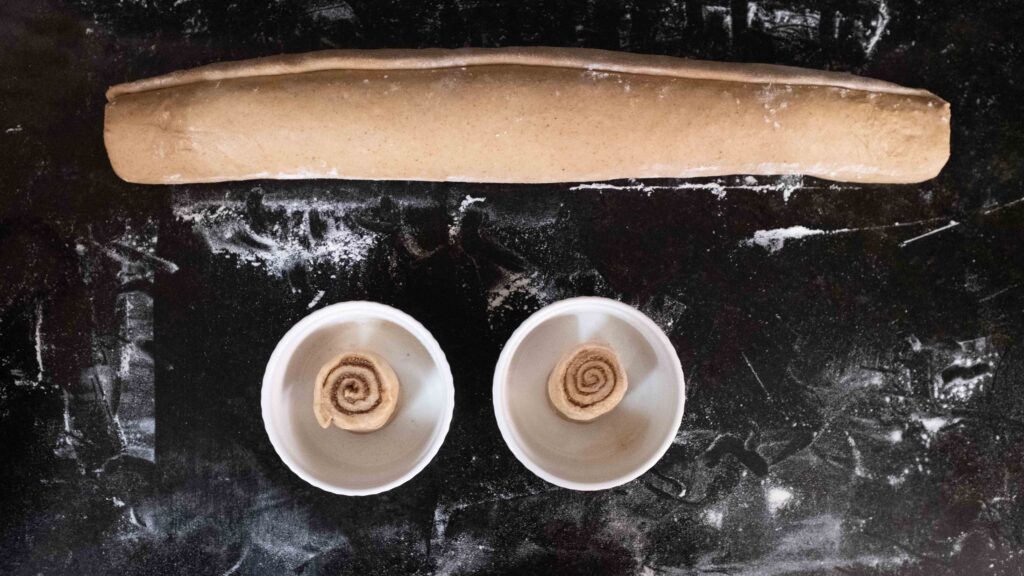
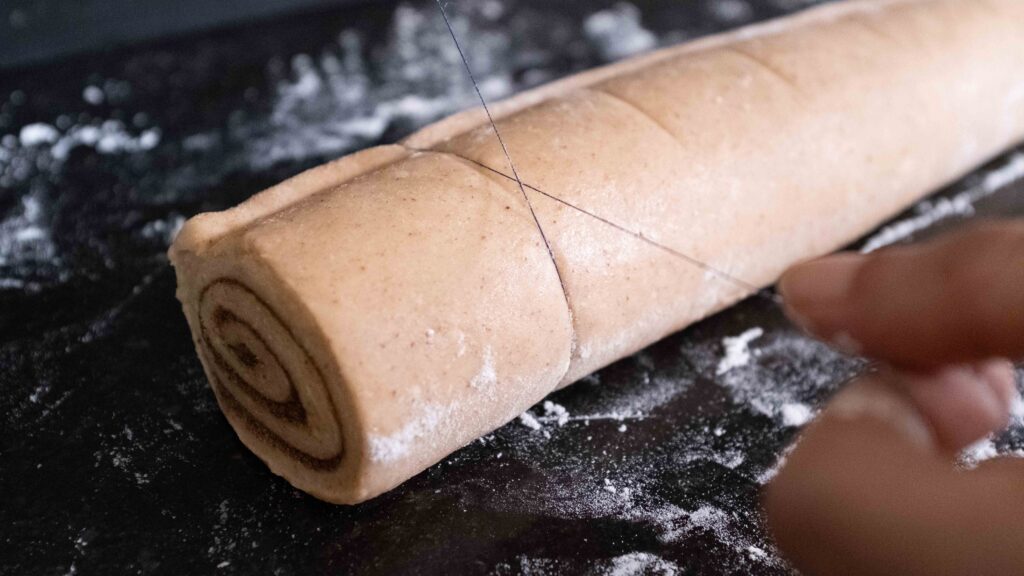
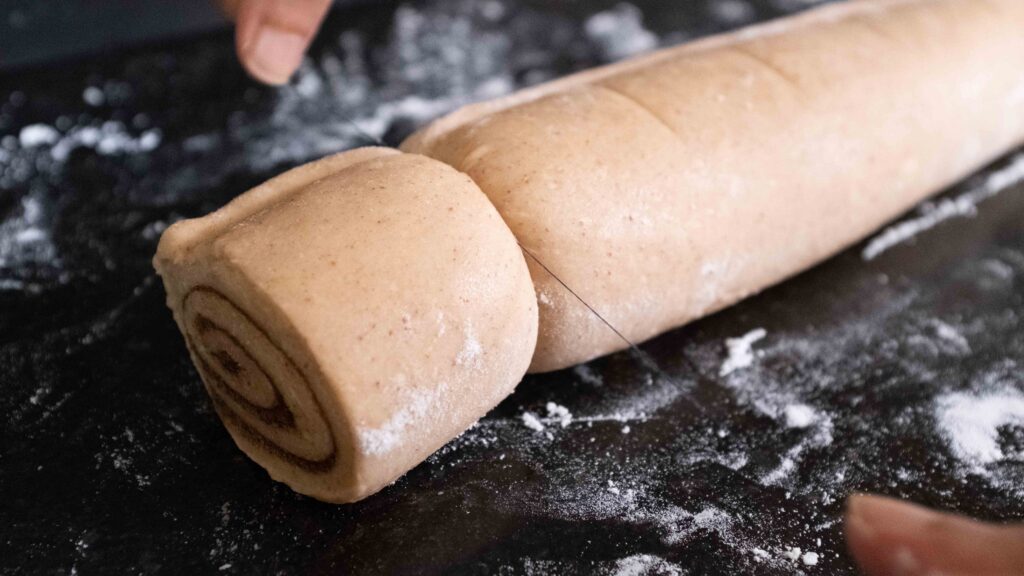
16 – For 9 perfect rolls, you will need to even out the sides of the log. Get a 1-foot long strand of sewing thread. Place the strand under the left side of the log, and then bring both ends to the top. Pull them together to slice off a perfect round. This will cut the dough perfectly without smashing it down. Repeat for the uneven right side of the log. Place each of these side rolls into their own buttered ramekin.
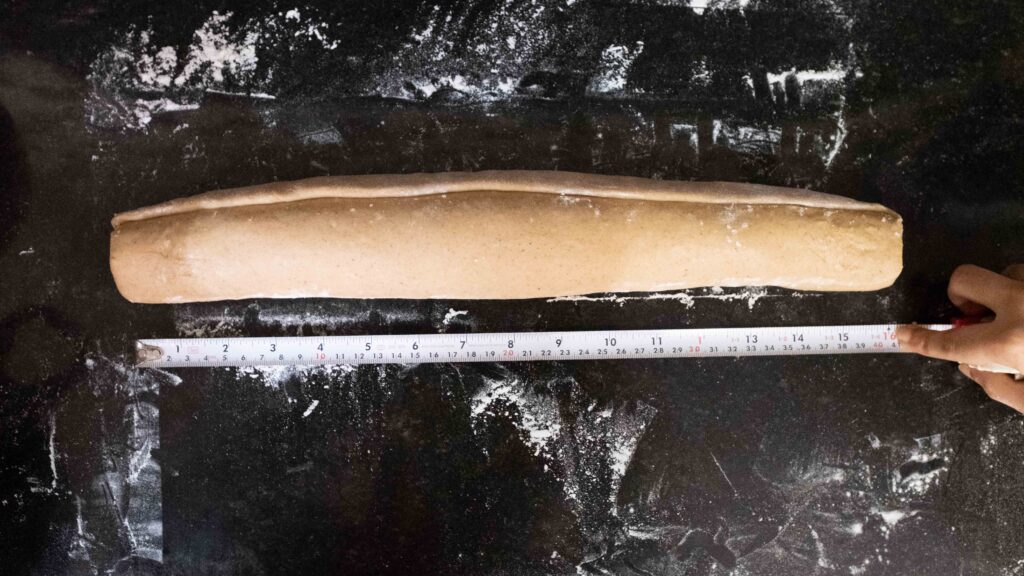
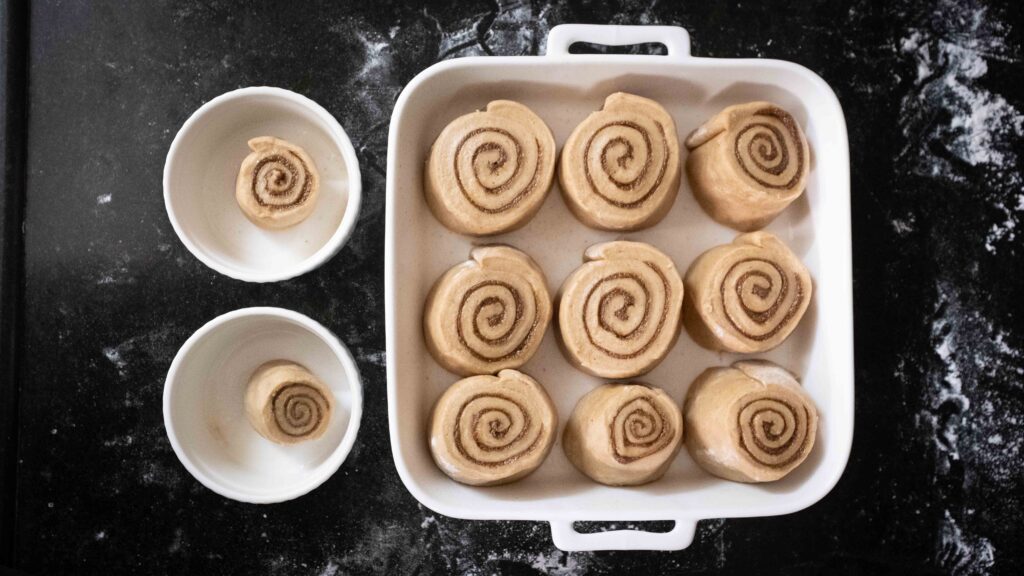
17 – At this point, your log should be roughly 16 inches long. Using the blunt side of a knife, score the log every 1.7 inches to get 9 equal segments. Now use the sewing thread to divide the log into 9 rolls. As you cut each roll, pick it up and place it into your buttered pan. Place the first roll bang in the centre of the pan and use it as a guide to position all the other rolls. You need to leave equal space from the pan’s edges as well as between the rolls to give the rolls room to expand. I like to arrange my rolls so that all the ‘tail’ ends are pointing in the same direction. .
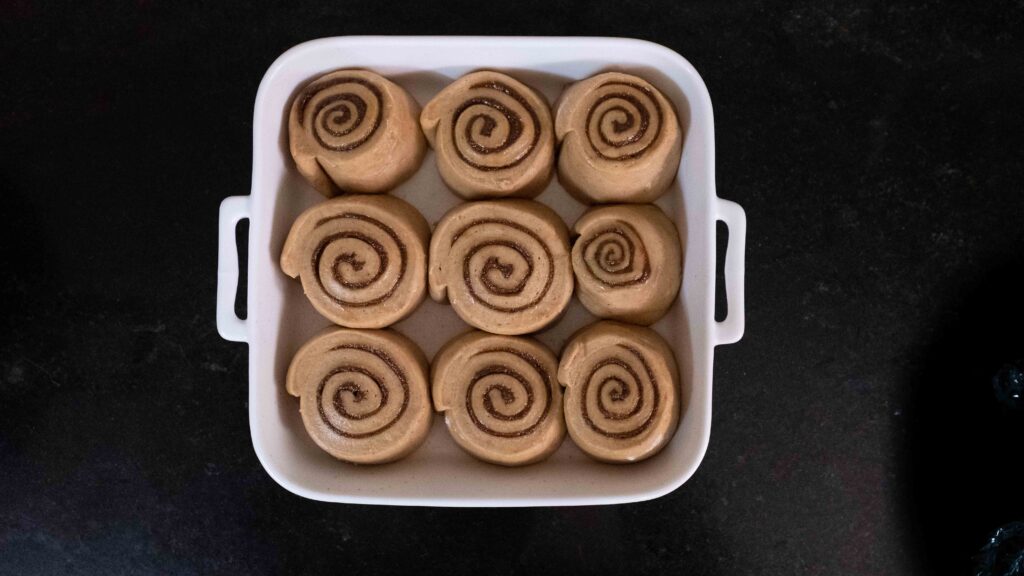
18 – Cover the pan and ramekins with cling film and leave them to proof in a warm place for 60-90 minutes or until the rolls in the pan have expanded by half their original size (not double their original size) and are just touching each other. If you didn’t ferment your dough in the fridge, your proofing time may be shorter.
19 – When you have 20 minutes remaining on your proofing time, start pre-heating your oven to 180OC.
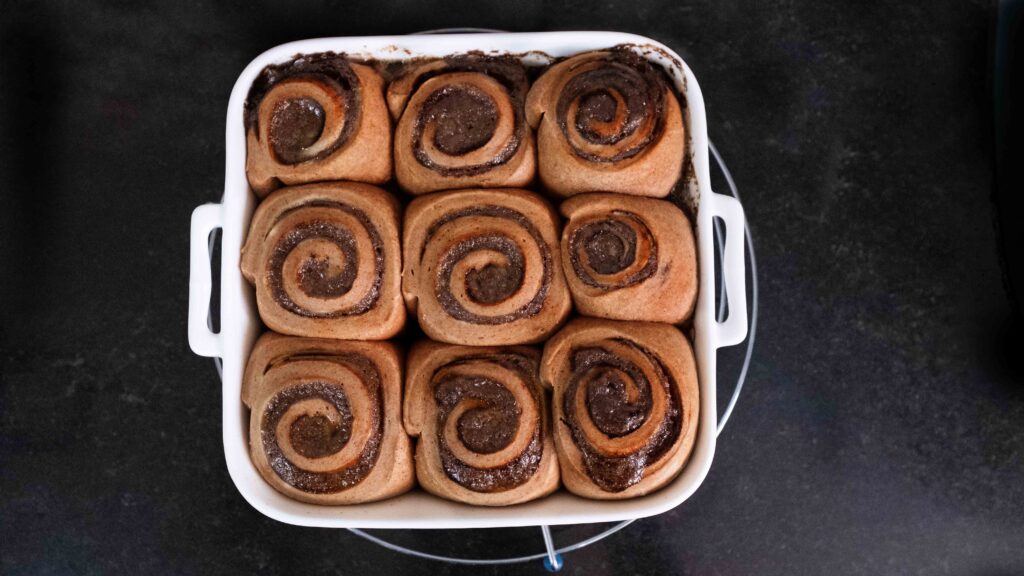
20 – Place your pan of rolls and the ramekins in the lower-middle rack of your oven and bake at 180OC for 20-24 minutes or until the tops of the rolls just start to brown. If your tops start browning too quickly, cover the pan and ramekins loosely with a square of aluminium foil. I used a ceramic baking dish, so my 9-batch of rolls took 27 minutes and my ramekins with the smaller rolls took 24 minutes. While your rolls are baking, move on to Stage 2 and make your icing.


Please note, if you use a metal brownie pan, your bake time will be about 20-24 minutes. If you use ceramic or glass bakeware, it will be anywhere from 24-30 minutes. This is because of the relatively short bake time wherein your non-metal baking dish will take a while to get hot. If you want to prep the cinnamon rolls and bake them the next day, follow the recipe all the way up to Step 17 and then cover the pan tightly with cling wrap, and place it in the fridge overnight. The next morning, take the pan out of the fridge. If the rolls have already expanded by 50% of their original size, let them sit on your counter for 30 minutes to take the chill off, and then bake them. If they did not rise in the fridge overnight, place them in a warm environment until they expand by half their original size and are no longer cold, and then bake them. To prep your cinnamon rolls waaaaay ahead of time, follow the recipe all the way up to Step 17 and then cover the pan tightly with cling wrap as well as aluminium foil. Place the pan of unrisen rolls in the freezer for up to 3 months! The next time you’re craving cinnamon rolls, transfer the pan from the freezer to the fridge and let the rolls thaw in the fridge overnight. Then place the pan in a warm environment so that the rolls can expand by 50% of their size, and only then proceed to bake.
Stage 2: vanilla cream cheese icing
Ingredients
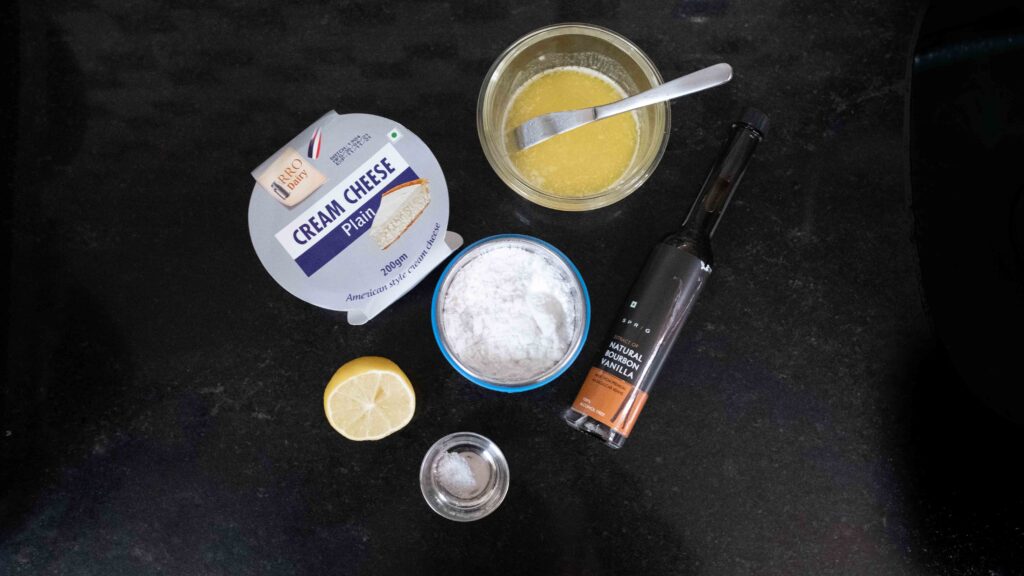
1. 100 gm full fat cream cheese at room temperature
2. 45 gm unsalted butter, melted and cooled
3. 100 gm confectioner’s sugar
4. 1/2 tsp pure vanilla extract (optional)
5. 1 tsp lemon juice
6. 1/8 tsp salt
If you prefer a pure cream cheese flavour, omit the vanilla extract. We love it both ways.
Method
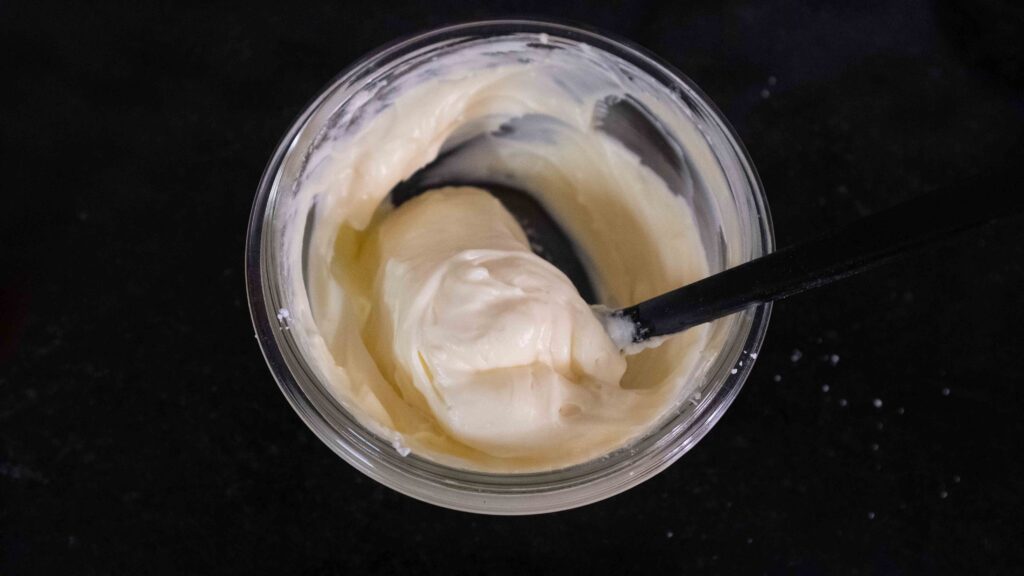
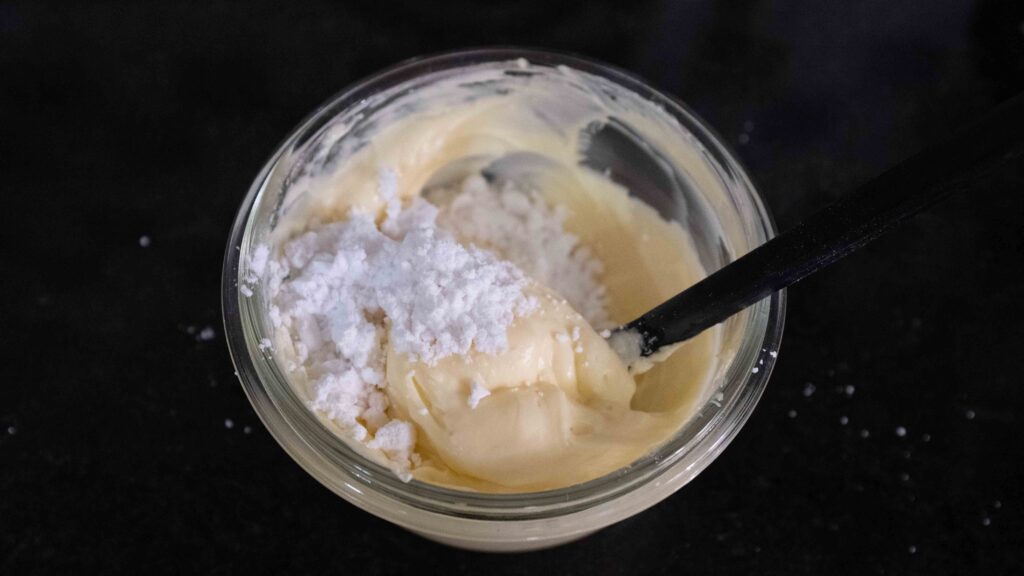
1 – Begin by whisking the cream cheese and room temperature melted butter until you have a smooth and creamy mixture. You can use a manual whisk for this.
2 – Next, add the confectioner’s sugar a little at a time and whisk until fully blended with the cream cheese mixture.
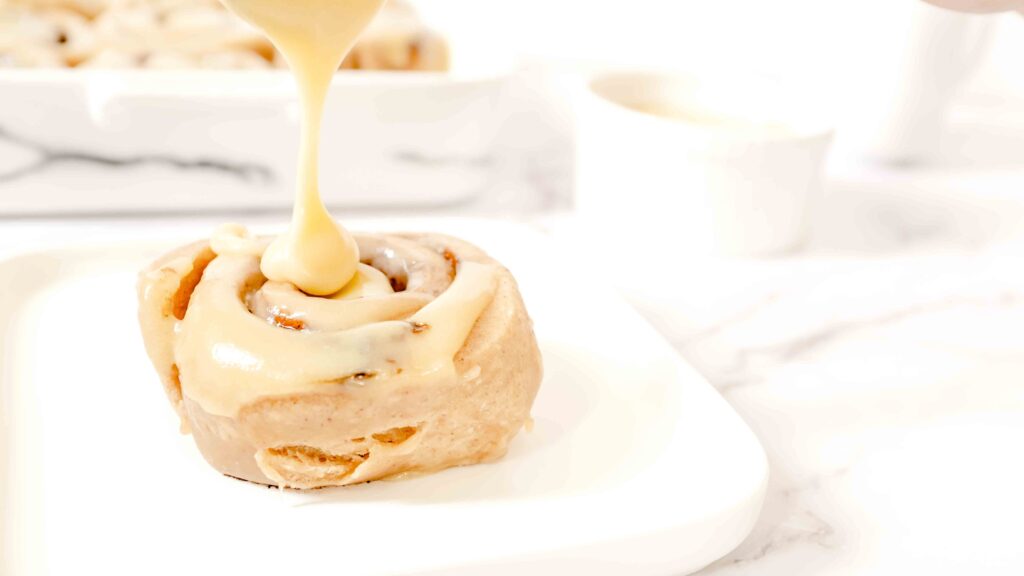
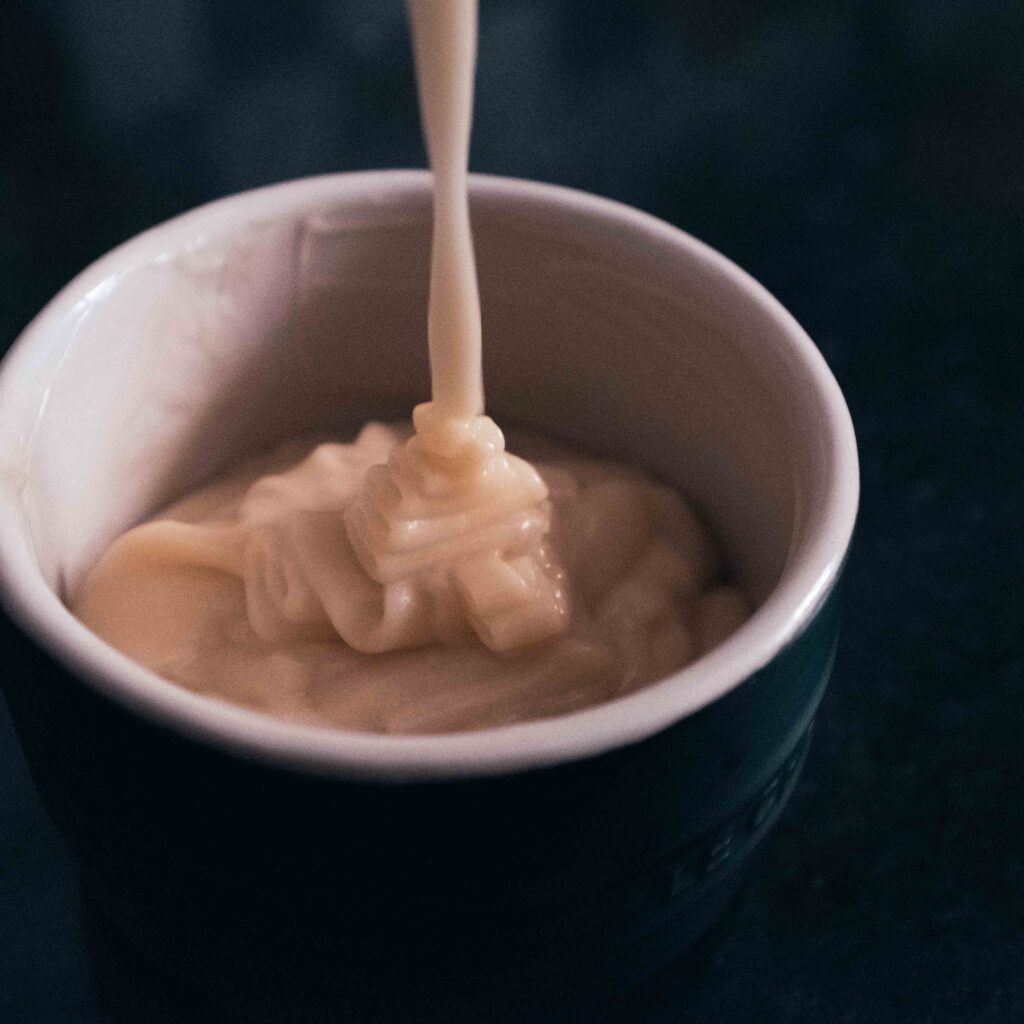
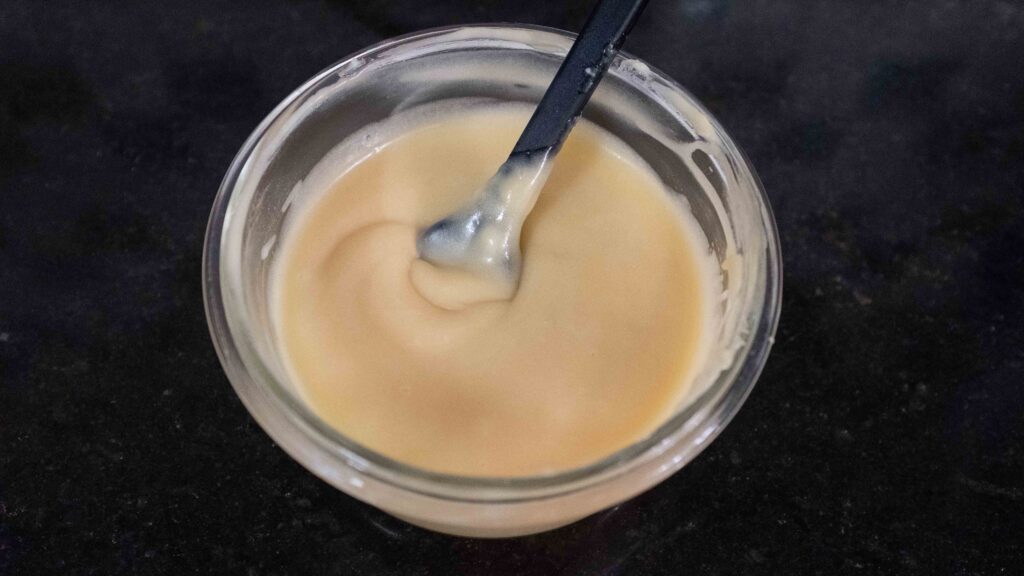
3 – Finally add in the vanilla extract (if using), lemon juice, and salt, and whisk everything together. The icing should be smooth and thick, somewhere between scoopable and pourable.
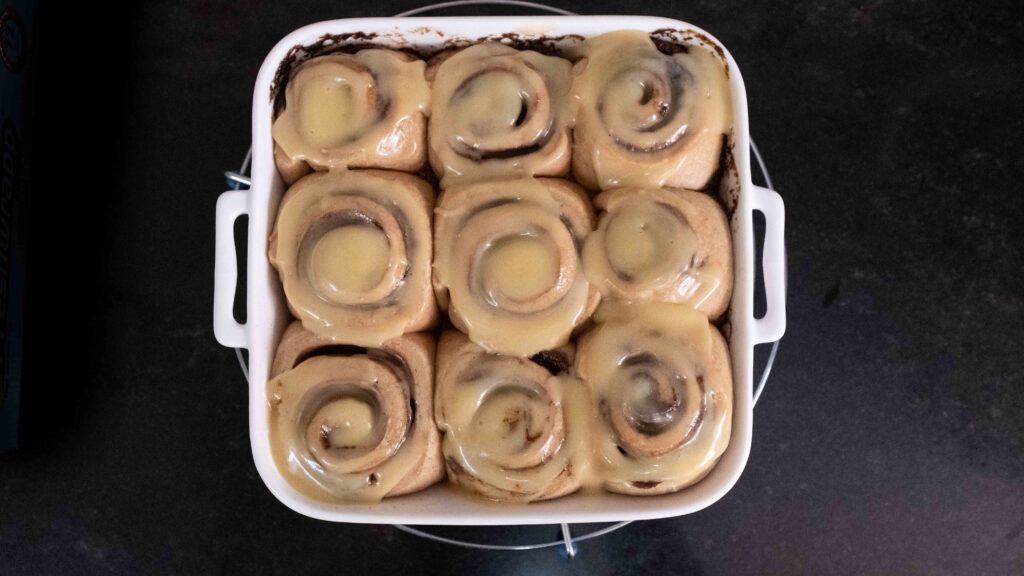
4 – As soon as the cinnamon rolls are done baking, remove your pan and ramekins from the oven and place them on a wire rack. Spoon half the glaze onto their tops while they’re fresh out of the oven and hot. This layer of glaze will slightly melt and soften rolls. If you prefer the tops of the rolls to stay crispy, don’t glaze them.
5 – After they have cooled for at least 10-15 minutes, pour the remaining glaze onto the rolls or glaze the individual rolls as you serve them. Devour them while they’re still warm. Now eat!
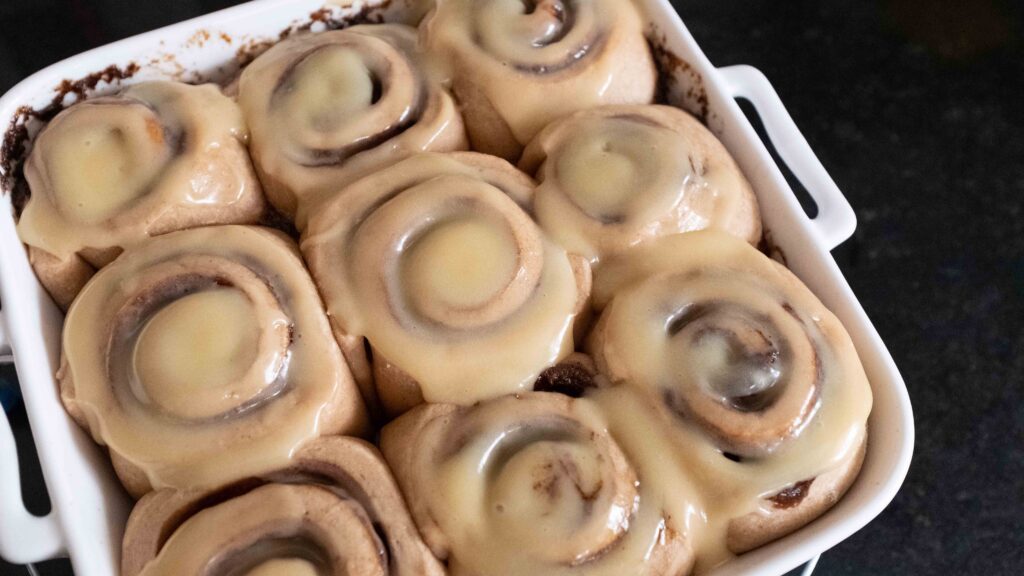
Cinnamon rolls taste best fresh and hot out of the oven and are best enjoyed the day they are made. Much like croissants and doughnuts, they don’t stay tasty for too long, and quickly lose their fluffiness and signature aroma. In fact, with every passing hour, they get drier and gummier, so try to polish them off within a few hours of baking them (as if you weren’t going to do that anyway).
Tips & Tricks
How cut your cinnamon rolls with floss or string