


Makes one extra large babka or 12 servings.
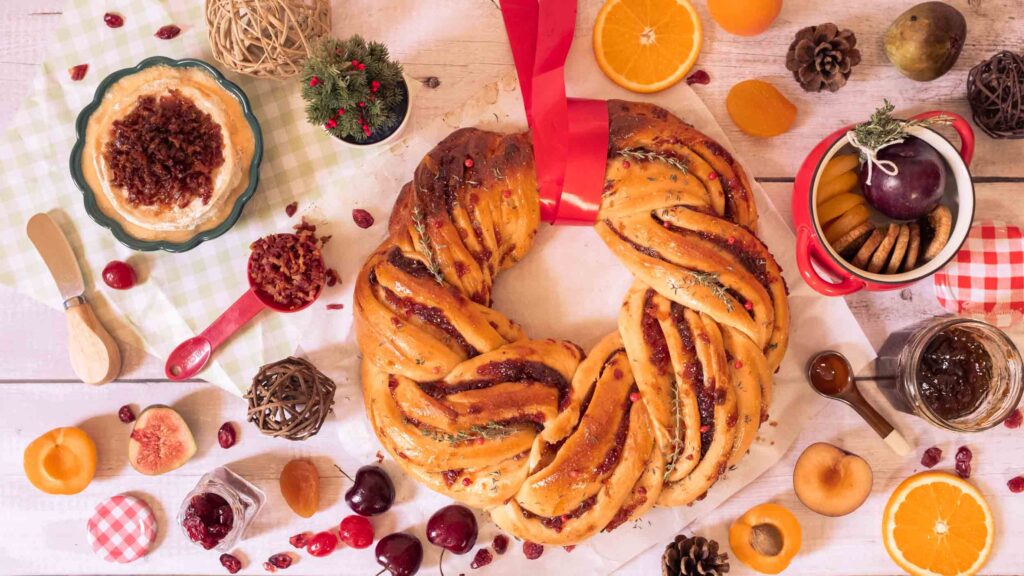
We love creating sweet and savoury recipes in equal measure. So, for our last recipe of the year, we’ve created a brioche-style babka* layered with a lightly spiced puree of winter fruits, and served it with a bacon-laced baked brie. Slathered onto the slices, the molten cheese enhances the richness of the bread’s buttery braids and brings out its fruity notes. Ideal for cosy gatherings, this edible holiday wreath is how we’re celebrating a year’s worth of sweet and savoury recipes.
At a glance
– This recipe comprises babka wreath + bacony baked brie
– You will need baking parchment and a baking tray or a 12-inch pizza pan.
– This recipe has been broken into 4 stages for ease and comprehension. Please read the entire recipe from start to finish before beginning.
Stage 1: mixing & fermentation
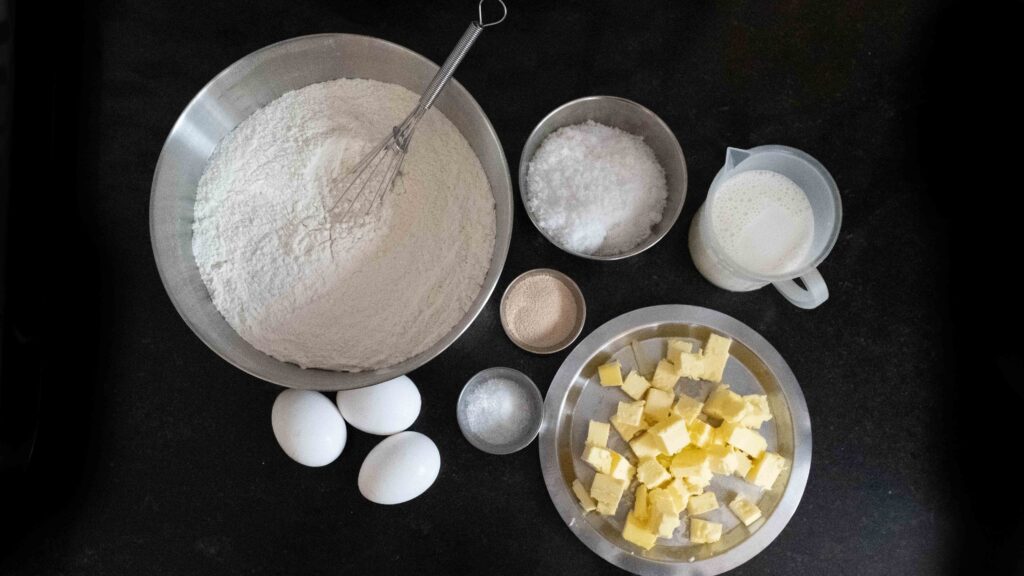
Ingredients
1. 500 gm bread flour
2. 200 ml UHT milk at 43OC or whole milk boiled and cooled to 43OC
3. 3 large eggs (57 gm in-shell weight/egg)
4. 7 gm (2 ¼ tsp) instant yeast
5. 1 tsp salt
6. 100 gm caster sugar
7. 120 gm unsalted butter, cubed and at room temperature
8. Neutral oil for greasing
Method
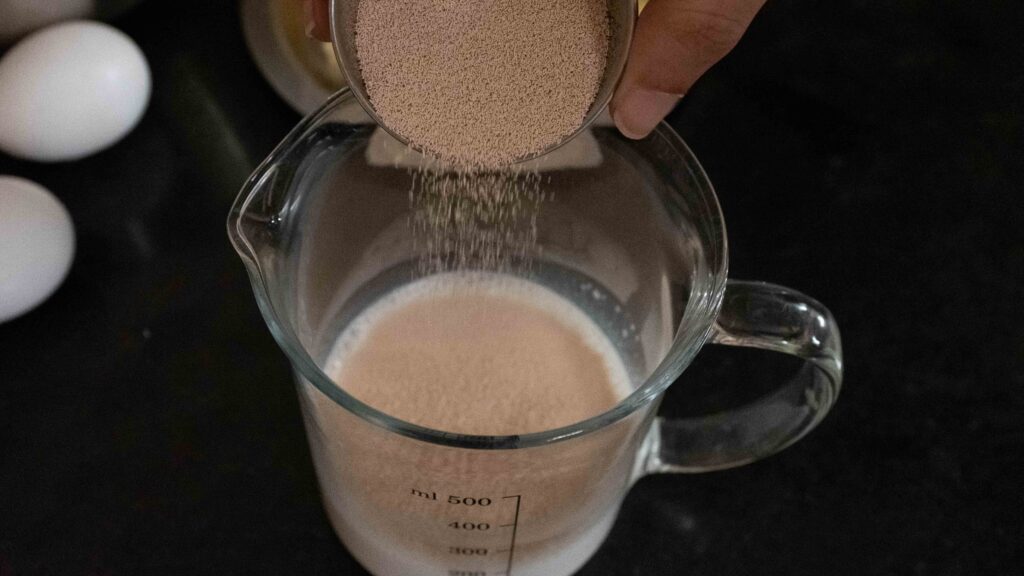
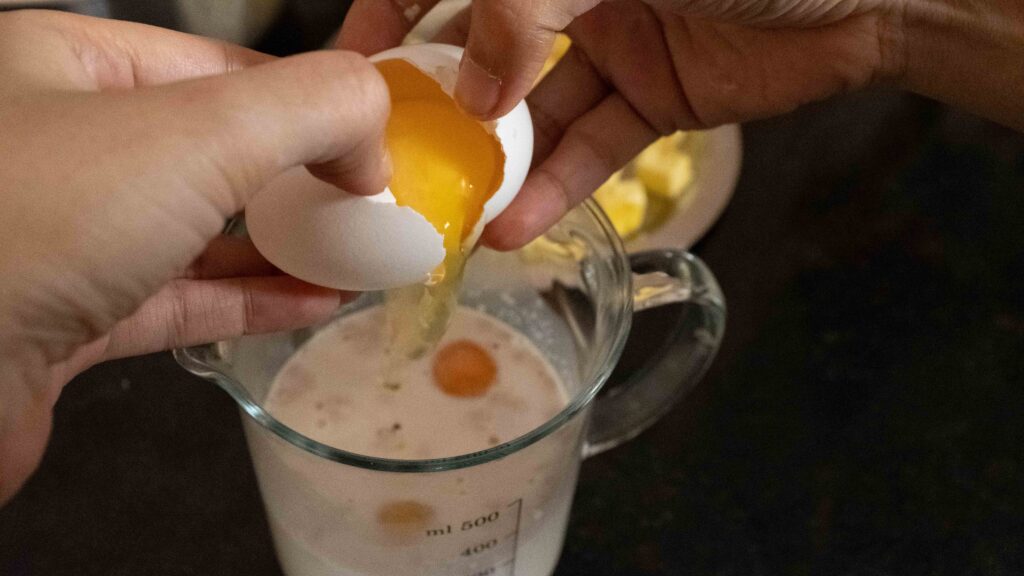
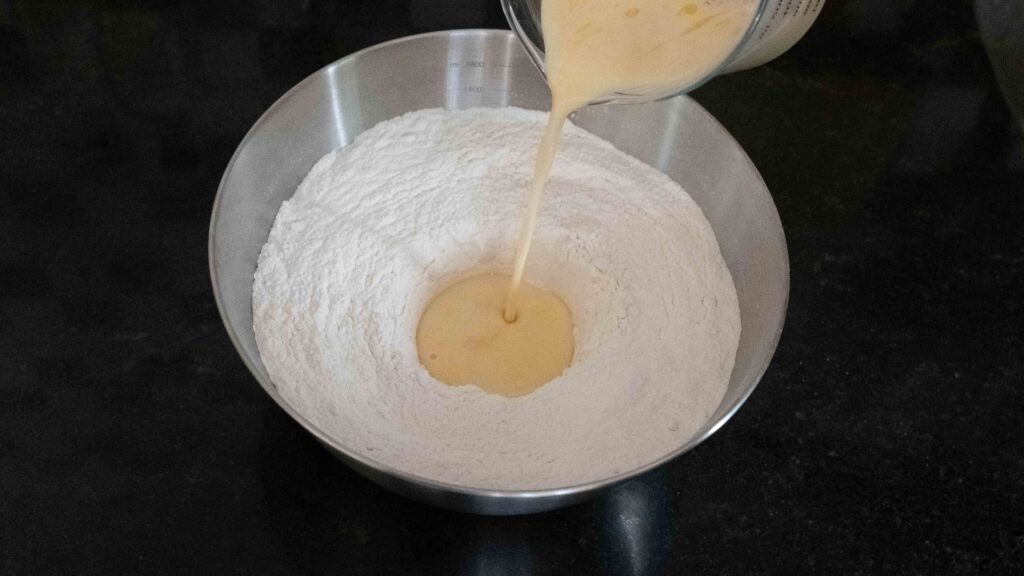
1 – Add the warm milk to a medium bowl and sprinkle the instant yeast onto the milk. Whisk to dissolve the yeast into the warm milk. Now add the eggs, and lightly whisk once again to combine. This is your wet mixture.
2 – Add the bread flour to a large bowl. Make a well in the centre of the flour and add the wet mixture to it.
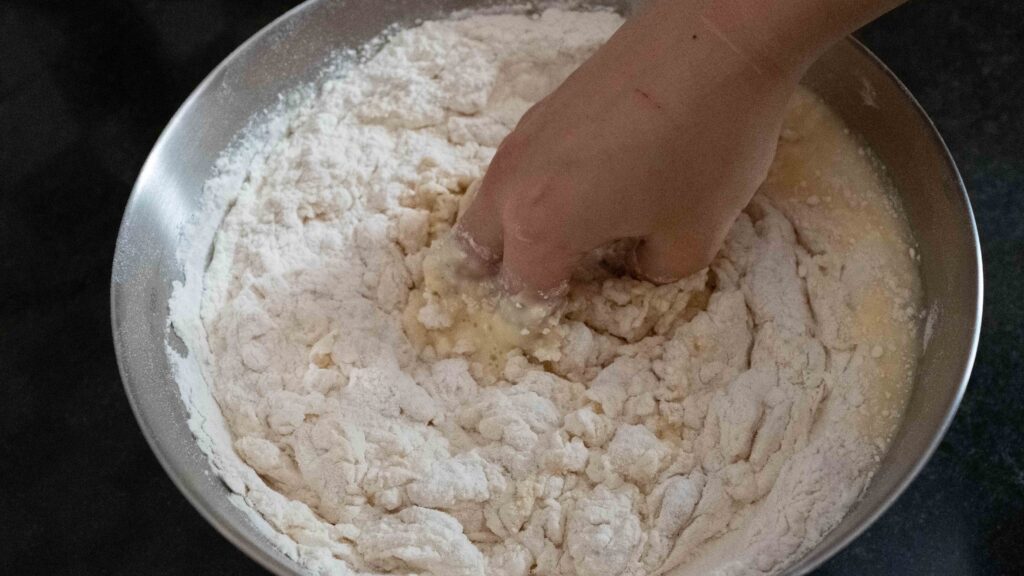
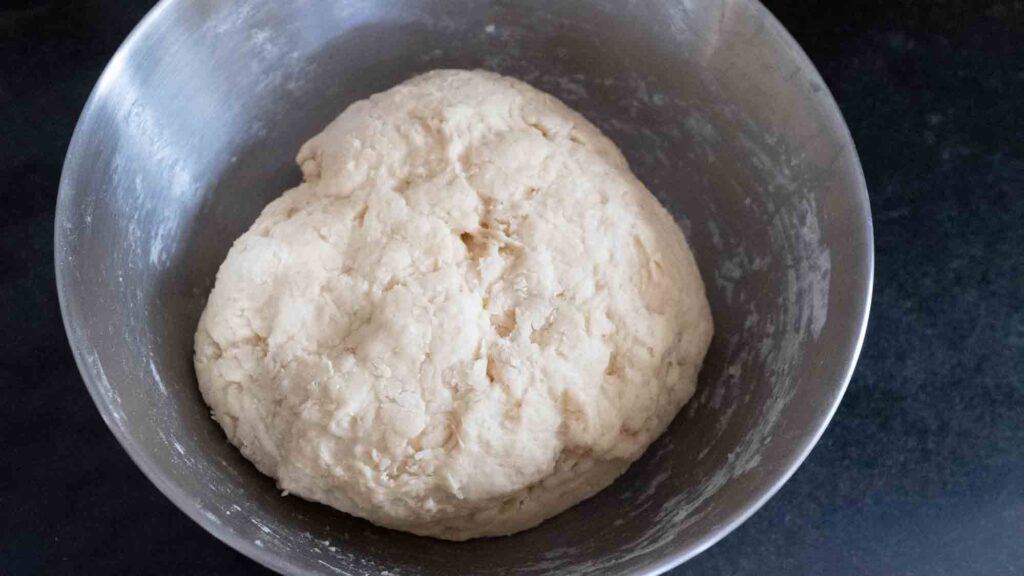
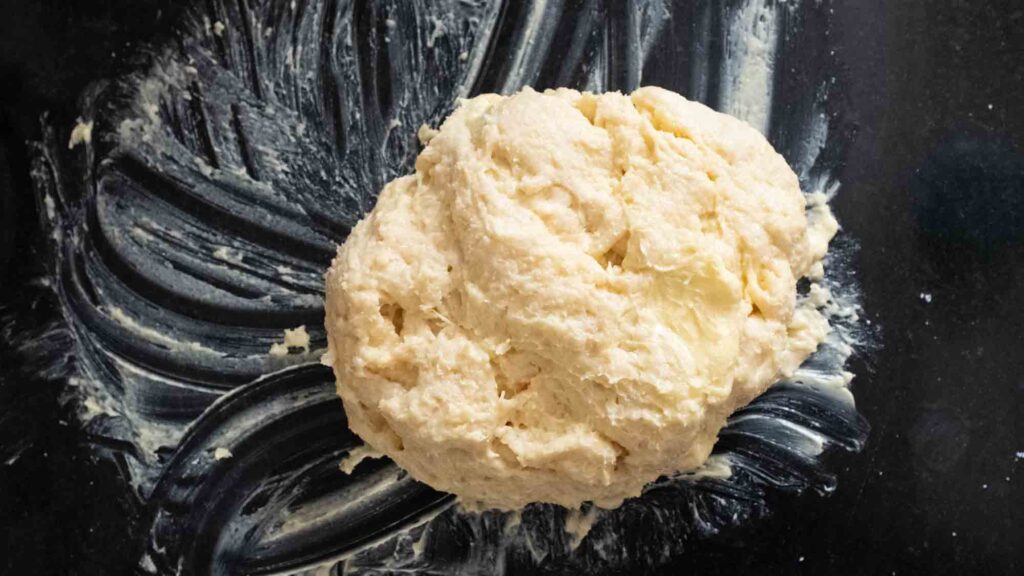
3 – Using your hands, stir and fold the mixture until you no longer see any dry, floury bits. By the end of mixing, you should have a fairly stiff, slightly sticky, rough ball of dough that leaves a clean bowl.
4 – Cover the bowl in cling wrap and leave the dough to rest at room temperature for 30 minutes. This will allow the dough to fully hydrate and develop the gluten.
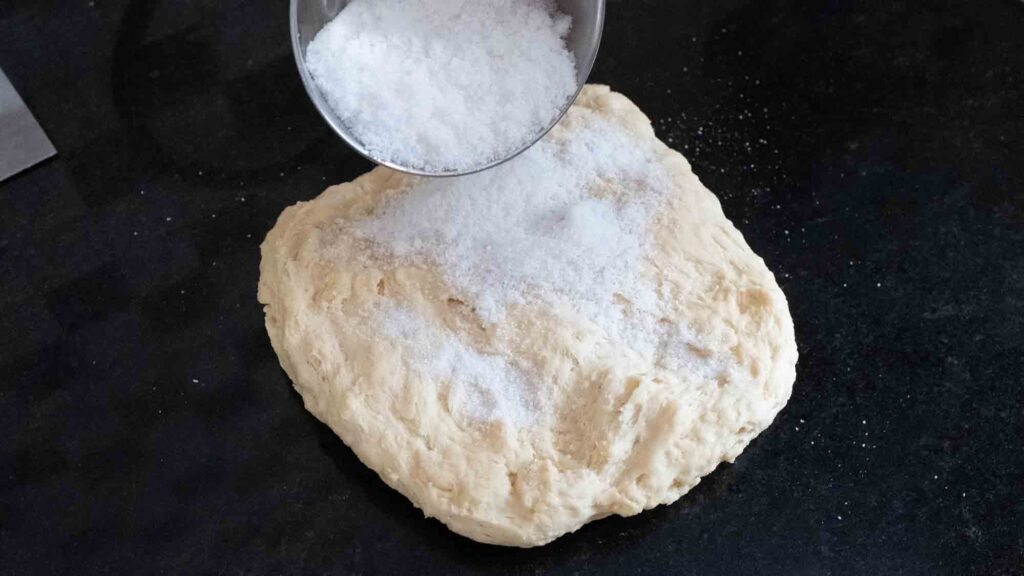
5 – After 30 minutes, tip the dough ball onto your work surface. Do not add any extra flour. Using your hands, shape the dough into a rough rectangle.
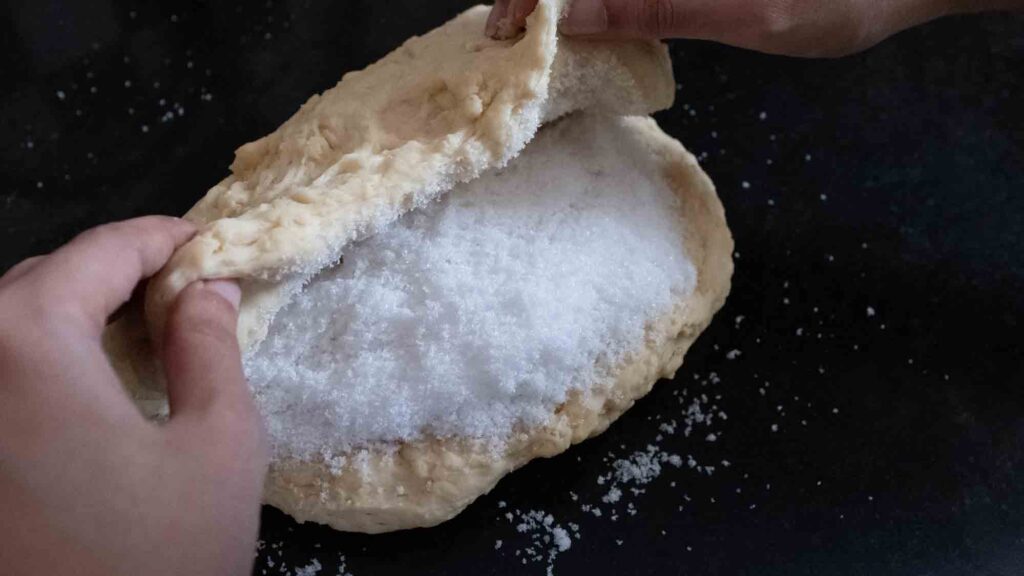
6 – Sprinkle the sugar and salt onto the rectangle of dough. Fold the dough over a couple of times to incorporate.
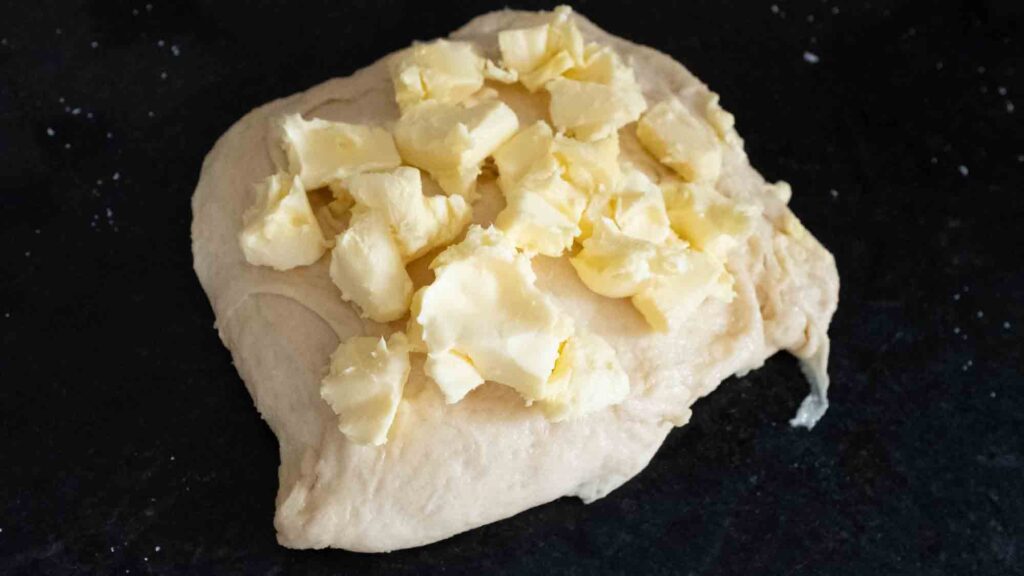
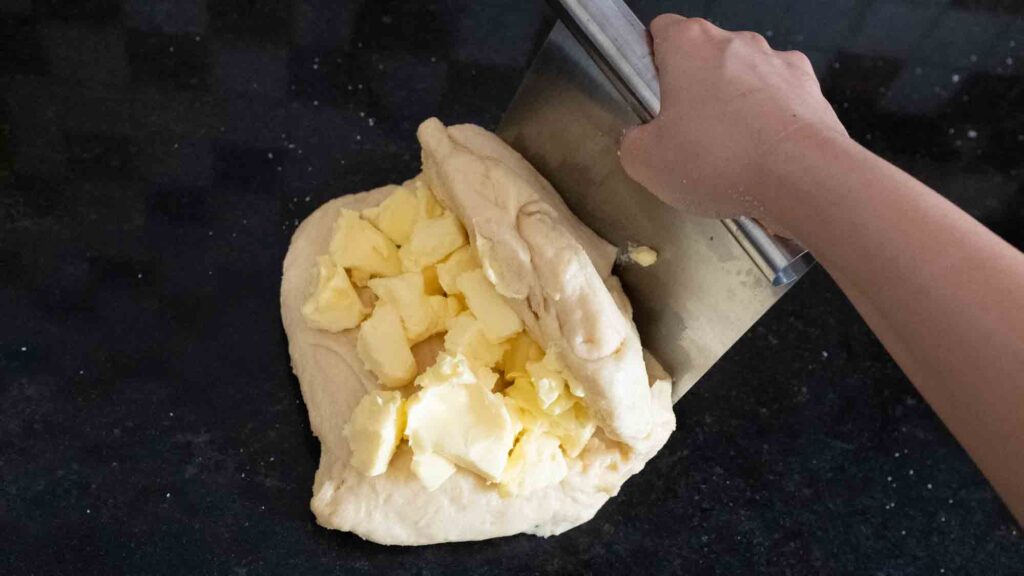
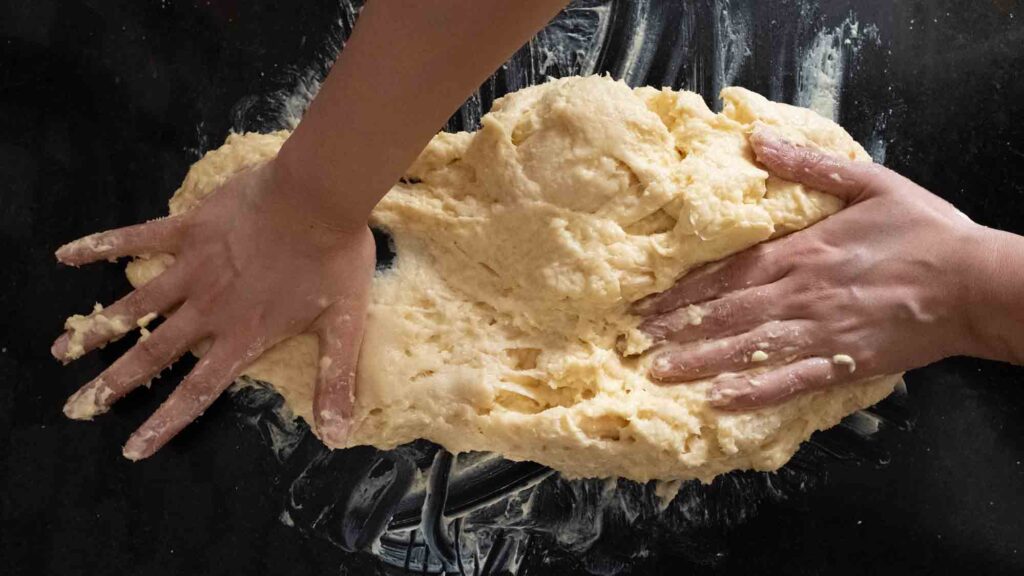
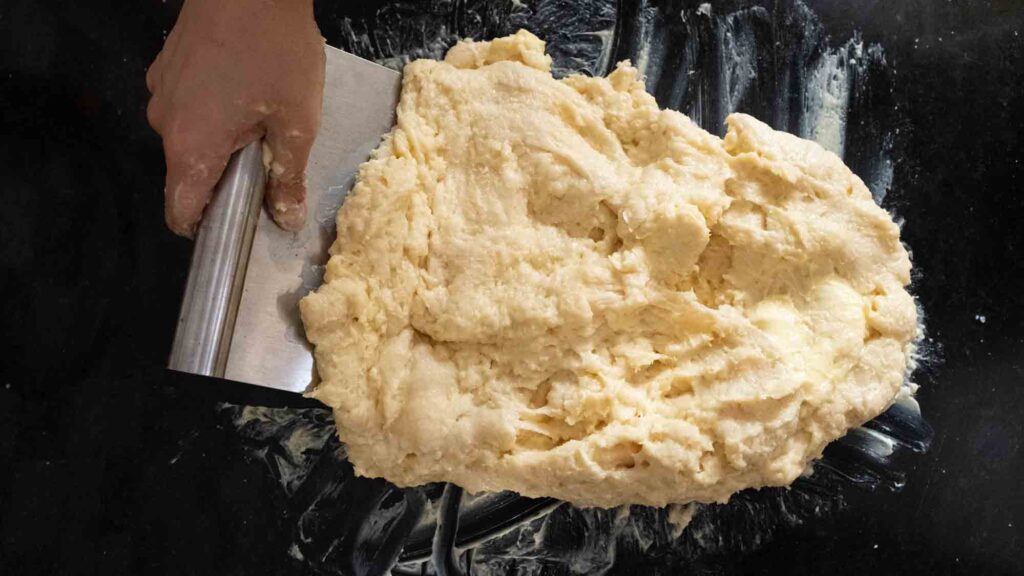
7 – Spread the dough out into a rectangle again and then place the cubes of room temperature butter on top. Grab your bench scraper and begin folding the butter into the dough. The dough will be a messy mass, interspersed with slippery butter, and gritty sugar.
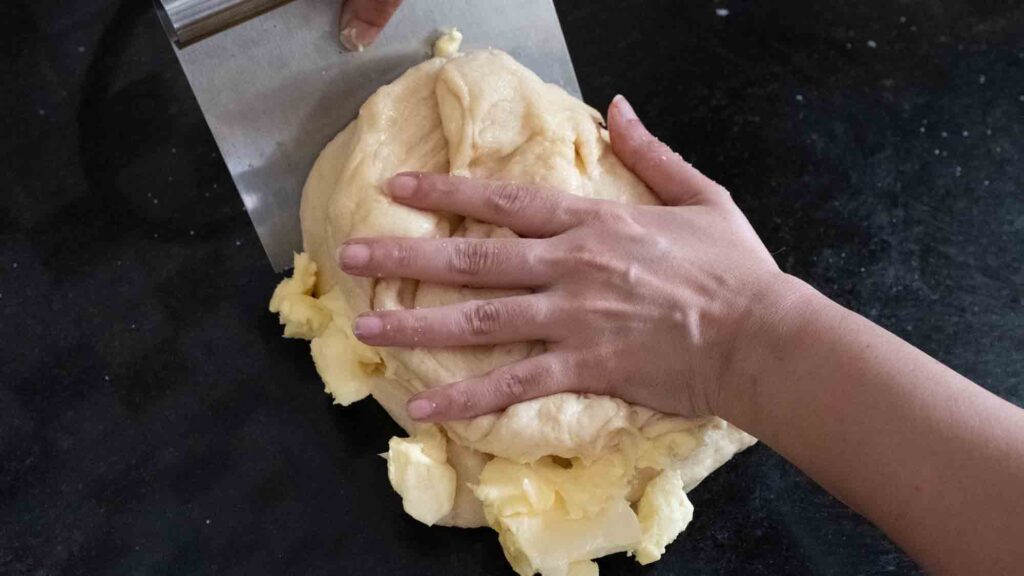
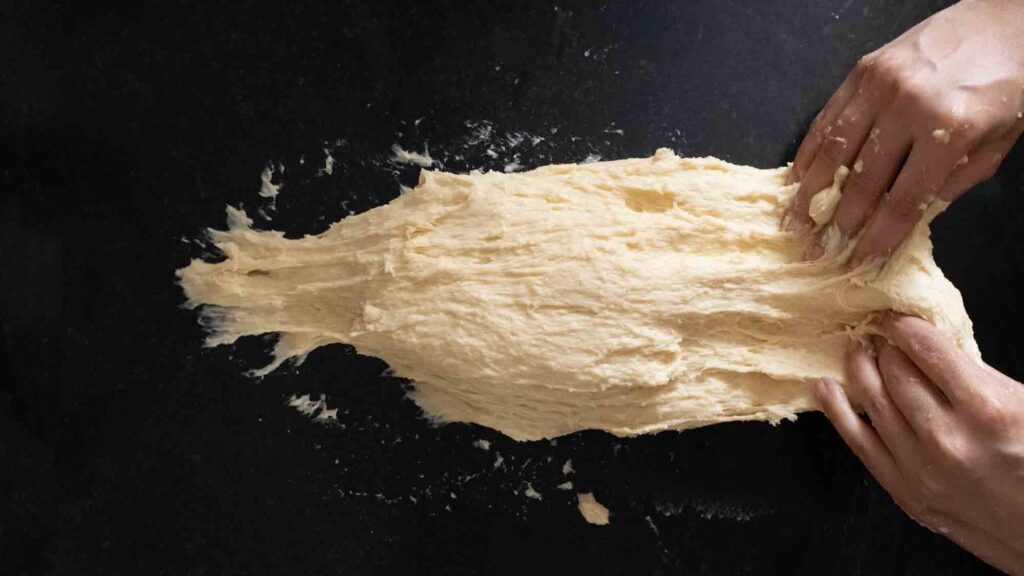
8 – Using the heel of your hand, stretch and spread the dough outwards and away from you, and then gather it back towards you in a single mass with the bench scraper. This technique, known as ‘fraisage’ will fully blend the sugar, salt, and butter into the dough. Repeat this mashing and gathering motion for about 20-25 minutes, or until all the butter has been incorporated and the dough stays together as one sticky mass. If you grab a chunk and pull, it should stretch away but still stay connected to the mass. At this point the dough is ready to be kneaded.
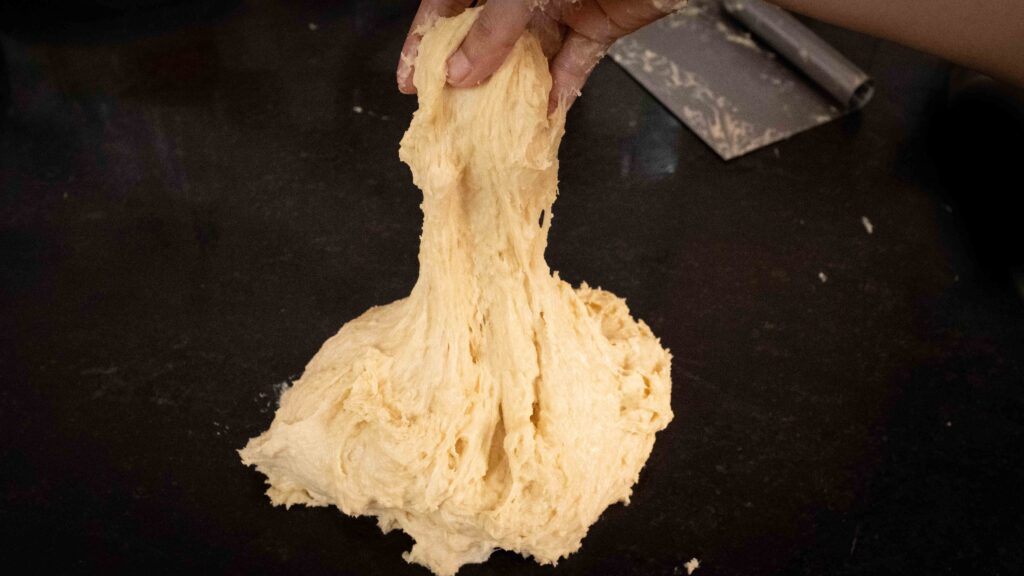
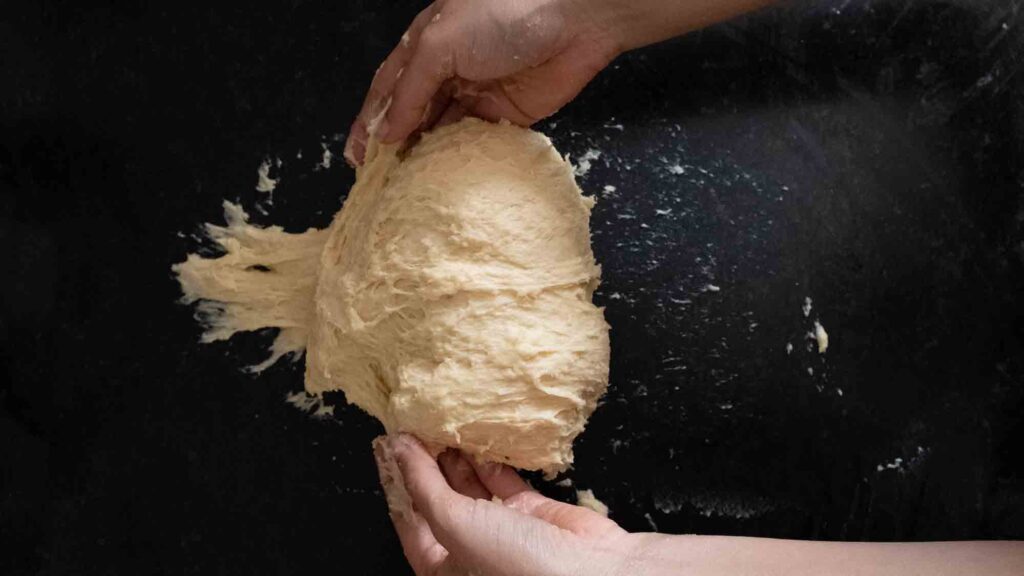
9 – To knead the dough, we’re going to use the slap and fold technique; Pick the dough up and slap it down on your counter so that it sticks. Then grab the dough and stretch/pull it towards you, and then fold it over itself and away from you. Now lift up the dough, give it a quarter turn in the air and slap it down on your counter again. Repeat this sequence until the dough is smooth, shiny, and very elastic. This can take anywhere from 20-30 minutes depending on your brand of flour and how humid it is. Don’t panic if it’s still slightly sticky after 30 minutes and don’t be tempted to add extra flour. Trust yourself and the process. Keep slapping and folding the dough until it is at the correct consistency. When it’s ready, it will no longer stick to your hands, and will come clean off the surface. To double-check if your dough is ready, do the “window pane test”. Cut off a cherry tomato sized portion of dough and stretch it between your fingers until it’s a thin sheet through which you can see light. If the dough tears without stretching, keep kneading.
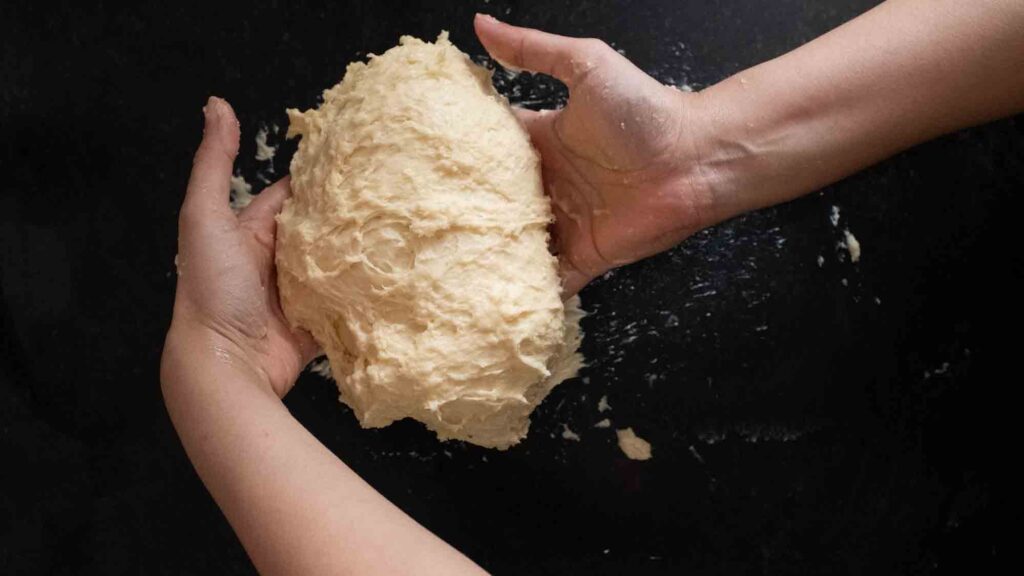
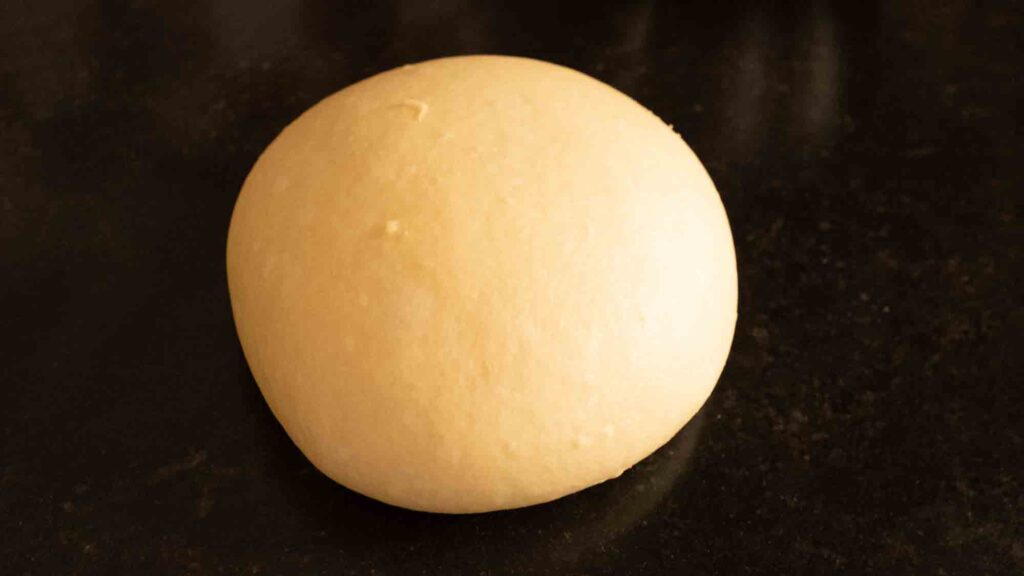
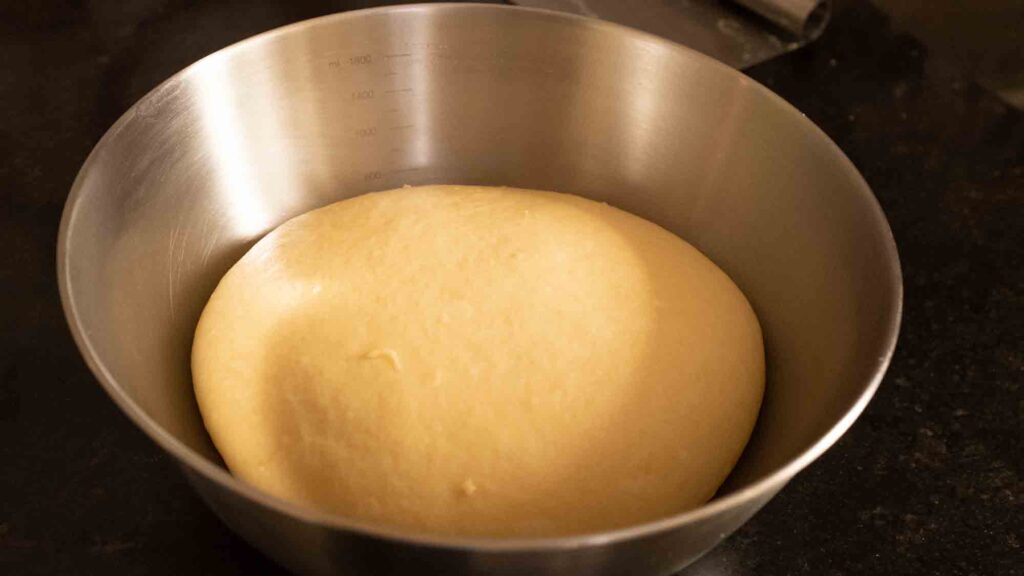
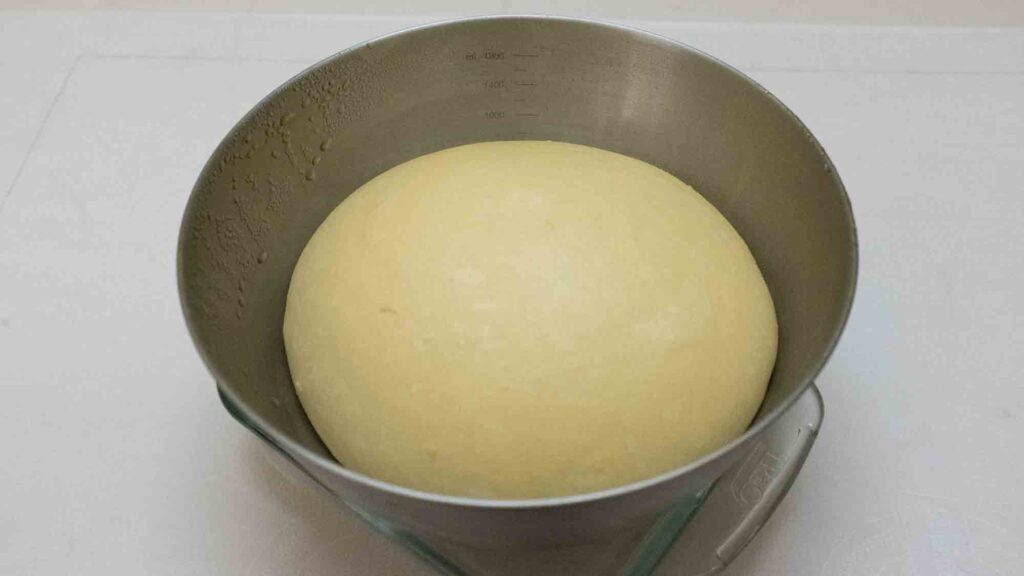
10 – Form the dough into a smooth ball and place it in a lightly greased bowl. Cover the bowl with cling film and place it in the fridge to ferment for 12-24 hours. Depending on your fridge temperature, the dough may or not fully double, so don’t panic if it doesn’t look like it grew by more than 50%. It will still be just fine. Mine grew by just 50%.
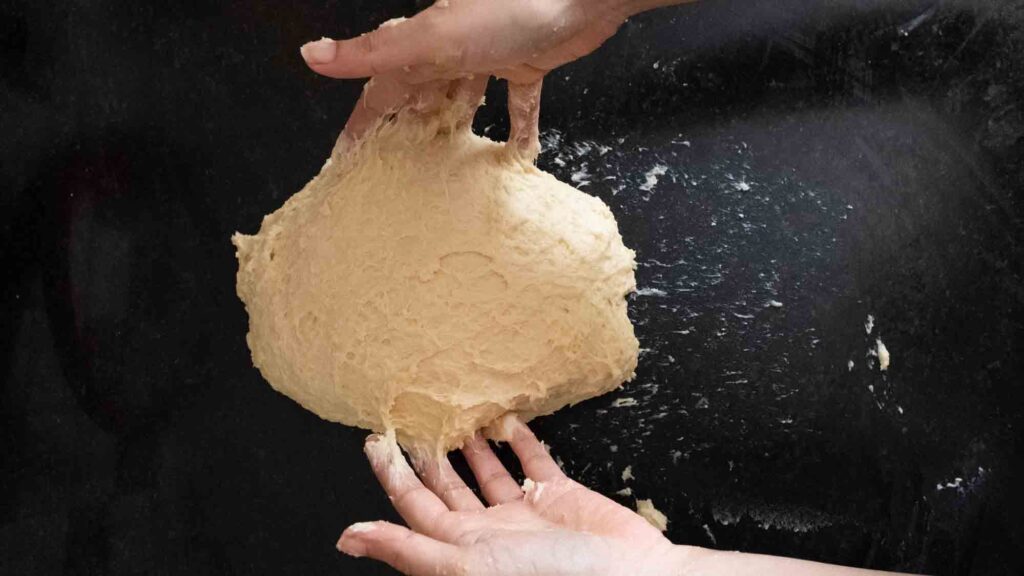
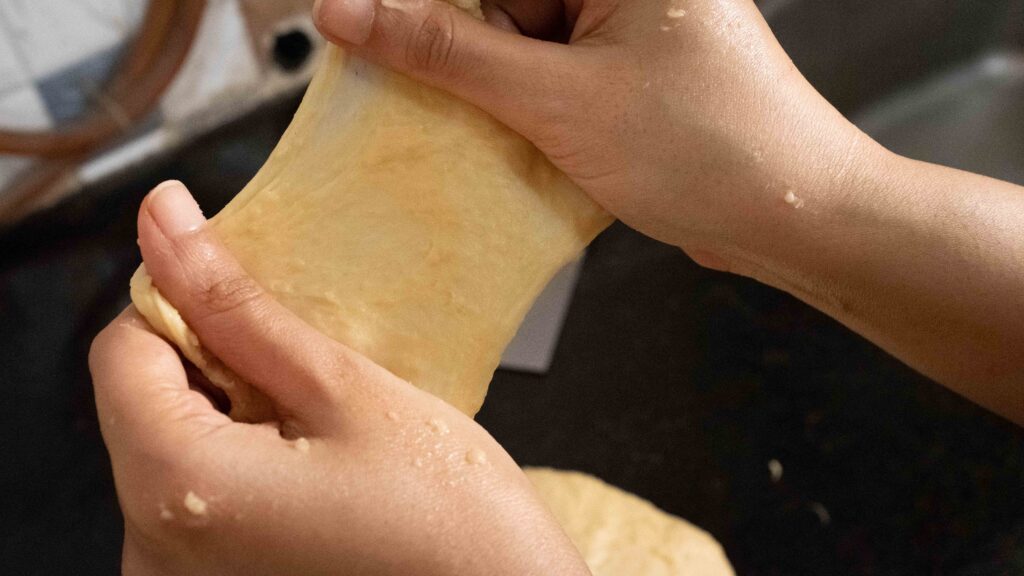
This is a brioche-style bread, which means it’s an enriched dough (containing a high amount of fat from eggs and butter). Such breads possess an intricate honeycomb crumb pattern that results in a very soft, fluffy texture. This is achieved when room temperature butter is kneaded into the dough *after* all the other ingredients have been incorporated. Kneading a brioche-style dough by hand is not for the fainthearted. It takes patience, time, and a fair bit of muscle. When you add the butter to your hydrated dough and begin the fraisage process, you will wonder if I tricked you! How could that greasy, sticky mess ever come together as a smooth, elastic ball of dough?! You will question all your life choices and doubt yourself (as I did) but I promise you, if you keep at it, your dough will get there. Having said that, if you have a stand mixer, please use it to significantly cut down on time and effort. The instructions will be different from my recipe, so please look up how to make enriched doughs with a stand mixer.
Stage 2: making the filling
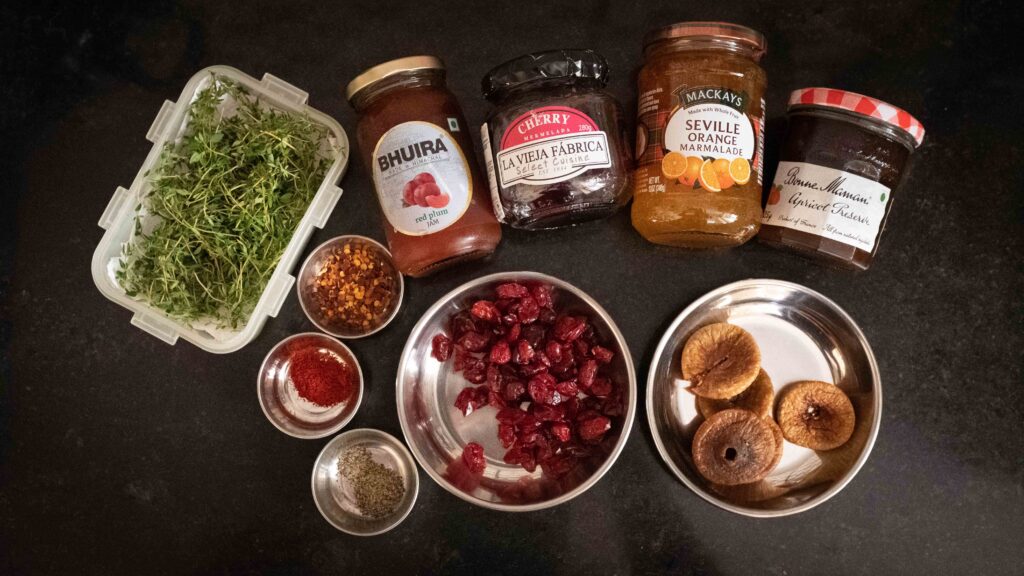
Ingredients
1. 80 gm dried cranberries
2. 30 gm dried figs
3. 100 ml water
4. 80 gm orange marmalade
5. 80 gm plum jam
6. 40 gm cherry jam
7. 40 gm apricot preserve
8. ½ tsp red chilli flakes (add less or more to your taste)
9. ½ tsp Kashmiri red chili powder or any red chilli powder you like
10. ¼ tsp ground black pepper
11. 1 tsp fresh thyme leaves (or ½ tsp dried thyme)
Method
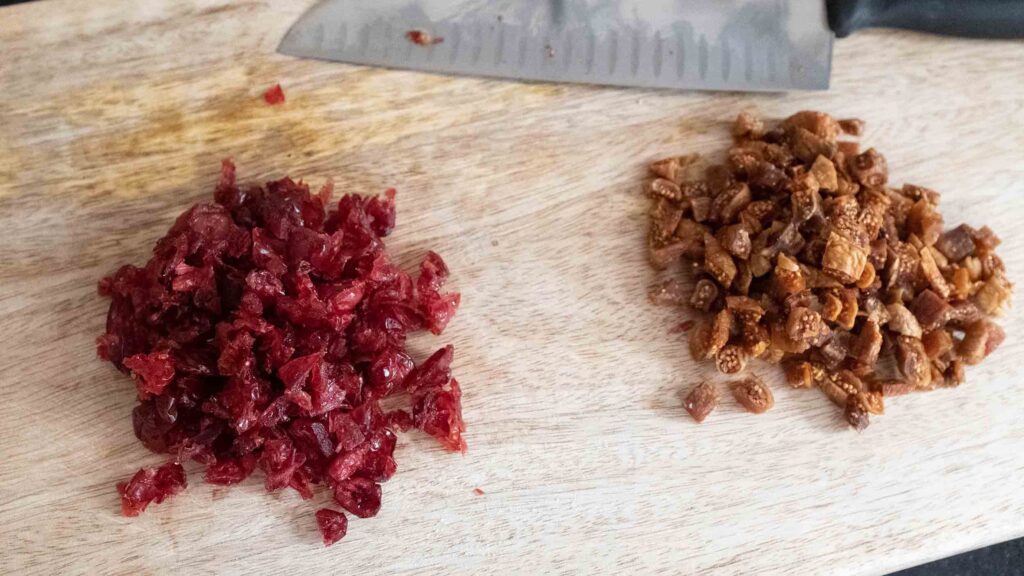
1 – Roughly chop your dried cranberries and dried figs.
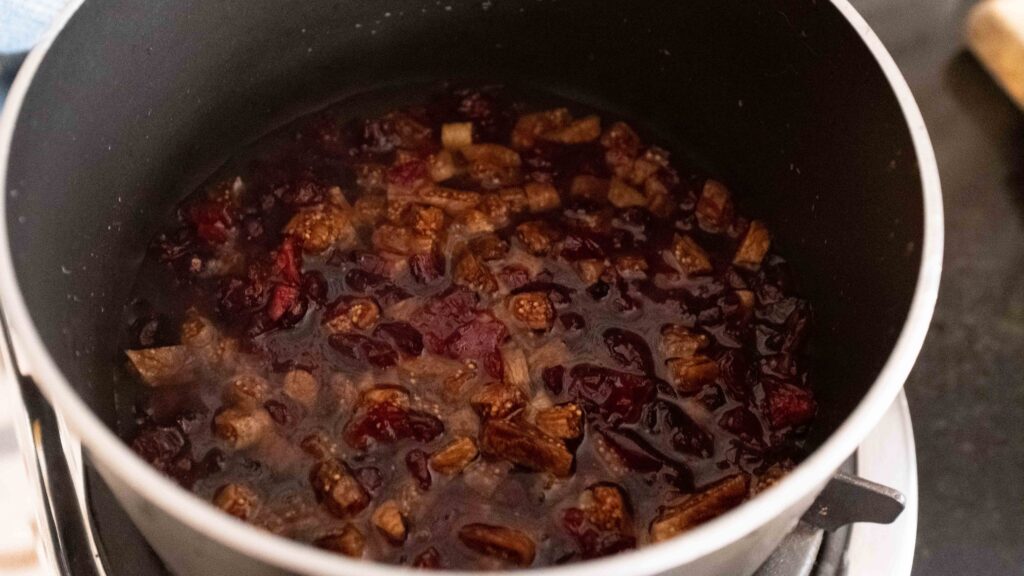
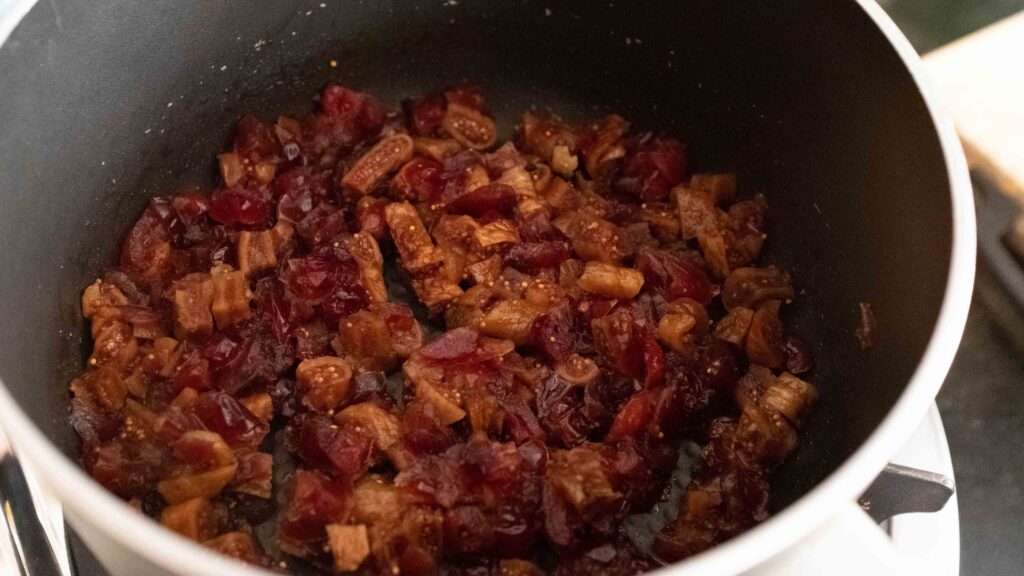
2 – To a small saucepan, add the chopped cranberries and figs, and 100 ml water. Bring to a simmer over medium heat and cook until all the water has been absorbed and the dried fruits have softened. Leave to cool.
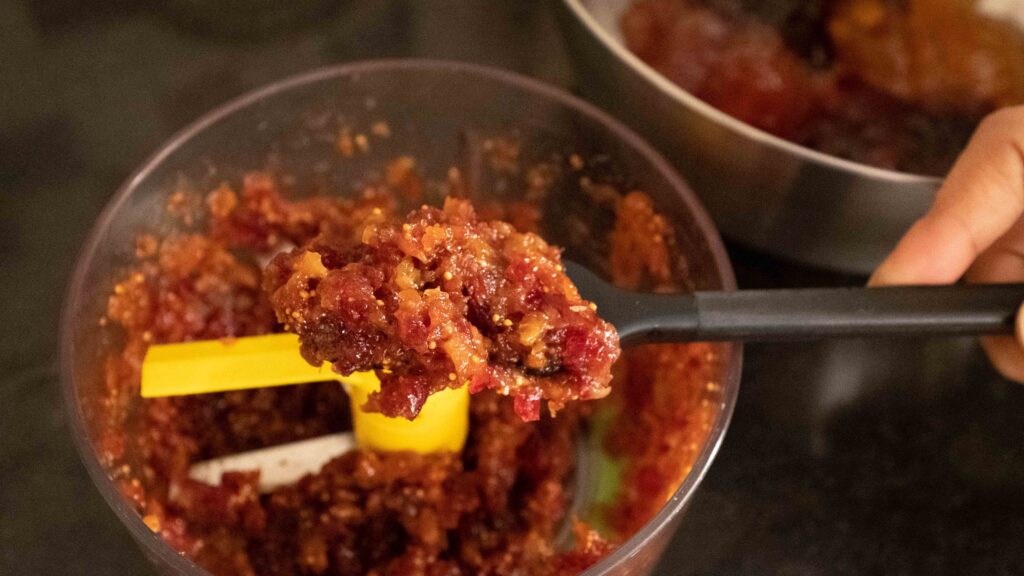
3 – Add the cooled mixture to a food processor and blitz until you have a coarse paste.
4 – Transfer the paste back to the saucepan. Now add in the orange marmalade, plum jam, cherry jam, apricot preserve, red chilli flakes and red chilli powder. Mix to combine.
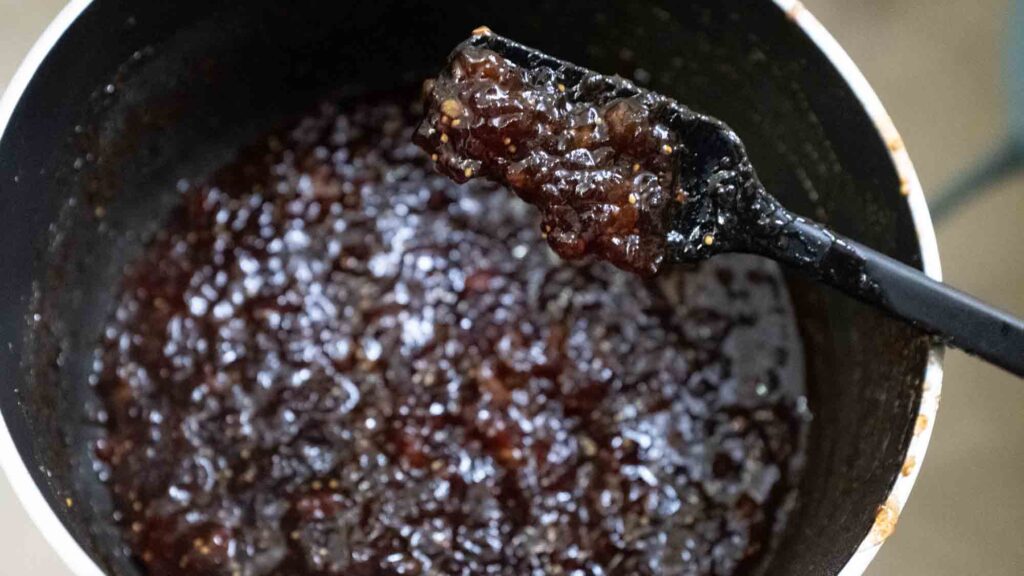
5 – Bring the mixture to a bubble over medium heat. Cook for 12-15 minutes, stirring frequently. The goal is to evaporate the extra moisture so that you have a very thick, sticky, spreadable mixture that doesn’t drip off the spoon. This is an absolutely essential step for two reasons. First, if your filling is too liquidy, it won’t stick to the dough properly. As you go to shape your babka, the slippery filling will slide around on the dough, causing your layers to open up. Secondly, if the filling is too wet, it will leak into the dough while baking, resulting in a dense crumb.
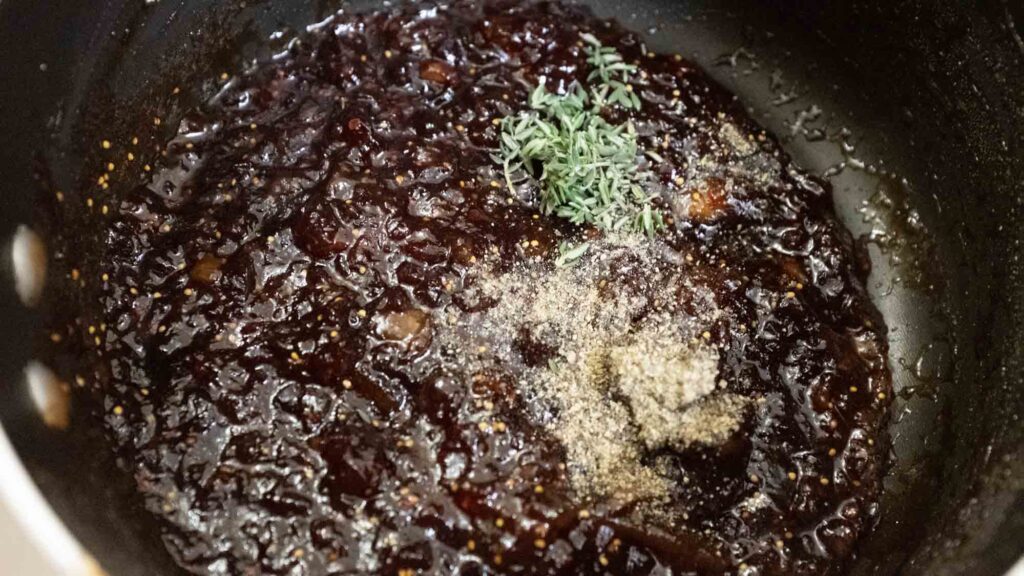
6 – Take the mixture off the heat and stir in the ground black pepper and fresh thyme leaves. This is your filling. Cool to room temperature and then store in an airtight container until ready to use.

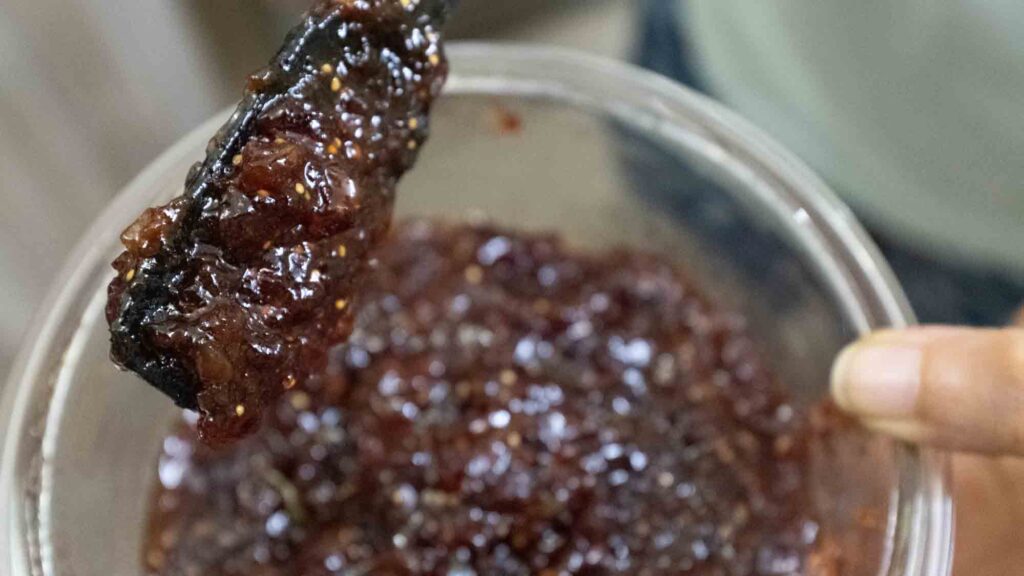
This spread is a mishmash of classic Christmas/winter/holiday flavours and textures and was made with whatever I had available in my pantry. If you don’t like a particular flavour, go ahead and make adjustments. Feel free to use just 1 type of readymade jam, make your own jam with fresh or frozen fruit, or make a fruit puree with your favourite dried fruits. If you want an orange-forward flavour, add freshly grated orange zest. If you don’t like figs, substitute them with raisins or any other dried fruit. You could even forgo the winter flavours and use strawberry (or any berry) jam. As long as you have about 350 gm of a mixture that is sweet, thick, sticky, and spreadable, it will work. Don’t omit the spices and herbs though—they add complex, savoury notes to fruit and give fruity desserts a lot of personality.
Stage 3: shaping & baking
Because you need to roll out the dough to fairly large dimensions, you need a lot of bench room to successfully shape this bread. If you have limited counter space or only a small table to work on, you will struggle. For starters, find a large table/counter that’s open on at least 3 sides. This will let you move around as needed, without over-handling the dough. Additionally, because this is a soft dough that sticks to every surface and doesn’t like to be picked up, it is essential to use baking parchment throughout this stage. You will roll the dough on the parchment and shape the wreath on the same parchment. When you’re done, you will lift up the parchment with the wreath on it and place it in your baking pan. Cut out a large sheet of parchment, at least 26 inches long and 14 inches wide. Secure the parchment directly to your table to prevent it from sliding around the table. Electrical tape or medical tape (leucoplast) works well.
Components
1. Chilled dough
2. Prepared filling
3. Bread flour for dusting
for the glaze:
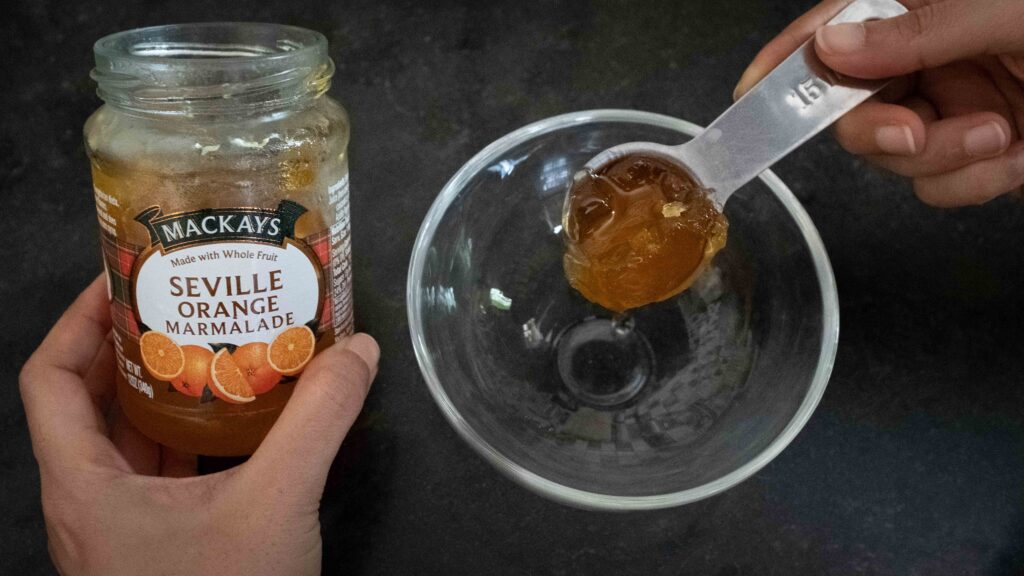
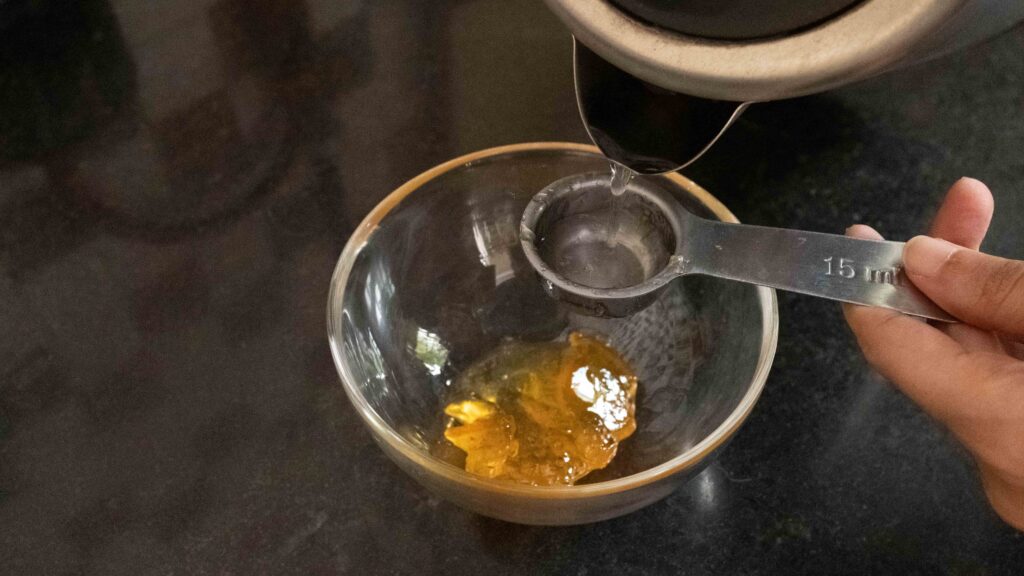
1. 1 tbsp. jam (we used orange marmalade)
2. 1 tbsp. hot water
for sprinkling:
1. ¼ tsp coarse sea salt for sprinkling
2. 1 tsp fresh thyme for sprinkling
Method
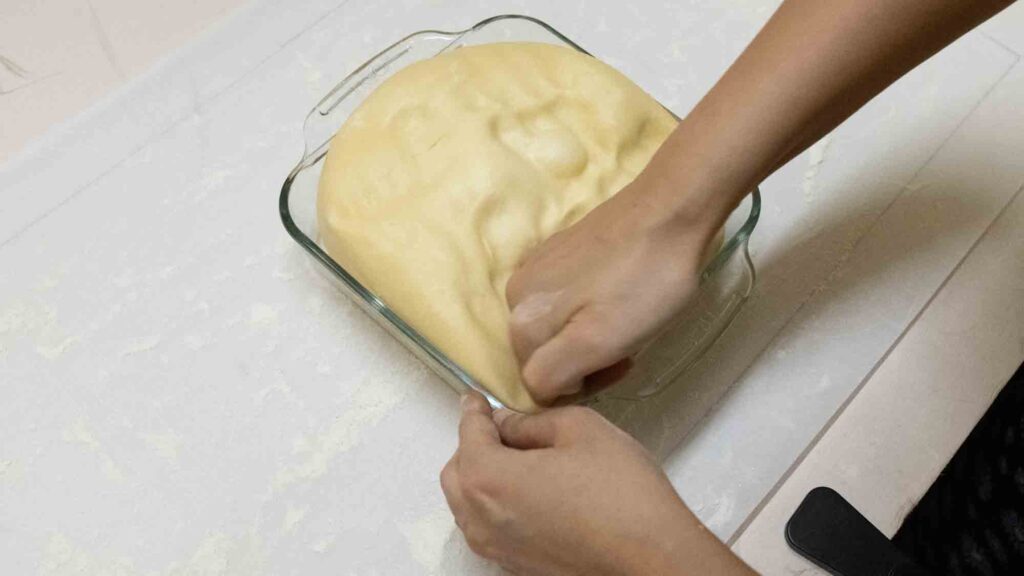
1 – After the dough has proofed in the fridge for 12-24 hours, it’s ready to be rolled out into a rectangle. I like to transfer it to a rectangular/square dish to get it into the right shape. This process also punches out the air pockets.
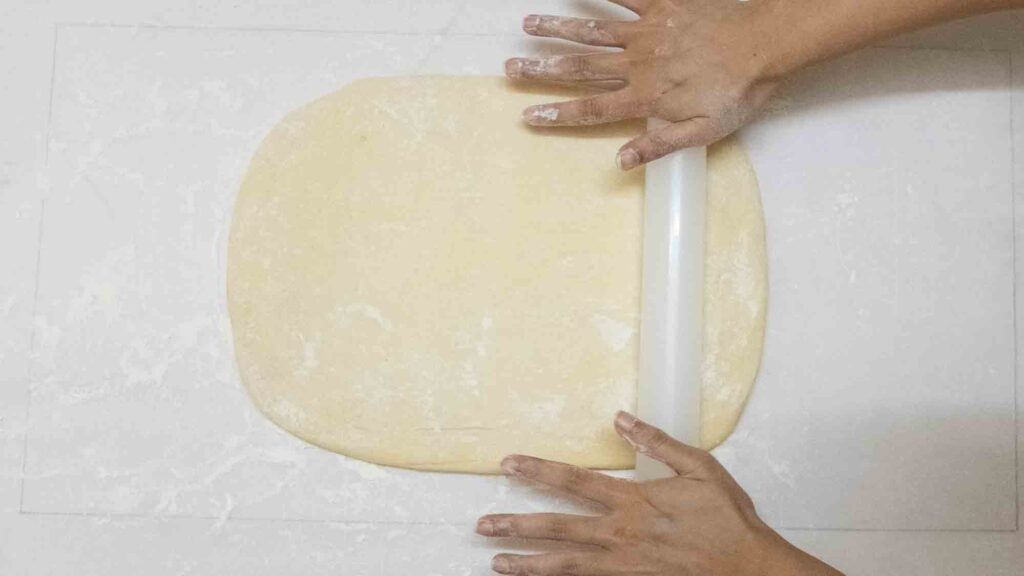
2 – Dust your parchment sheet lightly with bread flour and place your dough on it. If it’s too stiff to roll out, let it sit at room temperature until it’s ready. My dough was at the perfect consistency for rolling.
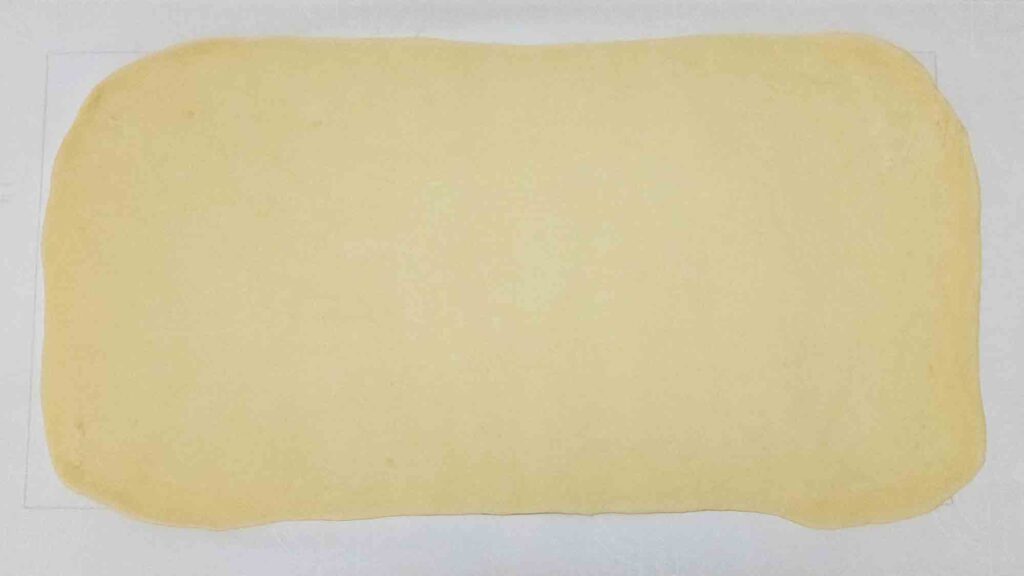
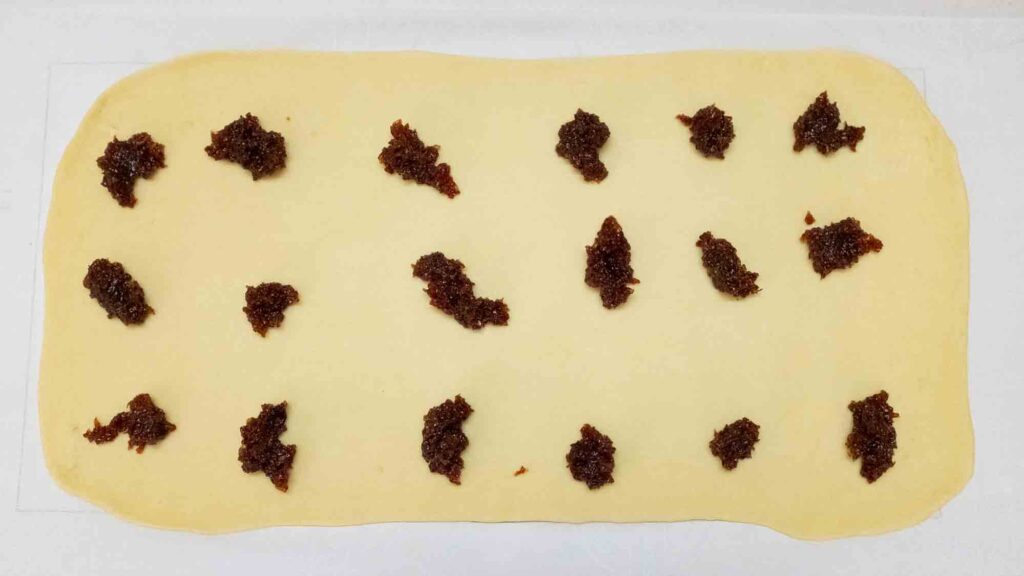
3 – Using a lightly floured rolling pin, roll the dough into a flattened rectangle, 24 inches long, 12 inches wide. Make sure that the rectangle is evenly thick throughout. If it’s too thick in the middle and thinner at the edges, take the time to even it out.
4 – Place dollops of filling all over the dough. This makes it easier to distribute and spread the very sticky filling.
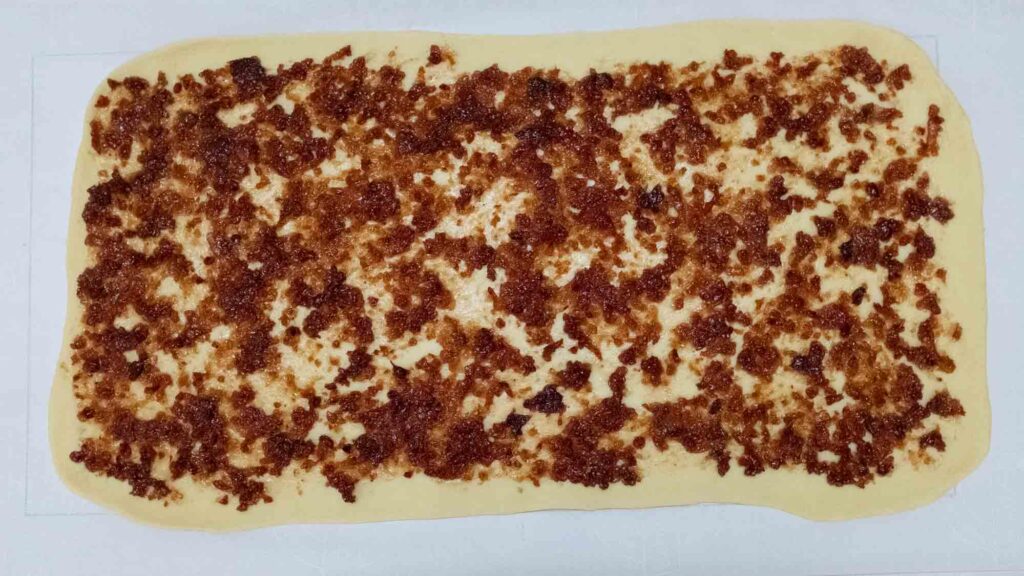
5 – Leaving ½ inch strip empty on all sides, slather the fruit spread on the dough in a thin, even layer.
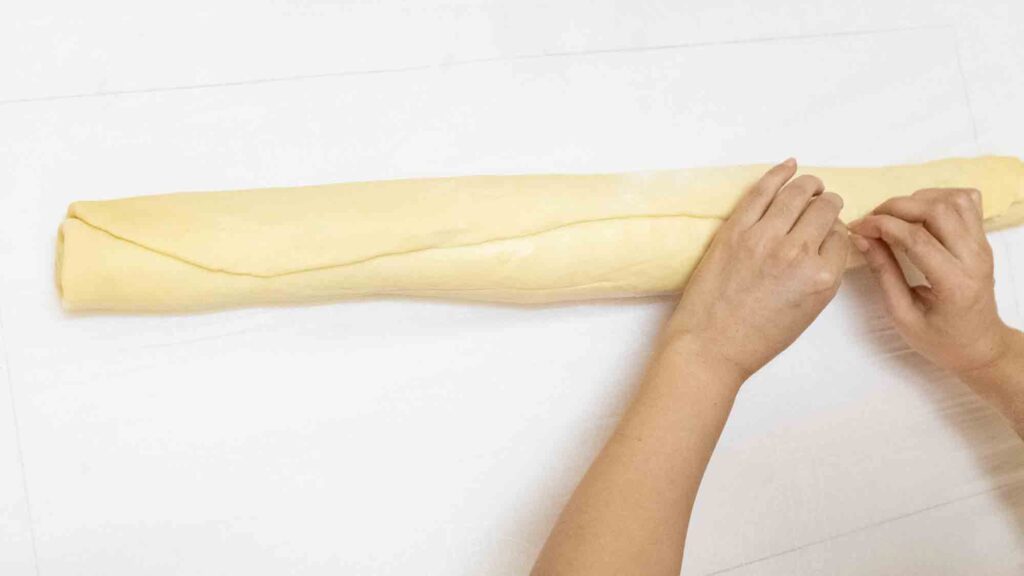
6 – Starting from the long side that’s closer to you, roll the dough into a tight log. Do not pull or stretch the dough as you’re rolling upwards.
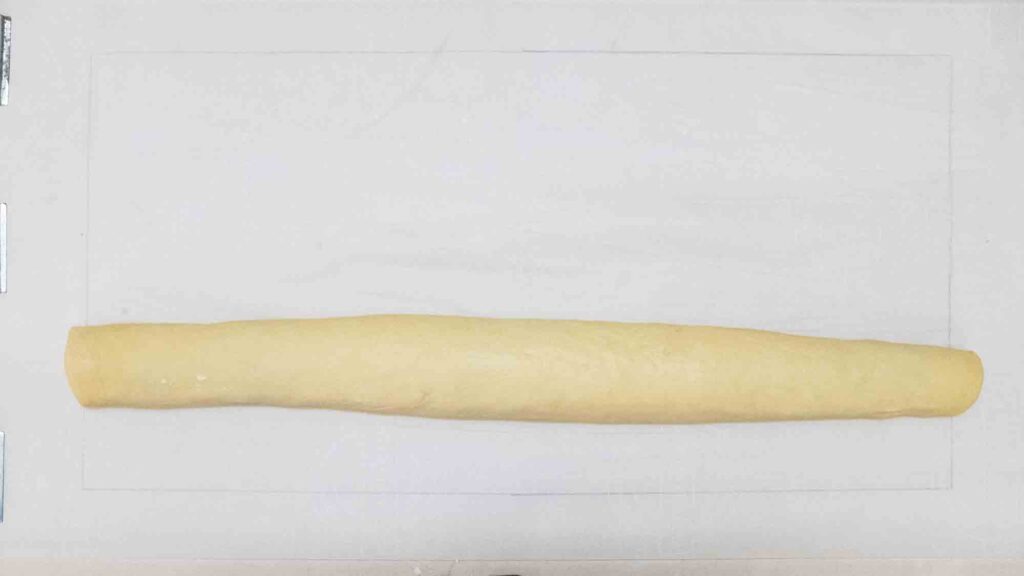
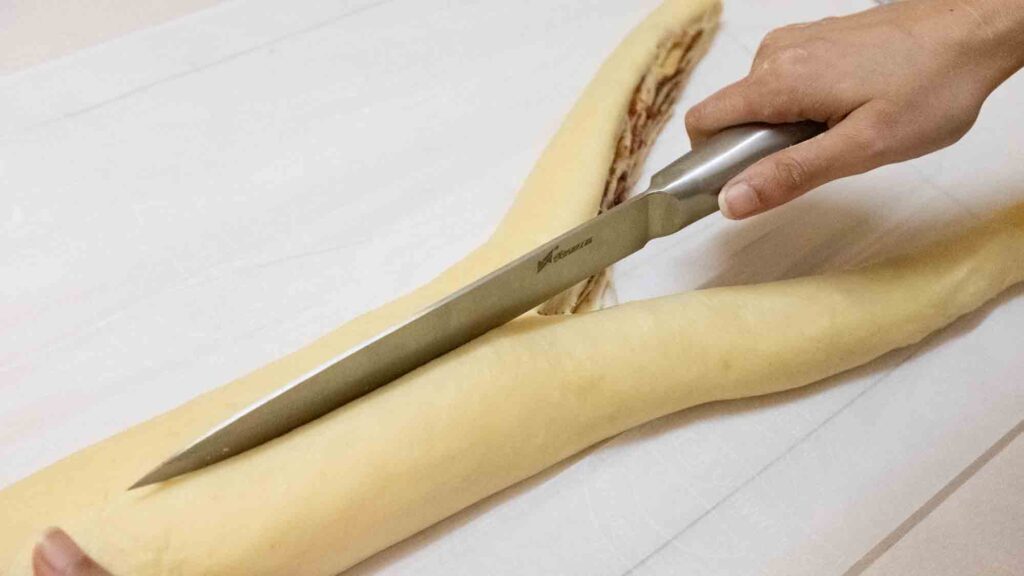
7 – Pinch the seam shut and then turn the log over so that it’s resting on the seam.
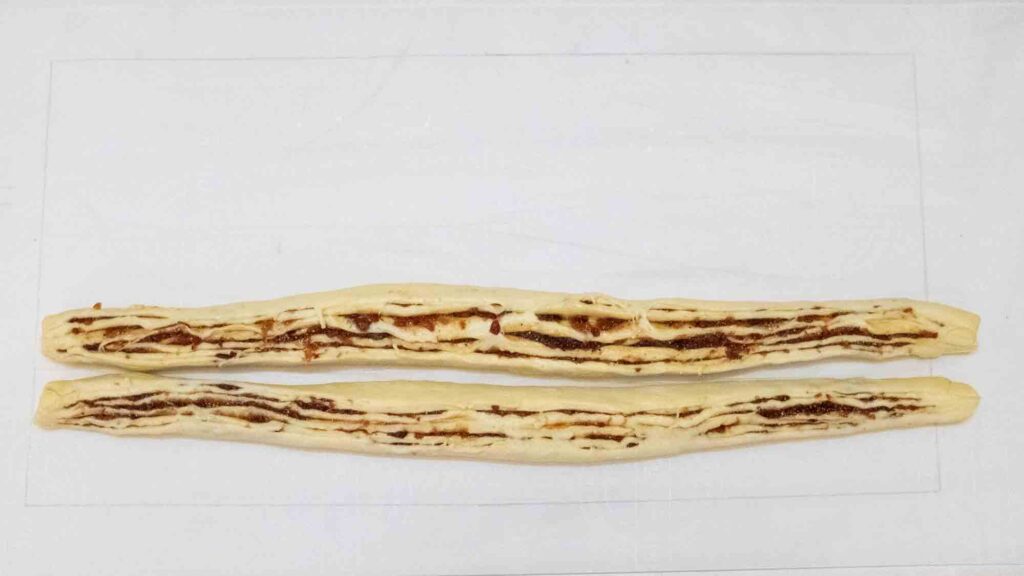
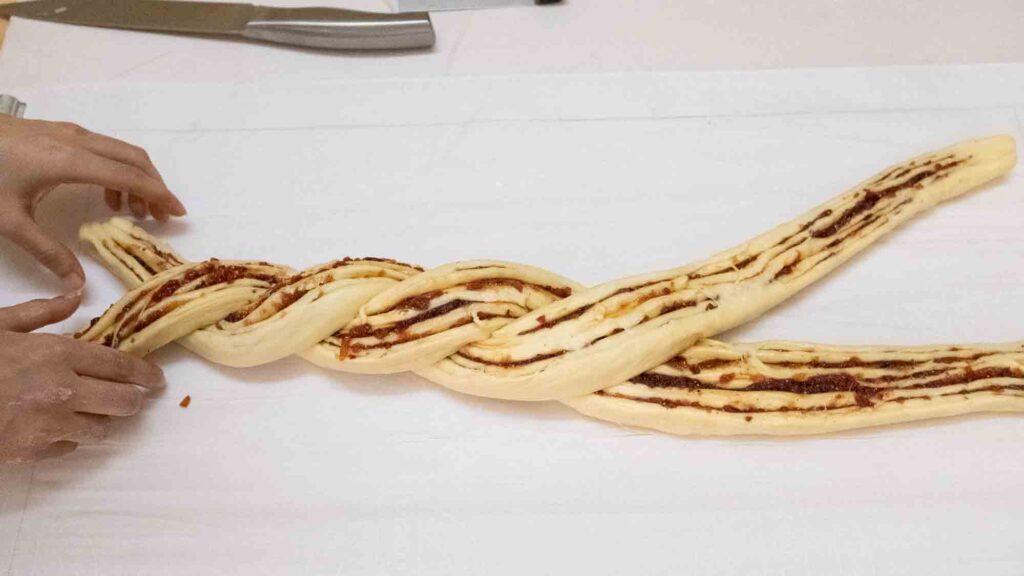
8 – Using a very sharp knife or a metal bench scraper, cut the log in half lengthwise so that you have two 24-inch long strips. Let the strips lie parallel to each other with the exposed, cut-side facing upwards.
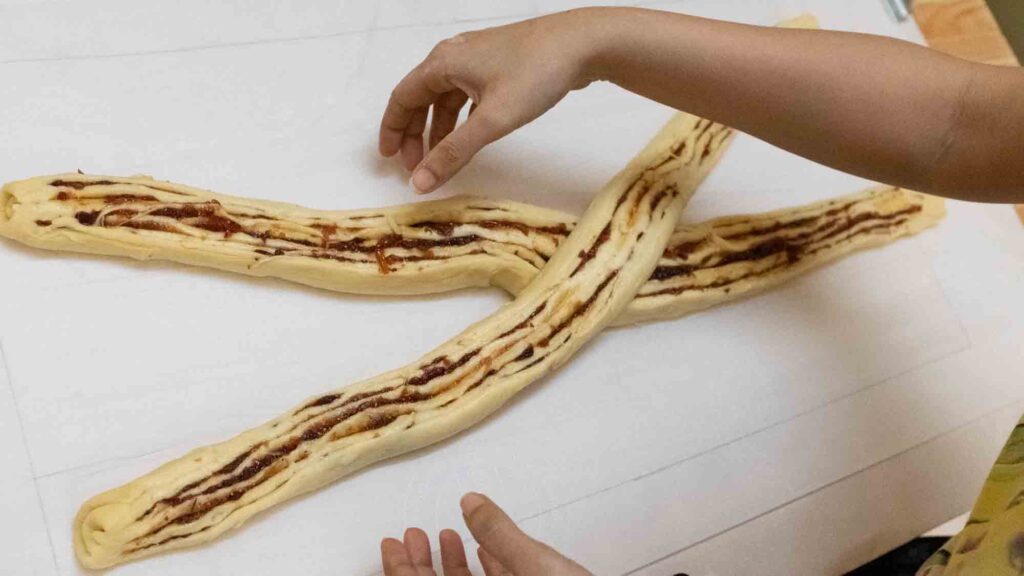
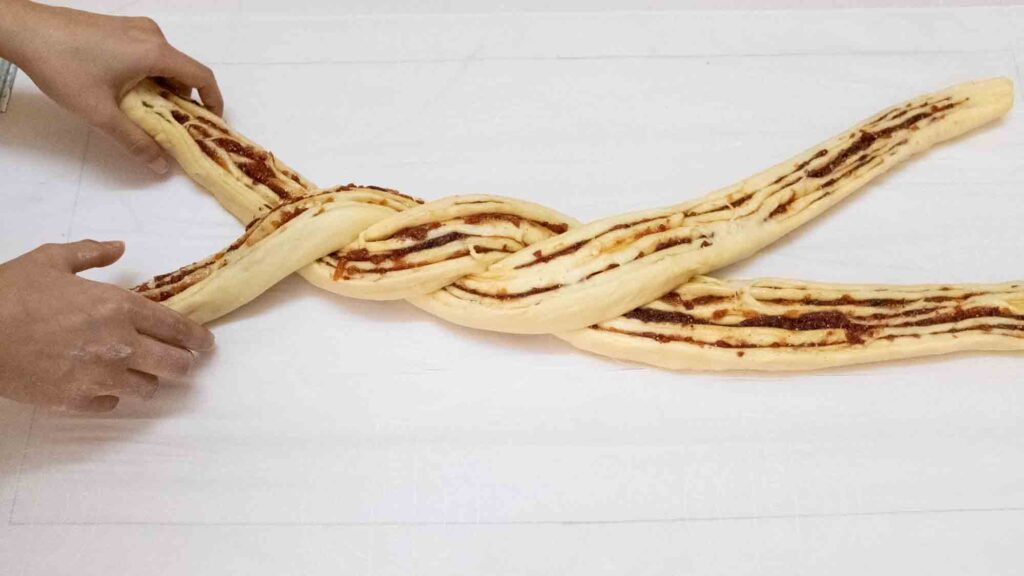
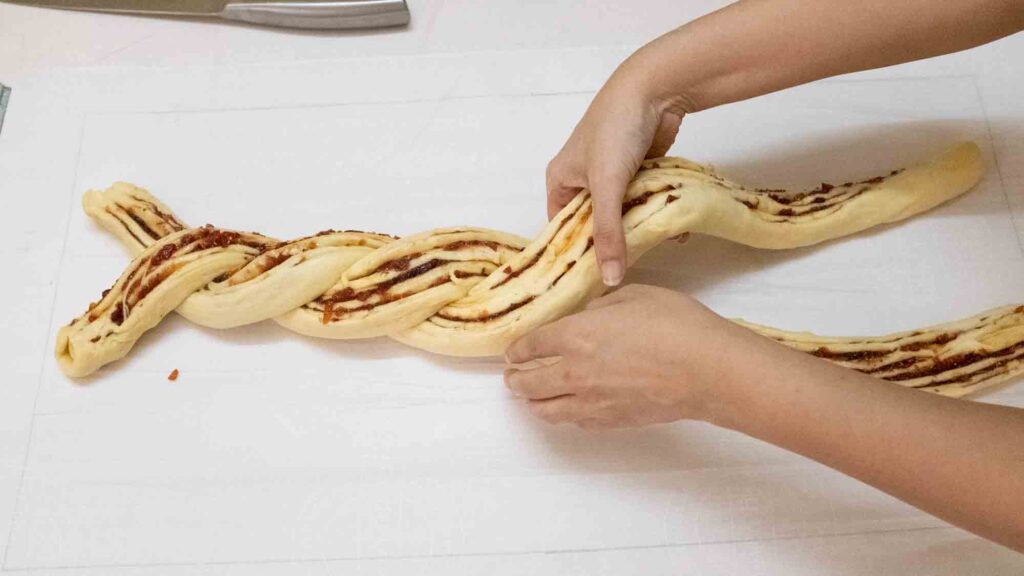
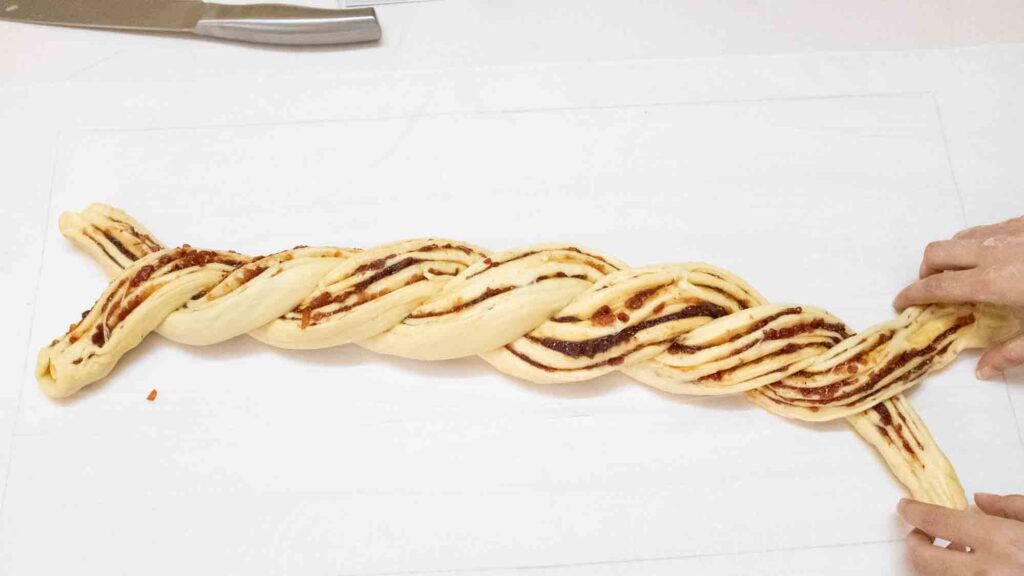
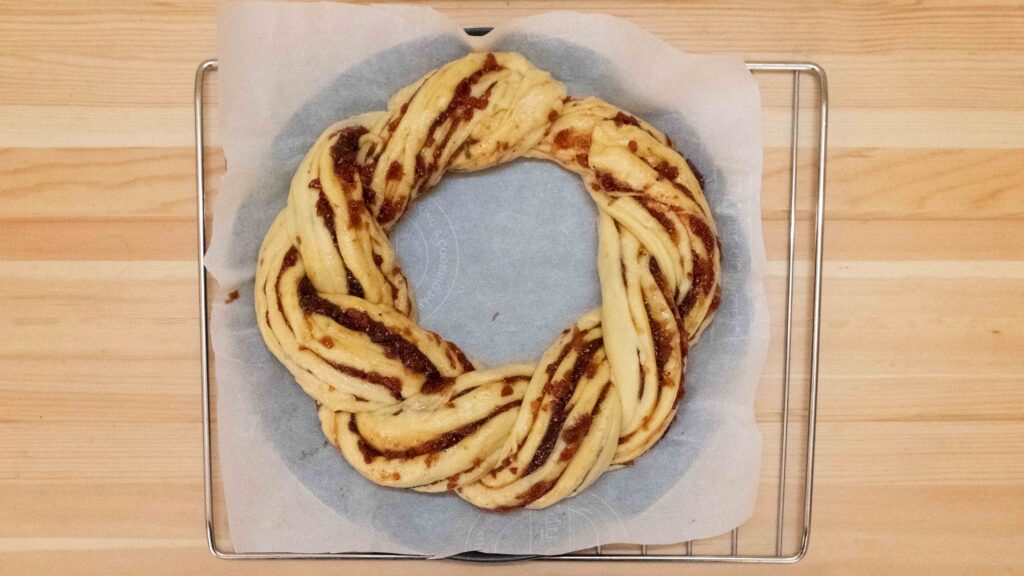
9 – Lift one strip and cross it over the other strip at the midpoint (like an X). Making sure that the cut-side is facing upwards, first twist the bottom strips to form a braid, and then twist the top strips to complete the braid. Try to keep the braids tight, but don’t stretch or pull at them.
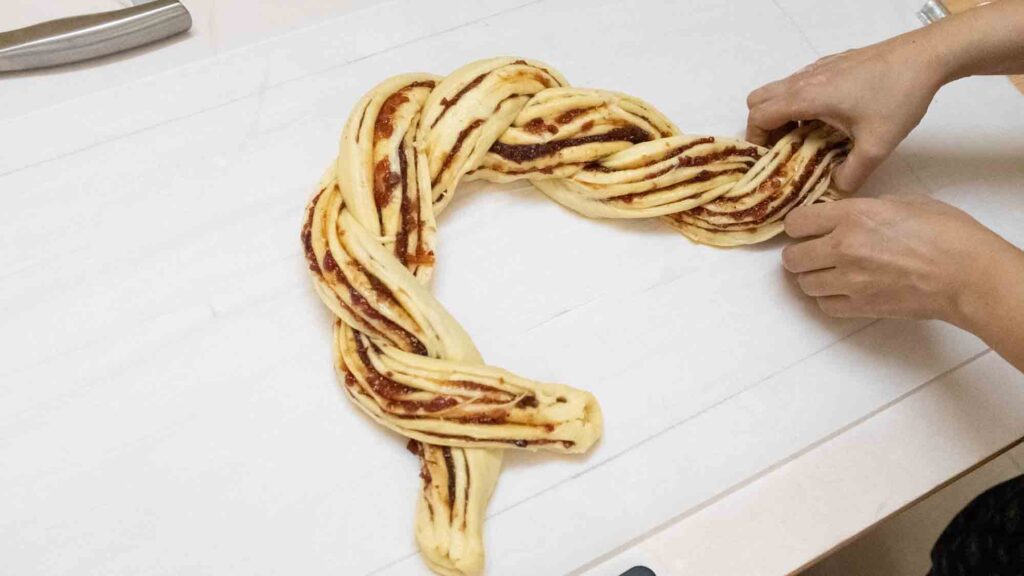
10 – Finally, curl the two ends into a circle and overlap the ends to make a wreath.
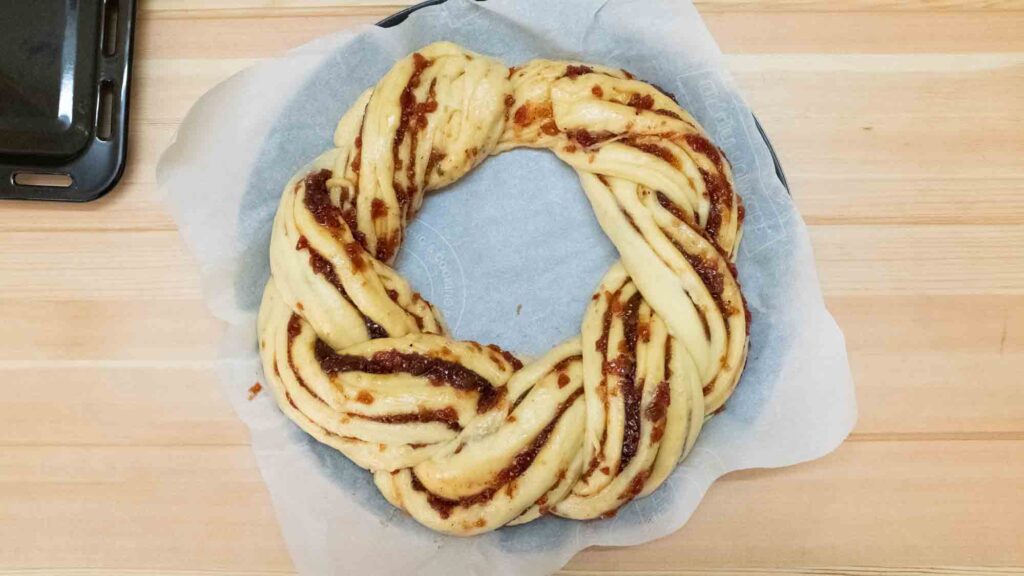
11 – Release your parchment from the tape/clips. Holding the parchment paper, transfer the wreath to a baking tray or pizza pan. Cut the parchment to size to fit your bakeware as needed.
12 – Cover the wreath with some greased plastic wrap and let it rise for 45-120 minutes or until it is puffy and has almost doubled in size. I know this is a huge range, but rise-time is temperature dependent. In hot climates, it usually takes 45-60 mins. In cold climates it can take anywhere from 60-120 minutes. Once it’s visibly puffy, lightly press on the dough. If it slowly springs back, its ready. Mine took around 70 minutes.
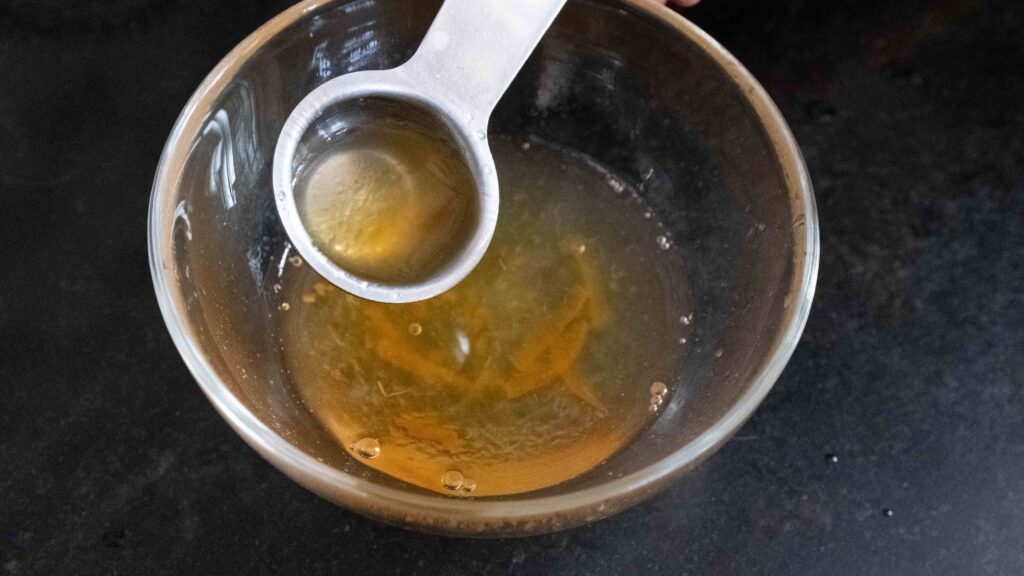
13 – When your wreath has almost doubled in size, start pre-heating your oven to 180OC. This is also a good time to make your glaze by combining the jam with the hot water.
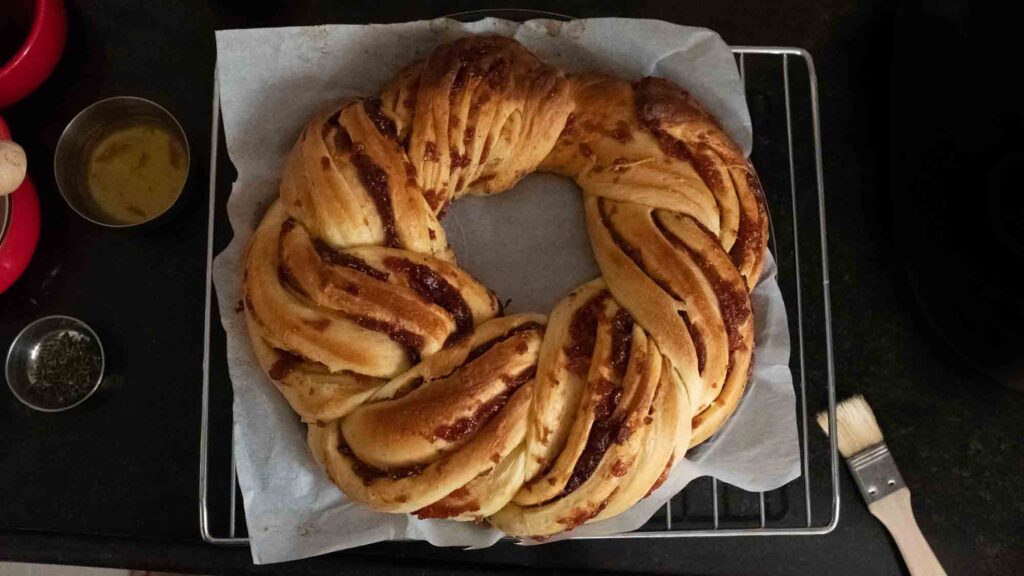
14 – Bake the wreath in the lower middle rack of the oven at 180OC for 40 minutes or until the outside is golden brown. I like to place an empty baking tray on the lowest rack of my oven to stop the wreath from over-browning at the bottom. Check the wreath at 35 minutes. If the top is looking very brown, cover the wreath with a large piece of aluminium foil and continue to bake. To check for doneness, insert a skewer into the thickest part of the wreath. If it’s fully baked, the skewer should come out clean.
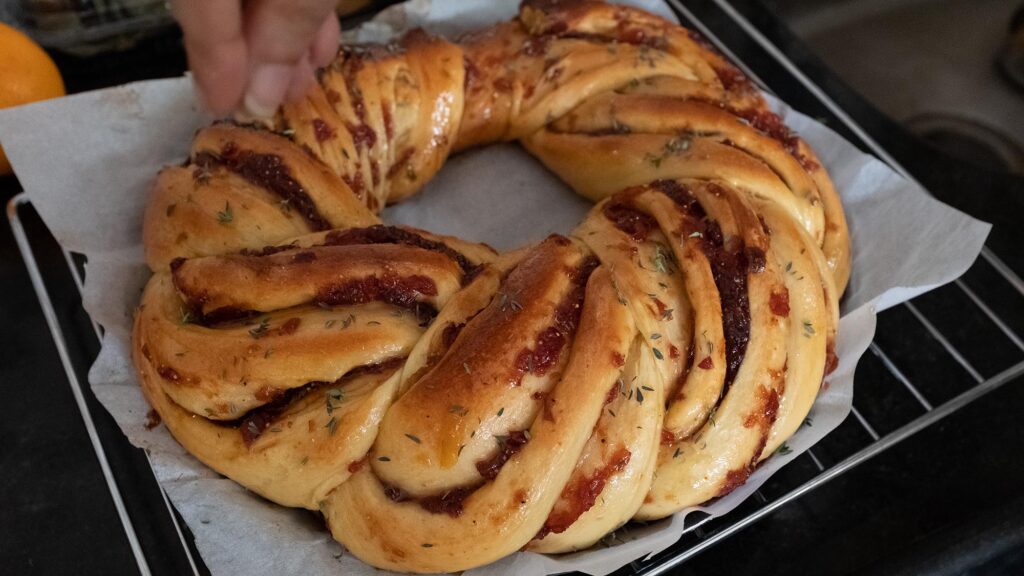
15 – Remove the baked wreath from the oven and immediately brush the hot surface with the glaze. You will hear some sizzling!
16 – Sprinkle the wreath with ¼ teaspoon sea salt and 1 teaspoon fresh thyme leaves. I also adorned my wreath with some whole pink peppercorns and sprigs of thyme. Allow the wreath to cool on the baking tray until just warm or at room temperature. While it’s cooling, make your bacony baked brie.


Like cinnamon rolls, babka is best eaten an hour or so after baking. This Holiday Babka Wreath will stay fresh for 24 hours in an airtight container at room temperature. Do not place leftovers in the fridge. Instead, freeze individual slices for up to 2 months. To thaw, leave at room temperature for 2 hours, or overnight in the fridge. If desired, lightly warm slices in a pan before eating.
Stage 4: bacony baked brie
Ingredients
1. 2 x 250 gm wheels of Brie like this or 500 gm equivalent
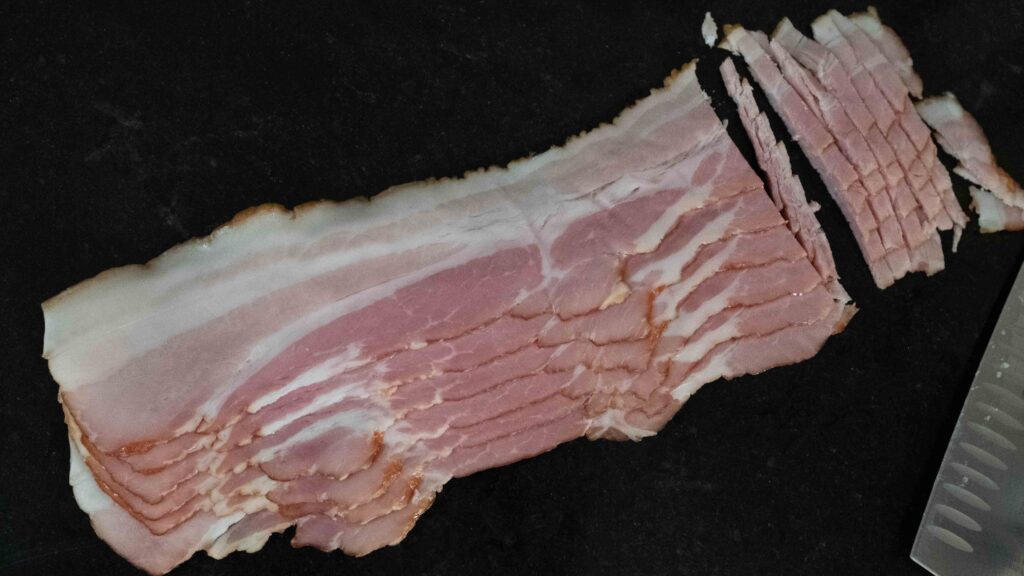
2. 150 gm streaky bacon rashers
Because this is such a large wreath, you will need 500 gm brie to serve along with it. That way, when you cut the wreath into slices, there will be a generous amount to spread on each serving. Like me, if you can only get 250 gm wheels of brie, evenly divide the ingredients between the two.
Prep
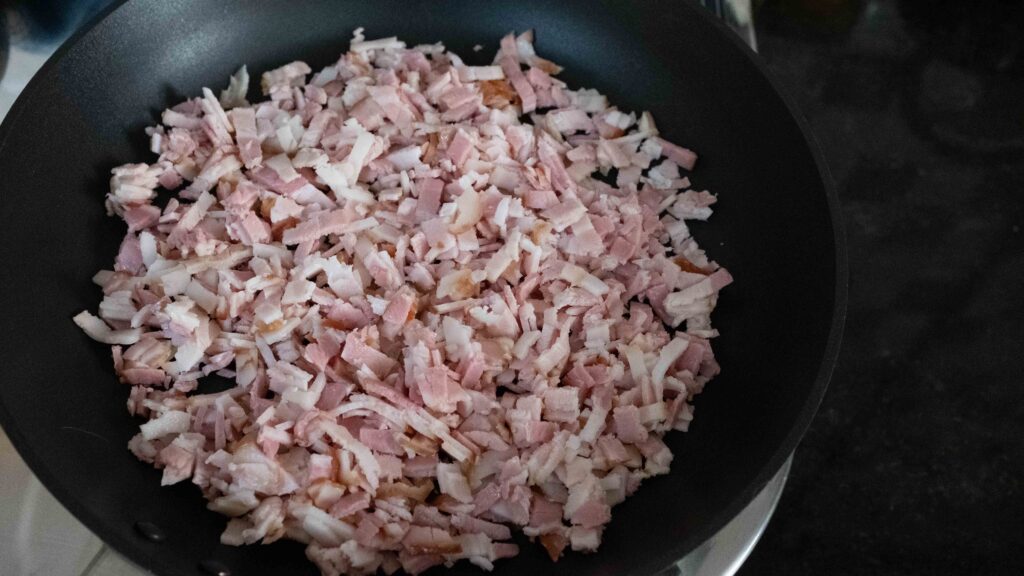
1 – Make bacon crumbs; Chop your bacon rashers into little chunks. Place them in a cold skillet and then begin heating it on low.
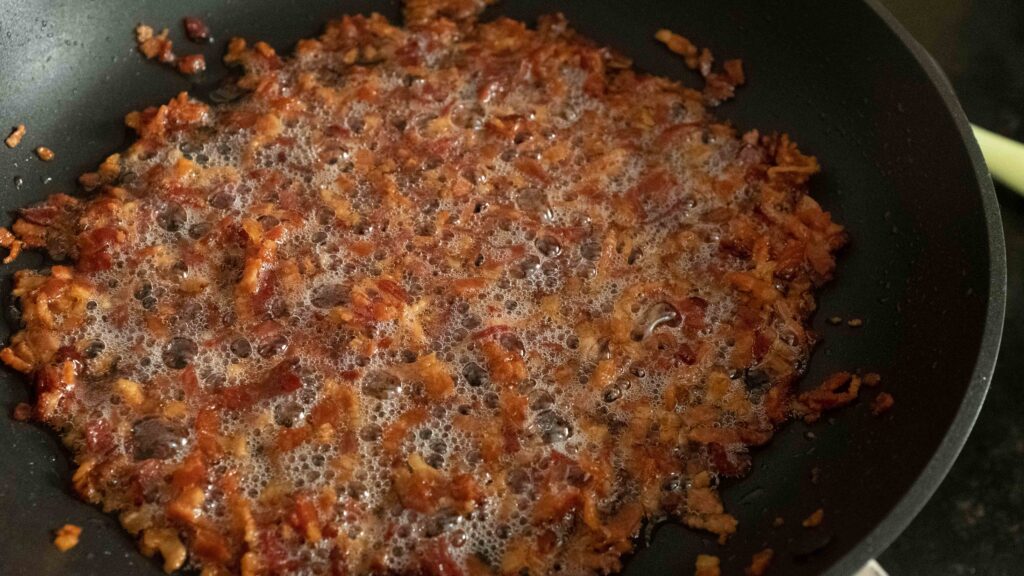
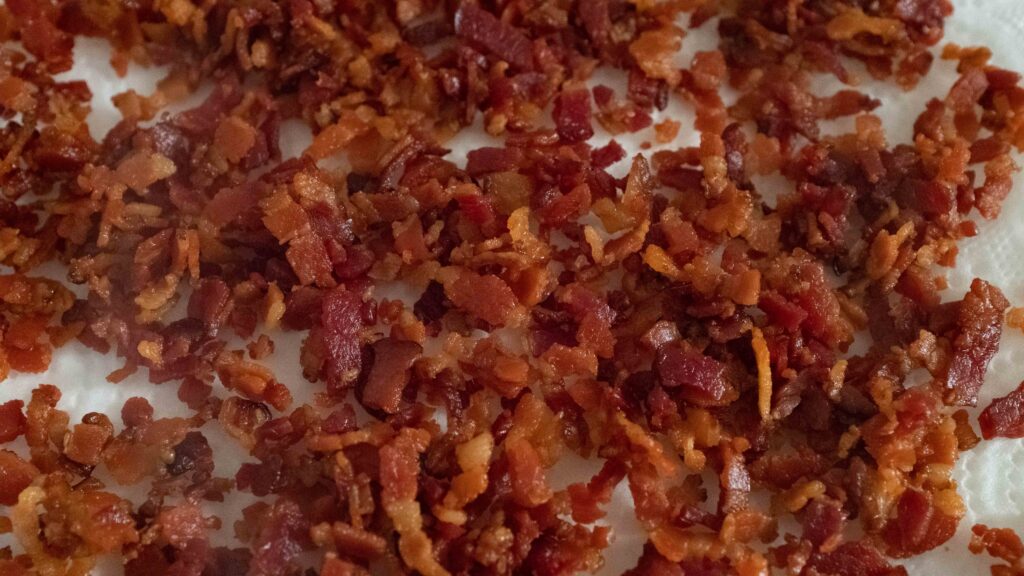
2 – Cook the bacon bits on low heat for 20-25 minutes until the fat completely renders and the meaty bits become crispy and brown.
3 – Using a slotted spoon, remove the crisped-up bacon and place it on paper towels to drain. Leave the bacon grease in the skillet. It will be used in the recipe.
Method
1 – Place a baking tray in the middle rack of your oven and begin preheating your oven to 180OC. 15 minutes should suffice.
2 – Remove any plastic or paper packaging and place the wheel of Brie into an individual baking pot, that is just a tiny bit bigger than the wheel itself. Don’t use a wide or flat container, else the cheese may flatten out while baking and you want it to hold its shape.
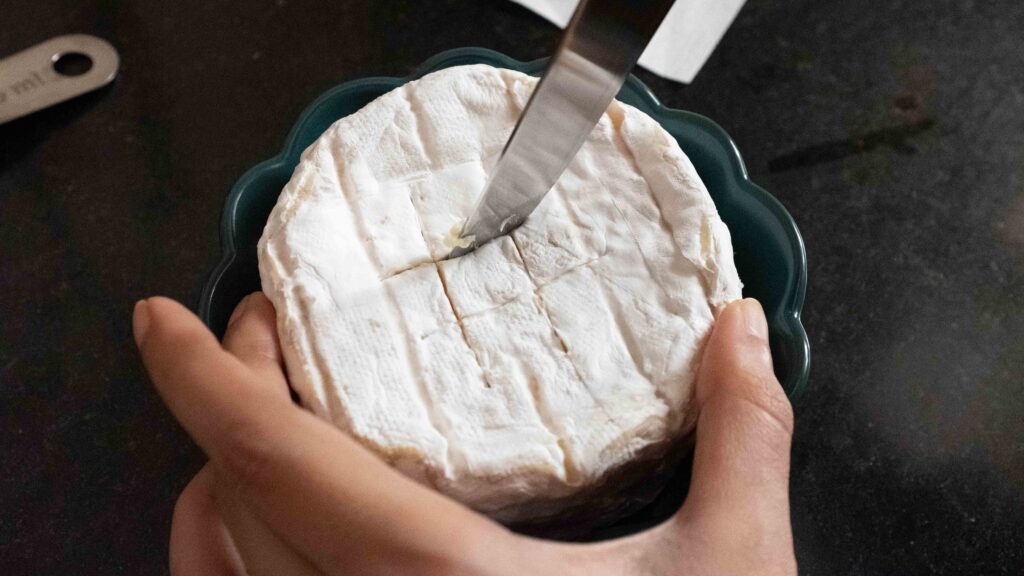
3 – Using a sharp knife, score a crosshatch pattern (think tic-tac-toe) on the top-side of the rind of cheese.
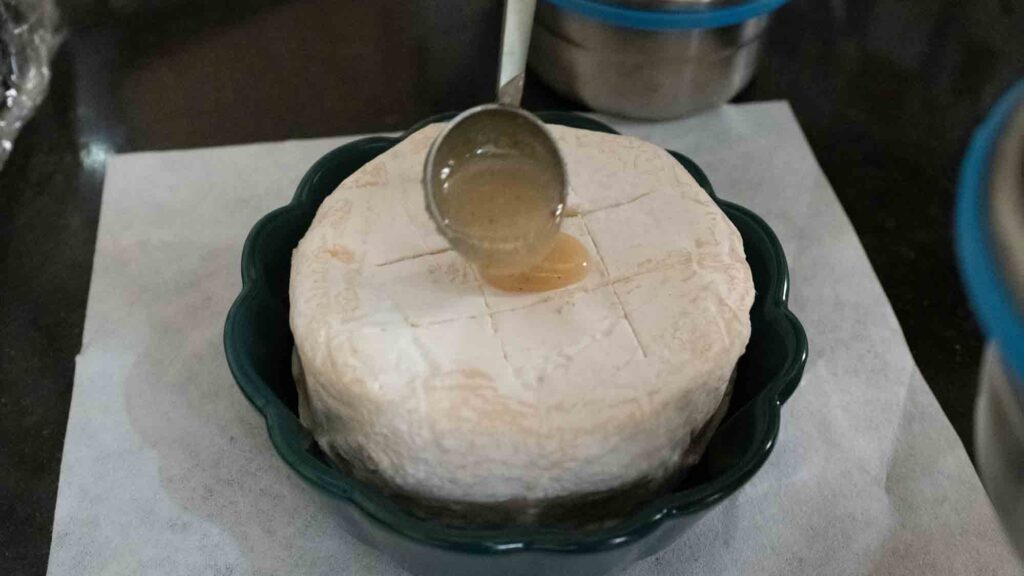
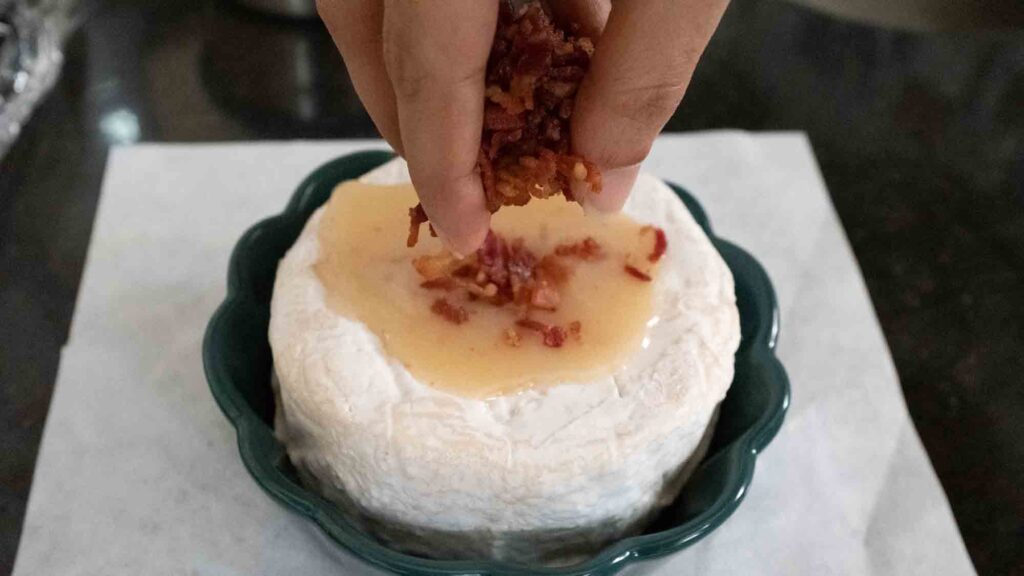
4 – Add two tablespoons of bacon grease on top the crosshatch pattern and then top with all the bacon crumbs. If using two 250 gm wheels, evenly divide the grease and crumbs.
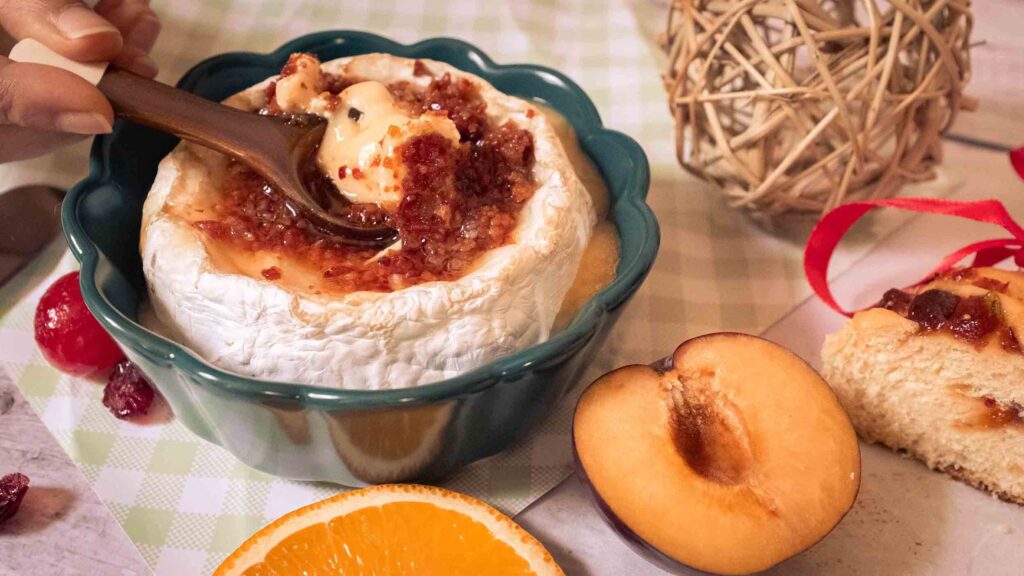
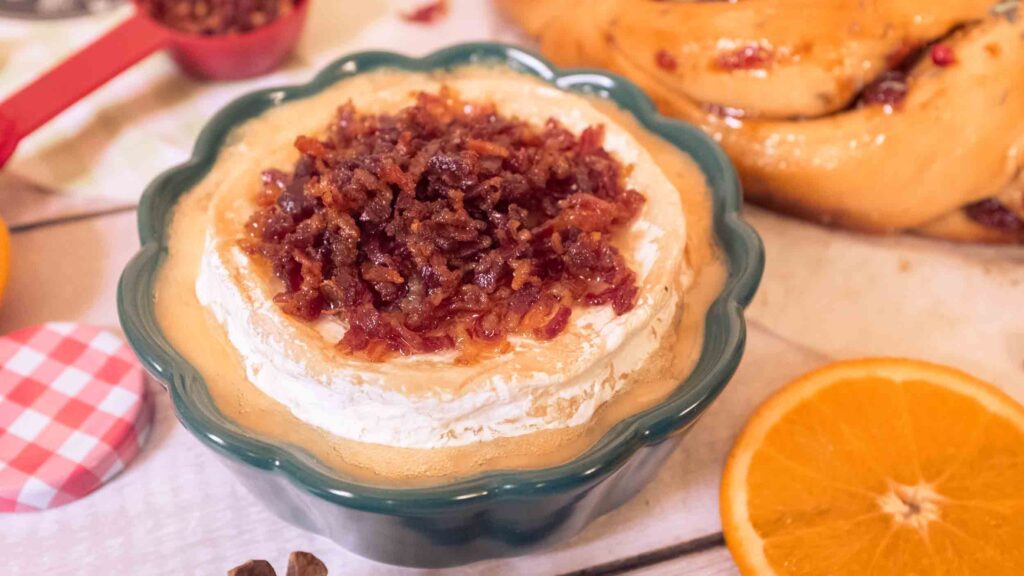
5 – Place the pot of Brie on the pre-heated tray inside the oven and bake for 20-22 minutes at 180OC. When it’s ready, the wheel of brie will puff up, feel soft under the rind, and jiggle like jelly when you jostle it. If baking two 250 gm wheels, bake for 12 minutes only.
6 – As soon it’s baked, take the pot out of the oven. It should be served right away while hot, molten, and oozy. Serve with your freshly baked Holiday Babka Wreath. Now eat!
Take care not to overbake your brie, as it goes from molten and creamy to hard and gritty, and there’s no returning from that. While we used our baked brie to slather onto slices of our babka wreath, it also pairs amazingly with so much more. Serve it hot with a variety of crudités, fruits, and breads.