


Makes 30 medium sized gyoza.
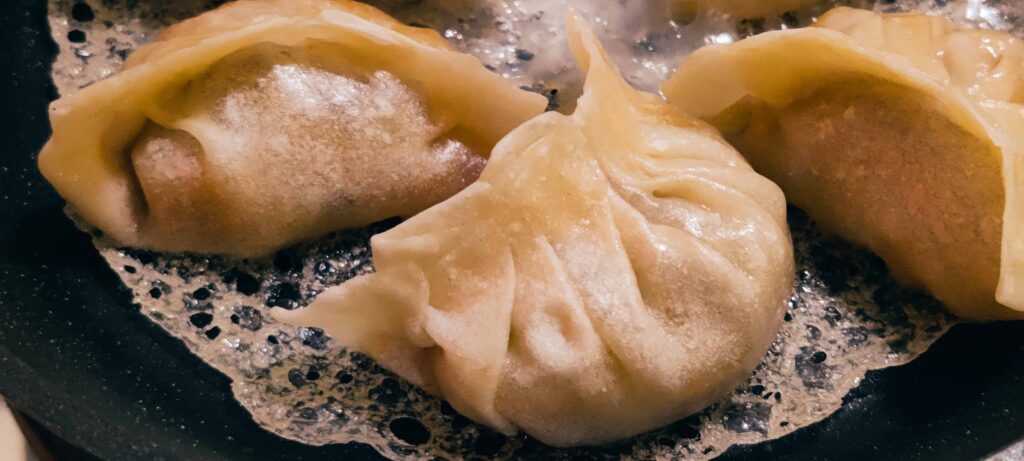
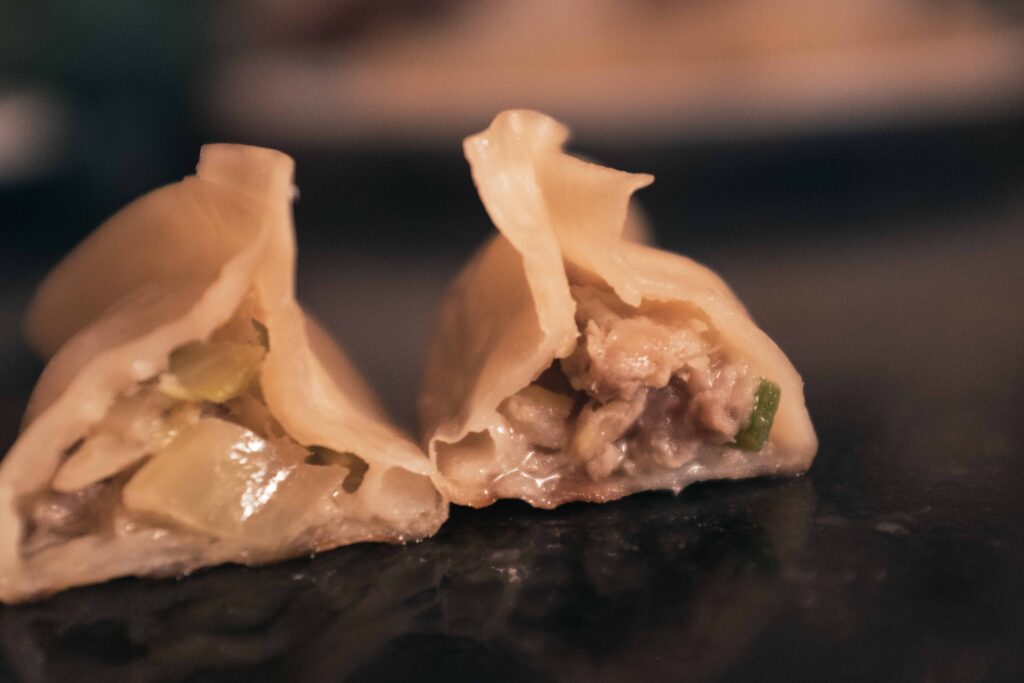
Translucent, melt-in-your-mouth wrappers envelope a juicy flavourful filling in this gyoza. They’re so light and tasty, that you’ll go through all 30 in under 15 minutes. But these aren’t just any gyoza. What elevates this dish to dumpling heaven is the attached crispy pancake, which adds a wonderful textural contrast to the pillowy silkiness of the gyoza. Very traditional in both technique and the selection of ingredients, this recipe stays true to its delicate Japanese leanings. As a bonus, there’s something extra at the end!
At a glance
– This recipe comprises dipping sauce + gyoza wrappers + gyoza filling + crispy pancake + bonus recipe for Easy Saucy Noodles.
– You will need an 8 inch wide, non-stick frying pan with a lid. Multiple pans are useful if you want to make all 30 gyoza at once.
– This recipe has been broken into 5 stages for ease and comprehension. Please read the entire recipe from start to finish before beginning.
Stage 1: Dipping sauce
Ingredients
1. 4 tbsp. soy sauce
2. 1 tbsp. rice vinegar
3. Very finely diced Gari or pickled sushi ginger. See how to make it here.
Method
Make the dipping sauce by mixing everything together. Store it in the fridge in a sterilised airtight container, ready for serving whenever you like. Make a big batch in advance and keep it handy. This stuff can be stowed safely in the fridge for a whole year. Take out however much you need, half an hour before serving the gyoza.
Stage 2: gyoza wrappers
Ingredients
1. 210 gm plain all purpose flour plus extra for dusting
2. 120 ml just boiled water, cooled for a couple of minutes
Method
1 – Put the flour in a large bowl and make a well in the centre. Pour in the hot water, stirring it into the flour with a wooden spoon.
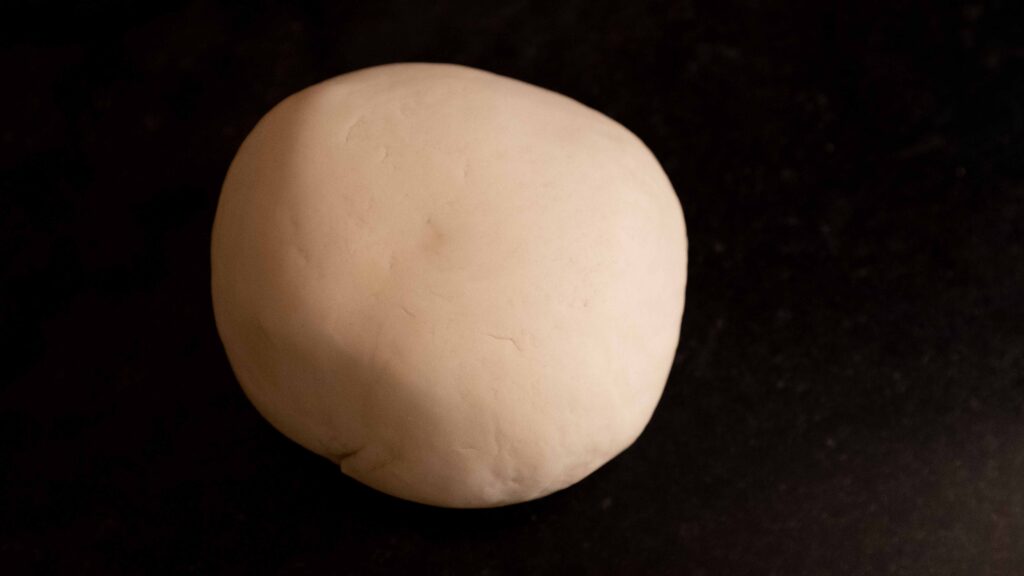
2 – When the mixture starts to come together (and is cool enough for you to use your bare hands) knead the dough until it forms a clean, smooth ball.
3 – Lightly dust your work surface with some flour. Transfer the ball of dough onto it and knead the dough for a good 5 minutes. At this point, the dough should be firm to the touch and slowly bounce back when you make an indent with your finger.
4 – Put the dough in a roomy resealable plastic bag and seal it. Let the dough steam in the bag for 15 minutes.
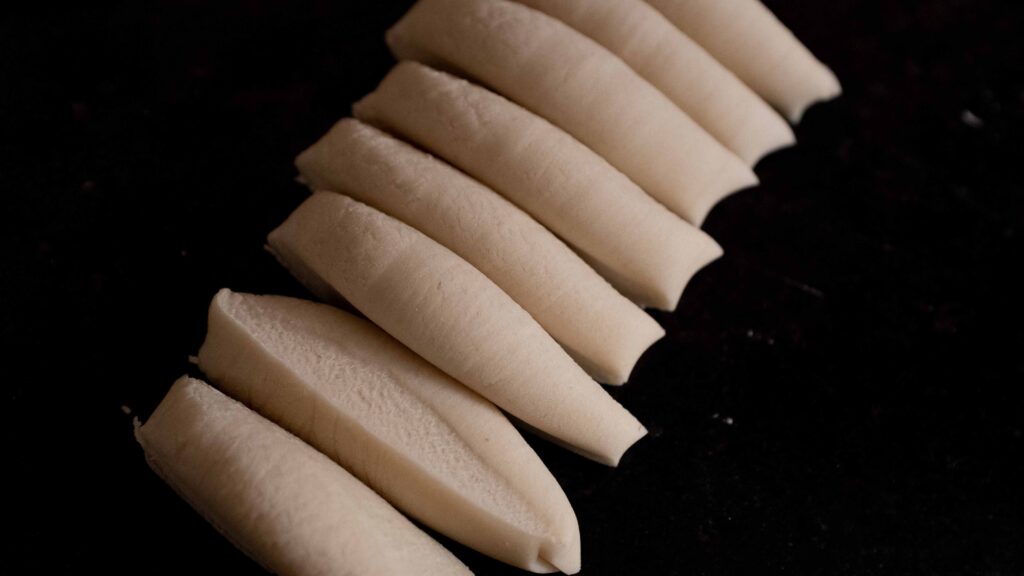
5 – Remove the dough ball from the bag. It should be soft, warm, and a little moist. Stretch and roll the dough into a log, roughly 2-3 cm in diameter.
6 – Cut the log into 30 even pieces, weighing 10 grams per piece.
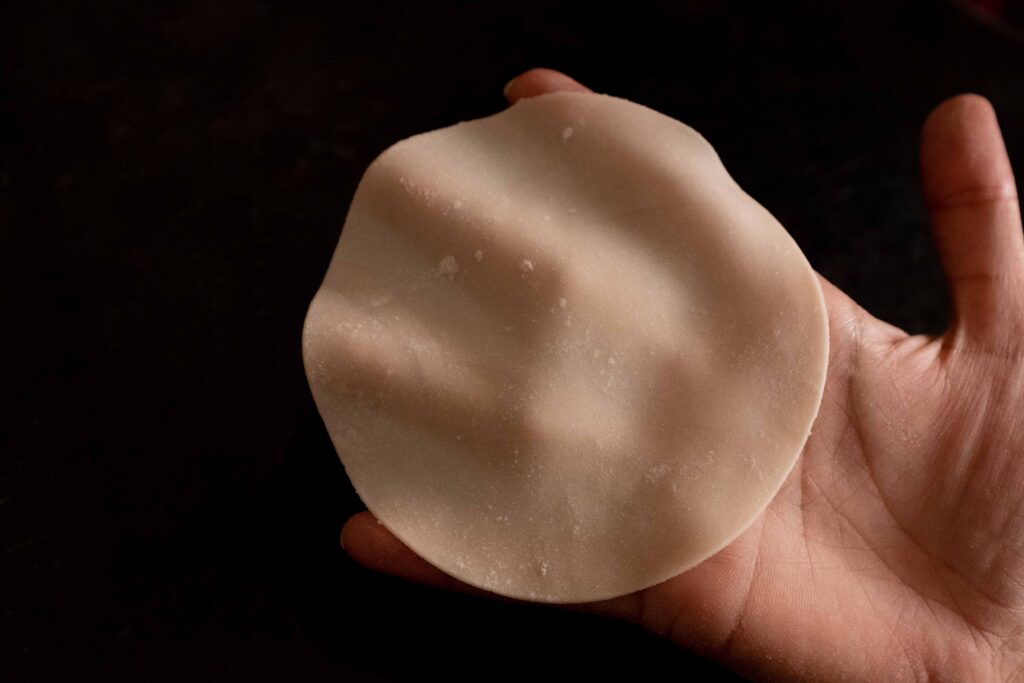
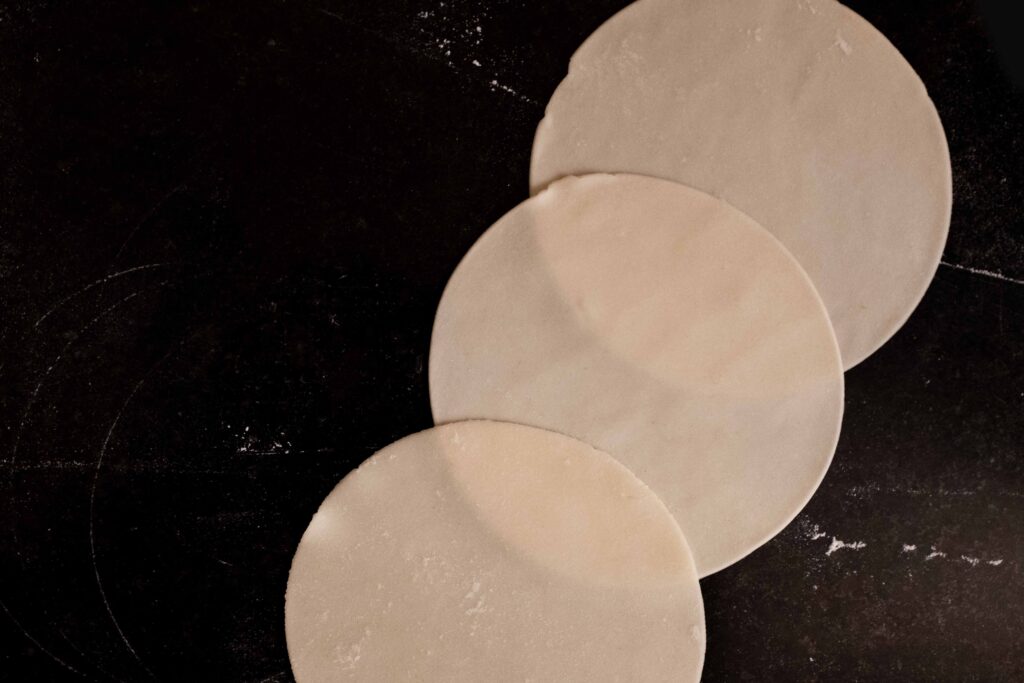
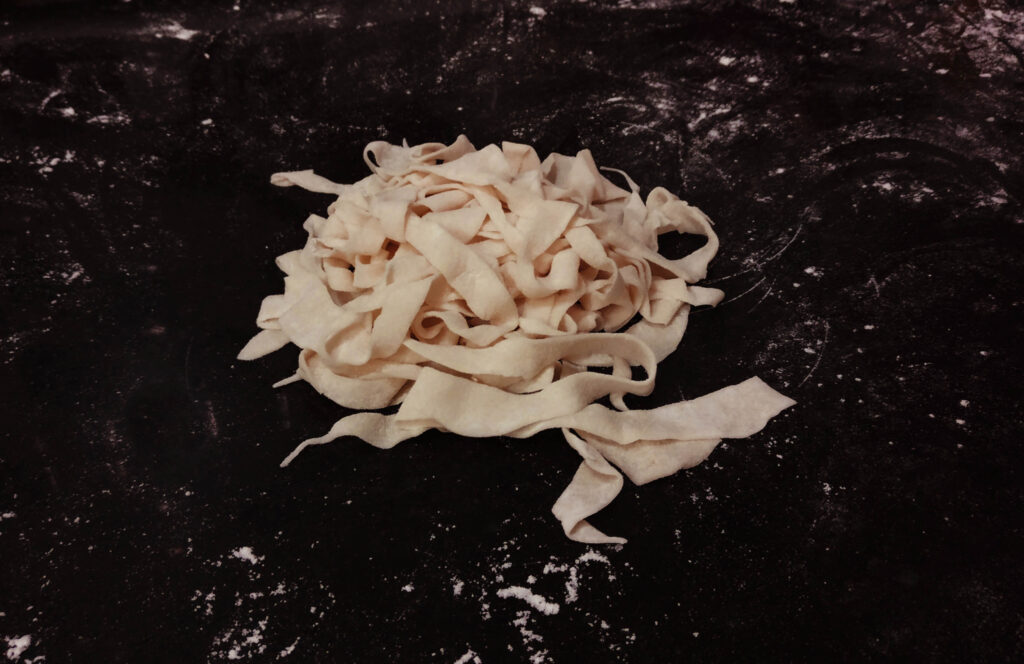
7 – Roll each piece into a ball and place it on your work surface. You may need to very lightly flour your work surface if you live in a very humid environment. Then, use a small rolling pin to roll the ball into a wafer-thin, flat circle with a 10 cm diameter. Try to roll the edges slightly thinner than the centre. Your finished gyoza wrapper should be about the size of your palm. When you hold the wrapper in your hand, it should be thin enough to see the silhouette of your fingers through it! To roll my gyoza wrappers, I use a small fondant rolling pin. I place the rolling pin in the centre of the dough ball and roll towards myself, turning the dough by a quarter turn after every roll. Once I reach the desired thickness, I use a 10 cm wide cookie cutter to cut out a perfect circle. This is essential to lining up the edges when you construct and pleat your gyoza. Don’t throw away the off-cuts! Keep them on a plate and lightly dust them with some flour to prevent them from sticking to each other. Then check out my bonus recipe for Easy Saucy Noodles at the bottom of this recipe!
8 – Place the wrapper onto a lightly floured surface and continue the same process with the remaining dough. If you’re short on counter space and need to stack the wrappers, remember to liberally dust flour between each wrapper. Don’t stack more than 5 wrappers on top of each other as the weight can cause them to bear down and adhere to each other. I like to place a small parchment square between each wrapper to prevent this. You can use these straight away for Stage 4, or store the wrappers in an airtight bag and freeze them for later use.

If using from frozen – remove them from the fridge at least one hour beforehand. Once thawed, carefully separate the wrappers and sprinkle a little extra flour on each one to prevent them from getting sticky.
Stage 3: gyoza filling
Ingredients
1. 1 cup (packed) very finely shredded cabbage
2. 300 gm pork mince
3. 2 tbsp. soy sauce
4. 2-3 drops toasted sesame oil
5. 2 spring onions, very finely chopped
6. 1 ½ tbsp. finely grated fresh ginger
7. 3 tbsp. canola oil
8. ½ tsp crushed black pepper
9. 1 tsp salt
Prep
1 – Place the finely shredded cabbage in a medium bowl. Mix in the salt. Set this aside for 5-7 minutes. The cabbage will release water and wilt slightly.
2 – Keep all the ingredients portioned out, ready for quick mixing.
Method
1 – Place the softened cabbage in a large bowl. Add the pork mince, grated ginger, and chopped spring onion.
2 – Heat 3 tbsp. canola oil till smoking. Add the hot oil to the bowl, on top of the grated ginger and chopped spring onion.
3 – Work fast; you don’t want the hot oil sitting in one spot and cooking any pockets of the filling. Add the soy sauce, toasted sesame oil, and crushed black pepper. Using chopsticks or your hands like an open claw, combine the mixture vigorously in one direction for a minute until it is well combined, and comes together like a sticky ball of dough. Your filling is ready and you can now proceed with Stage 4.
This mixture cannot be made in advance and frozen, as the fresh textures and flavours will be compromised. If you aren’t making the gyoza immediately, store the filling in the fridge and use it the same day.
Stage 4: Constructing the gyoza
Components
1. 30 gyoza wrappers
2. The entire gyoza filling
3. Some plain water (to be used as a binding agent)
Method
1 – Place 1 level tablespoon of filling in the centre of each wrapper. Do not over fill.
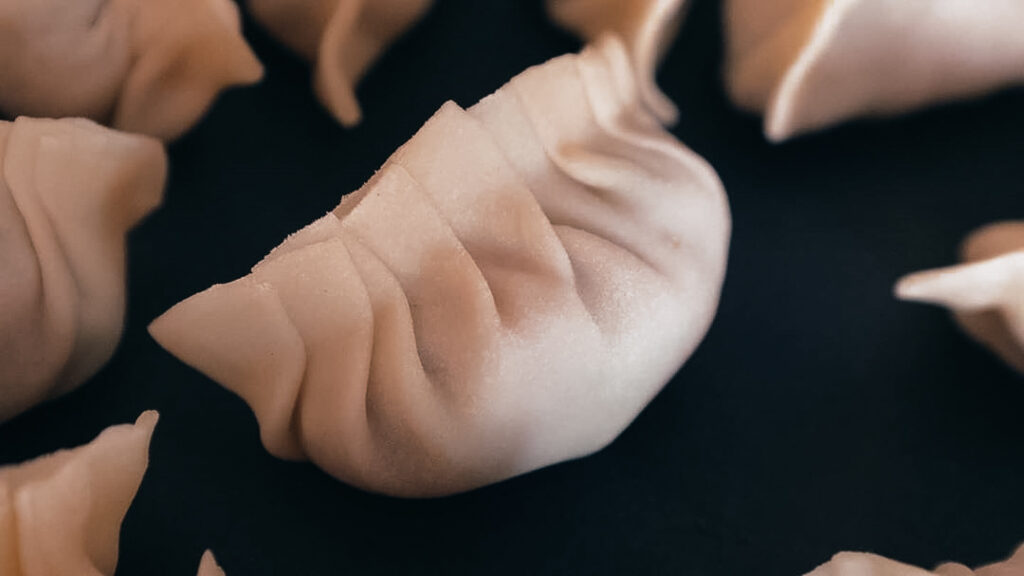
2 – Moisten the edges of the wrapper with a little water (if needed) and then bring the bottom edge up over the filling to meet the top edge of the wrapper. Pleat the gyoza, pressing each pleat to make sure that it’s well-sealed. Watch this to see the stuffing and pleating process.
3 – Place the gyoza on a sheet of parchment paper. Repeat the above process to make all 30.
Fresh, homemade gyoza wrappers don’t require water as a sealing agent. The inherent stickiness of the sheet will do the job. If you have over-floured your sheets to prevent stickiness, you may need to moisten the edges to get a good seal. Store-bought wrappers will most definitely require their edges to be moistened. Once filled, a raw, sitting gyoza will get soft, moist, and stick to any regular surface. The parchment paper is essential to an easy transfer from counter to pan.
Stage 5: Finale; cooking the gyoza & crispy pancake
Components
1. 30 gyoza
2. 5 tbsp. vegetable oil for frying
3. Flour slurry for the crispy pancake
For the flour slurry:
1. 3 tbsp. cornflour
2. 1 ½ tbsp. plain all purpose flour
3. Pinch of salt
4. 250 ml water
Method
1 – Put 1 tablespoon of oil in a non-stick frying pan and heat it on medium. Once hot, arrange 6 dumplings in the pan in a spiral pattern. You should hear a sizzle. Cook, untouched for 2-3 minutes or until the bottoms of the gyoza begin to brown.
2 – While the gyoza are browning, make a slurry with the cornflour, plain flour, salt, and water. Whisk together and transfer it to a jug for easy pouring.
3 – Pour 1/5th of the slurry between and around the gyoza, to form a “latticework pancake”. Cover the pan with a lid and reduce the heat to low. Steam for 5 minutes or until the water has evaporated and the gyoza are cooked through. The “gyoza skins” should be translucent and glistening. Run a spatula under the pancake to gently loosen it. Cook, uncovered, for a further 1-2 minutes or until the pancake is crispy. Carefully flip the “gyoza pancake” onto a plate, pancake side up.
4 – Repeat the cooking process with the remaining 4 batches of gyoza.
5 – Serve the gyoza with the dipping sauce. Now eat.
To cut down the total cooking time, you could use a large pan that comfortably fits 11-12 gyoza in one go. However, it’s very challenging to flip the cooked gyoza pancake structure onto a plate without burning yourself, bursting a delicate gyoza, or breaking the pancake.
Bonus Recipe! Easy Saucy Noodles
Ingredients
1. Gyoza wrapper offcuts
2. 100 ml water
3. ½ tsp vegetable oil
4. 1 tsp soy sauce
5. 1 tsp mirin
6. 1 tsp sake
7. 1 tbsp. kecap manis or sweet soy sauce
8. 1 tbsp. oyster sauce
9. 1 tsp finely chopped green onions
Method
1 – Heat up 100 ml of water in a frying pan. Once it comes to a simmer, add the gyoza wrapper offcuts and boil on medium for about a minute. This is long enough to cook the “noodles”.
2 – As soon as the noodles are cooked and most of the water has been absorbed, add a teaspoon of vegetable oil to the pan and lightly toss the noodles in the oil.
3 – Whisk together the soy sauce, the mirin, the sake, the kecap manis, and the oyster sauce and then add the mixture to the pan.
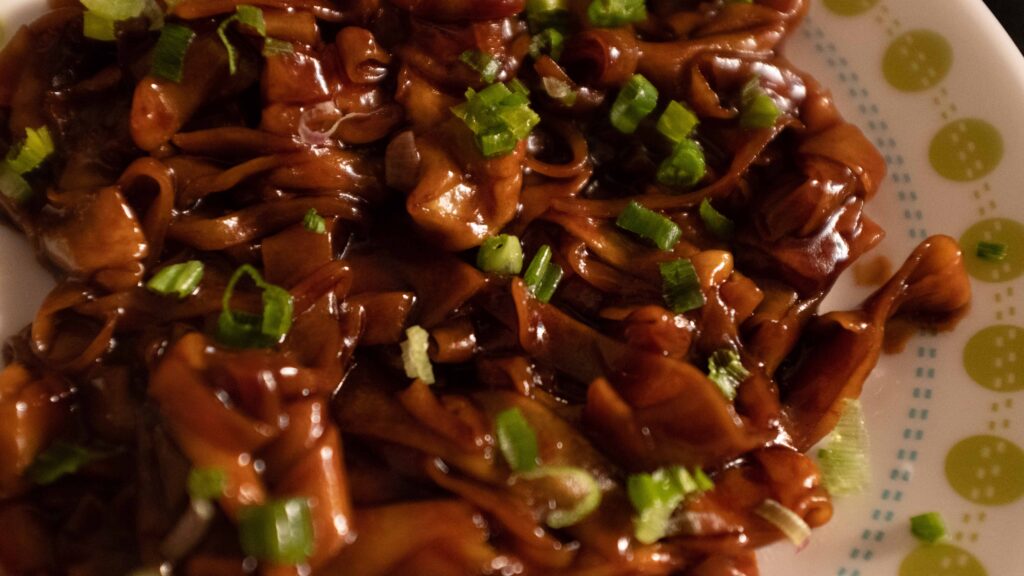
4 – Cook the noodles in the sauce for about 2-3 minutes until you have a thick, sticky, glossy saucy mess of noodles.
5 – Transfer to a plate and serve hot with a sprinkle of chopped green onions on top. Easy!