


Makes 30 x 2 ½ inch tartlets
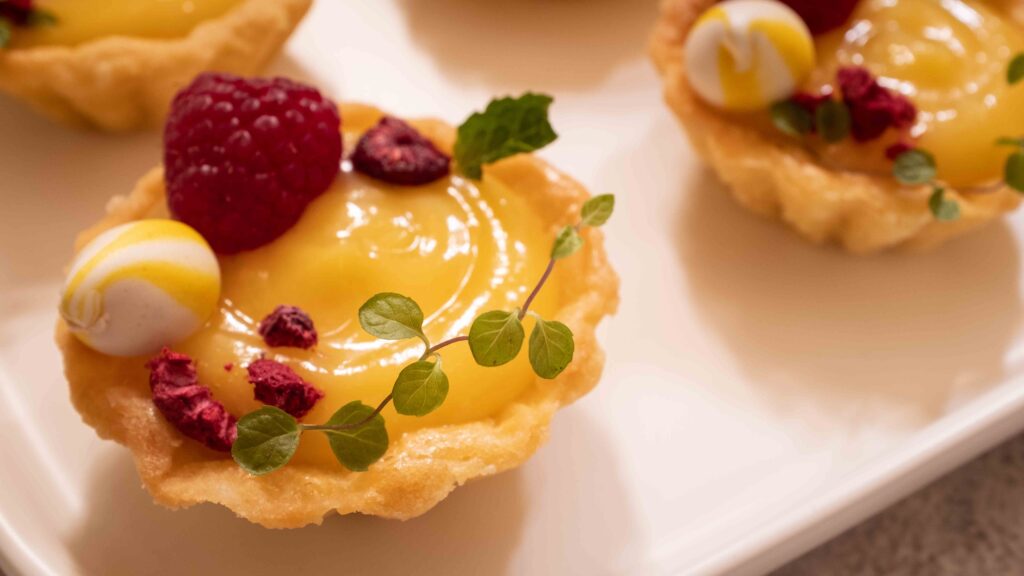
Whoever invented lemon curd should be awarded a Nobel peace prize. That stuff can neutralize all sorts of heat, from fiery tempers to soaring Summer temperatures. Nestled in palm-sized short crust pastry shells and topped with fresh, dried, and freeze-dried raspberries, as well as mini meringues, this lemony dessert puts the tart in tartlets. Sweet and tangy, fresh and light — it is a beaming ray of sunshine with the miraculous power to cool.
At a glance

– These tartlets comprise mini tart shells + lemon curd + mini meringues + white chocolate chips + fresh, dried, and freeze-dried raspberries.
– You will need 30 metal mini tart moulds, a 3 inch round cookie cutter, some piping bags, a small round nozzle, some baking parchment, some baking rice, a silicon baking mat, and a baking tray.
– This recipe has been broken into 4 stages for ease and comprehension. Please read the entire recipe from start to finish before beginning.
Stage 1: mini tart shells
Ingredients
1. 340 gm all purpose flour, sifted + extra for dusting
2. 120 gm confectioner’s sugar, sifted
3. 1/4 tsp table salt
4. 225 gm cold unsalted butter
5. 2 large eggs (114 gm in-shell weight), cold
6. 1 tsp vanilla extract
7. 1 egg yolk + ½ tsp water to make an egg wash
Prep
1 – Cut the butter into 1/2 inch cubes and keep chilled.
2 – Crack the eggs, lightly beat them and keep chilled.
3 – Weigh out your flour and confectioner’s sugar and keep chilled.
4 – Place your mini tart moulds on a baking pan. Lightly grease each mould with baking spray. Set aside.
5 – Cut 2 parchment sheets into 13×13 inch squares. Set aside.
6 – Cut a 4×4 inch square of cling wrap. Set aside.
7 – Cut 30 squares of baking parchment paper measuring 4×4 inches.
Keep all the ingredients chilled before starting. Yes, flour and sugar too if you’re in a hot and humid city like Mumbai.
Method
1 – In a large bowl, whisk together the flour, sugar and salt.
2 – Add the chopped butter to the bowl. Using a pastry cutter or two butter knives, ‘cut’ the butter into the flour until you achieve a texture akin to coarse cornmeal with dabs of pea-sized butter chunks distributed throughout.
3 – Add vanilla extract to the chilled beaten egg.
4 – Add the vanilla-egg mixture into the flour mixture, a little at a time, incorporating it with each addition. Mix with the knives in a cutting and scraping motion, until the dough comes together in clumps. It should look crumbly but hold its shape when brought together in your fist.
5 – Transfer the dough to a very lightly floured surface. Gather it into a ball. Do not over-handle it.
6 – Divide the dough in two and wrap the two halves separately in cling wrap. Flatten each piece to form a thick disc. Chill in the fridge for 1 hour, or ½ hour in the freezer.
7 – After it’s done chilling, remove one wrapped disc from the fridge and let it sit for a minute or two.
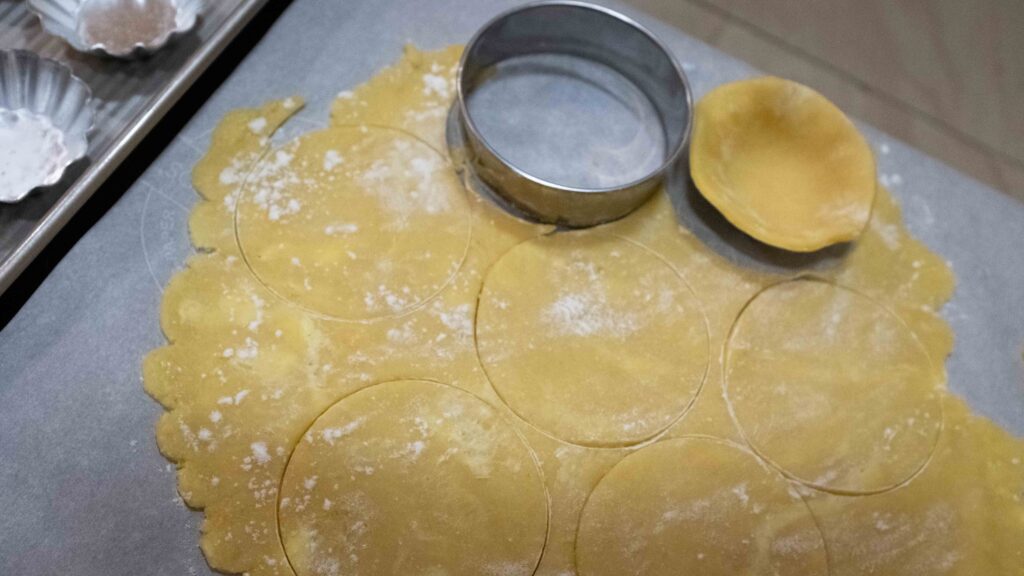
8 – Lay down one 13-inch sheet of parchment and lightly flour it. Place your dough on top of it and then place the second 13-inch sheet of parchment on top. Roll your chilled dough between the two sheets until you get a rectangle, roughly 10×10 inches and 1/8 inch thick. It doesn’t matter if it’s misshapen, as long as it’s evenly thick.
9 – Using your 3-inch cookie cutter, cut out as many rounds as you can. You may need to dip the cutter into some extra flour to prevent sticking. Remove the excess dough, gather it together, wrap it in cling wrap, and store it in the fridge until you’re ready to re-use it.
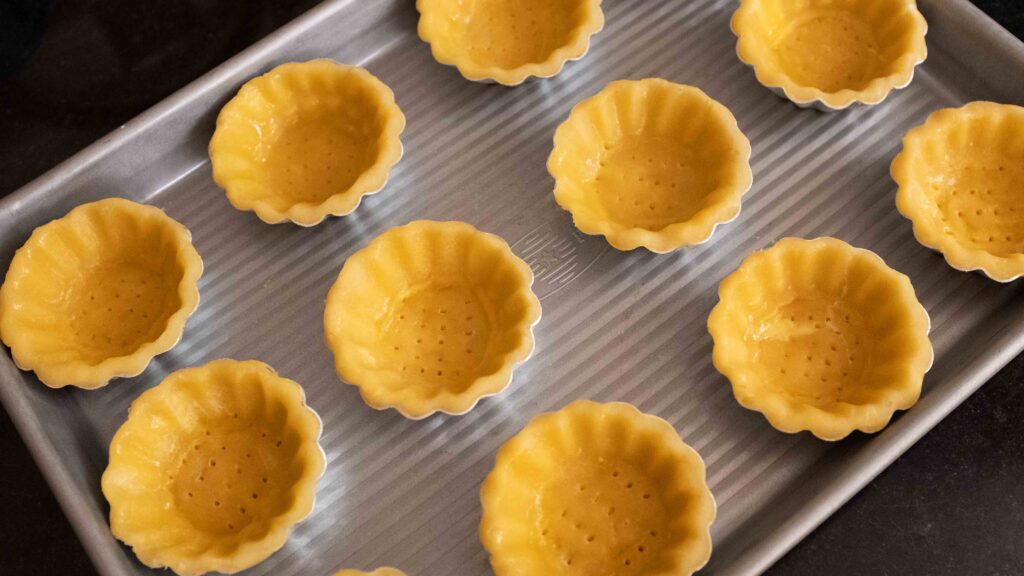
10 – Place each round into a tart mould. First gently press with your fingers to shape the round to the mould’s contours.
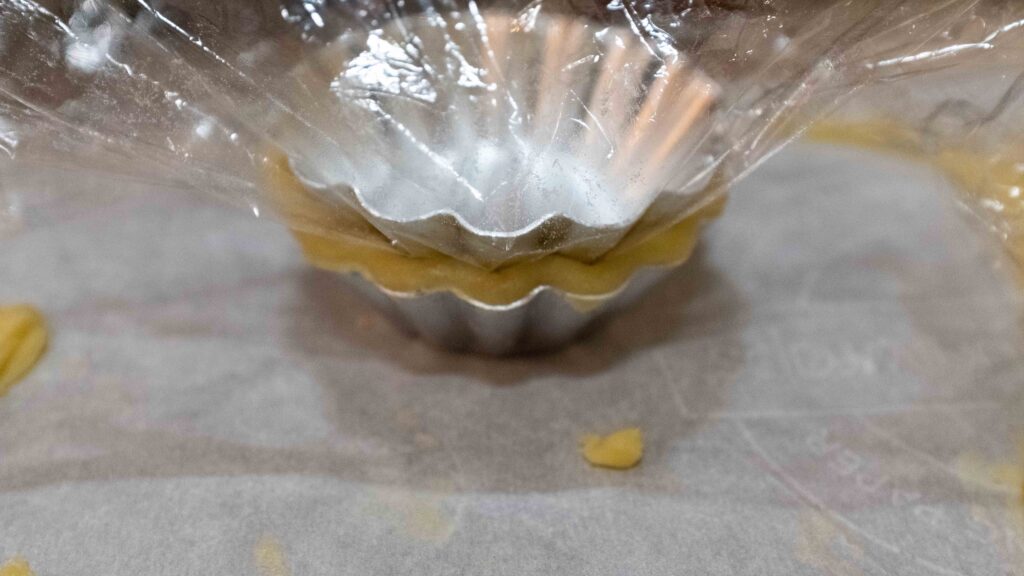
11 – Place the 4×4 inch square of cling wrap on top of the moulded round. Then place a second tart mould on top of the cling wrap, aligning its fluted edge with the bottom tart mould’s edge. Press down gently. This will shape the inside of the tart shell. Grabbing the cling wrap, lift off the top tart mould and set it aside. See this video for the technique.
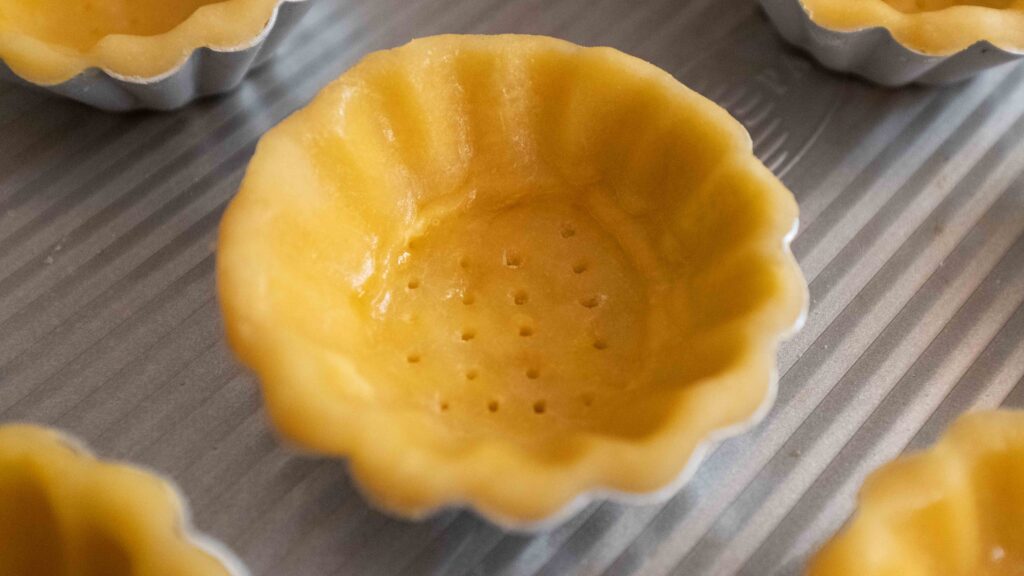
12 – Use your fingers or a palette knife to trim off the extra overhanging dough.
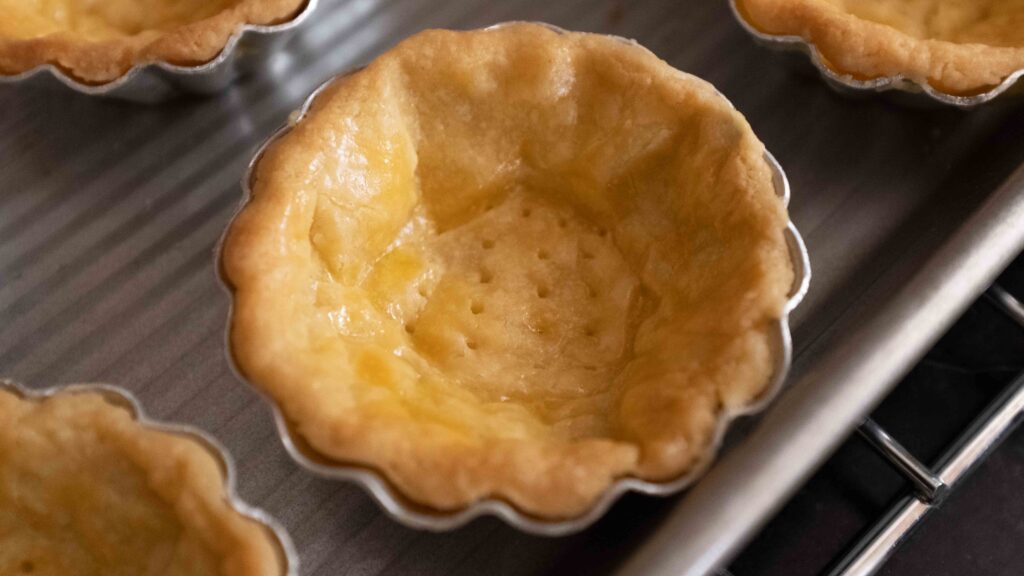
13 – Using a fork, lightly prick the base of the unbaked tart shell (4-5 pokes should do it). This will prevent your mini tart shells from puffing up.
14 – Repeat steps 7-13 for all 30 tart moulds or until you run out of dough. (Remember you have another disc chilling in the fridge). To make more rounds, you will need to gather all the extra trimmings as well as chill the dough in the fridge, then re-roll it and re-cut it.
15 – Lightly beat the egg yolk with the water. This is your egg wash. Using a pastry brush, lightly coat the surface of each tart with the egg wash. Once baked, this egg wash layer helps to prevent wet fillings from making the shells soggy.
16 – Cover your baking pan containing all the mini tart moulds with cling wrap. Place the tray in the fridge for 1 hour or in freezer for 30 minutes.
17 – While the tart shells are chilling, preheat your oven at 180OC for 20 minutes.
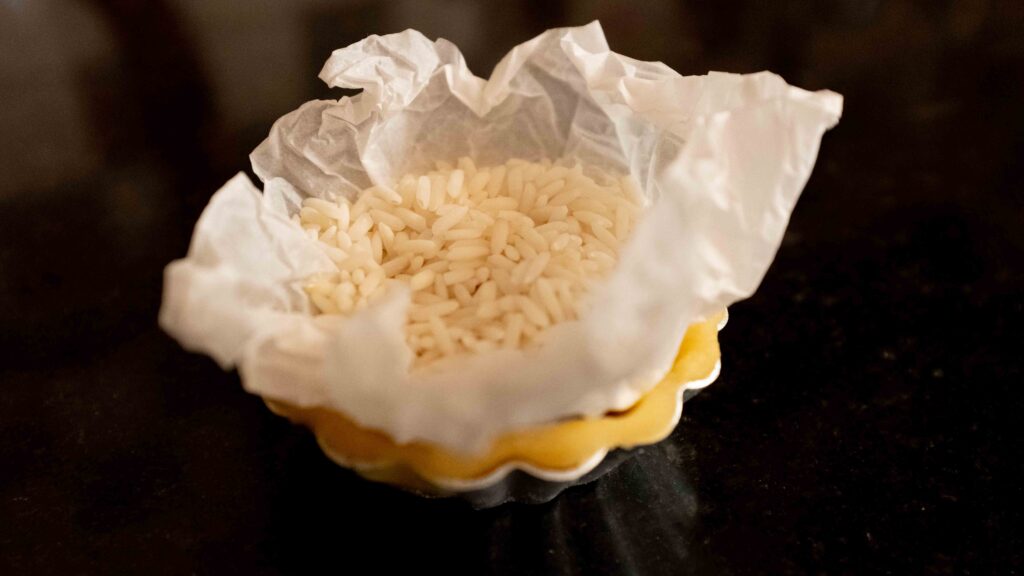
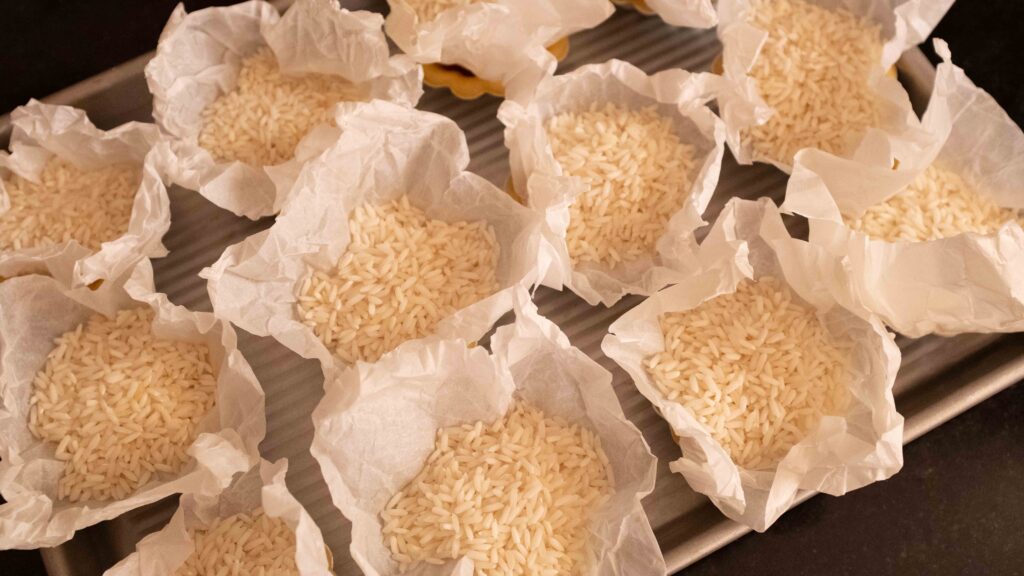
18 – Once the oven is done preheating, scrunch each 4×4 inch parchment square into a ball and then open it out. Take your chilled mini tart shells out of the fridge. Place a square of wrinkled parchment on top of each shell and then evenly fill the parchment with baking rice. The parchment will stick up/hang over the edges. Make sure to gently spread the rice and fill the crevice all the way to the top so that it’s properly weighed down. This prevents the pastry from rising and results in an even surface.
19 – It’s time to blind bake your mini tart shells; bake the tray of tart shells at 180OC for 12-15 minutes, until lightly golden brown. Mine took 14 minutes.
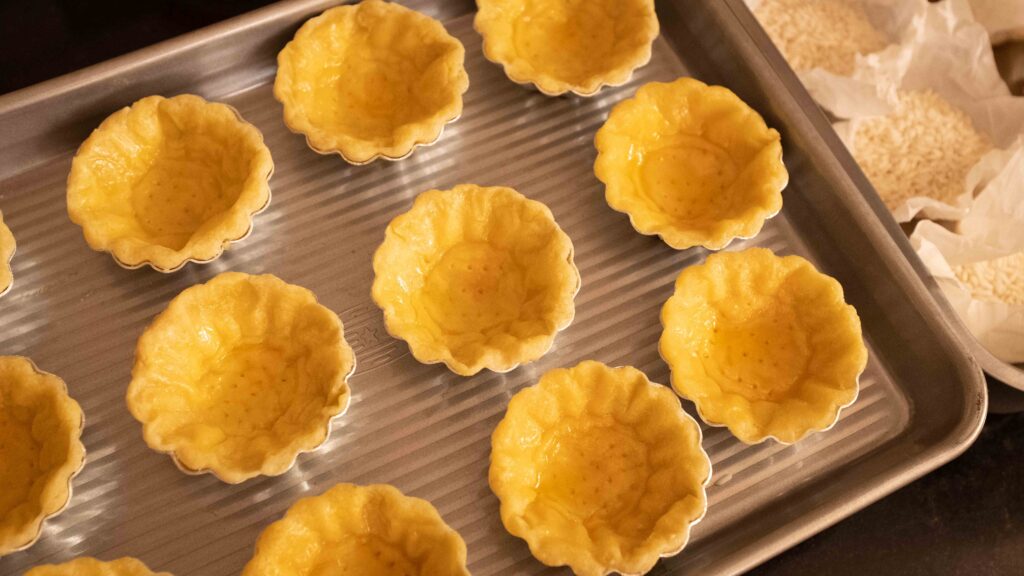
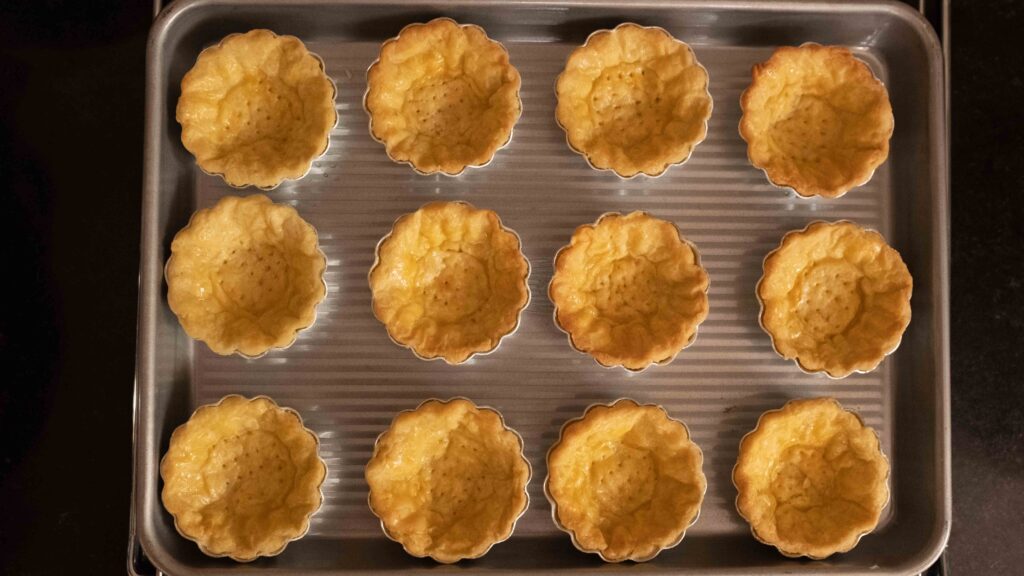
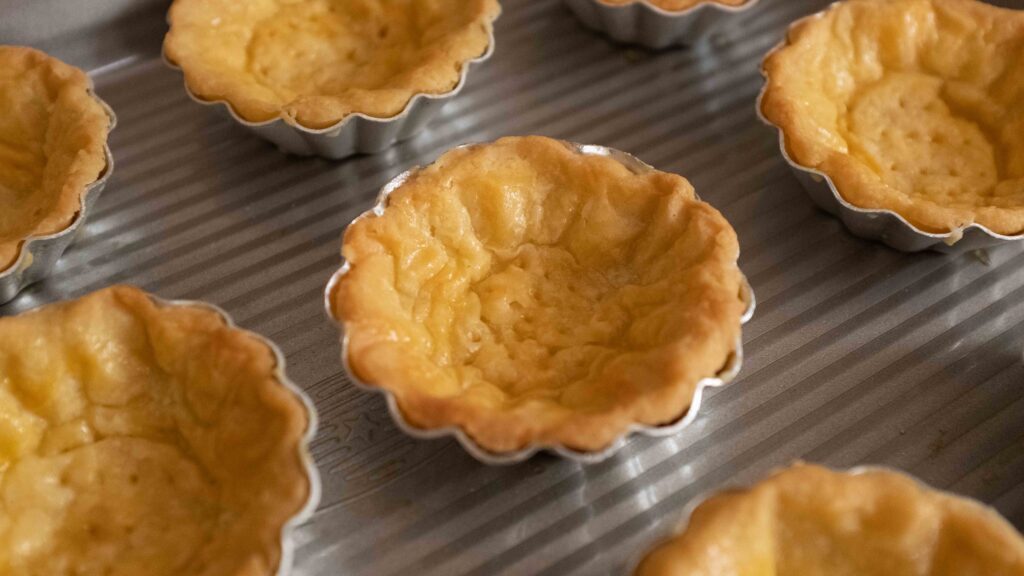
20 – Thereafter take your tray out of the oven. Carefully lift off the parchment squares with the baking rice. Put the tray back in the oven and resume baking the tart shells at 180OC for an additional 10-12 minutes. Mine took 10 minutes.
21 – Remove your tray from the oven and cool it to room temperature on a wire rack. Do not remove the tart shells from their moulds until they have fully cooled.
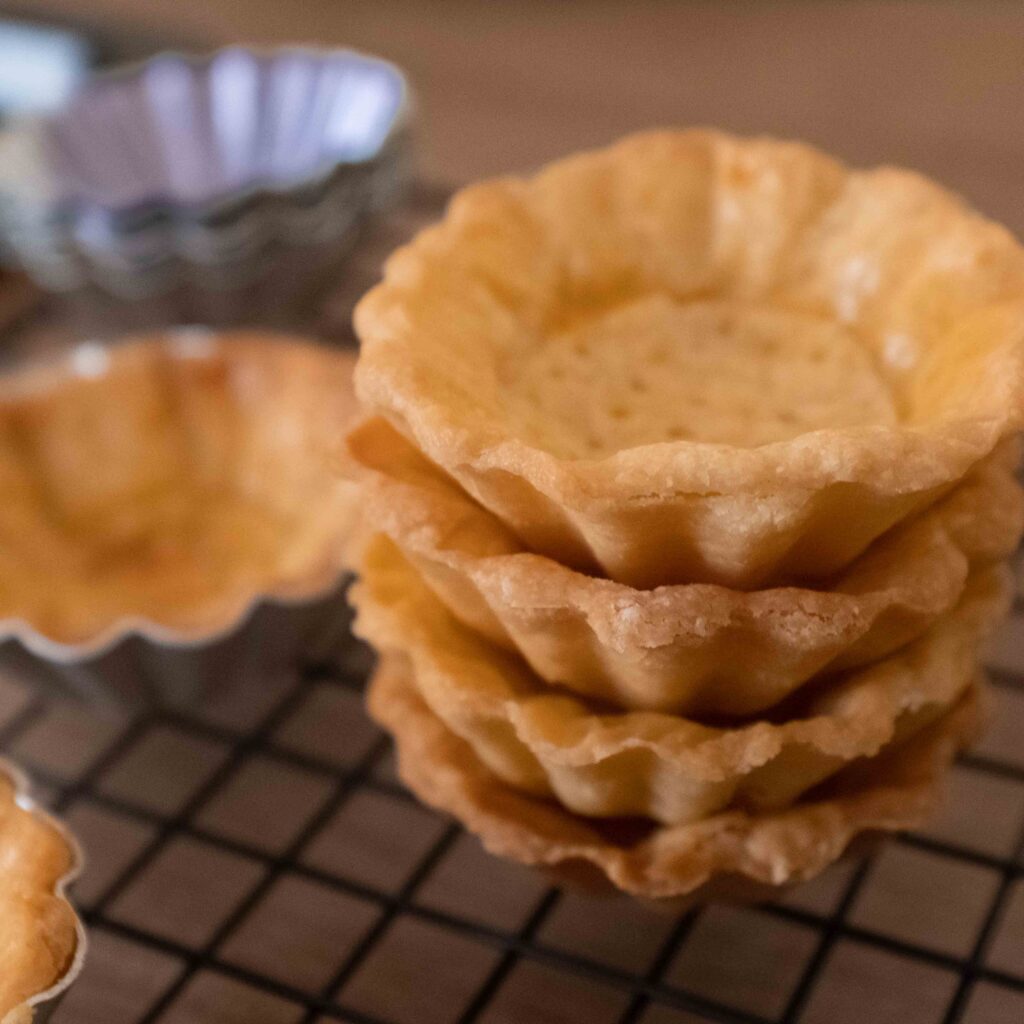
22 – To remove, simply invert the shells onto your palm. They should slide out. If you feel some resistance, gently tap the edge of your mould on your work surface. They’re delicate, so be gentle!
23 – Store your cooled and unmoulded tart shells in an airtight container and refrigerate them. They will stay fresh for up to a week in the fridge or 6 months in the freezer.
Hot and humid climate? Make your pastry dough in an air-conditioned environment. Work quickly! If it’s warm, use disposable gloves to prevent the transfer of heat from your hands. Pop the dough back into the fridge if you see the butter melting or the dough getting too soft at any stage. You can make and bake the shells in advance. After baking, cool the shells, remove them from their moulds, and store them in an airtight container in the fridge for up to a week in advance. Freeze leftover raw pastry dough. It keeps for 3 months!
Stage 2: lemon curd
Ingredients
1. 3 large eggs. (1 large egg = 57 gm in shell weight)
2. 2 egg yolks from large eggs
3. 220 gm superfine white castor sugar
4. 1 tbsp. finely grated lemon zest
5. 125 ml lemon juice
6. 1/8 tsp salt
7. 150 gm cold, unsalted butter, chopped into ½ inch cubes
Method
1 – Take a large, heavy-bottomed steel saucepan. Put in the eggs, egg yolks, castor sugar, salt, lemon zest, and lemon juice, and whisk everything well to combine.
2 – Place the saucepan on your hob and cook the mixture over low-medium heat, stirring continuously, until the sugar has dissolved completely.
3 – Lower the heat to minimum and add 3-4 cubes of cold butter in batches, stirring continuously. Wait until one batch of cubes has melted and emulsified into the mixture; only then add in the next batch. Do this till you run out of butter.
4 – Continue to cook the mixture on low heat, stirring continuously until the mixture is viscous and coats the back of a spoon. This can take anywhere from 5-10 minutes.
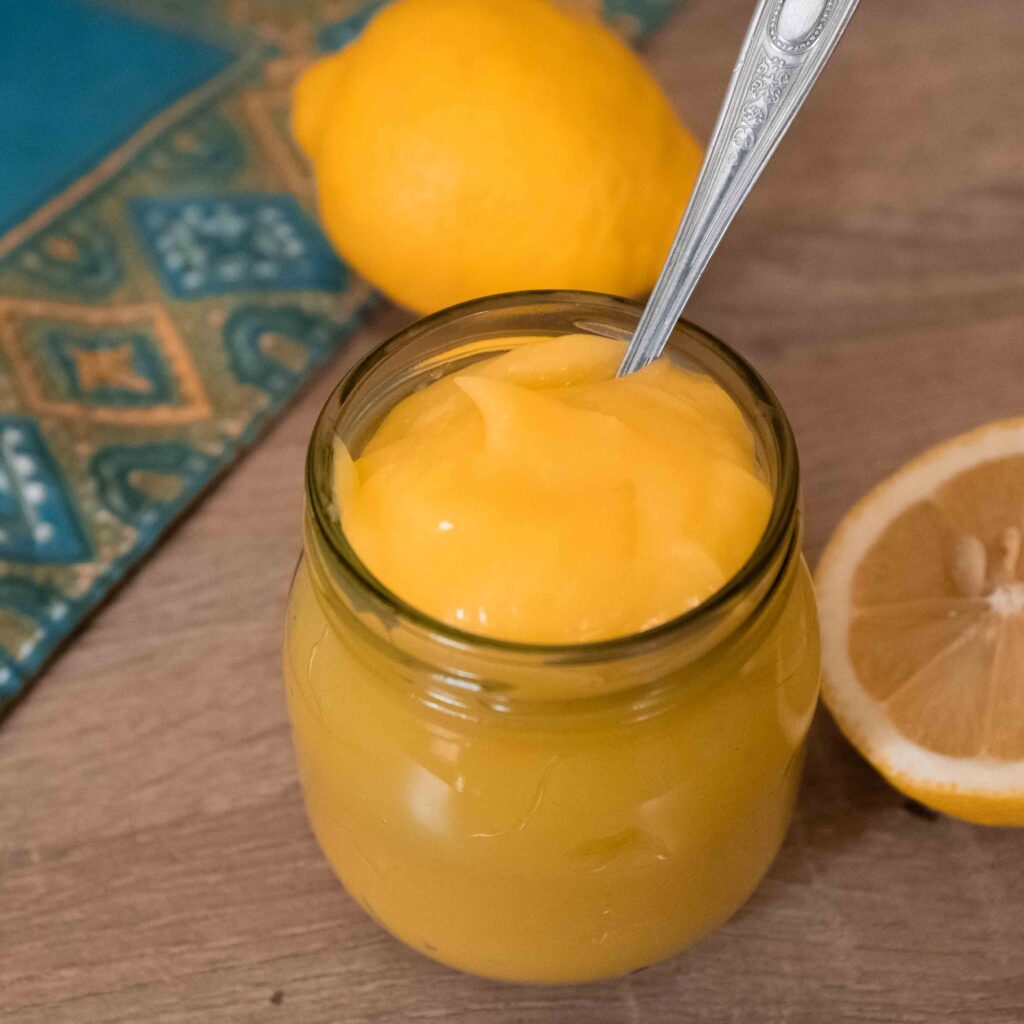
5 – Strain the mixture immediately into a bowl and cover it with cling wrap, making sure to press the plastic down onto the surface of the curd. Refrigerate the mixture for at least one hour. Once it’s cold, it’s ready to use.
This quantity of ingredients yields 2 cups or 500 ml lemon curd. For this recipe, you’ll need exactly this amount, so if you want leftovers, make a larger batch. I make my lemon curd in advance, and keep it refrigerated in an airtight jar, ready for use, anytime. Leftovers make for a great spread on toast. Use up any leftovers within a week. Tip alert! Use the leftover egg whites from the lemon curd to make mini meringues in the next stage! Leftover egg whites can also be used to make macaron shells in my Parle-G Xmas Macarons or vanilla chiffon cake in my Strawberries & Cream Cake.
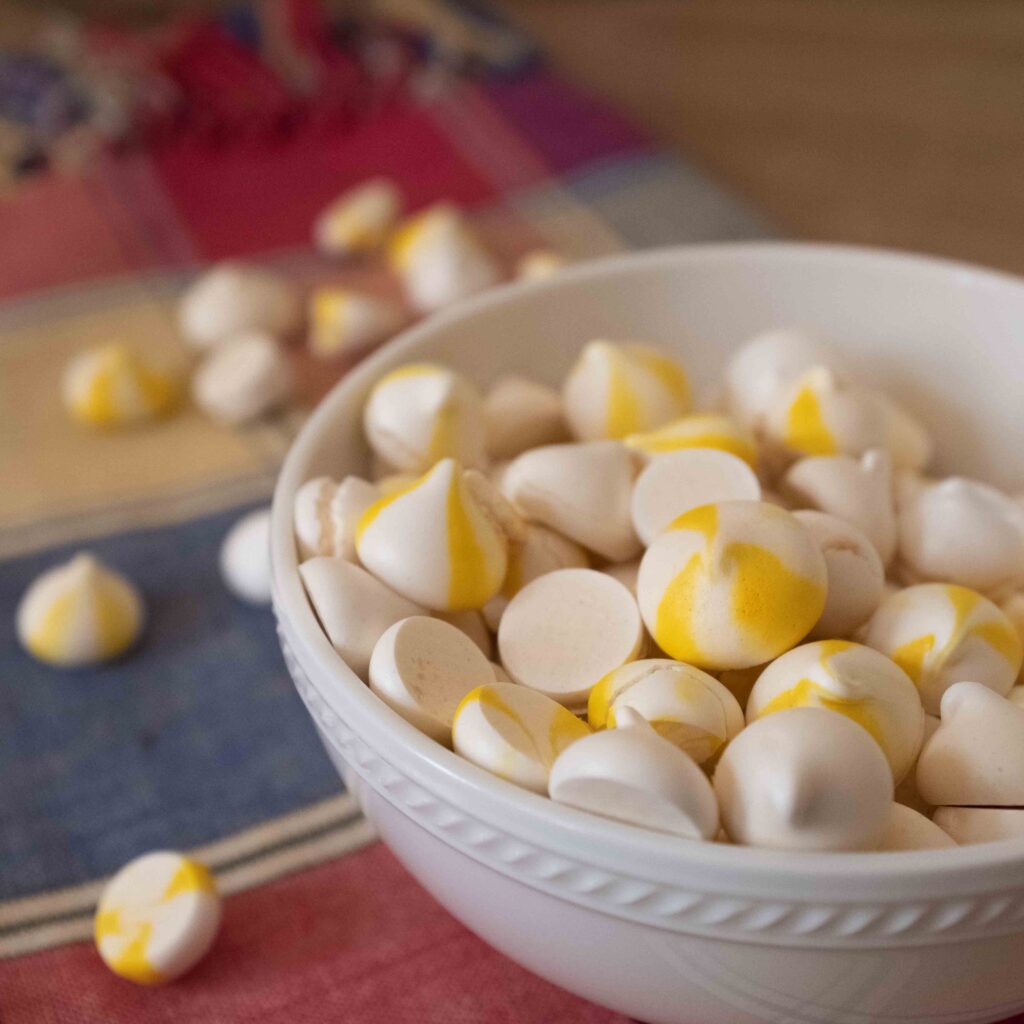
Stage 3: mini meringues
Ingredients
1. 50 gm egg whites at 21OC
2. 1/16 tsp cream of tartar
3. 100 gm confectioner’s sugar, sifted 3 times
4. Yellow gel food colour like this
Special materials
1. A bottle of white vinegar for cleaning
2. Some kitchen paper for cleaning
3. 1 medium metal bowl
4. A hand-mixer with a whisk attachment
5. A rubber or silicone spatula
6. A tall drinking glasses
7. 1 medium piping bag
8. 1 cm wide, round piping nozzle
9. 1 flat baking tray like this
10. 1 silicon baking mat
11. 1 thin food-safe brush
Prep
1 – Take the eggs out of the fridge. Clean and dry your hands and utensils very well. Egg whites will not whip up properly in the presence of fats or water. To remove any residual oils, wipe down all utensils and attachments with some vinegar. Once you have separated all your egg whites, weigh out exactly 50 gm in a medium metal bowl, cover it with cling wrap and set it aside for 20 minutes or until the egg whites reach a temperature of 21OC.
2 – Ready your tray; lay your baking mat on top of your flat baking tray. Flat baking trays guarantee even heating from all directions. You can even invert a regular baking tray and use the flat side. If you don’t have a silicon baking mat, you can use baking parchment, but you will need to secure the corners with some meringue so that the parchment stays flat.
3 – Ready your piping bag; first attach your piping nozzle to the piping bag. Then stand the piping bag in a tall glass. If your piping bag is long, fold its overhanging edges over the rim of the glass, like a cuff — this will make it easier to push the meringue to the bottom of the bag.
4 – Sift your confectioner’s sugar and keep it handy, along with the cream of tartar.
5 – Start preheating your oven at 100OC. You will need to preheat it for no more than 10 minutes.
Method
1 – Begin once your eggs whites are at 21OC. Using your handheld mixer, whisk on low speed until the egg whites get frothy and slightly lighter in colour. There will be small bubbles, and it will start to look foamy.
2 – While continuing to whisk on low, add 1/16 tsp cream of tartar and continue whisking until the mixture begins to tighten and have smaller bubbles, almost like shaving foam. You should also begin to see trails being left by the whisk attachments in the “foam”.
3 – While continuing to whisk, raise the speed to medium, and slowly add in 1 tsp of the confectioner’s sugar and beat for 30 seconds. Add the rest of the sugar in 1-teaspoon increments followed by 30 seconds of whisking, making sure that the mixture remains stiff after each addition of sugar.
4 – Once all your sugar has been added, your meringue will take roughly 8-10 minutes to reach the correct consistency. Raise the mixer to high. After 4-5 minutes, stop the mixer and see if the meringue has reached the soft peak stage. Look at your bowl. The mixture should start to look creamy and gooey like melted marshmallows. When the whisk is pulled out and held upright, the mixture on the tip of the whisk should gently curl back on itself like a wave.
5 – Resume whisking the mixture on high for another 4-5 minutes or until you reach the stiff peak stage. Stop the mixer again to look at your bowl. The mixture will look smooth and shiny. When you lift the whisk up, the stuff on the whisk will stand up in one or multiple stiff peaks. Take a bit of the mixture and rub it between your fingers. It should feel smooth and silky with zero traces of sugar graininess. This is our meringue and it must be used immediately, so proceed swiftly with the next few steps.
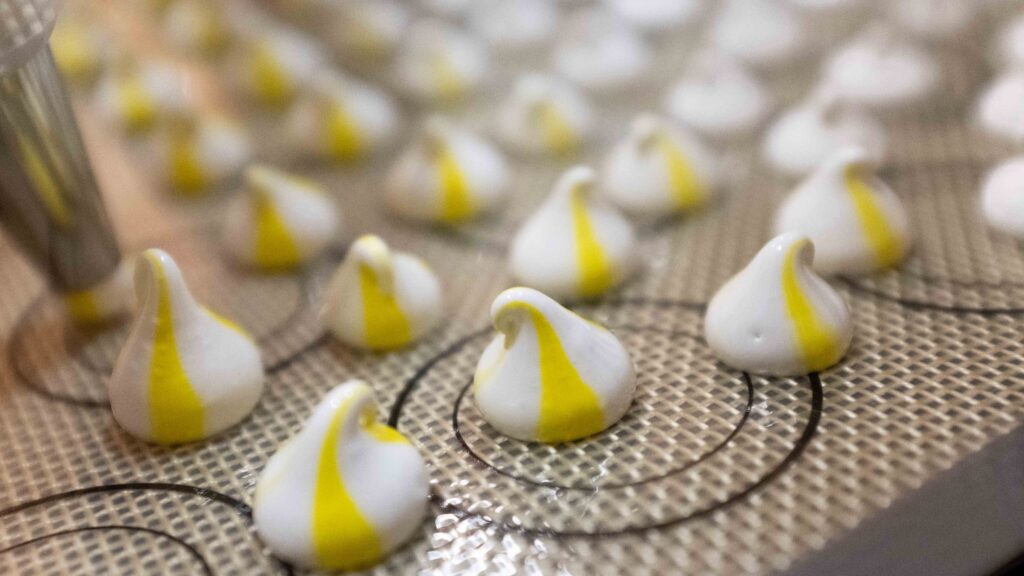
6 – Get your glass with the piping bag. Using the thin brush, paint 3 equally spaced stripes of yellow gel food colouring along the insides of the bag; starting all the way from the tip and going about ¾ of the way up the bag. This will give you yellow striped mini meringues! Check this video to see the technique. You could just as well not do the striping technique. I piped half a batch of plain meringues and made the other half striped.
7 – Using a rubber spatula, gently transfer the meringue to the piping bag, being careful not to smear or muddle the painted yellow stripes. Twist the end of the bag down to push the meringue towards the nozzle.
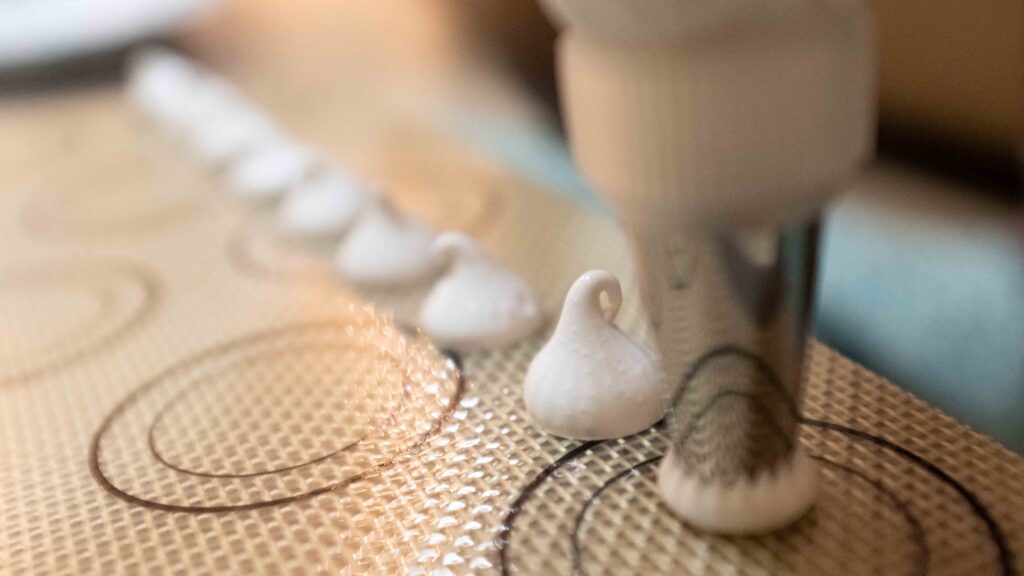
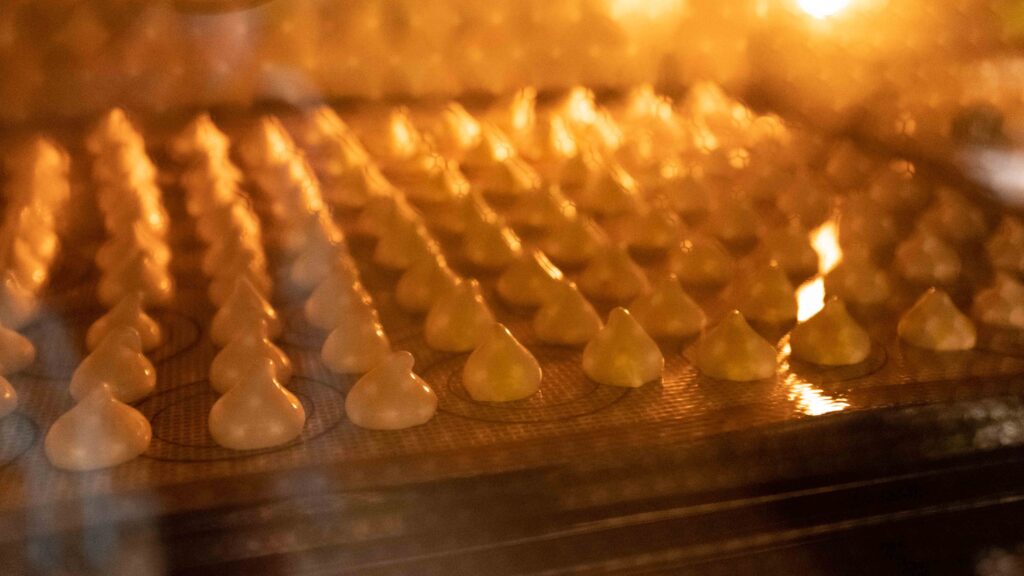
8 – It’s not time to pipe your mini meringues onto the prepared baking tray. If piping yellow-striped meringues, do a couple of testers on a plate until the striped pattern emerges. Hold the bag upright and perpendicular to the baking mat, and hover the tip 1/4 inch above it. Keeping the tip still, squeeze the end of the bag to push the meringue out. Do not swirl the tip at all. See this video for the technique. When you’ve piped a 3/4 inch blob, stop squeezing and swiftly lift the tip up to create a little peak. Think baby meringues shaped like Hershey’s Kisses! Repeat until you have run out of meringue. The meringues don’t spread during baking, so you can space them fairly close together. I get about 150 mini meringues from this amount. Do not rest the meringues once they’re piped, or they will develop feet (like macaron shells)!
9 – Immediately place your tray of piped meringues in the middle rack of your oven. Bake at 100OC for 45-55 minutes, or until the meringues come off the baking mat cleanly and without sticking. If you spot any cracks developing, immediately lower the temperature by 20OC. Do not open the oven to check on them before 45 minutes as they may crack from the sudden change in temperature.
10 – Once they’re done, turn off the oven, place the handle of a wooden spoon in the door of the oven (to create a small opening) and leave the meringues inside for 60 minutes or until the oven is completely cool.
11 – Store your meringues in an air tight container and move on to the final stage.
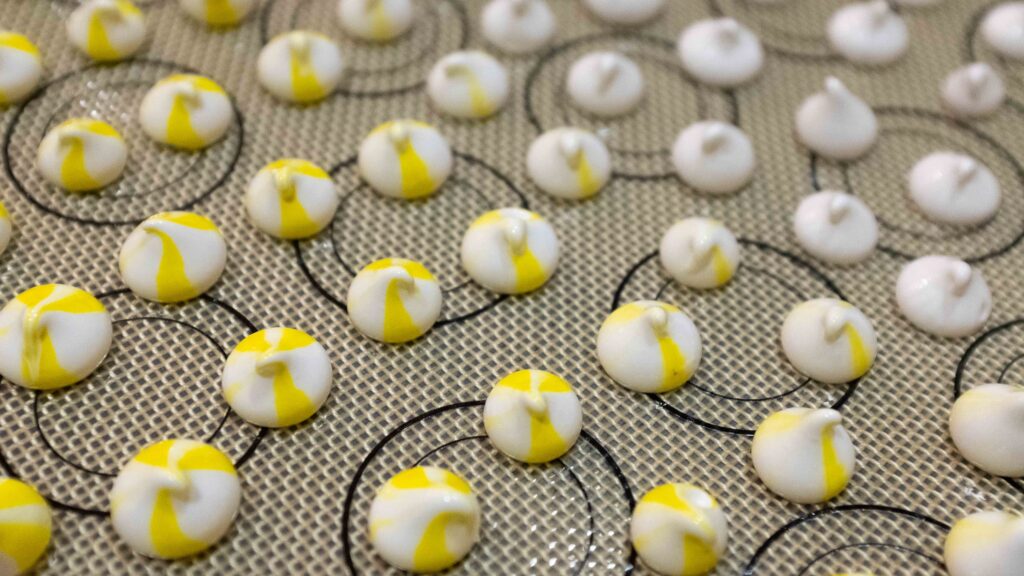


If you live in a hot and humid location, I highly recommend whipping and piping your meringues in an AC environment, and taking your time to achieve the correct meringue consistency. Even so, trying to whip meringue to stiff peaks during an Indian summer is a fool’s errand! I whipped and whipped, and never achieved gorgeous stiff peaks. If that happens, a lot of your meringues will have floppy tips (like mine). My oven also ran a little hotter than normal, which resulted in some cracking. Either way, I wasn’t too concerned—they will work out great in this recipe no matter how they look! These mini meringues can be made up to 2 weeks in advance and will stay fresh in an airtight container, ready for use, anytime.
Stage 4: Finale; construction and assembly
Components
1. Prepared mini tart shells (room temperature or cold)
2. Prepared lemon curd (cold)
3. Prepared mini meringues
4. Fresh raspberries
5. Dried raspberries
6. Freeze-dried raspberries
7. Store-bought mini white chocolate chips
8. Fresh baby spearmint leaves
Method
1 – Spoon 15 ml or 1 tablespoon of lemon curd into each tart shell. You could also use a piping bag for this.
2 – Smash some freeze-dried raspberries to get an assortment of shards. Arrange one fresh raspberry, a couple of dried raspberries and some freeze-dried raspberry shards on the lemon curd.
3 – Arrange 3-4 mini white chocolate chips and a couple of mini meringues between the berries. Feel free to cut some meringues in half and keep others whole for some variation.
4 – Finally place a couple of spearmint leaves on the tart. A tweezer is helpful for this. Your market probably won’t have the teeny sprigs of spearmint pictured here. I grew those little lovelies at home from leftover stem cuttings! Make do with the smallest leaves in your bunch or leave it off if you don’t like mint.
5 – Serve immediately, or after chilling for an hour. Now eat!
Did you know, chilling something mellows out its sweetness? That’s why ice cream tastes overly sweet in its melted state. We prefer eating these tartlets after they have chilled for a few hours in the fridge. All the individual lemon and raspberry flavours get enhanced, the pastry shell crisps up, and the perfect level of sweetness is achieved.
Tips & Tricks
How to line mini tart moulds:
How to stripe a piping bag:
How to pipe mini meringues: