
")
")
")
")
Makes 9 brownies; 2 ½ x 2 ½ inches, each.
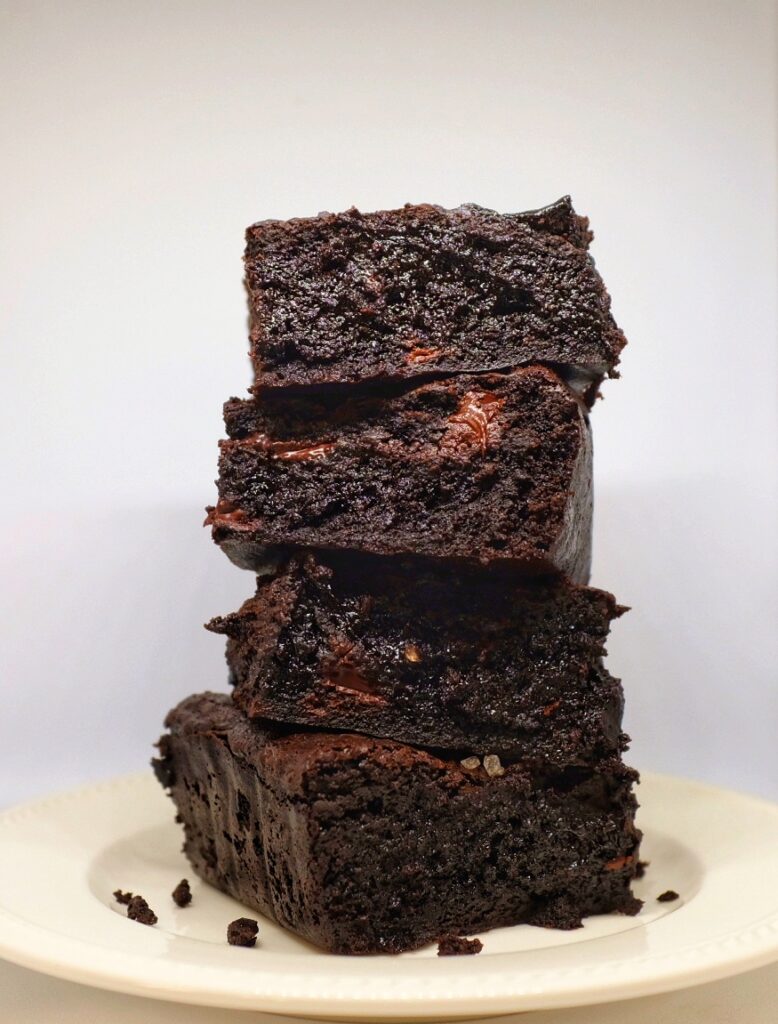
Imagine the thikkkest, gooiest, chocolatiest brownies you’ve ever sunk your teeth into. Cakey brownies? Not on my watch. When I tasted these for the first time, I broke into a jig. The sort that’s really embarrassing. Throw out all your brownie recipes, this one’s a keeper. Cooked to just under, every fudgy bite is an exercise in decadence. In fact, they’re so dark with triple chocolate goodness, that it would be inaccurate to call them anything but “blackies”.
At a glance
– You will need a saucepan, some mixing bowls, an 8 inch square metal brownie pan, and some baking parchment.
– Please read the entire recipe from start to finish before beginning.
Ingredients
1. 185 gm unsalted butter
2. 2 tbsp. unflavoured vegetable oil
3. 150 gm dark muscovado sugar
4. 200 gm golden castor sugar
5. 3 large eggs (171 gm) + 1 egg yolk
6. 115 gm all purpose flour, sifted.
7. 90 gm Dutch process cocoa powder, sifted.
8. 250 gm 70% cocoa couverture chocolate (baking or eating chocolate)
9. 1 tbsp. vanilla extract
10. 2 tbsp. instant espresso coffee granules
11. 1 tsp table salt
12. Flaky sea salt for topping (3/4th tsp approx.)
This recipe calls for cocoa powder, melted chocolate, and chocolate chunks, so it’s quite literally loaded with chocolate. The almost black colour comes from Dutch process cocoa powder, while dark muscovado sugar adds all the moisture and depth of molasses. Look for a couverture chocolate with 70-80% cocoa. Any less and it will be too sweet. Any more and it becomes unpleasantly bitter. Whatever you do, don’t use compound chocolate or candy melts, ever! You’re free to compromise on the ingredients—you could use light brown sugar, or plain white castor sugar, or natural cocoa powder, or a low quality couverture chocolate—but you won’t achieve the same phenomenal results.
Prep
1 – Grease your brownie pan. Line it with parchment and then grease the parchment. Keep aside.
2 – Roughly chop the chocolate into small chunks. Divide into 2.
3 – In a medium bowl, place 60 grams of the cocoa powder, the flour, and table salt. Whisk to aerate and combine, and keep this dry mixture aside.
4 – In a large, heat proof bowl, add half the chocolate chunks, the remaining 30 grams of cocoa powder, and the espresso granules. Keep aside.
Method
1 – Melt the butter using your stovetop. Simmer the butter on low for 4 minutes. The butter should be hot and bubbling, but not burnt. Leave it to cool for a minute.
2 – Pour the hot butter into the bowl containing the chocolate chunks, cocoa powder, and espresso granules. Let it rest, uncovered, for 5 whole minutes.
3 – After 5 minutes. stir the mixture together with a spatula to ensure that the chocolate has melted and emulsified with the butter.
4 – Add the oil and both the variants of sugar to the still-hot mixture. Using a handheld whisk, beat everything together until the sugar has mostly dissolved and the mixture has cooled.
5 – Start preheating your oven to 170OC. Ten minutes should suffice.
6 – Once the mixture is cool, add in the eggs and egg yolk one at a time, beating well to incorporate with each addition. This will give your brownie that coveted crinkly top.
6 – Add the vanilla extract and beat the mixture well once again.
7 – Remember the cocoa powder+ flour+table salt mixture you kept aside? It’s time to incorporate this dry mix into your wet mixture. Sift it in gradually, a third at a time. Using a spatula or a large metal spoon, gently fold it into your batter with each addition. Once you no longer see any floury pockets, stop. Do not beat or overmix!
8 – Add the remaining chocolate chunks to the batter and very gently fold them in. The batter should be really thick and gooey at this point.
9 – Pour this batter into your greased and lined brownie pan. Smooth out the top with an offset spatula.
10 – Place the pan inside your preheated oven. Bake at 170OC for 10 minutes only. Yes, that’s right! Because now we’re going to perform a little trick to get some great looking cracks on the surface of your brownie.
11 – First, fold a large tea towel into a square that’s a bit bigger than your brownie pan. Lay the folded towel on your counter top. At the ten-minute mark, using oven mitts, very carefully take your pan out. From a height of about 6 inches, slam the pan onto the folded tea towel 4-5 times. This slamming motion will agitate the semi-baked batter and give your brownie top those quintessential gorgeous cracks. At this point, top your brownie with a sparse sprinkling of flaky sea salt and put the pan back in the hot oven.
12 – Bake it for another 10-12 minutes at 170OC. Make sure to check for doneness at the 10 minute mark. Feel the surface of the brownie, it should be firm but squish down when you apply pressure. Check the corners with a bamboo skewer; you should see some crumbs and gooeyness. Do not be alarmed, as the brownie will continue to cook on your countertop. Unlike a cake, you’re not looking for the skewer to come out clean. A clean skewer means a cakey, over-baked dry brownie.
13 – Wait at least an hour before cutting into the brownies to help it to set. Your knife should be smeared with chocolate with each cut if you’ve got the cook just right.
All ovens are different. Like me, you too will have to experiment and see which settings will give you the best results. If you use the convection mode, you’ll have to lower the temperature accordingly. If you have only top heating rods, you’ll have to adjust for that. In my oven, the middle rack at 170OC (upper and lower heating, non-convection) for a total bake time of 22 minutes yields the best brownies. I also turn my pan around when I put it back in for the final bake, to account for any potential uneven heating. Always check your brownies at least 2-3 minutes before the specified cooking time is up.
Tips & Tricks
How to line a square baking pan with parchment: