


Makes 16 x 4-inch pies
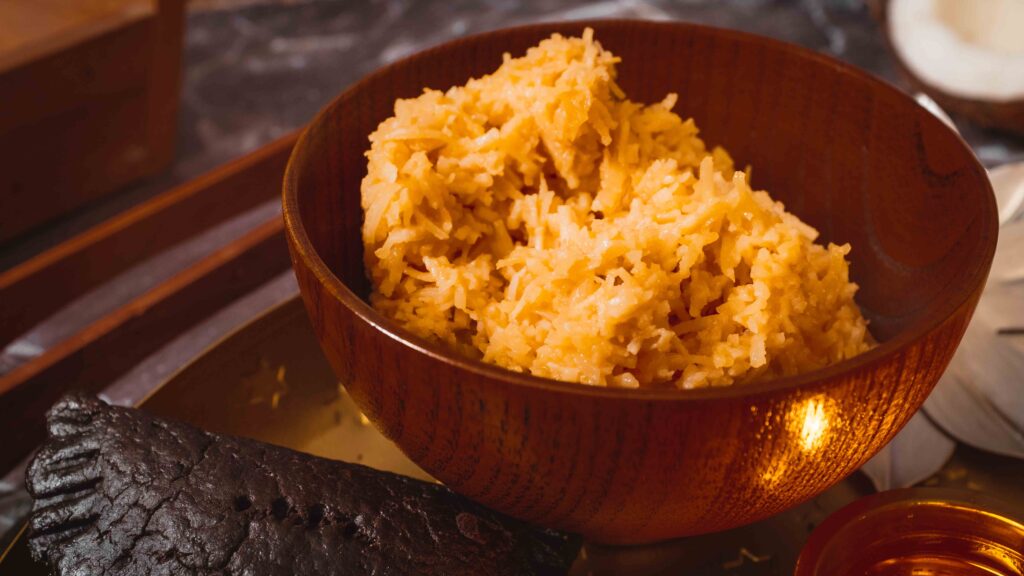
Come September, households across India begin planning festive menus. A usual suspect is a half-moon shaped, coconut-filled, fried hand pie called ‘karanji’ (gujiya/bhaja puli). It’s utterly delicious and available at every sweet shop, so why would we bother making it? Instead, we’re going to ring in the seasonal feasting with these babies. They look like karanji, are assembled like hand pies, but taste like Bounty, my favourite chocolate bar. Made with chocolate short-crust pastry, and stuffed with a sweet coconut filling—this is one dessert you’ll want to add to your faral platter this festive season.
At a glance
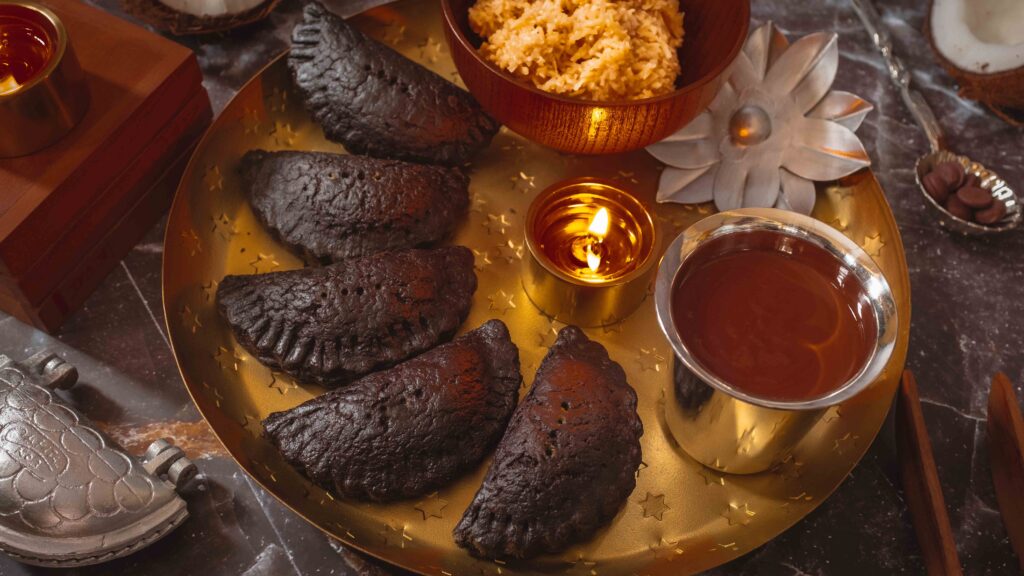
– These hand pies comprise chocolate short-crust pastry + “Bounty” coconut filling + dark chocolate dipping sauce.
– You will need a 4 inch scalloped cookie cutter or mini tart pan, baking parchment, and some baking trays.
– This recipe has been broken into 4 stages for ease and comprehension. Please read the entire recipe from start to finish before beginning.
Stage 1: chocolate short-crust pastry
Ingredients
1. 315 gm all purpose flour, sifted + extra for dusting
2. 60 gm dutched or natural cocoa powder, sifted
3. 20 gm confectioner’s sugar, sifted
4. ¼ tsp salt
5. 200 gm cold unsalted butter
6. Yolks from 2 large eggs (58 gm in-shell weight per egg)
7. 60 ml milk
8. 1 tsp vanilla extract
The type and brand of cocoa powder you use will determine the colour of the dough. I used this extra dark natural cocoa powder, which is why my hand pies are such a dark shade of brown. If you prefer a lighter brown, choose a lighter-coloured cocoa powder
Prep
1 – Cut the butter into ½-inch cubes and keep chilled.
2 – Whisk together the egg yolks, vanilla extract and the milk and keep chilled. This is your wet mixture. Save the egg whites to use as glue in Stage 3.
3 – Cut 2 parchment sheets into 12×12 inch squares. Set aside.
4 – Line some fridge-safe trays/plates with parchment paper.
Method
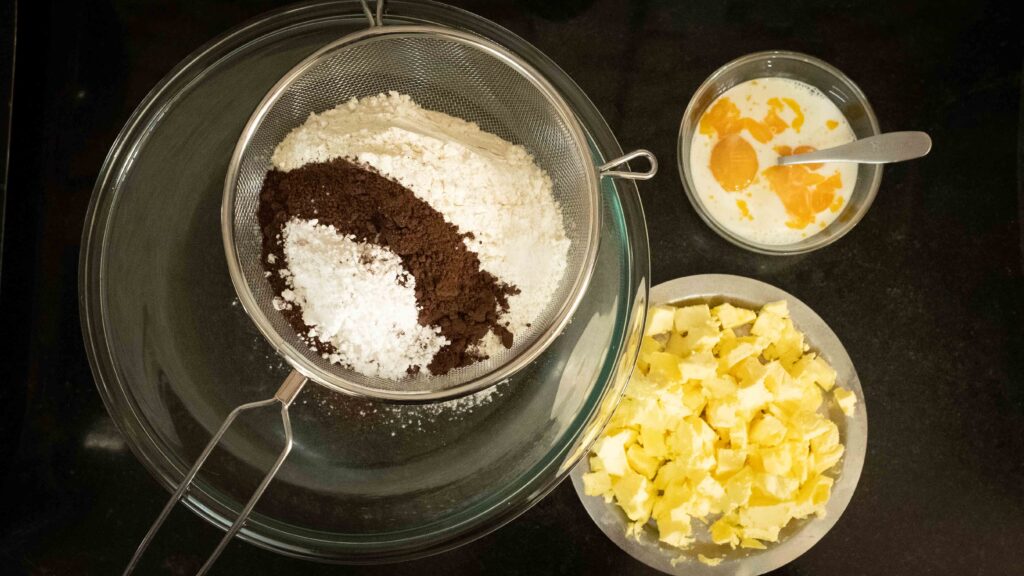
1 – Sift together the flour, cocoa powder, confectioner’s sugar, and salt in a bowl and then whisk together well to combine.
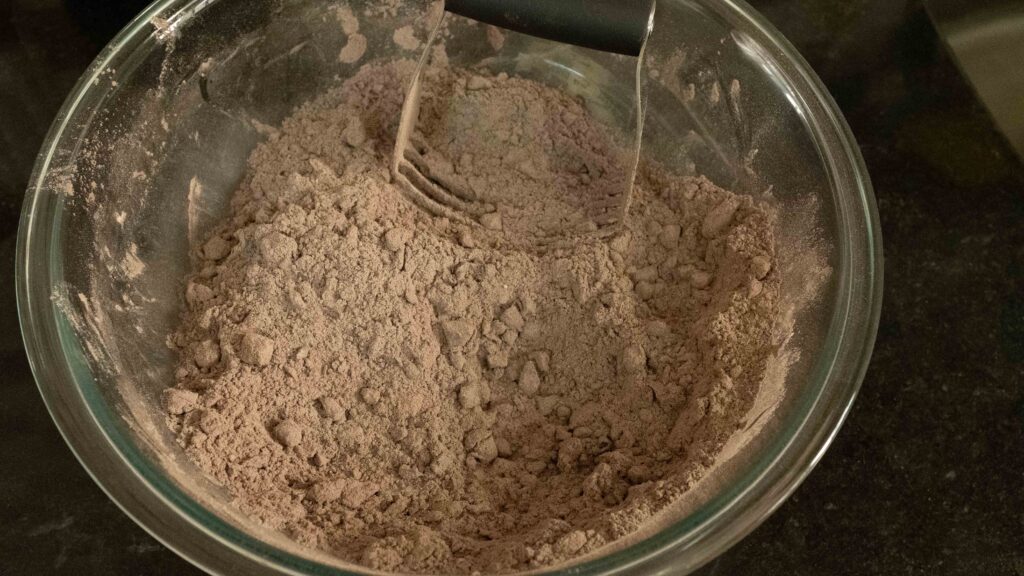
2 – Add the cubed butter to the bowl. Using a pastry cutter or two butter knives, ‘cut’ the butter into the flour until you achieve a texture akin to coarse cornmeal, and pea-sized knobs of butter distributed throughout.
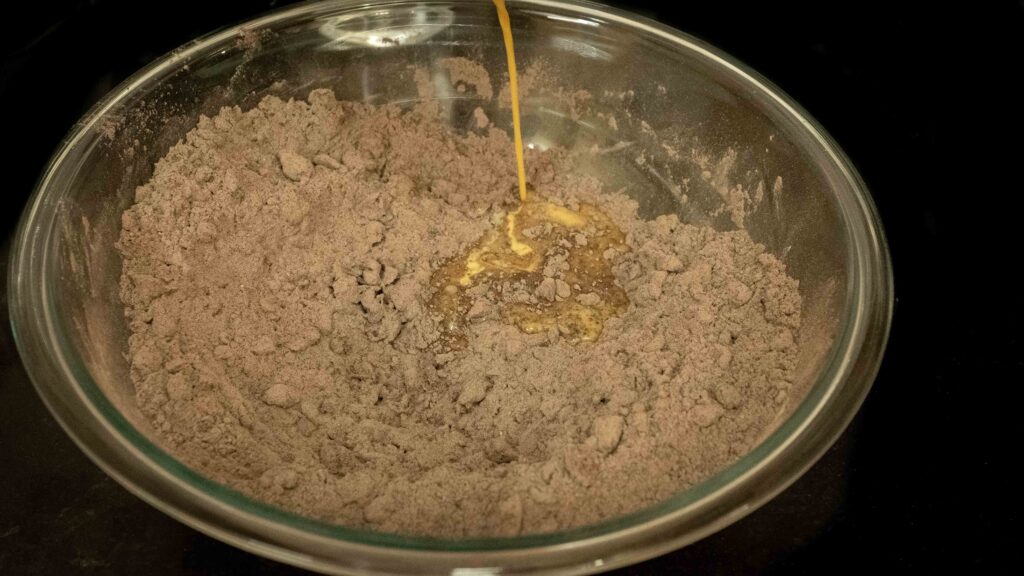
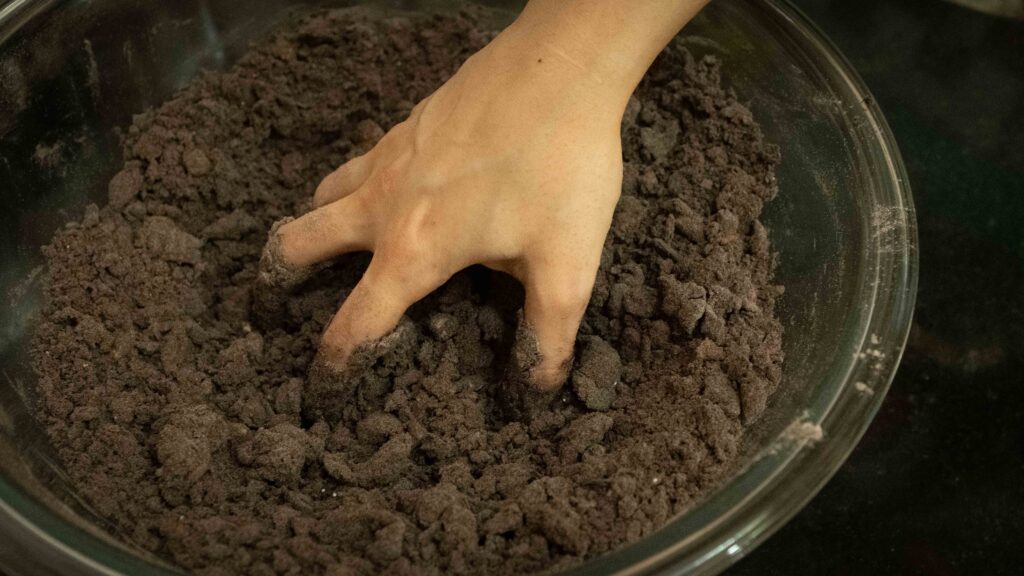
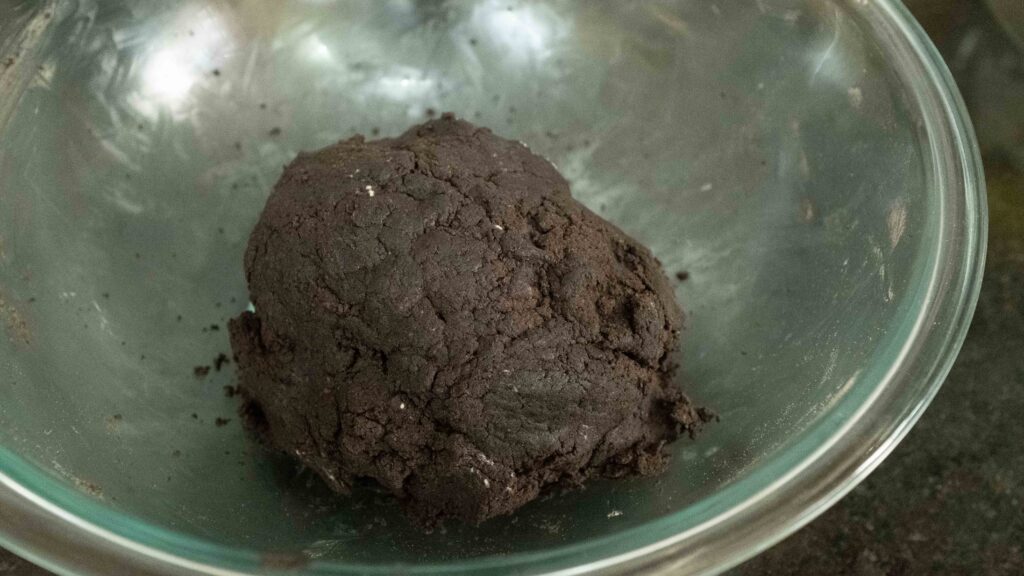
3 – Add the wet mixture to the dry ingredients and use your hand like a claw to ‘swirl’ the mixture together, and cup it together. Within a minute or so, it will come together as a ball of dough. Do not knead it.
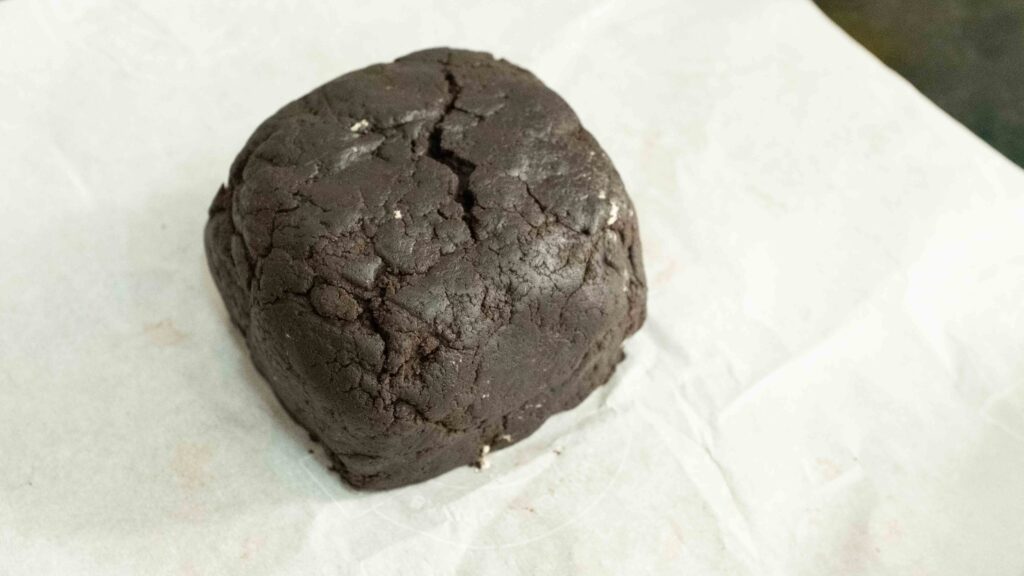
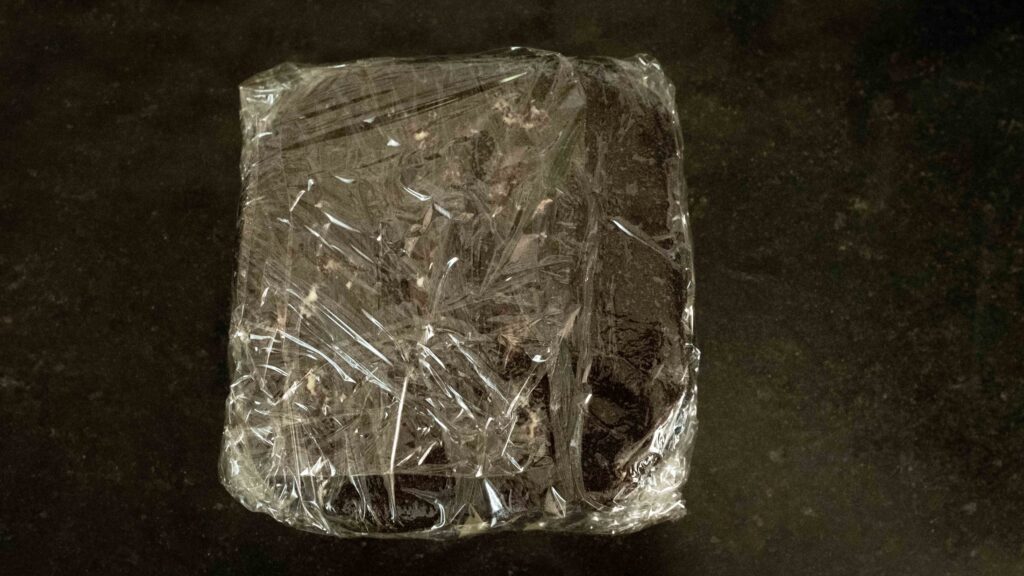
4 – Transfer the dough to a sheet of parchment, fold over the sides of the parchment and press down to flatten until you have a thick square. Wrap the square in cling wrap and place it in the fridge for 1 hour, or in the freezer for 30 minutes.
5 – After it’s done chilling, remove the wrapped dough from the fridge and let it sit at room temperature for 10-15 minutes (do not unwrap it yet). If you left it in the fridge to chill overnight, it will take up to an hour to become pliable. Once it’s soft enough to roll, cut the dough in half. It’s a lot easier to roll out a half portion at a time than the entire dough at once. Keep the second portion wrapped, while you work on the first.
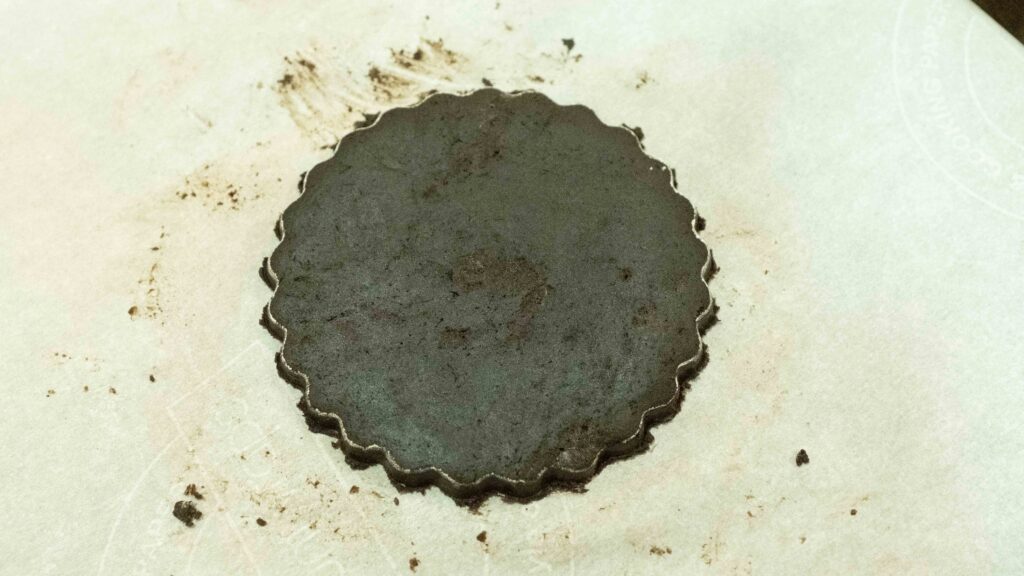
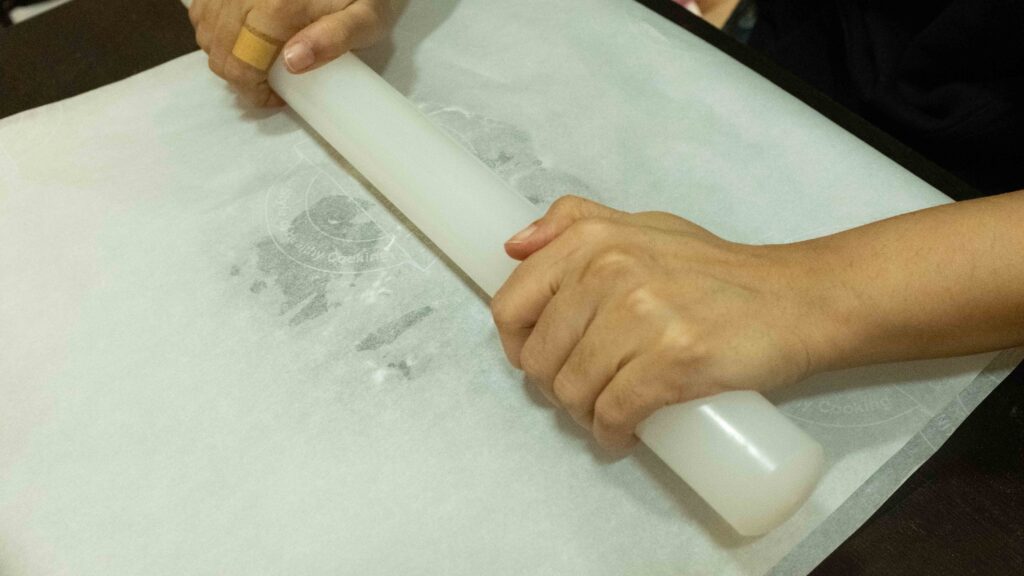
6 – Lay down one 12-inch sheet of parchment and lightly flour it. Place your dough on top of it and then place the second 12-inch sheet of parchment on top. Roll your chilled dough between the two sheets until it’s roughly 1/8 inch thick. It doesn’t matter if it’s misshapen, as long as it’s evenly thick. When rolling out chilled short-crust pastry dough, start in the centre and work your way outwards, making tiny little rolls and rotating the parchment frequently until the dough becomes easier to roll. Go slow and steady. Rapidly rolling a cold dough will result in major crackage!
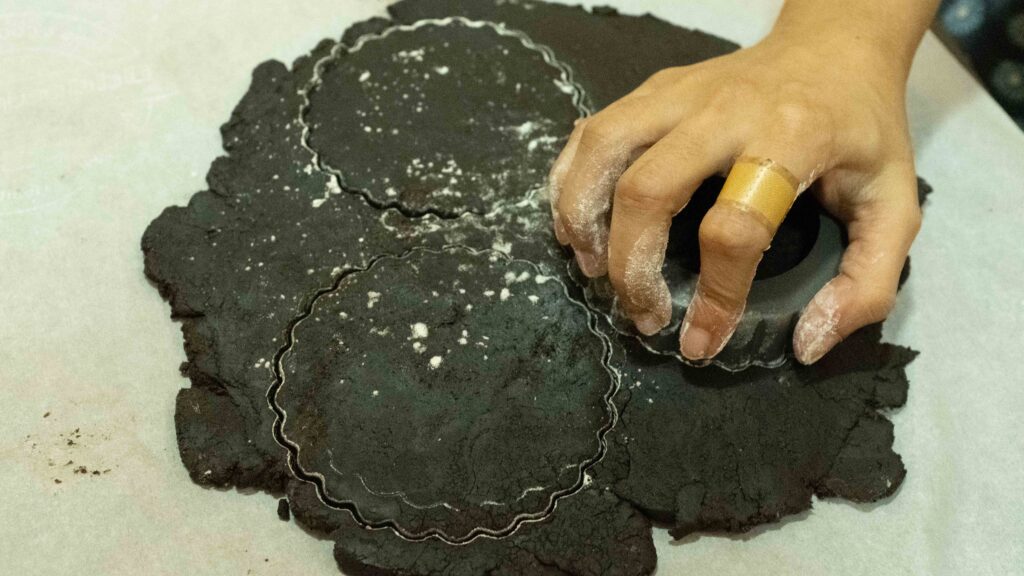
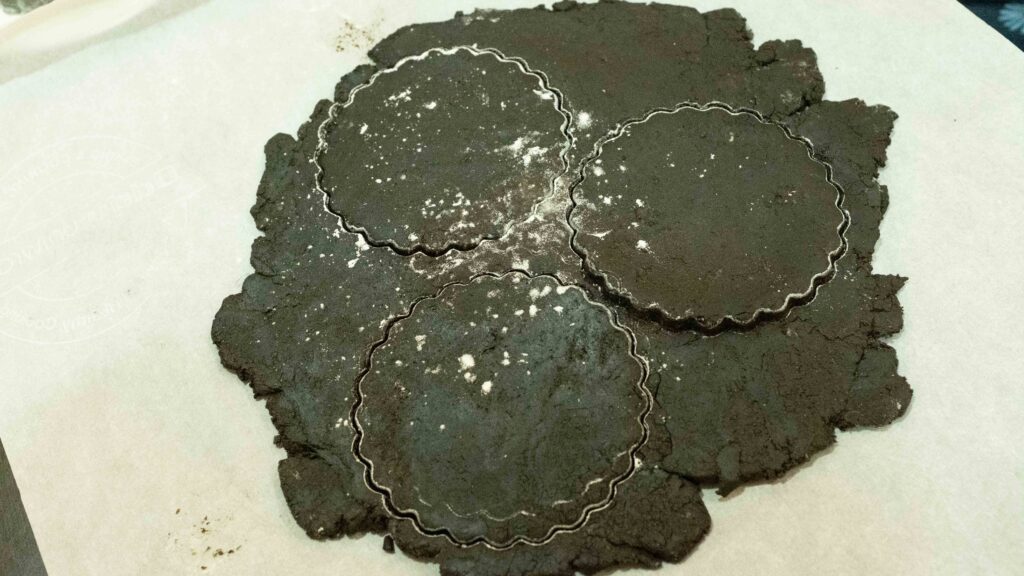
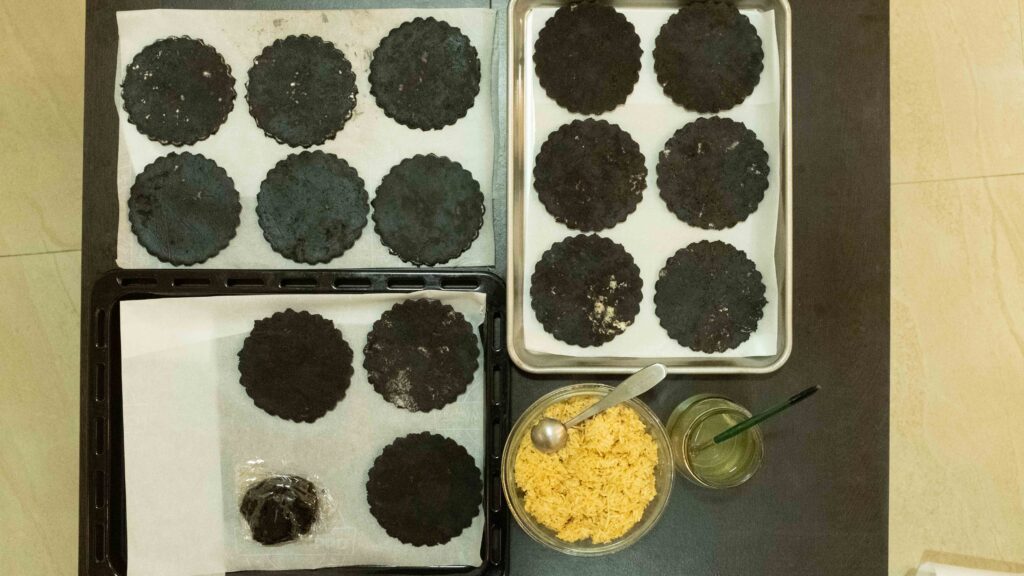
7 – Using your 4-inch scalloped cutter, cut out as many circles as you can. You may need to dip the cutter into some extra flour to prevent sticking. Remove the excess dough, gather it together and re-roll it until you run out of dough. Then repeat with your second portion of dough. I got exactly 16 circles from the entire portion of dough, but made only 15 circles and kept the 16th circle as a spare in case I needed to patch up any cracks.
8 – As you’re cutting out the circles, lay each chocolate circle in a parchment-lined tray without overlapping any. Cover the tray with cling wrap and place in the fridge for 10 minutes to chill before assembling your hand pies.


Chocolate short-crust pastry dough is tough to handle in hot and humid climates. For that reason, this chocolate dough contains very little sugar—the more sugar you add, the stickier it gets, and the harder it becomes to handle. I make my pastry dough in an air-conditioned environment to prevent the butter from melting. Work quickly! If it’s warm, use disposable gloves to prevent the transfer of heat from your hands. Pop the dough back into the fridge if you see the butter melting or the dough getting too soft at any stage. You can make the dough well in advance and store it in the fridge for up to a week or in the freezer for up to 3 months. When freezing the dough, double wrap it and place it in a resealable plastic bag. You will need to thaw the dough before rolling.
Stage 2: “Bounty” coconut filling
Ingredients
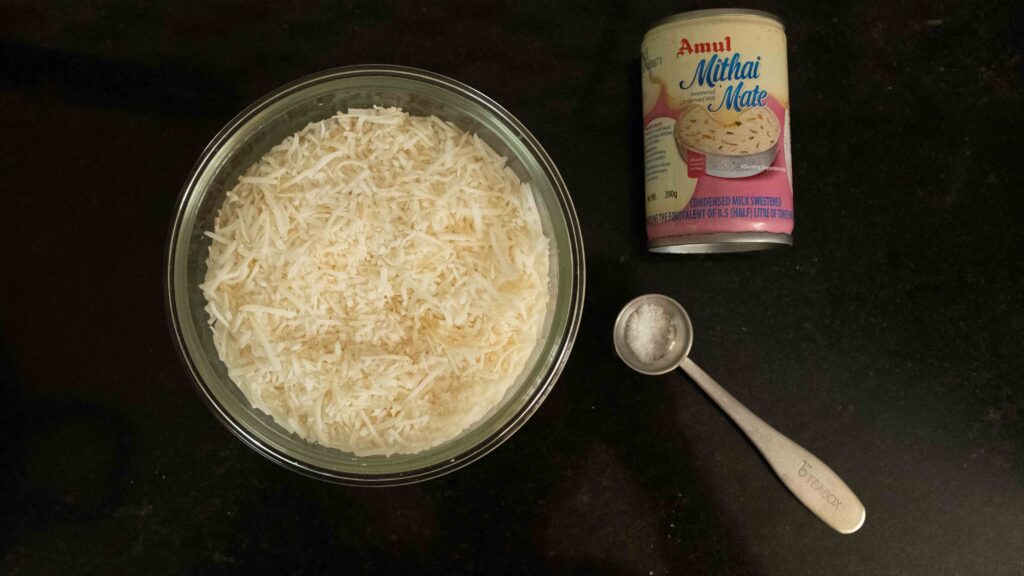
1. 75 gm desiccated coconut (fine flakes or shredded)
2. 150 gm sweetened condensed milk
3. 1/8 tsp salt
Did you know that sweetened condensed milk that’s sitting in an unopened can will get darker and thicker with time? Mine was sitting in my pantry for 7 months, hence its caramel hue! As long as it’s within the expiration date, it’s absolutely fine to use.
Method
1 – Place the shredded coconut in a mixing bowl.
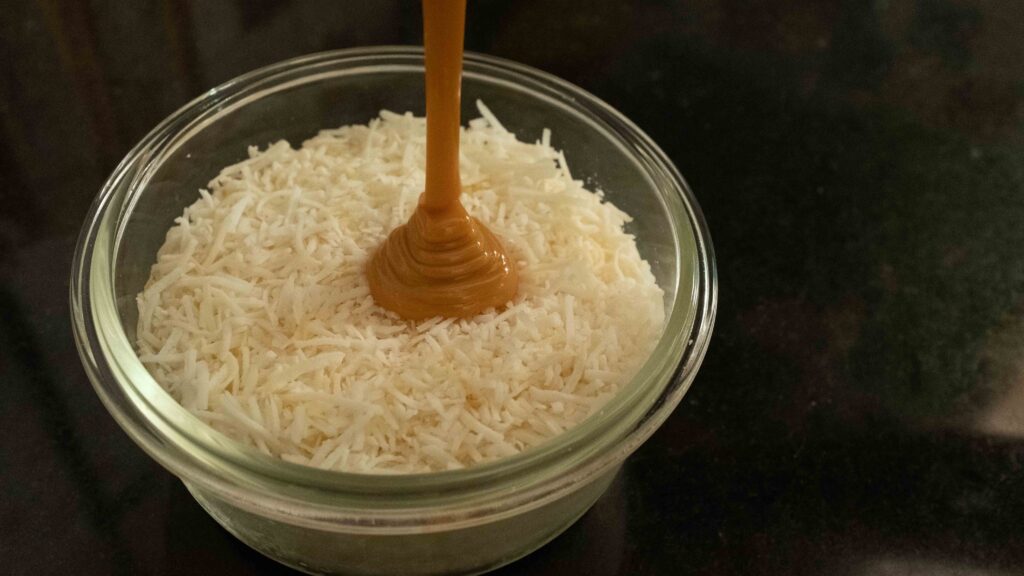
2 – Add the salt to the sweetened condensed milk and give it a stir.
3 – Then pour the sweetened condensed milk onto the shredded coconut and stir with a spatula to combine. That’s it!
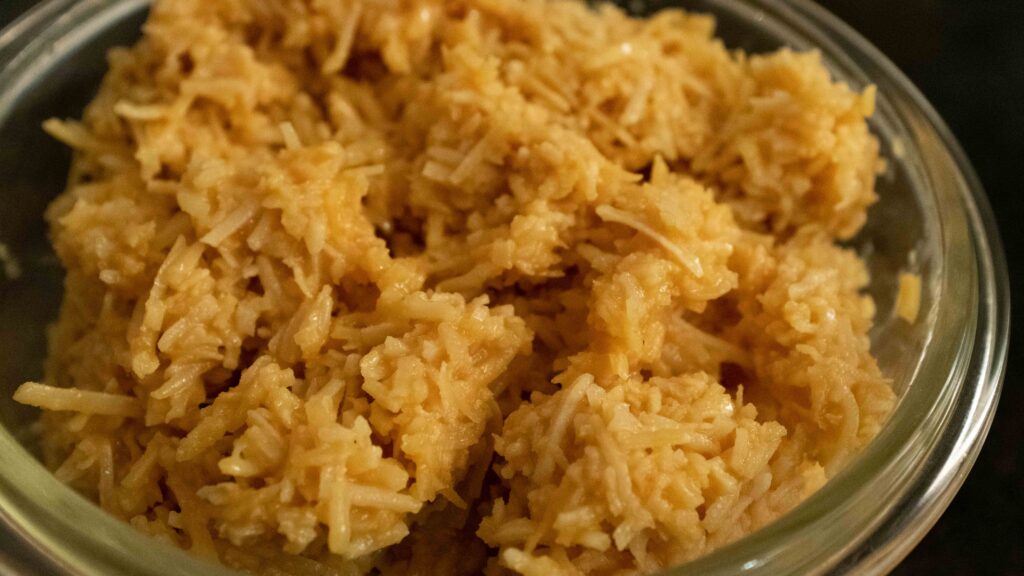
If not assembling your hand pies immediately, store the filling in an airtight container in the fridge for up to 5 days. Depending on your taste preferences and what you can source, feel free to use either desiccated coconut or freshly grated coconut (defrosted frozen-fresh coconut works too). Keep in mind that 75 gm of fresh coconut will be a smaller quantity than 75 gm desiccated coconut, so you may need to use more. If using fresh coconut, taste the mixture and add more coconut as required. You’re essentially looking to make a very sweet, sticky, wet mixture. Remember, because the chocolate short crust dough is high on bitter cocoa and low on sugar, the filling itself has to be quite sweet to balance the flavours out.
Stage 3: assembly and baking
Components
1. Chocolate hand pie dough circles
2. Prepared “Bounty” coconut filling
3. Optional; 1/2 tsp softened butter per hand pie
4. Leftover egg whites to use as glue
5. 1 egg yolk + ½ tsp water to make an egg wash
Method
1 – Take your trays of dough circles out of the fridge and let them rest for 10 minutes. They should be fully pliable before assembly; else they will crack while folding.
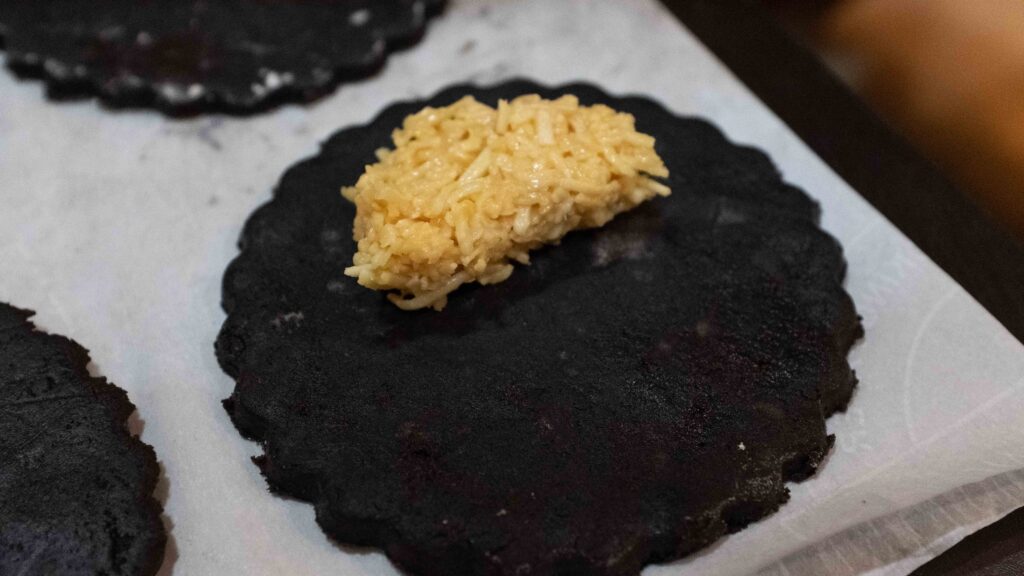
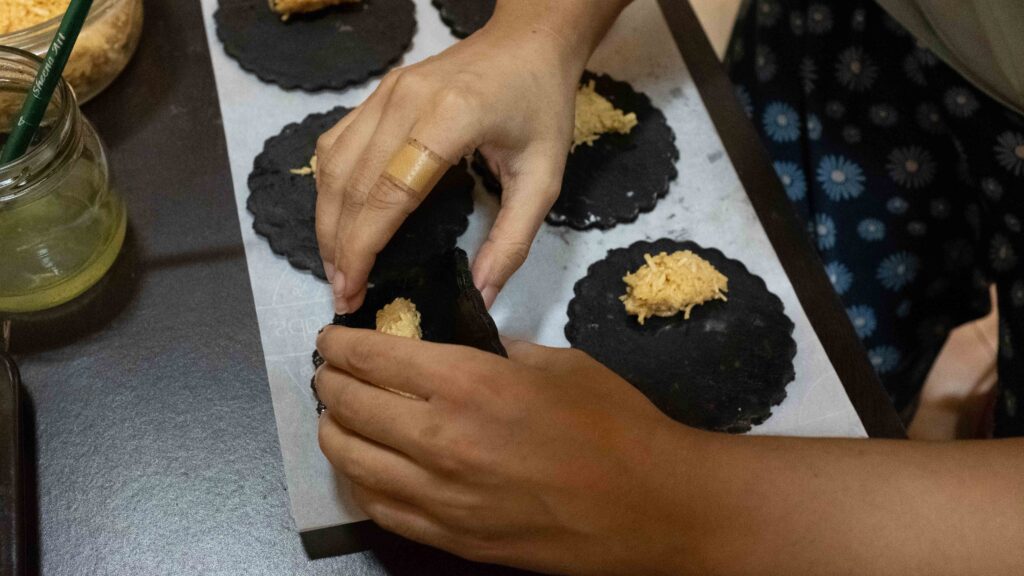
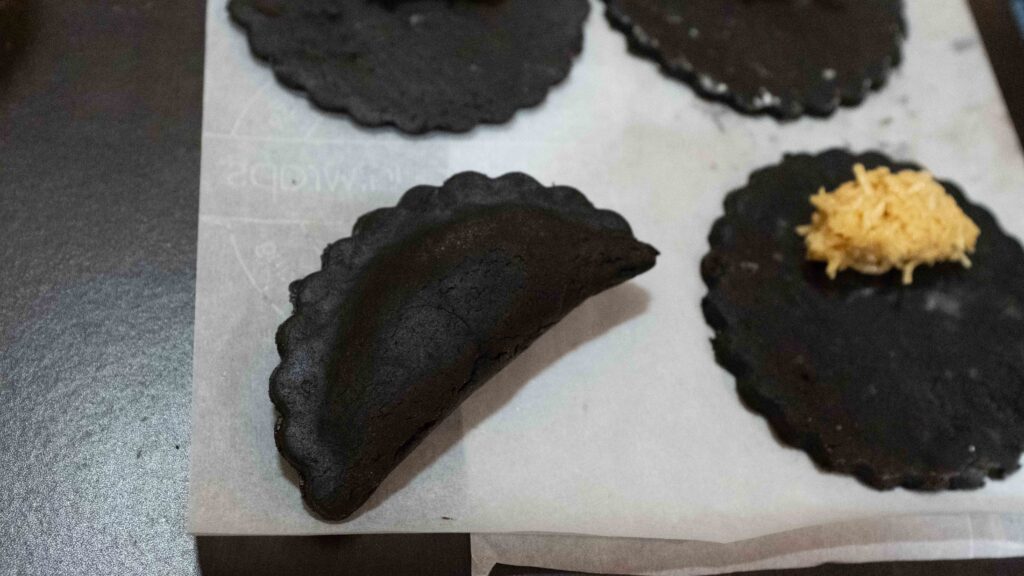
2 – Take 1 heaped teaspoon of coconut filling in your palm and shape it into a half moon. This is easy to do if your mixture is cold. Place the shaped coconut filling on one half of each circle of dough, with the curved side parallel to the curved side of the dough. If your filling is warm and on the runnier side, use a spoon to place a heaped teaspoon of filling on one half of each circle of dough and then nudge it into a half moon shape. Don’t add too much filling, as an over-stuffed pie is harder to seal and you risk them bursting while baking.
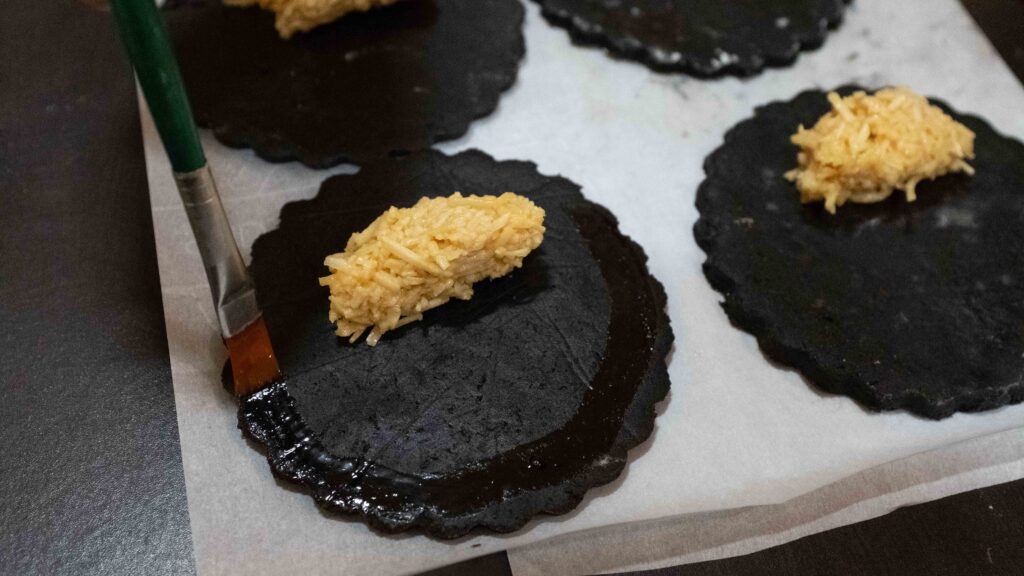
3 – If you desire a wetter/moister filling, scoop about half a teaspoon of butter on top of each portion of filling. I didn’t do this step.
4 – Brush the inside circumference with egg white (it will act as a glue).
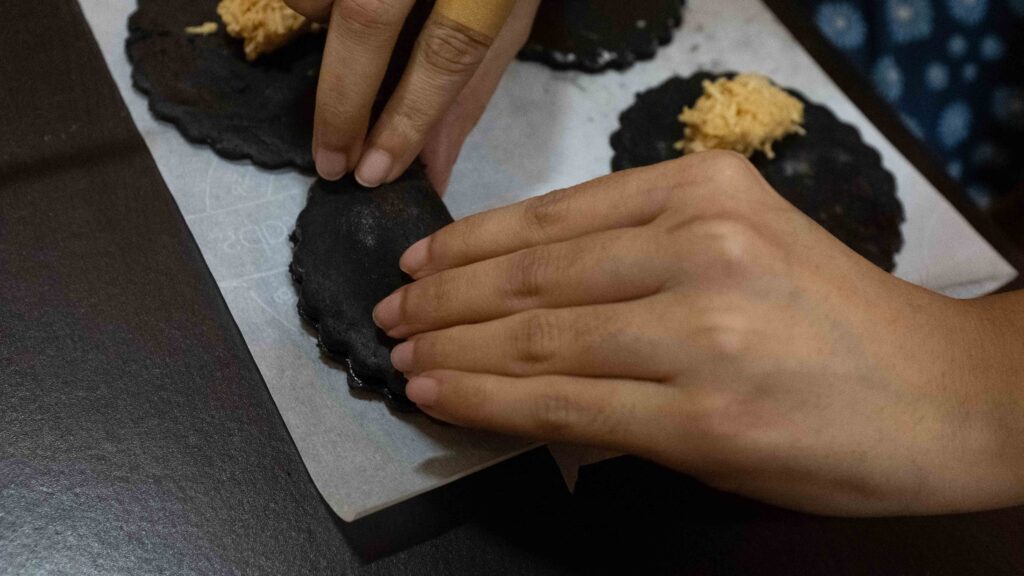
5 – Then fold over the other half of the circle and seal the scalloped edges by pressing down with your fingers while pushing out any air that might be inside.
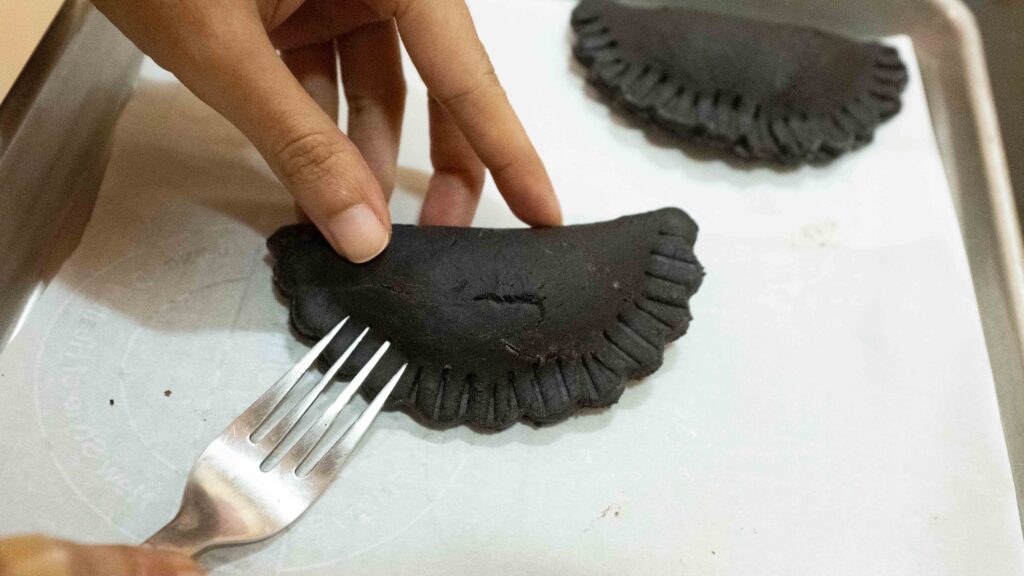
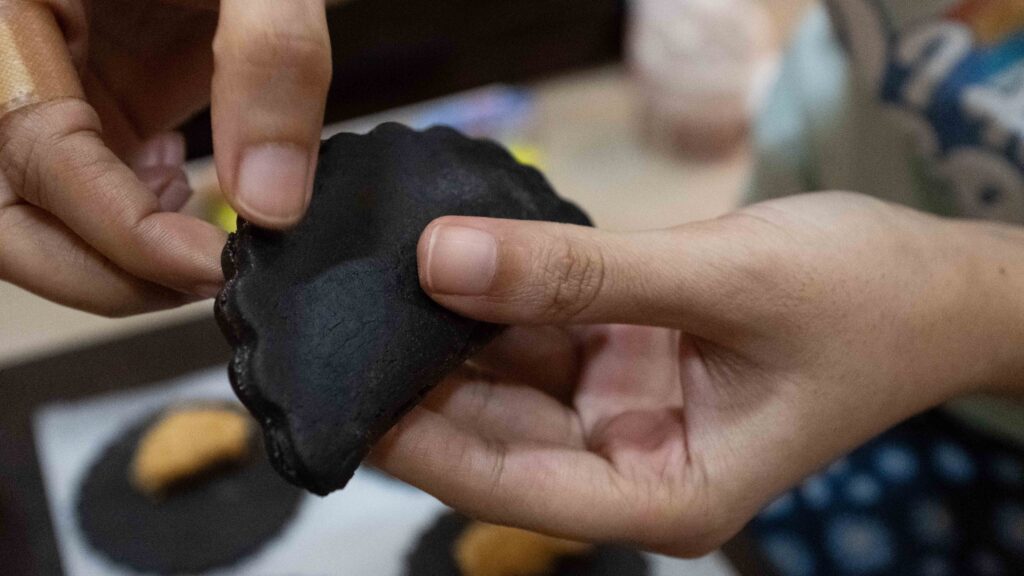
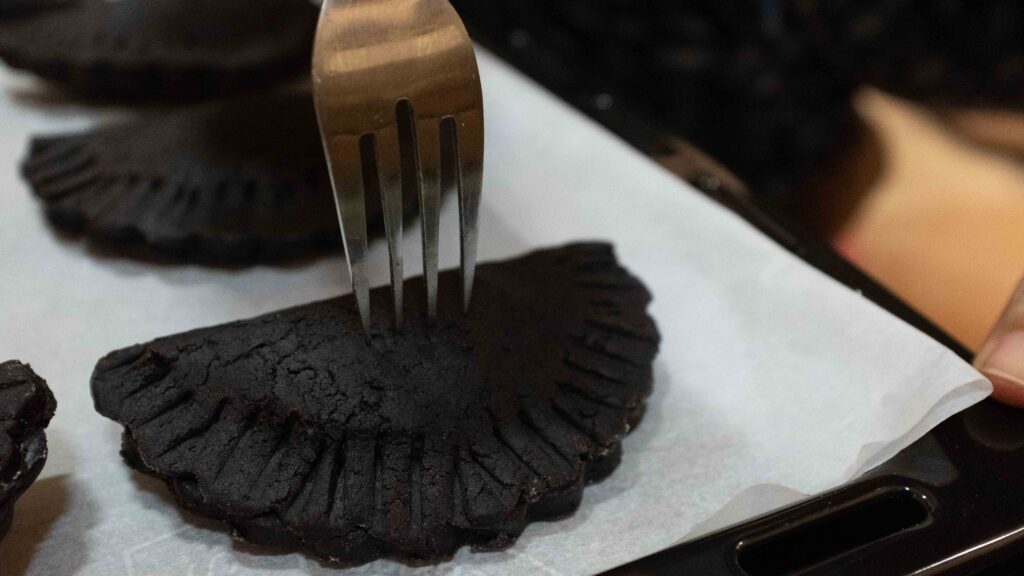
6 – Do a final seal by pressing the tines of a fork against the scalloped border. I do not recommend using a dumpling/empanada/karanji press to shape your hand pies, as the pastry is too short and delicate to be handled that much.
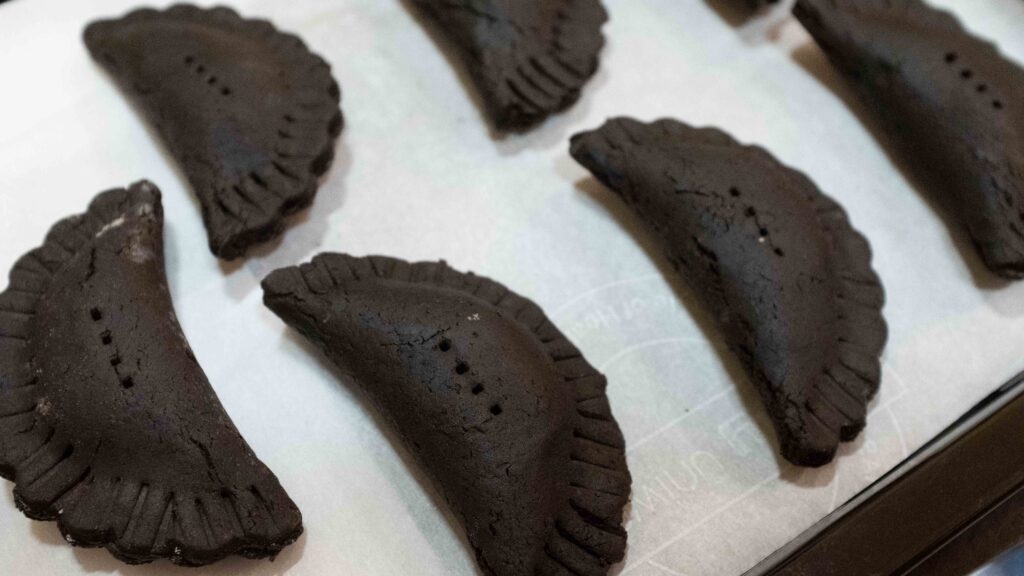
7 – Using a fork, pierce the surface of each hand pie just once. The holes will act as vents and let out any steam while baking. Take care not to poke all the way through.
8 – Cover your tray of assembled hand pies with cling wrap and place them in the fridge to chill for a minimum of 60 minutes or overnight for best results. I assembled mine the previous night as I wanted to bake them early in the morning.
9 – Preheat your oven at 190OC for 20 minutes. Keep the pies in the fridge.
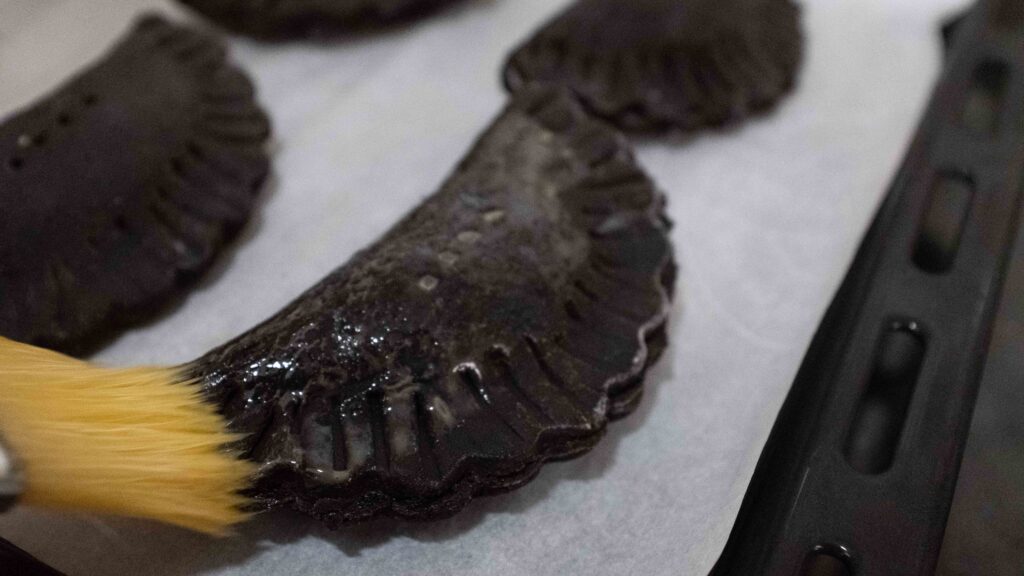
10– Just before placing them in the oven, lightly brush the surface of each hand pie with egg wash. If the vent holes get blocked with egg wash, simply re-pierce the holes with a fork, taking care to insert the tines in the existing holes.
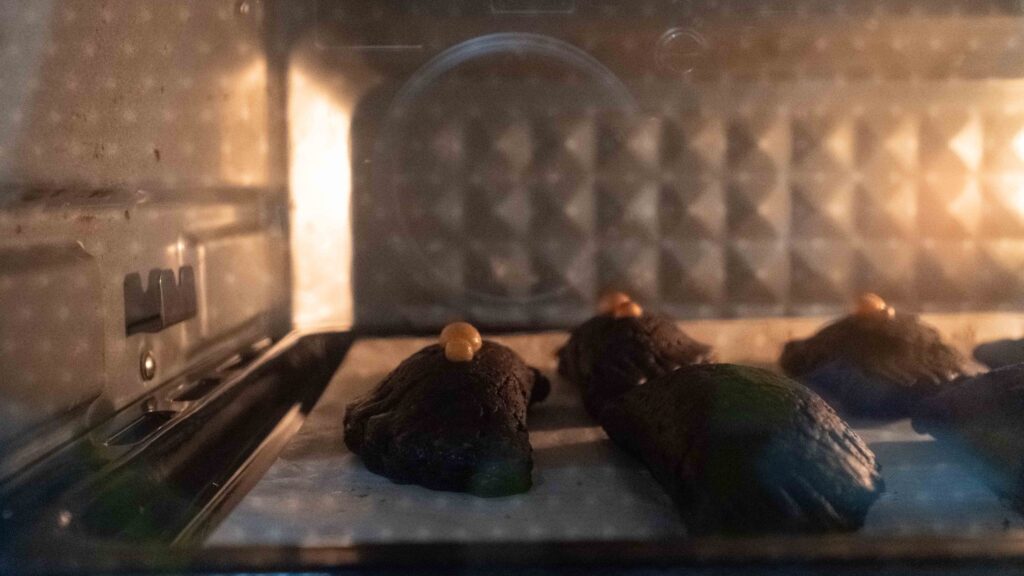
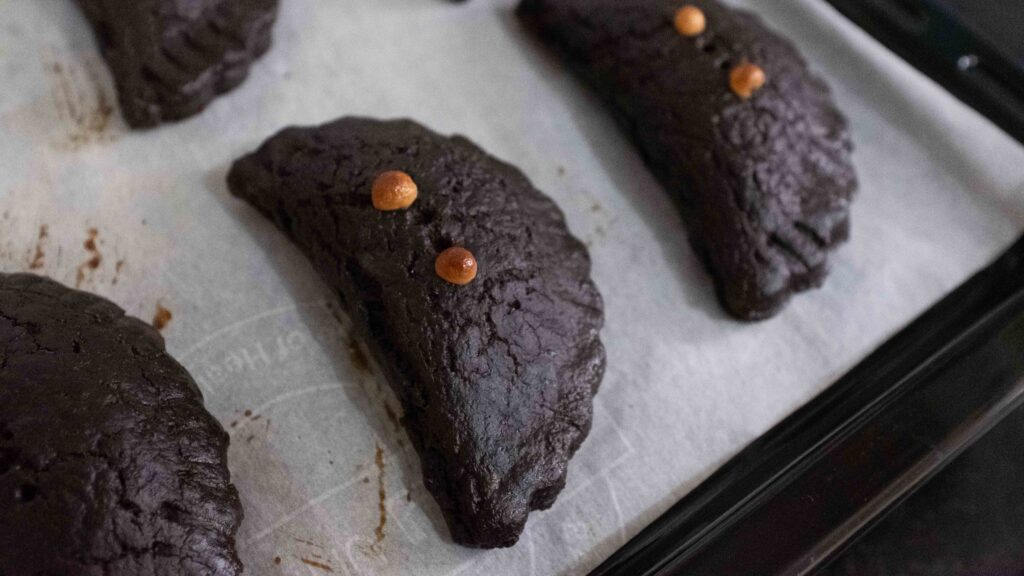
11 – Bake the hand pies at 190OC for 20-22 minutes. They will be ready once they are firm on top and the air smells deliciously chocolatey. Mine took exactly 20 minutes.
12 – Remove your tray of hand pies from the oven and place it on a wire rack to cool. The filling will be piping hot, so please wait for the hand pies to become cool enough to handle. While they’re coming to temperature, move on to Stage 4 and make your dark chocolate dipping sauce.
Once cooled to room temperature, these hand pies can be placed in an airtight container. Store them in the fridge for up to 3 days if they’re not inhaled within the day! You can cook these pies in an air fryer! Preheat your air fryer at 175OC for 5 minutes, then spray the air fryer basket with nonstick cooking spray. Place as many as will fit without touching each other into the air fryer basket and air fry at 175OC for 12-15 minutes or until the crust looks shiny and the air smells chocolatey. Carefully remove the pies and transfer them to a wire rack to cool. Repeat with the remaining pies.
Stage 4: dark chocolate dipping sauce

Ingredients
1. 75 gm high quality couverture dark chocolate (50-60% cocoa)
2. 150 ml full fat heavy cream
Chocolate ganache is a confection that consists of chocolate and cream, in varying ratios, depending on how it will be used. Read about ganache here. For a thick, pipeable ganache that’s perfect for truffles, the chocolate to cream ratio is 2:1. For fillings and frostings or thick glazes, you want a 1:1 ratio. Finally, for thin glazes or drips and dipping, a ratio of 1:2 is required. Because I live in a hot and humid location, I often toggle with the ratios, whereby I increase the amount of chocolate, for extra stability. In this recipe, I have used a 1:2 ratio.
Method
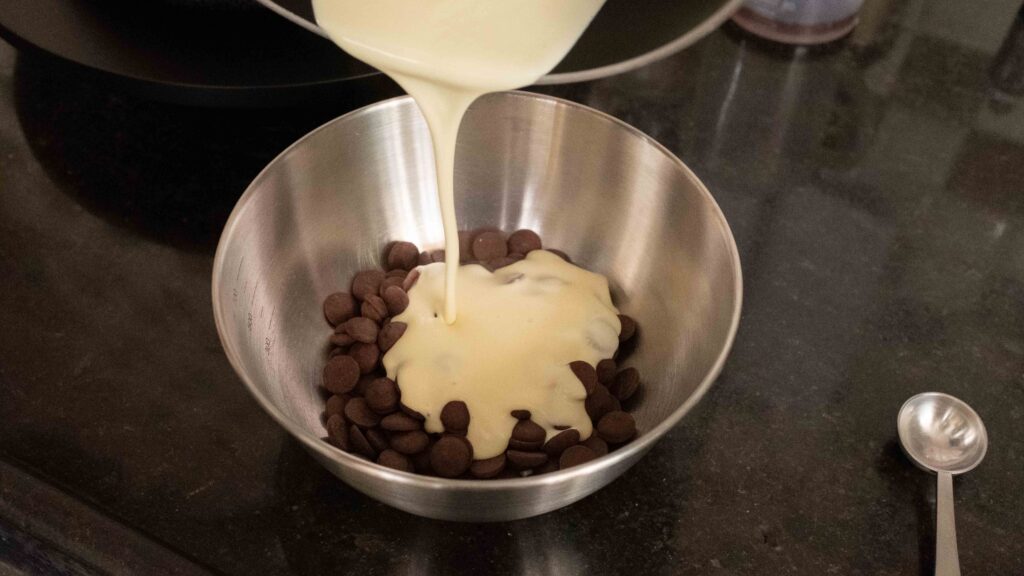
1 – Chop the dark chocolate into small shards (not required if using chocolate calets), and then place them a heatproof bowl.
2 – In a medium saucepan, heat up the cream until bubbles form around the edges of the pan and the cream begins to steam. Do not bring to a simmer or boil.
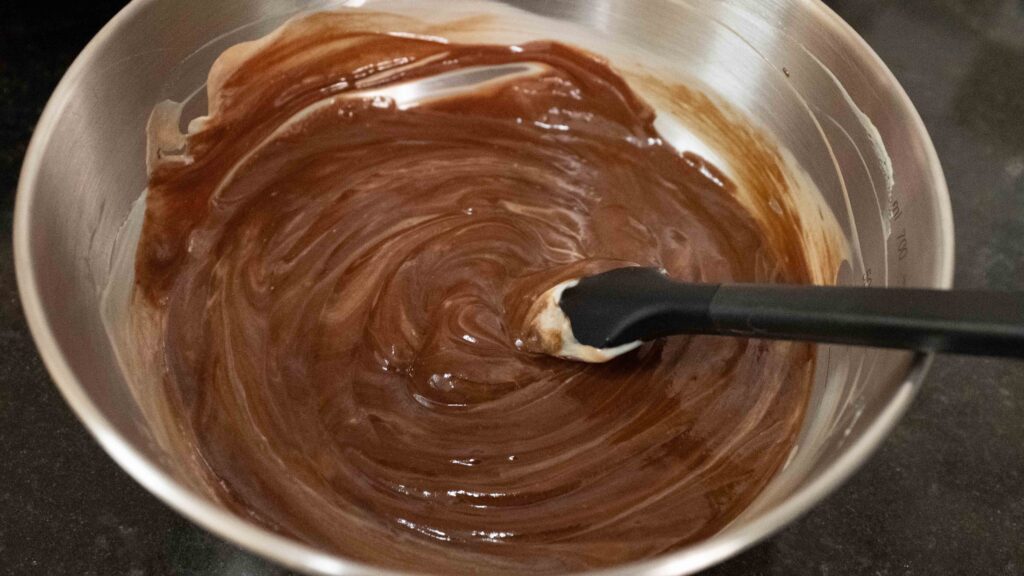
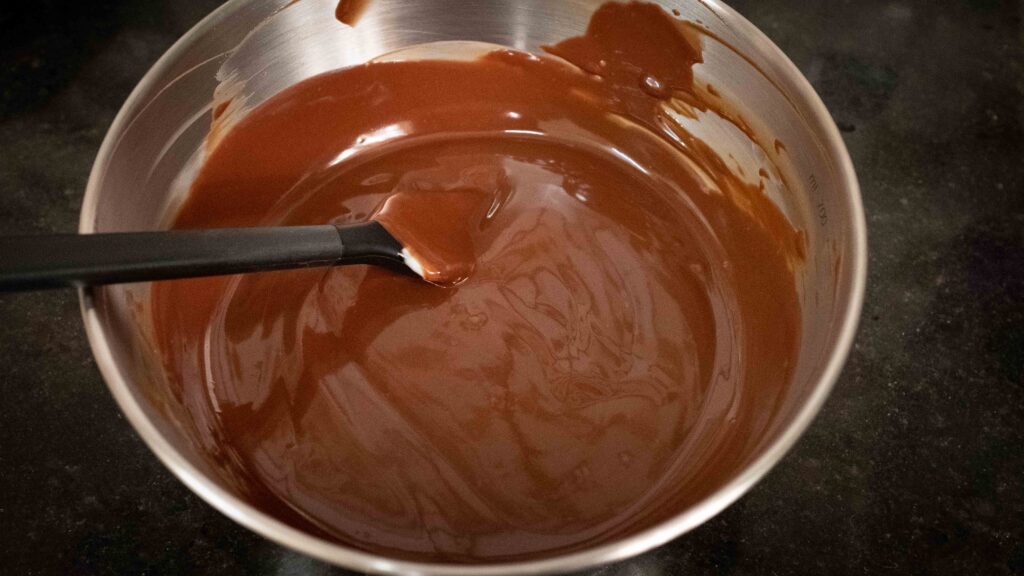
3 – Remove the cream from the heat and pour it onto the chocolate shards. Let the mixture stand undisturbed for 5 minutes and then stir until you have a smooth and glossy ganache.
4 – Serve your warm Bounty Hand Pies with the just made dipping sauce and any leftover coconut filling. Now eat!
To give yourself the best chance at success, use fresh, high quality couverture chocolate, always. You’ll want to use couverture chocolate with at least 50% cocoa. Any less and it will be too sweet. Whatever you do, don’t use compound chocolate or candy melts, ever! Even when you source the best ingredients, things can still go wrong. A big enough difference in cream and chocolate temperatures, overheating your cream or stout, or even overmixing can result in a greasy, split mess. Err on the side of caution. Be mindful. Be vigilant. Be patient! If you run into trouble with your ganache, read this.