Makes a 9-inch bundt cake
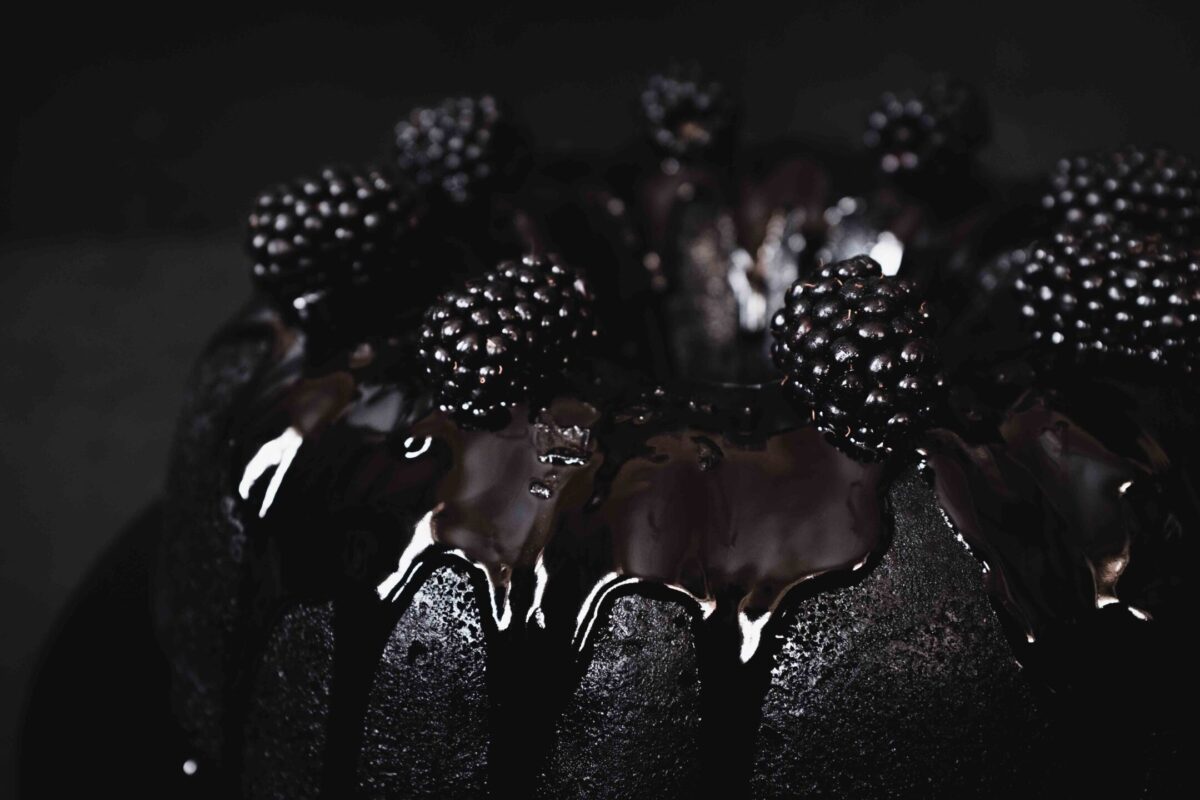
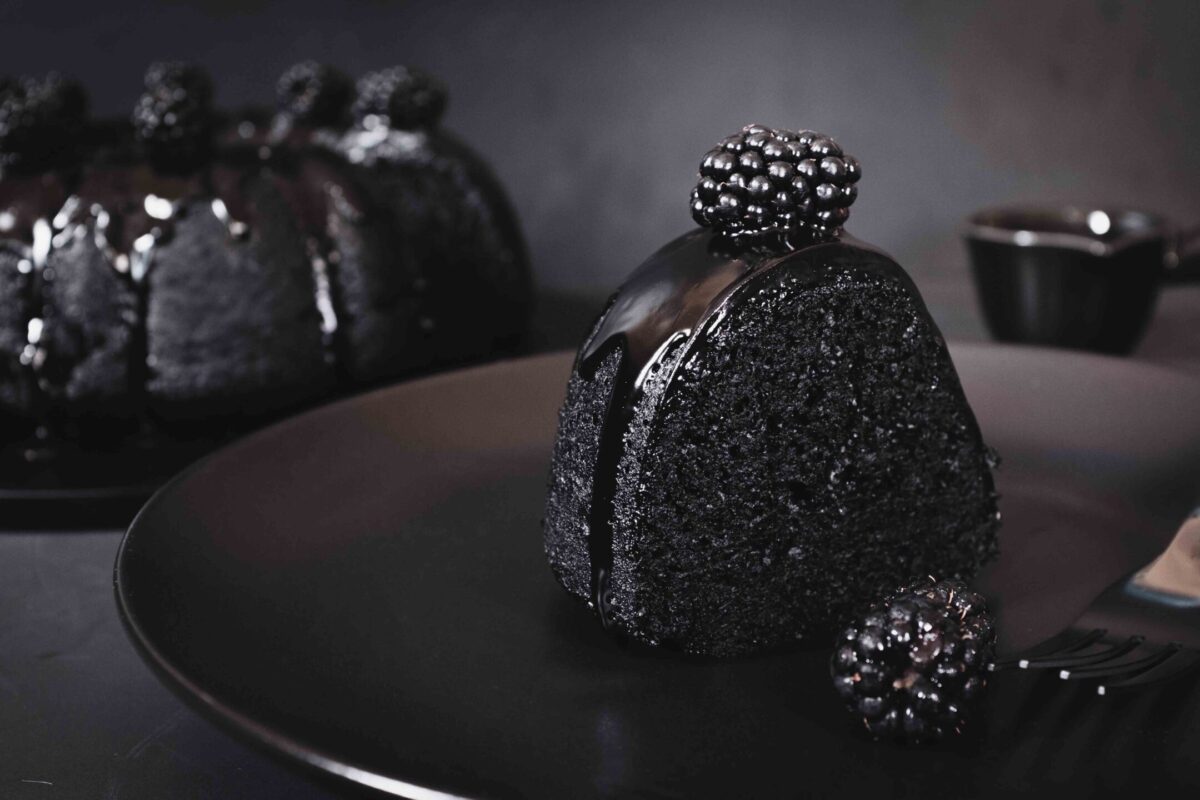
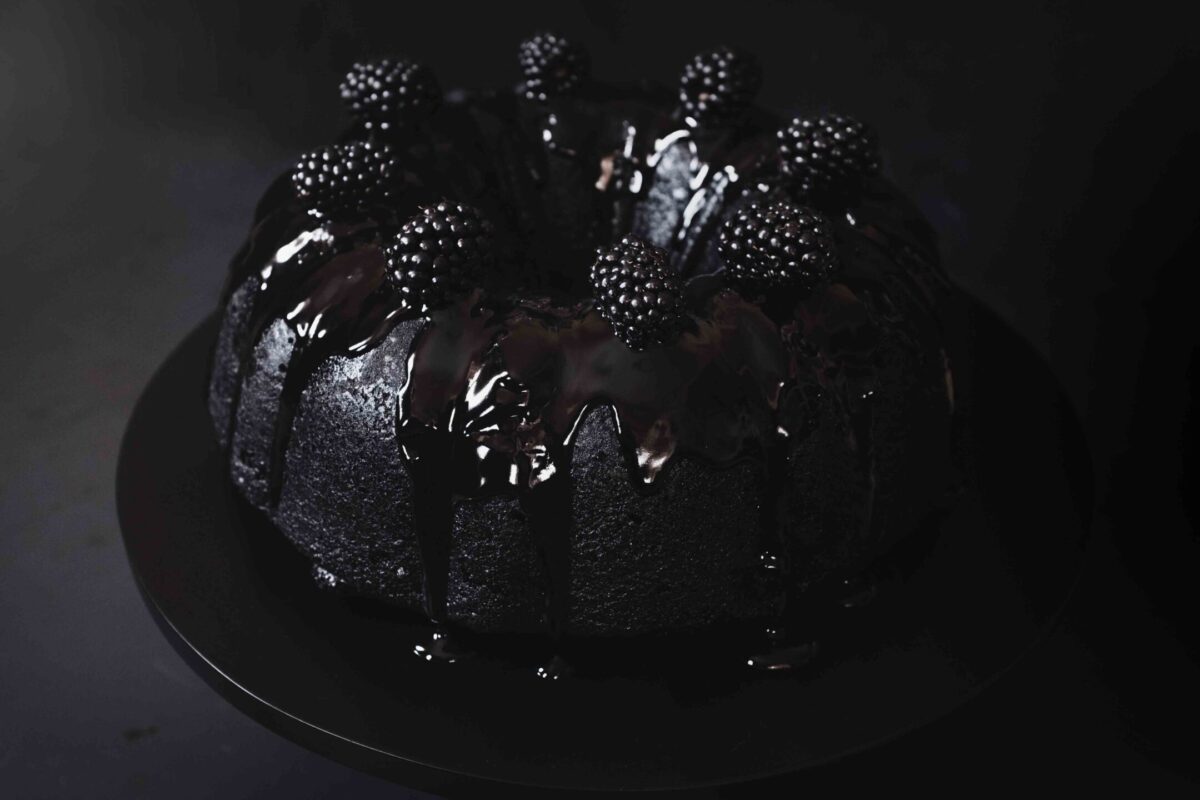
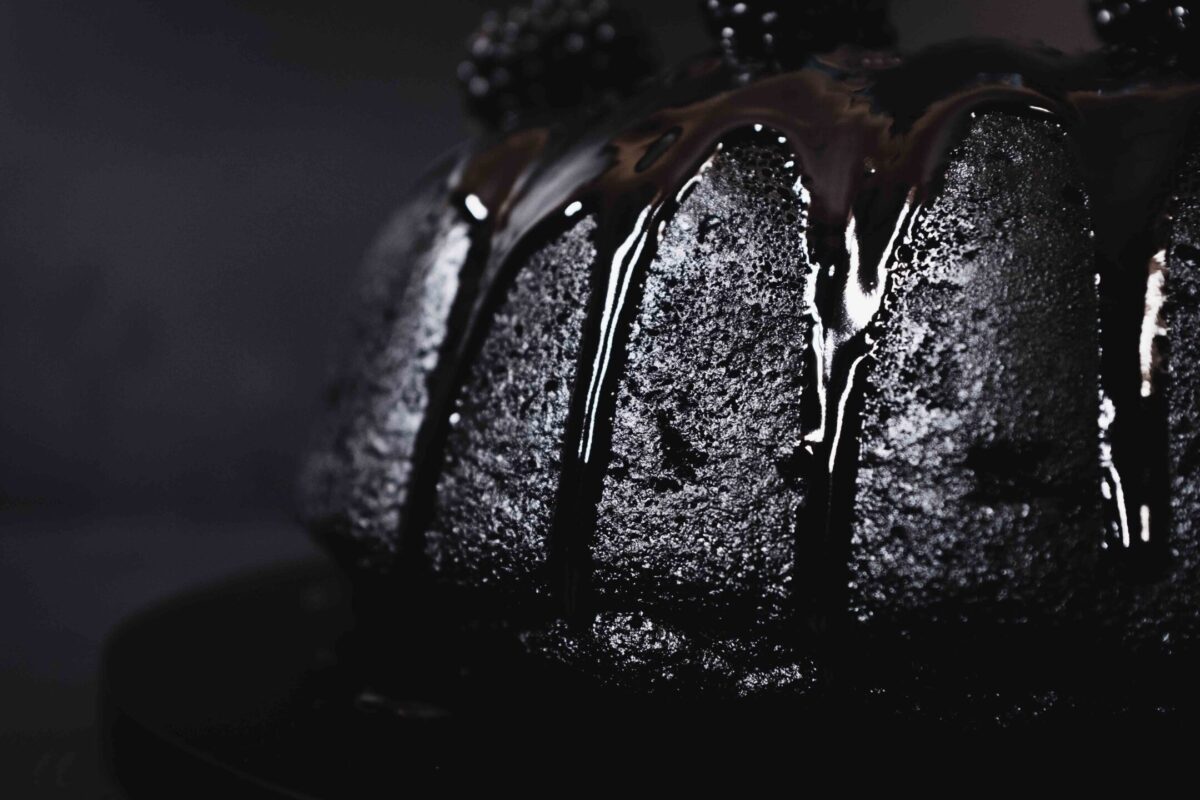
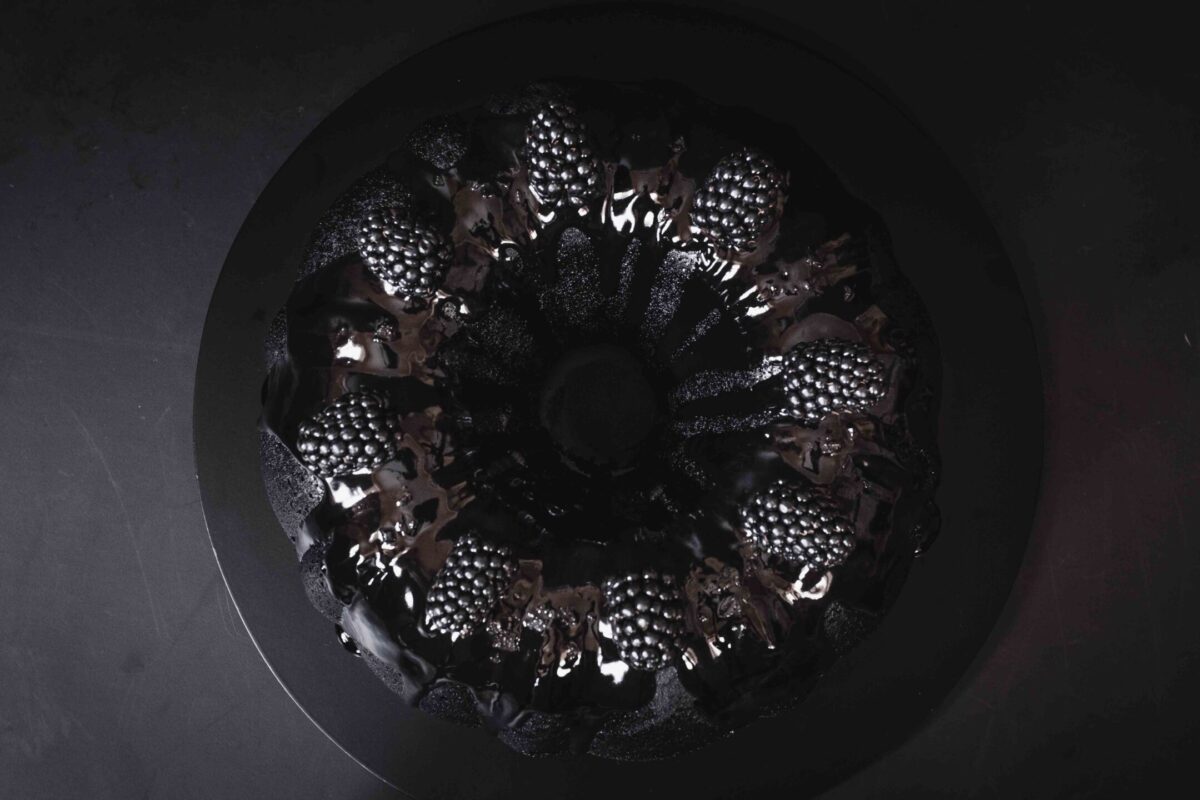
The first time my husband and I met, he was wearing an all-black suit (shirt as well). Back then, I didn’t realise just how black-obsessed he was (his wardrobe is basically 30 black t-shirts). To feed into his black fixation, I made an all-black cake for his birthday! Much like him, it is not too sweet, a tad bitter, and full of beer (haha). Painted black with ultra-dutched cacao powder, deepened with dark beer, and draped in dark chocolate ganache – this tall, dark, and handsome chocolate cake is not just deeply black, it’s deeply delicious.
At a glance
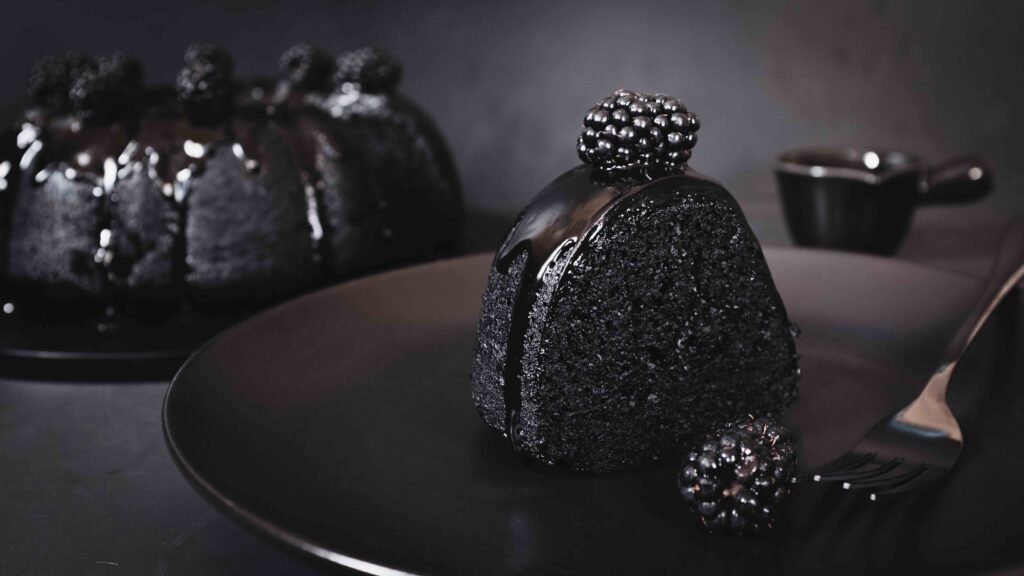
– This recipe comprises black chocolate stout cake + black stout ganache.
– You will need a 10 cup (2.36 litre) bundt pan like this.
– This recipe has been broken into 3 stages for ease and comprehension. Please read the entire recipe from start to finish before beginning.
Stage 1: black chocolate stout cake
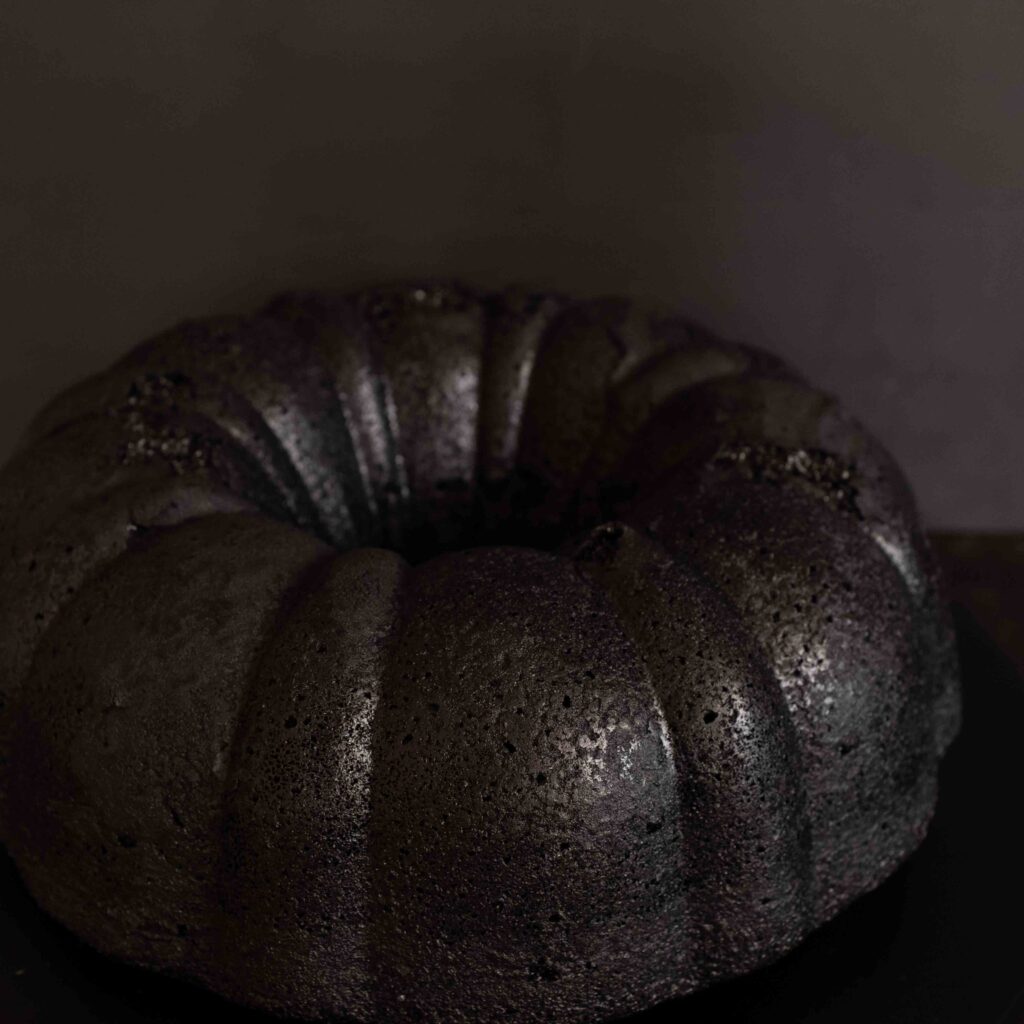
Ingredients
1. 250 gm all purpose flour
2. 2 tsp baking soda
3. 2 tsp baking powder
4. 1 tsp salt
5. 50 gm black cocoa powder like this + extra for dusting
6. 40 gm natural cocoa powder like this
7. 400 gm dark muscovado sugar
8. 125 ml oil
9. 260 gm sour cream
10. 2 large eggs (60 gm/egg, in-shell weight) + 1 yolk at room temperature
11. 2 tsp pure vanilla extract
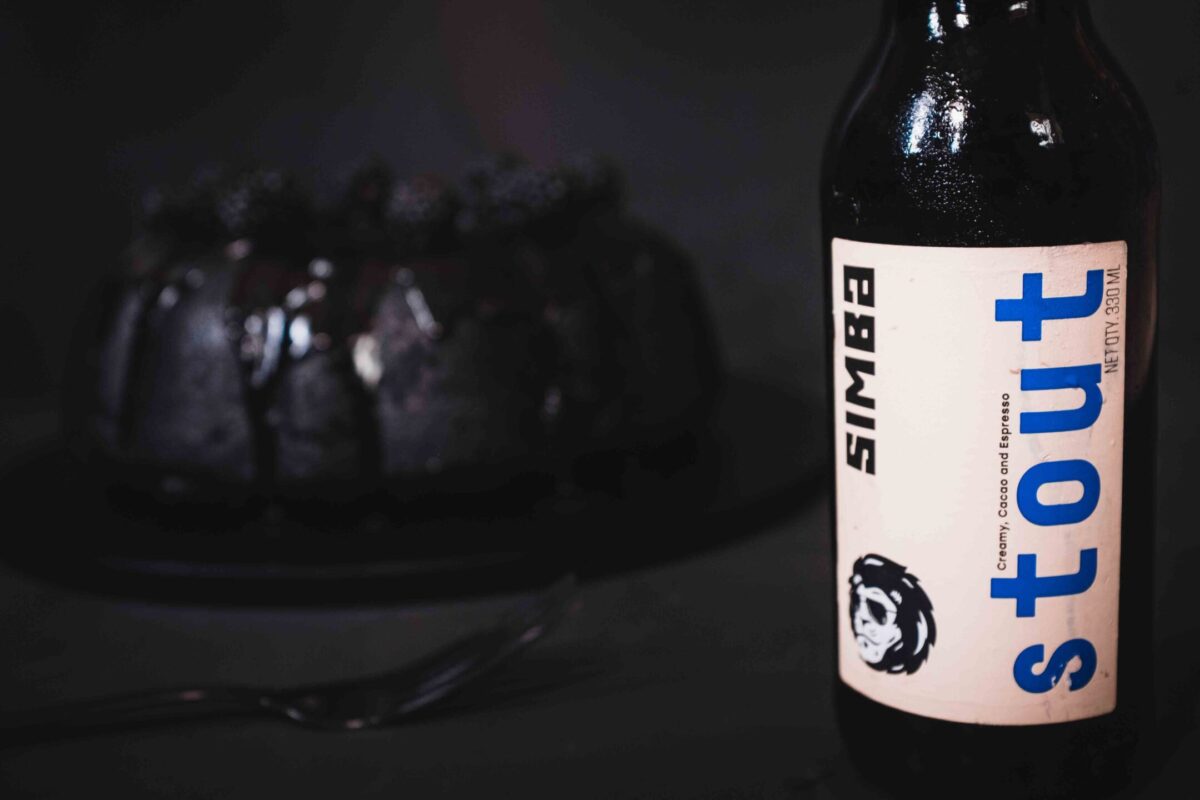
12. 250 ml stout like this
13. 5 ml (1 tsp) black gel food colour like this (optional)
14. Shortening for greasing
In this recipe, I use black cocoa for the colour and natural cocoa for the flavour. Natural cocoa powder is acidic and is leavened with baking soda. Being a variety of dutched cocoa, black cocoa powder will not react with baking soda, so the baking powder aids in leavening. Stout is a kind of dark beer, classified as an ale. It is sweet and full-bodied, possessing roasty caramel aromas and coffee-like flavours. For this reason, stout and chocolate make the perfect pair. Do not use white sugar or butter in this recipe! Because black cocoa powder has almost no fat, this cake needs all the moisture it can get from brown sugar, sour cream, and oil. Sorry, butter. Not today.
Method
1 – Begin preheating your oven to 180OC. 15-20 minutes should suffice.
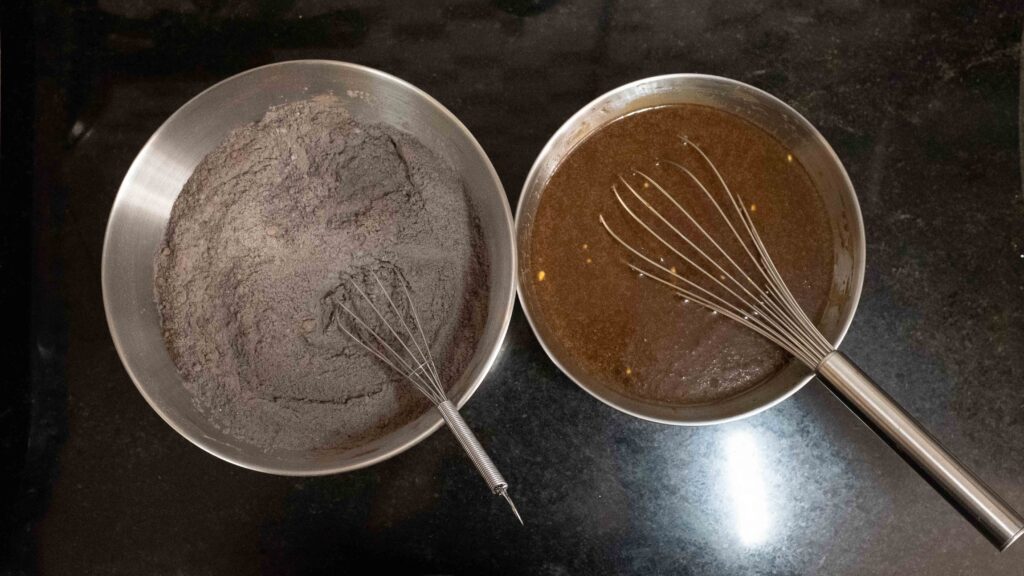
2 – In a large mixing bowl add the eggs + egg yolk, dark muscovado sugar, oil, sour cream, and vanilla extract. Whisk together well to combine. This is your wet mixture. Set it aside for a moment.
3 – In another large bowl, sift together the flour, salt, baking powder, baking soda, and both cocoa powders. Whisk together to combine. This is your dry mixture. Set it aside for a moment.
4 – Using a pastry brush, apply a thin coat of shortening to the insides of your bundt pan, making sure to get into every crevice. The pan shouldn’t be white with shortening, but you should clearly see the layer of grease. Then dust the inside of the pan with cocoa powder and tap out the extra. Once again make sure that every spot is covered – this is essential for a bundt pan! Do not prepare your pan well before-hand, as any humidity in the air will muddle the layers of shortening and cocoa you’ve applied in order to prevent the cake from sticking.
5 – In a small saucepan over medium-high heat, bring the stout to a simmer and then switch the heat off. Keep the stout hot.
6 – Sift the dry mixture into the bowl containing the wet mixture and gently whisk together until just combined and you have a smooth batter. Do not overmix. If you’re adding the black gel food colour, add it now and gently whisk to incorporate.
7 – Get the pan of hot stout and pour it into the batter. Whisk together until all the ingredients are fully blended. The batter will be runny.
8 – Immediately (and gently) pour the batter into the prepared bundt pan. Do not let the batter sit around at all, as the baking soda will have begun leavening the mixture.
9 – Place your bundt pan in the lower-middle rack of your preheated oven and bake for 30 minutes at 180OC, or until a toothpick inserted into the cake comes out clean. Mine took exactly 30 minutes.
10 – Once your cake is cooked, remove the pan from the oven and place it on a wire rack. Let the cake cool upright in the pan for 15 minutes. Then tap the pan firmly on your counter a few times, as well as gently tilt it in a swirling motion to help loosen the cake from the pan’s edges (remember to use oven gloves while holding a hot pan).
11 – Place a plate on top of the pan and invert the pan onto a plate. Then gently lift off the pan. Hopefully your bundt cake will be standing on the plate in one piece! Allow the cake to cool completely and then move on to
Stage 2.
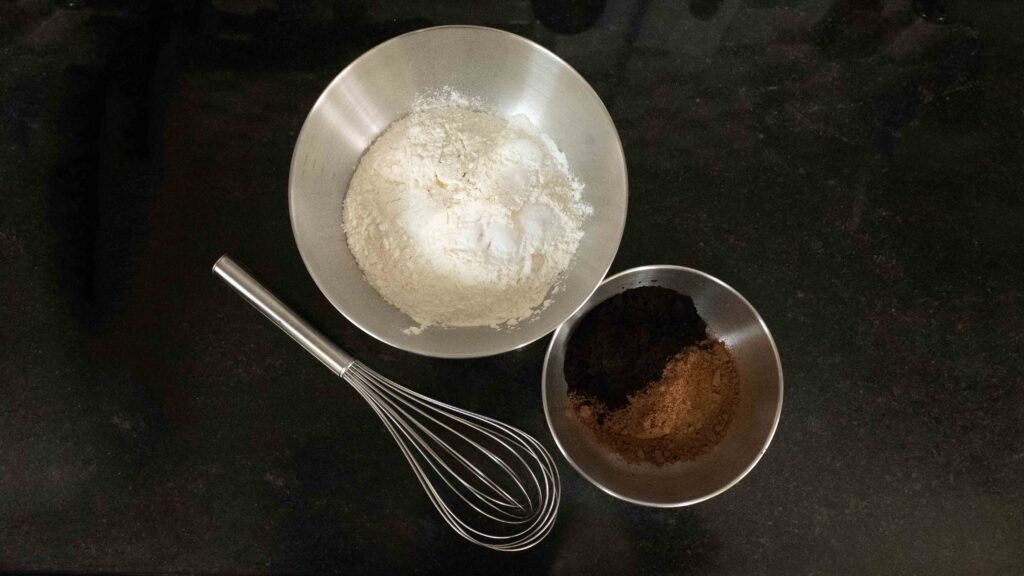
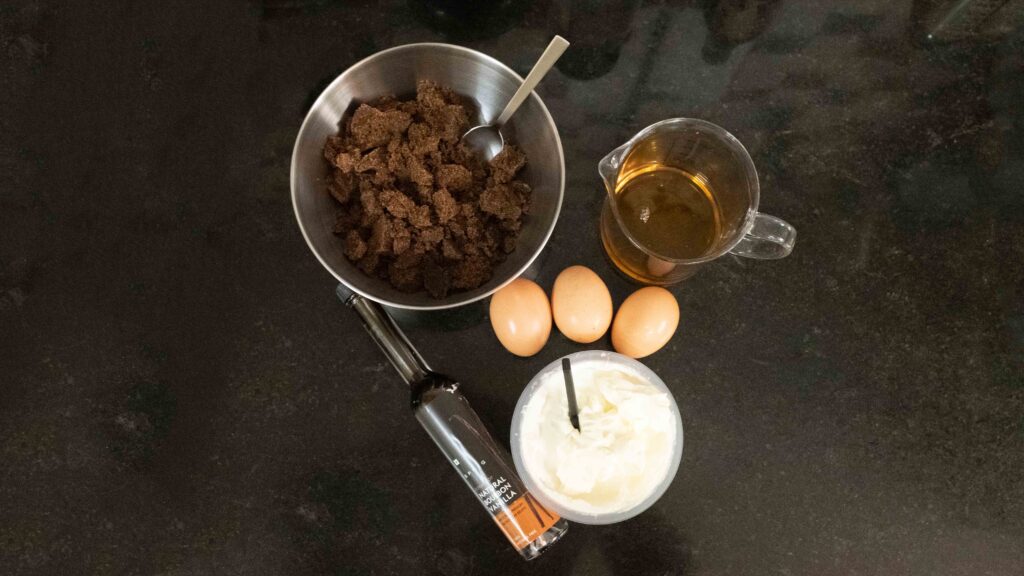
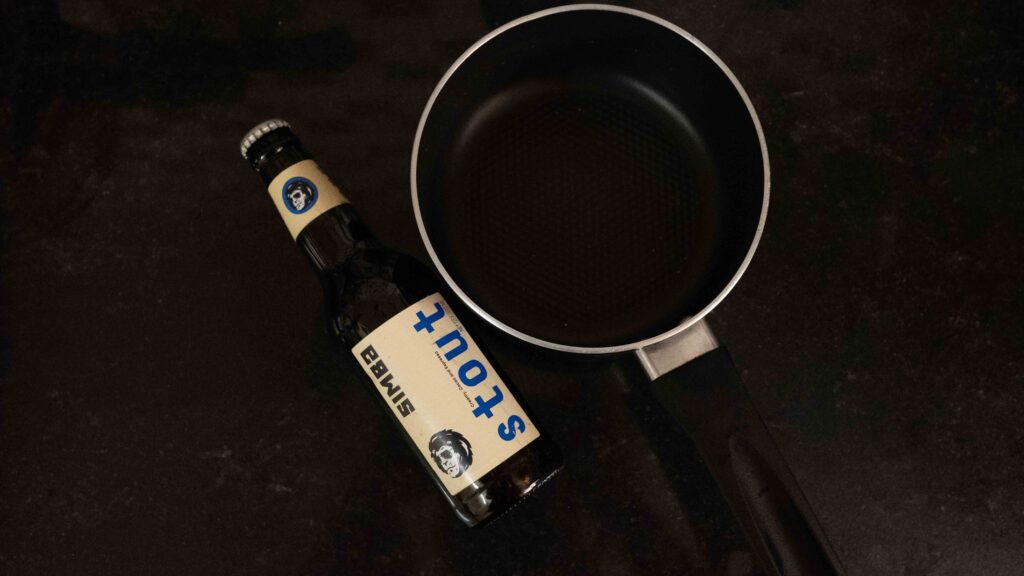
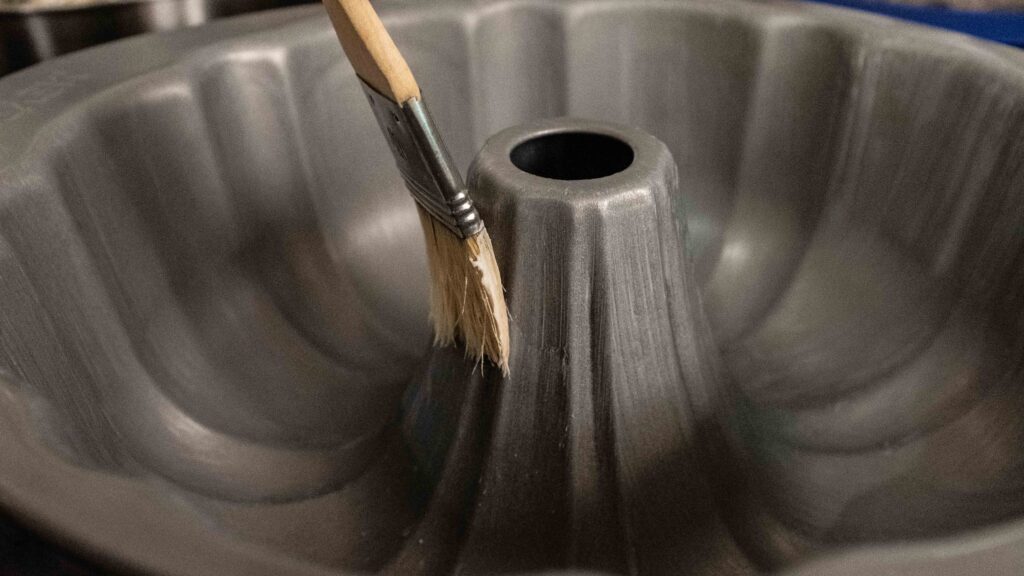
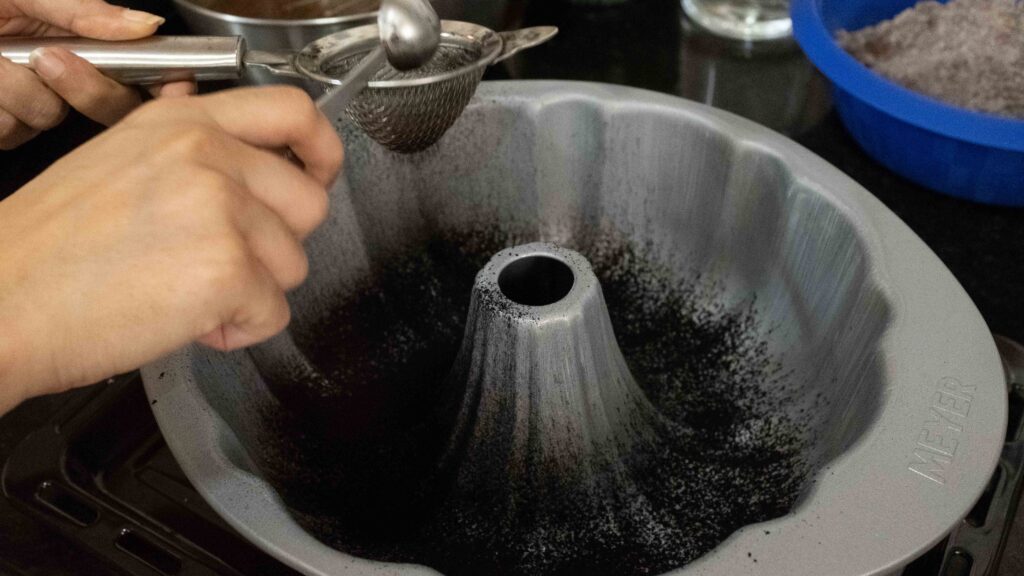
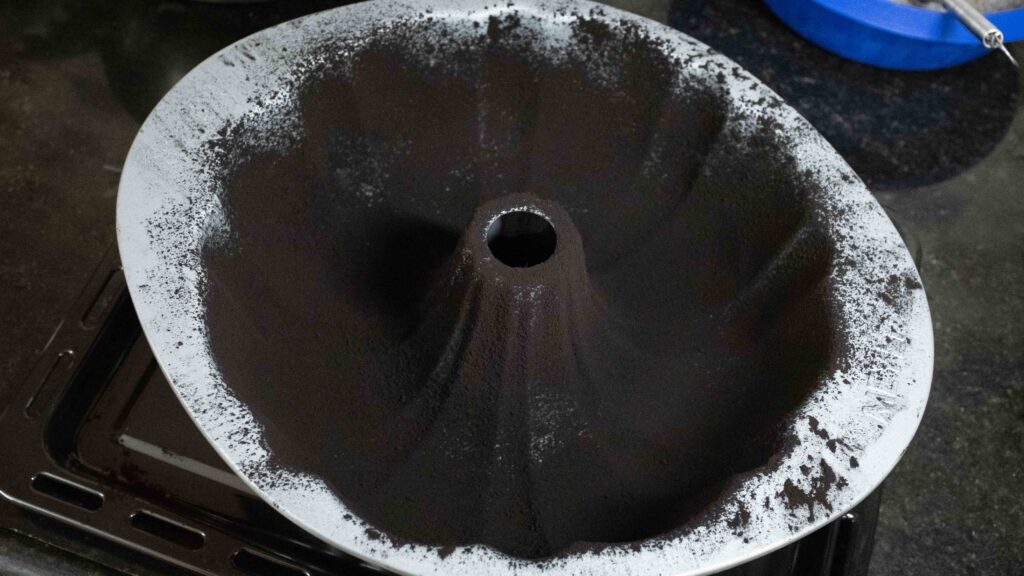
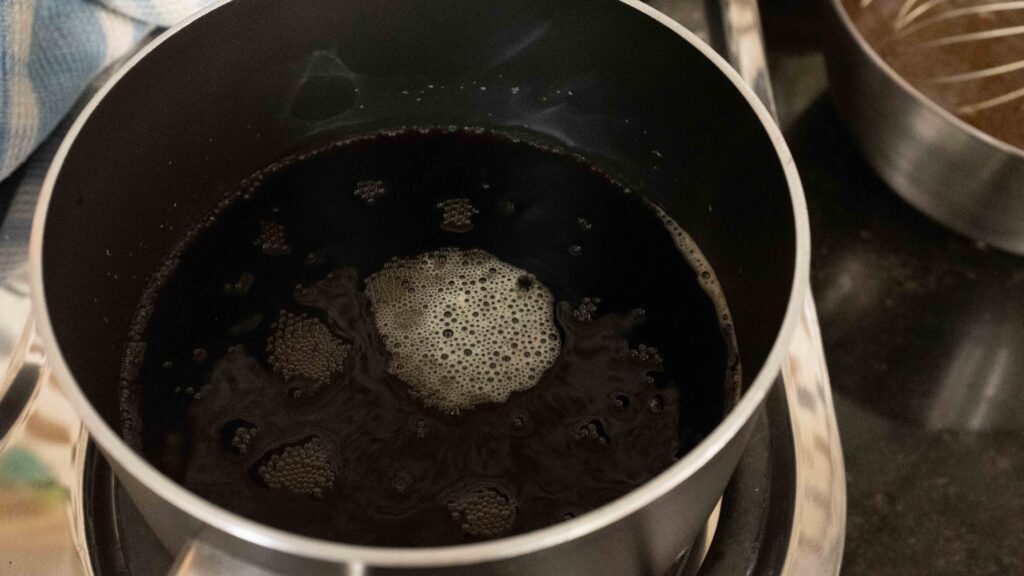
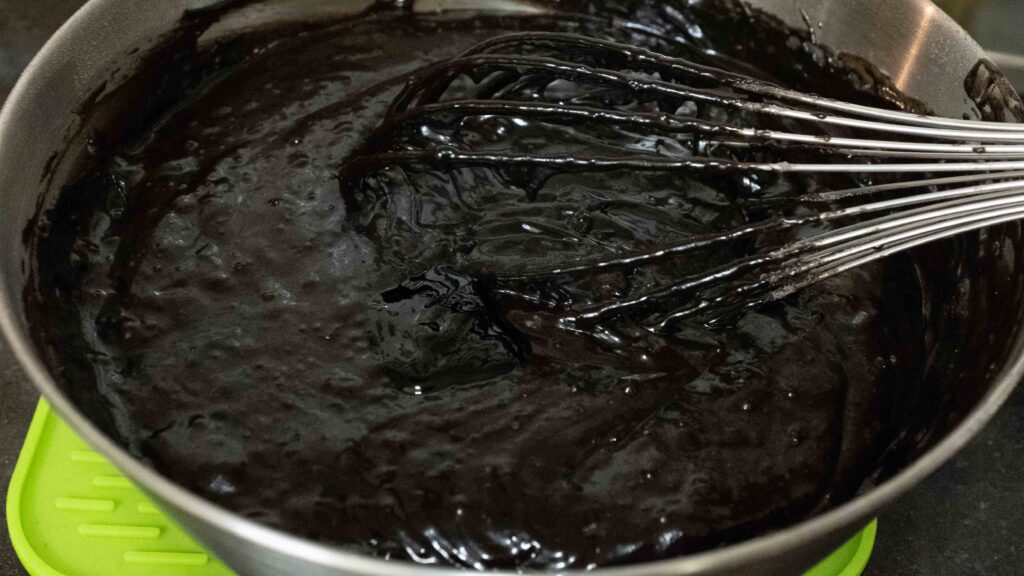
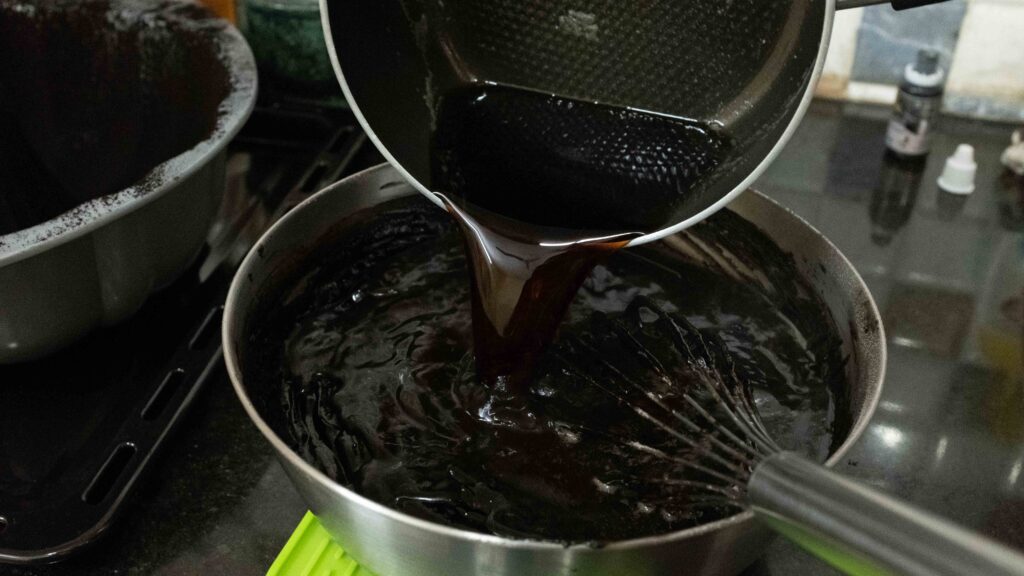
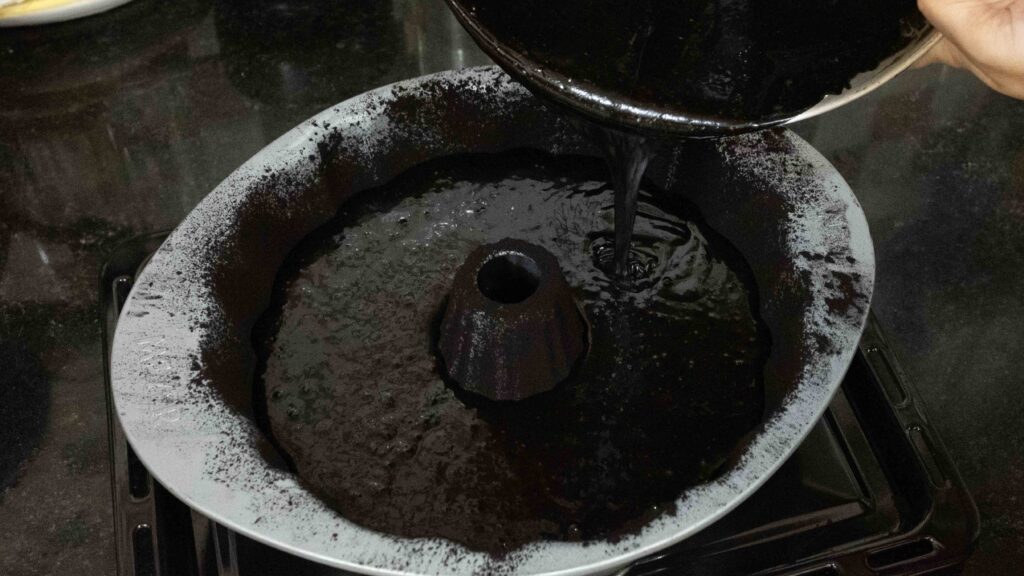
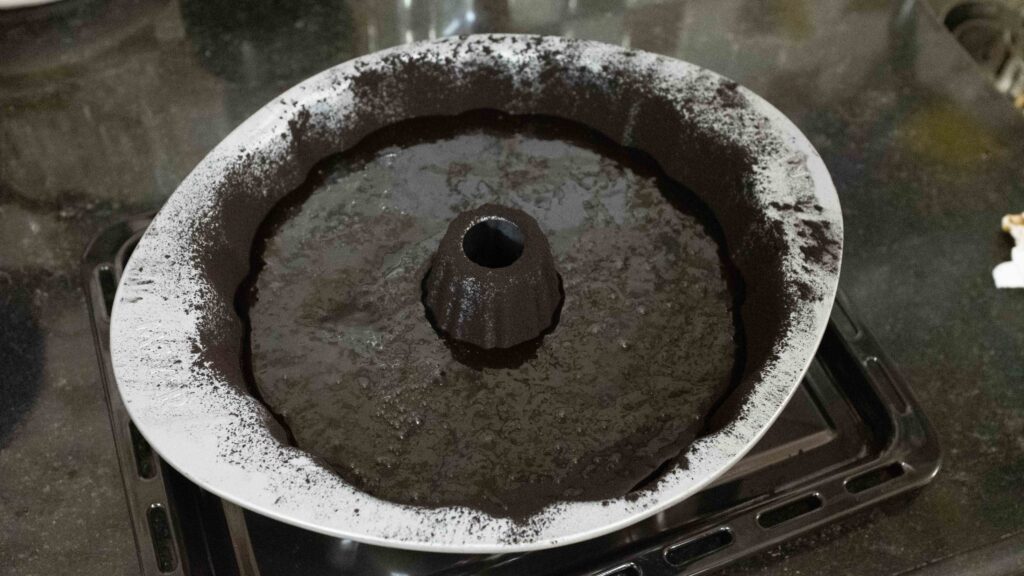
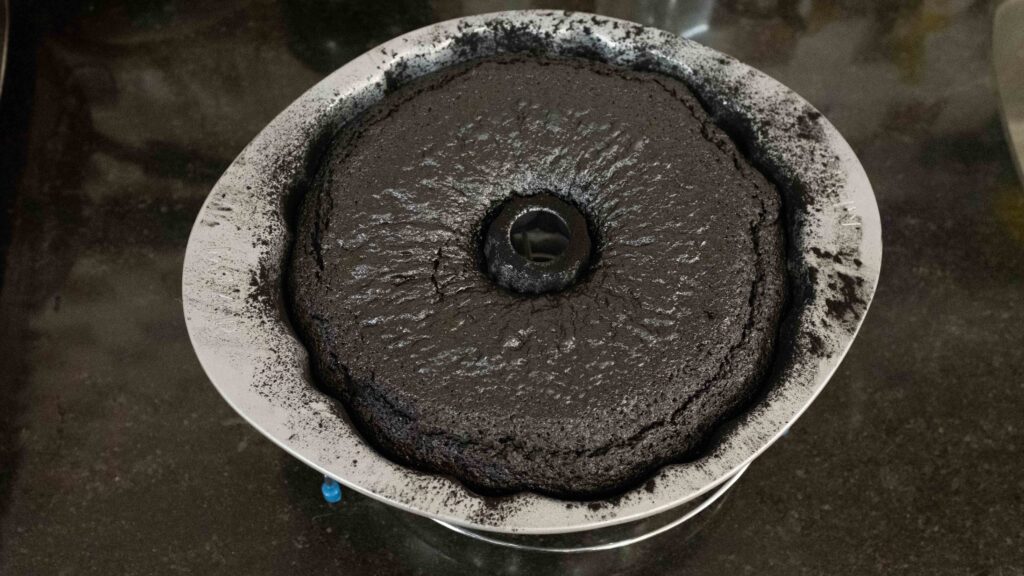
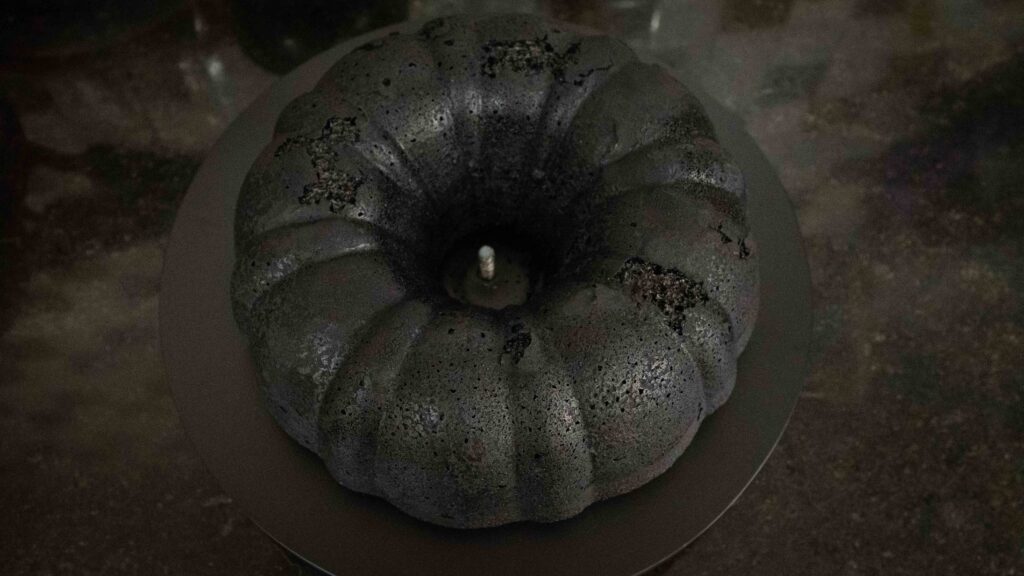
If you’ve never heard of black cocoa powder, it’s the stuff that makes Oreo cookie shells black. So, what is it exactly? There are 2 kinds of cocoa powder; Natural and Dutched. Dutched or dutch process cocoa powder is natural cocoa powder that has been treated with an alkalizing agent to neutralize its acidic content. This process of ‘dutching’ reduces bitterness as well as darkens the cocoa powder. Black cocoa powder is therefore ultra-dutched, making it almost black! It’s awesome because it automatically dyes things black, greatly reducing the need for food colouring. While this makes for a dramatic look, black cocoa lacks the signature chocolatey flavour of natural cocoa—so always use it along with some natural cocoa. Bundt pans can be tricky. If every crevice is not greased and floured, or you use the wrong kind of grease (do not use flourless baking sprays), your cake will stick, and you will feel sad. After using the amount of stout you need in this recipe, do yourself a favour and drink the rest immediately. Do not attempt to seal the bottle and and place it in the fridge to drink later at leisure. It will pop inside like a volcano and you will have to spend 2 hours cleaning stout out of fridge crevices. True story.
Stage 2: black stout ganache

Ingredients
1. 90 gm high quality couverture dark chocolate (50-60% cocoa)
2. 100 ml full fat heavy cream
3. 25 ml stout like this
4. 5 ml (1 tsp) black gel food colour like this
Chocolate ganache is a confection that consists of chocolate and cream, in varying ratios, depending on how it will be used. Read about ganache here. For a thick, pipeable ganache that’s perfect for truffles, the chocolate to cream ratio is 2:1. For fillings and frostings or thick glazes, you want a 1:1 ratio. Finally, for thin glazes or drips and dipping, a ratio of 1:2 is required. Because I live in a hot and humid location, I toggle with the ratios, whereby I increase the amount of chocolate, for extra stability. In this recipe, the ganache lands somewhere between the thick glaze ratio and thin glaze ratio.
Method
1 – Chop the dark chocolate into small shards (not required if using chocolate calets), and then place them a heatproof bowl.
2 – In a medium saucepan, heat up the cream until bubbles form around the edges of the pan and the cream begins to steam. Do not bring to a simmer or boil.
3 – Remove the cream from the heat and pour it onto the chocolate shards. Let the mixture stand undisturbed for 5 minutes and then stir the mixture until you have a smooth and glossy ganache.
4 – Heat the stout in the microwave until it is just hot. 20-30 seconds should suffice. Now pour the hot stout into the ganache and mix until smooth.
5 – Add a teaspoon of black gel food colour to the ganache and mix until fully blended and evenly black. Move on to Stage 3 immediately, as the ganache has to be used while still warm and at a pourable consistency.
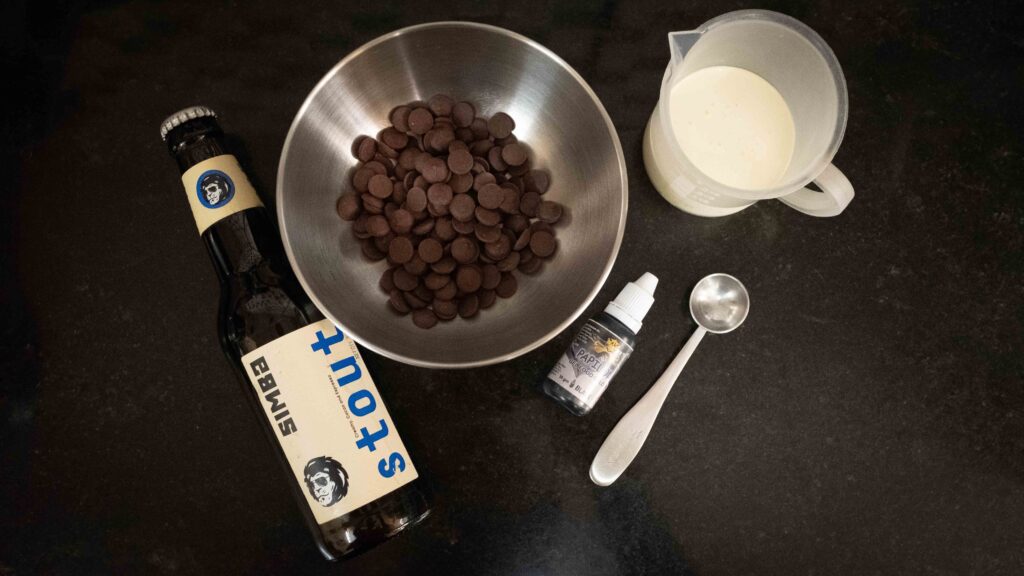
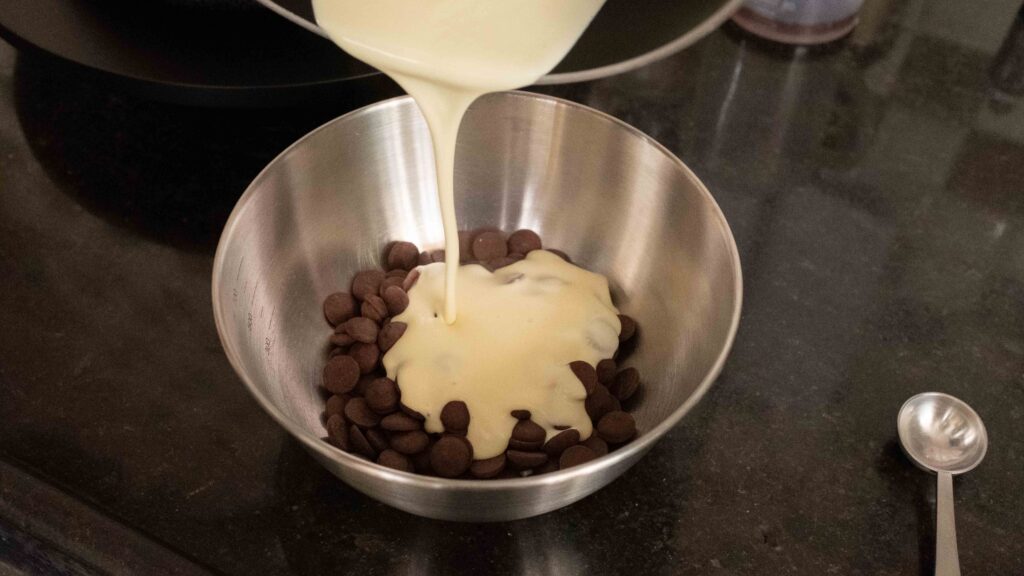
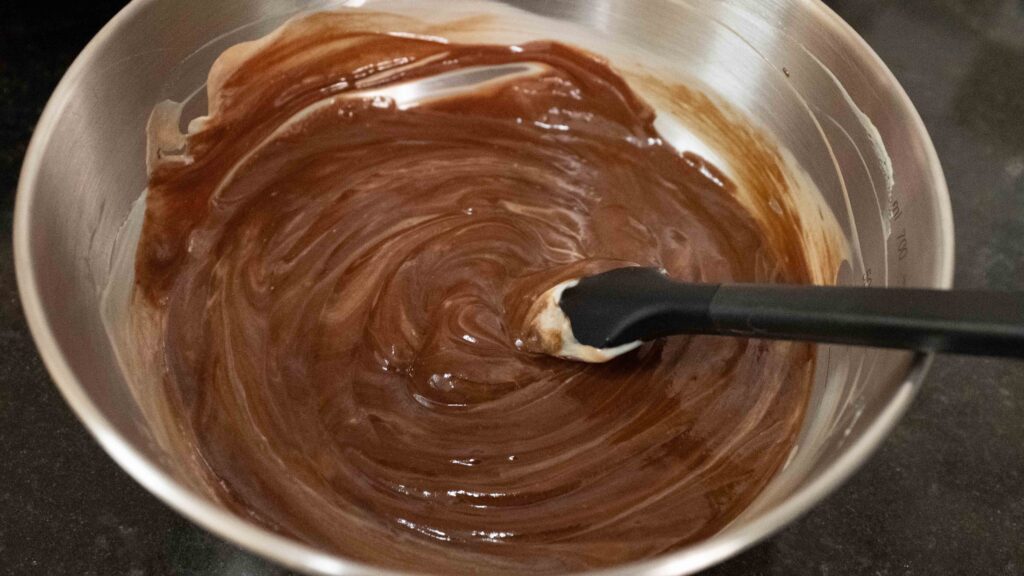
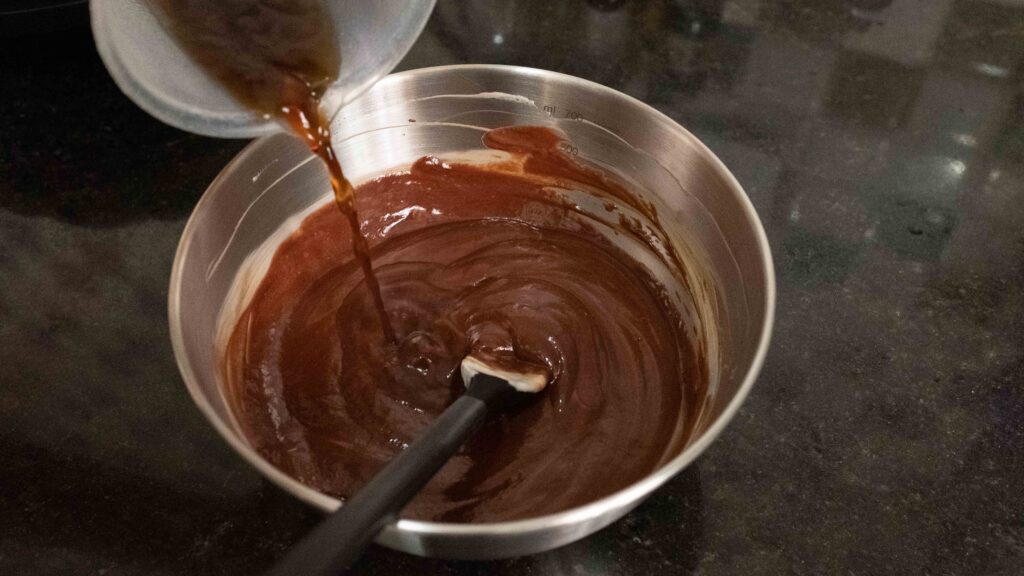
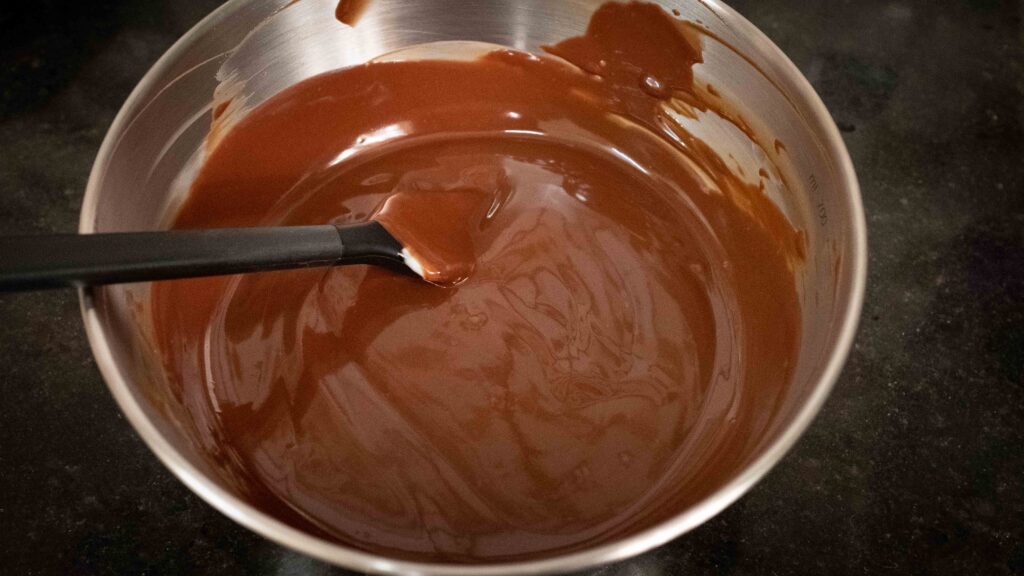
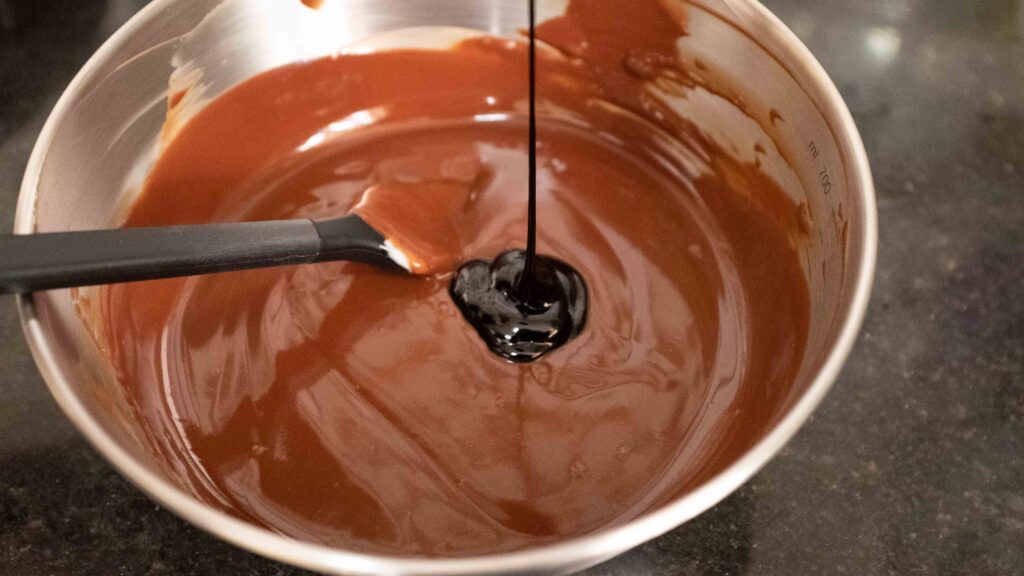
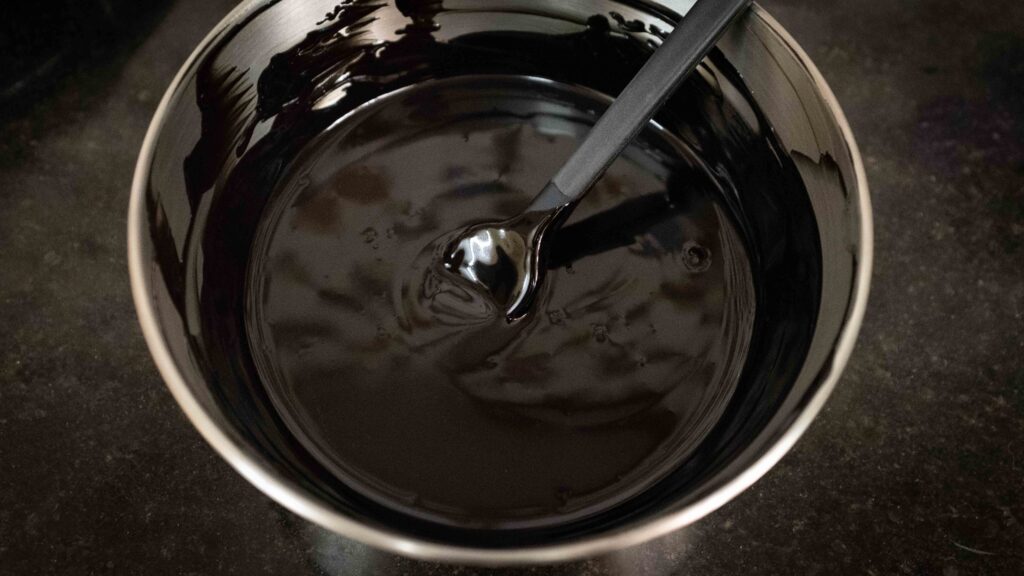
These quantities make just enough ganache to glaze the cake in a drip pattern. If you would like to fully coat the entire surface with a thick glaze, double the recipe. To give yourself the best chance at success, use fresh, high quality couverture chocolate, always. You’ll want to use couverture chocolate with 50-60% cocoa. Any less and it will be too sweet. Any more and it becomes unpleasantly bitter because of the stout. Whatever you do, don’t use compound chocolate or candy melts, ever! Even when you source the best ingredients, things can still go wrong. A big enough difference in cream and chocolate temperatures, overheating your cream or stout, or even overmixing can result in a greasy, split mess. Err on the side of caution. Be mindful. Be vigilant. Be patient! If you run into trouble with your ganache, read this. I reiterate; after using the amount of stout you need in this recipe, drink the rest immediately. Do not attempt to seal the bottle and and place it in the fridge to drink later at leisure. It will pop inside like a volcano and you will have to spend 2 hours cleaning stout out of fridge crevices. This is not fun!
Stage 3: assembly & decoration
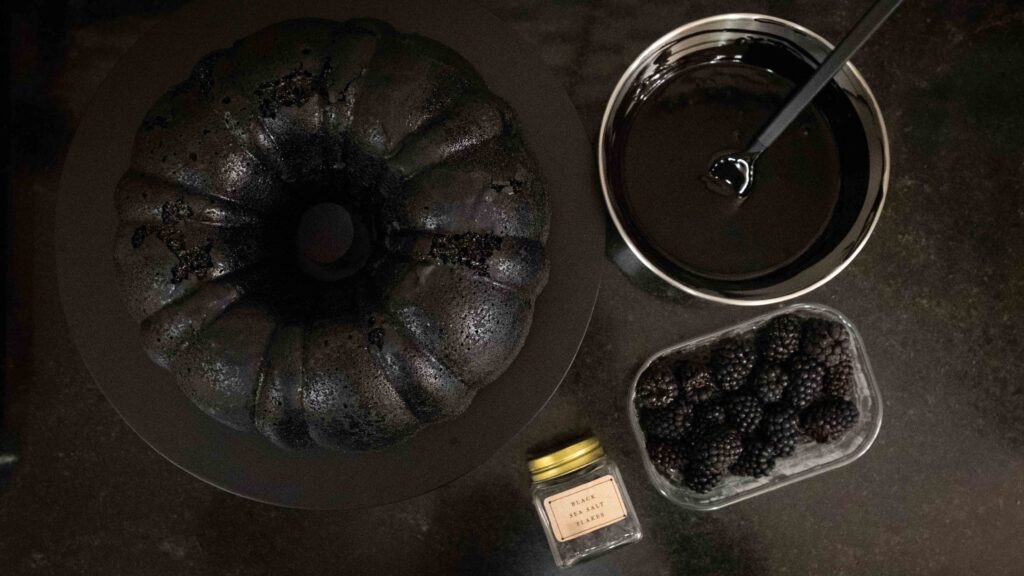
Components
1. Black chocolate stout cake
2. Black stout ganache
3. 1/4 tsp black lava sea salt flakes like this (optional)
4. 8 fresh blackberries plus more to serve (optional)
Method
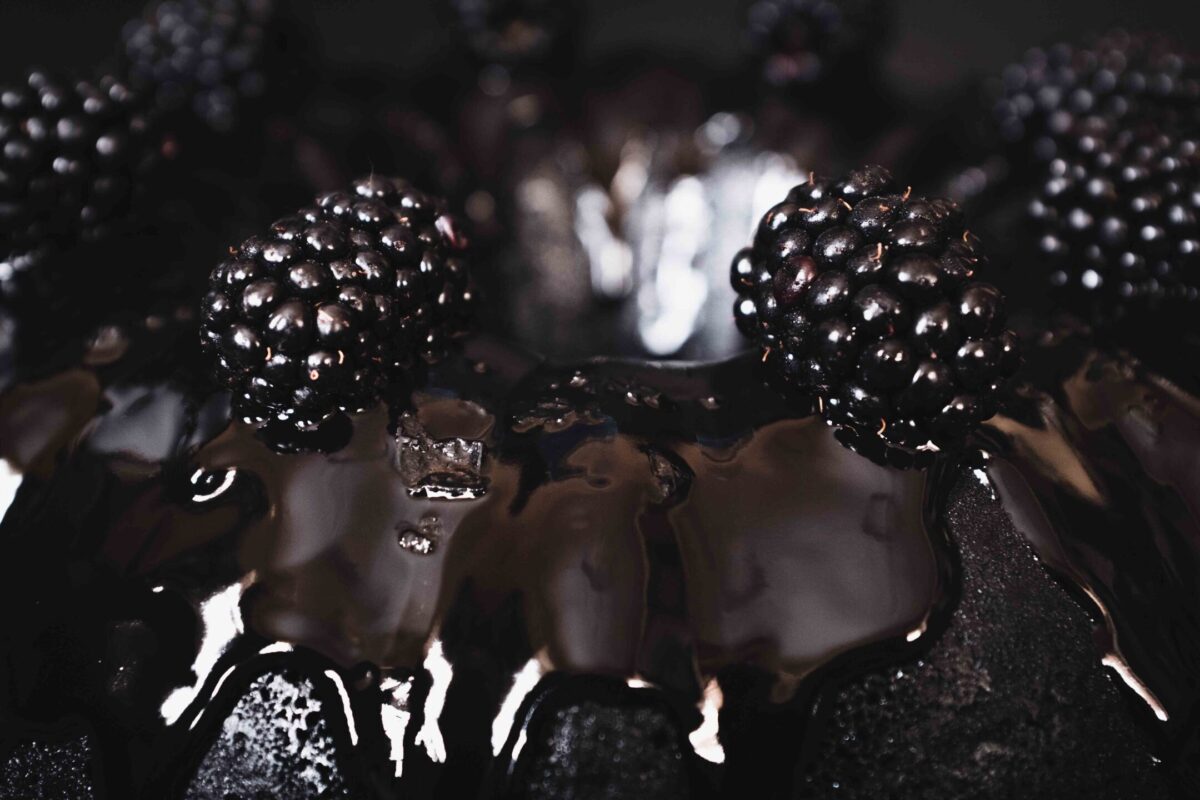
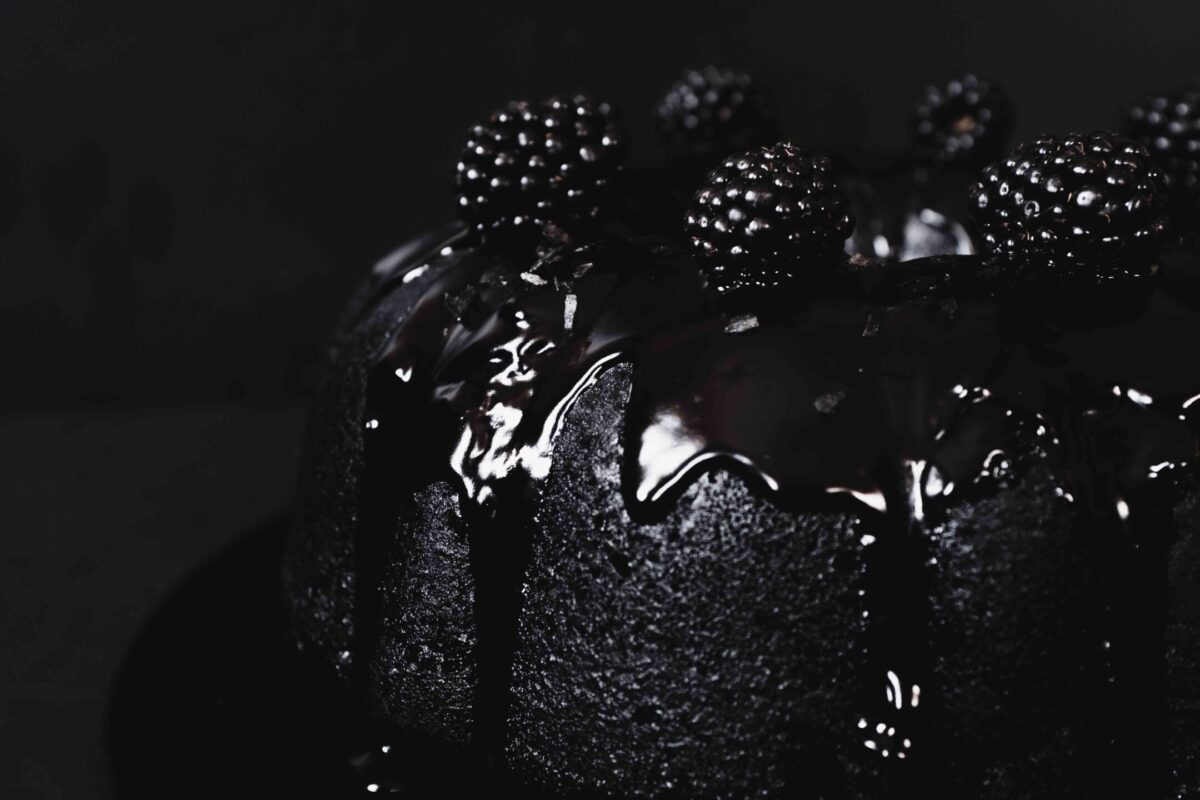
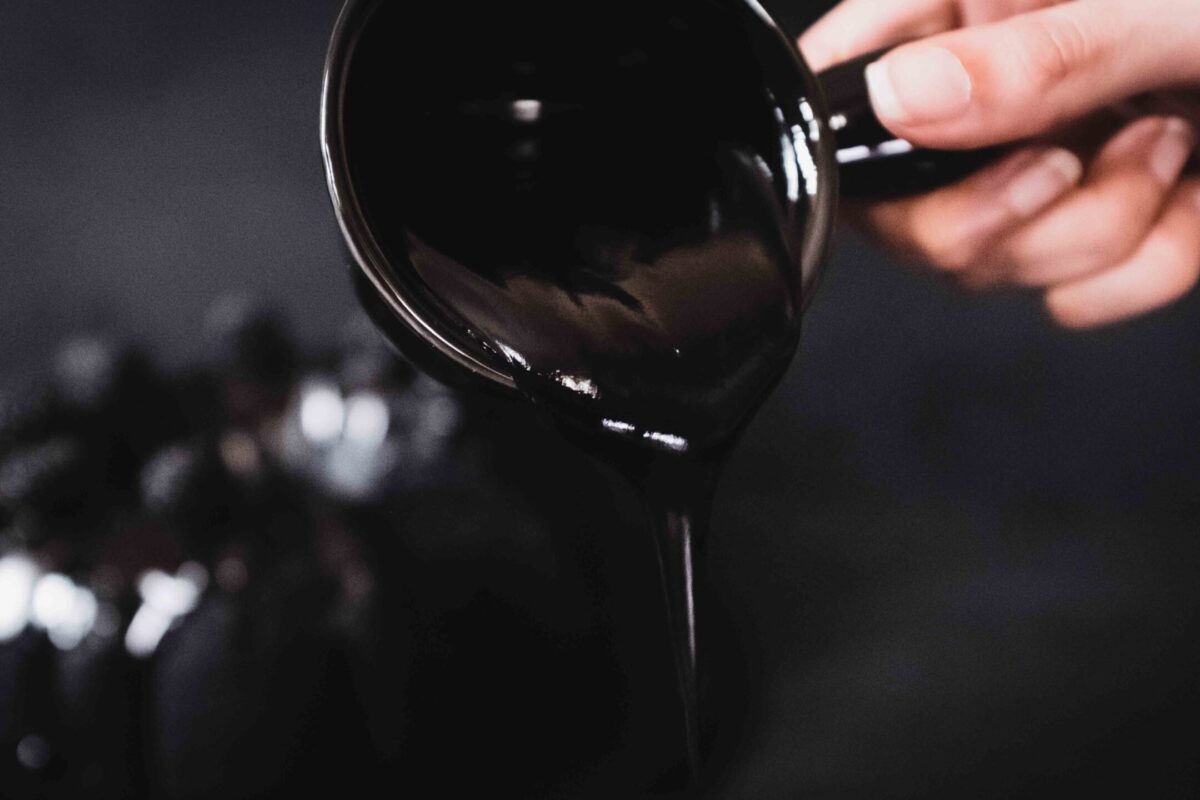
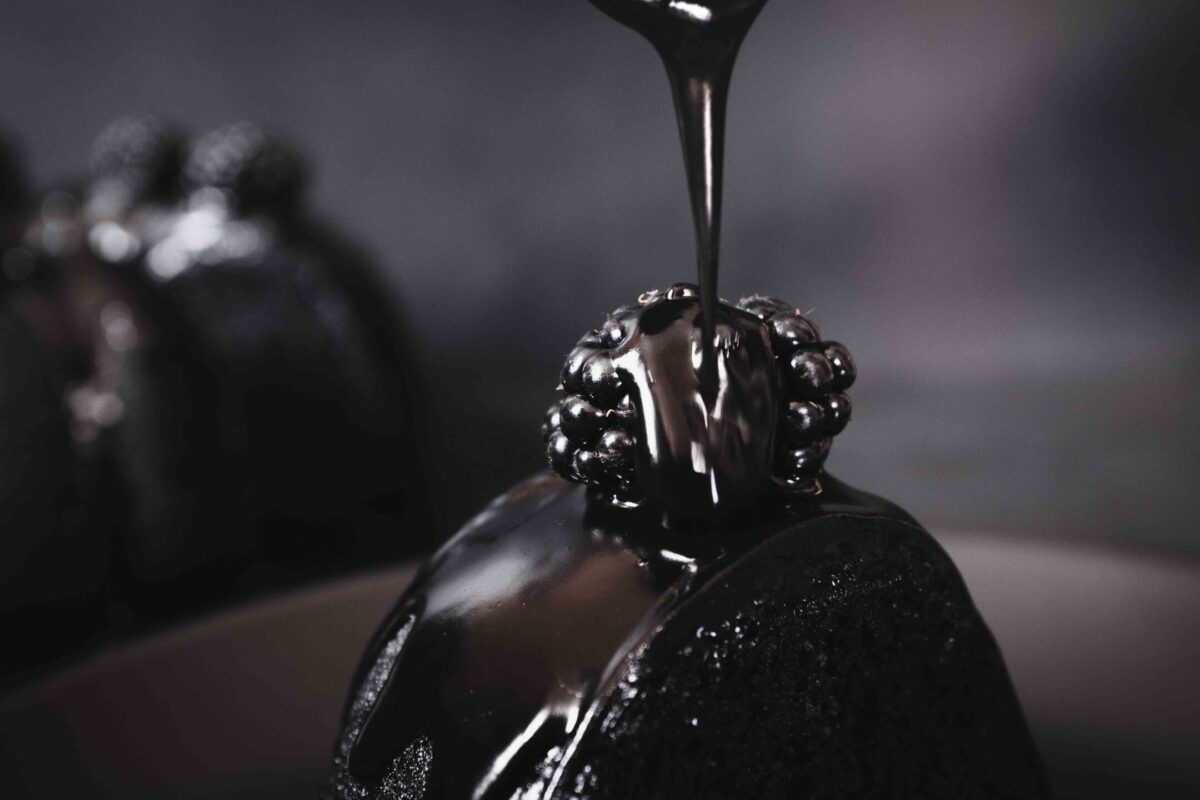
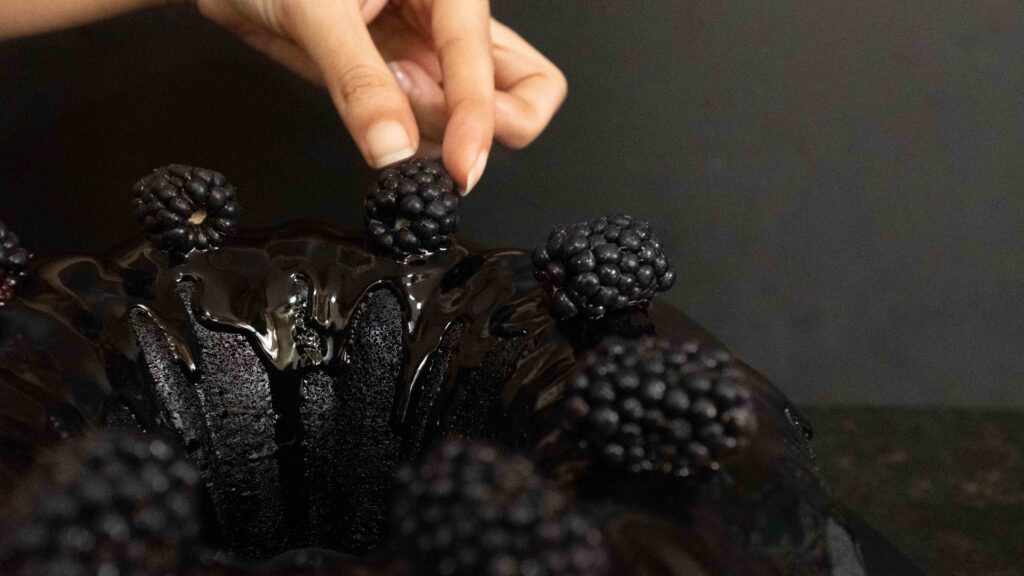
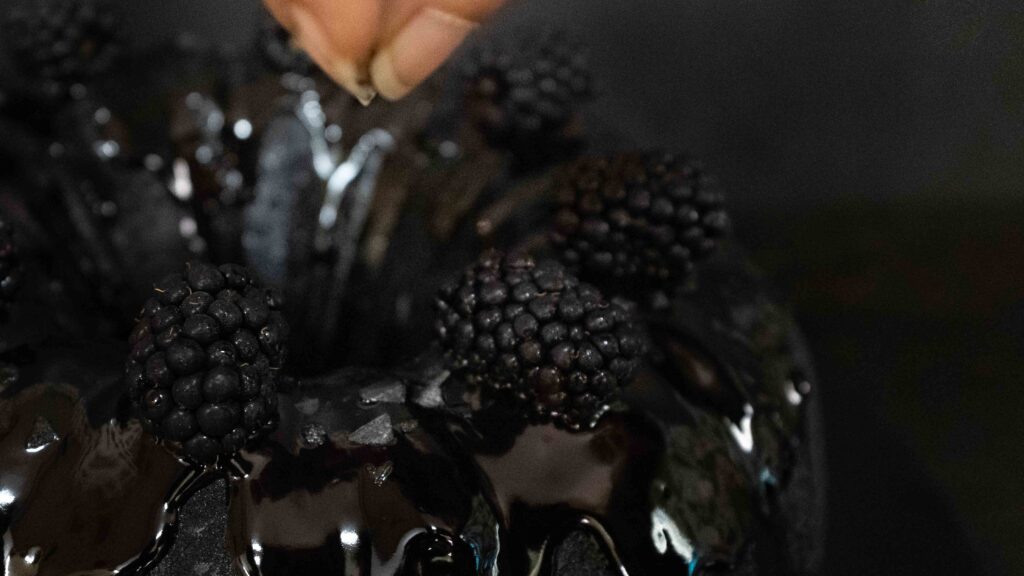
1 – While the ganache is still warm and at a pouring consistency, spoon it over the top of the cake to gently flow down the sides. As it cools, it will set as a glossy glaze.
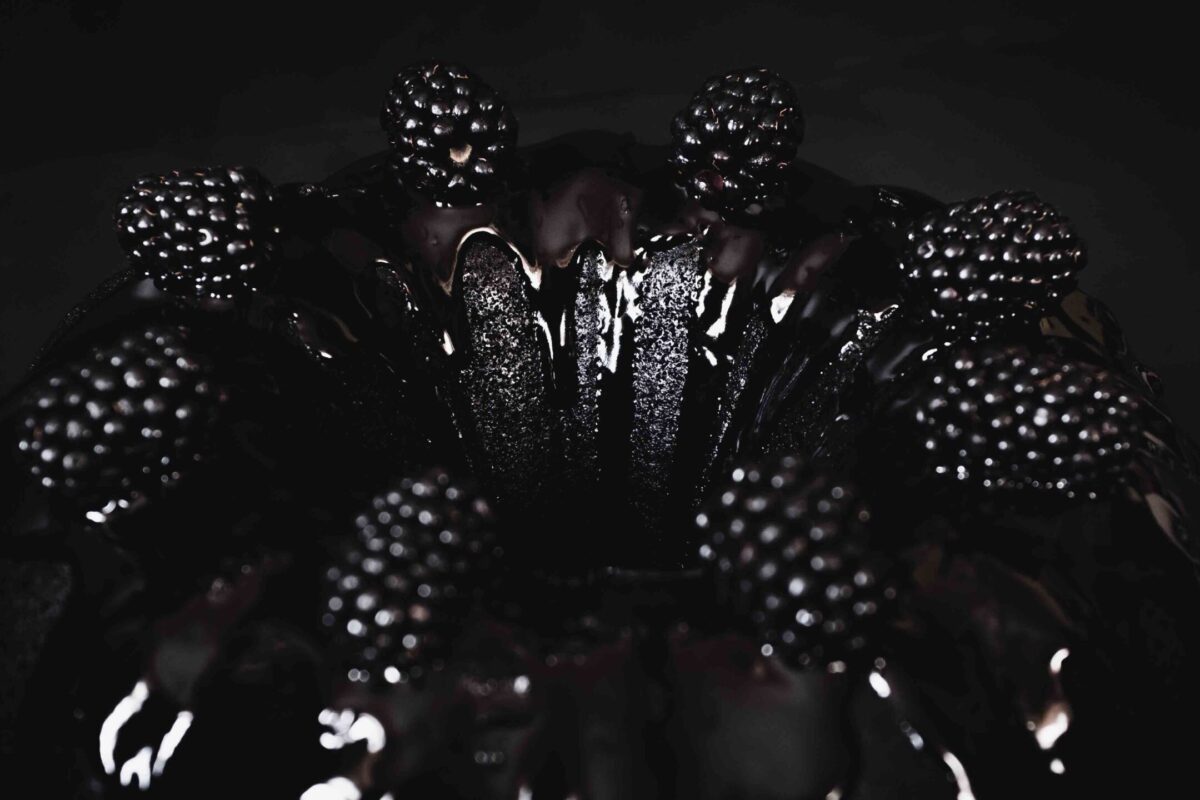
2 – This bundt cake has an alternating pattern of 8 wide panels and 8 thin panels. Place one blackberry, lying down, on the crown of each of the wider panels of the cake.
3 – After the ganache has set for about an hour, sprinkle the top of the glaze with some black lava sea salt flakes, avoiding the blackberries. Black Cake ready. Now eat!
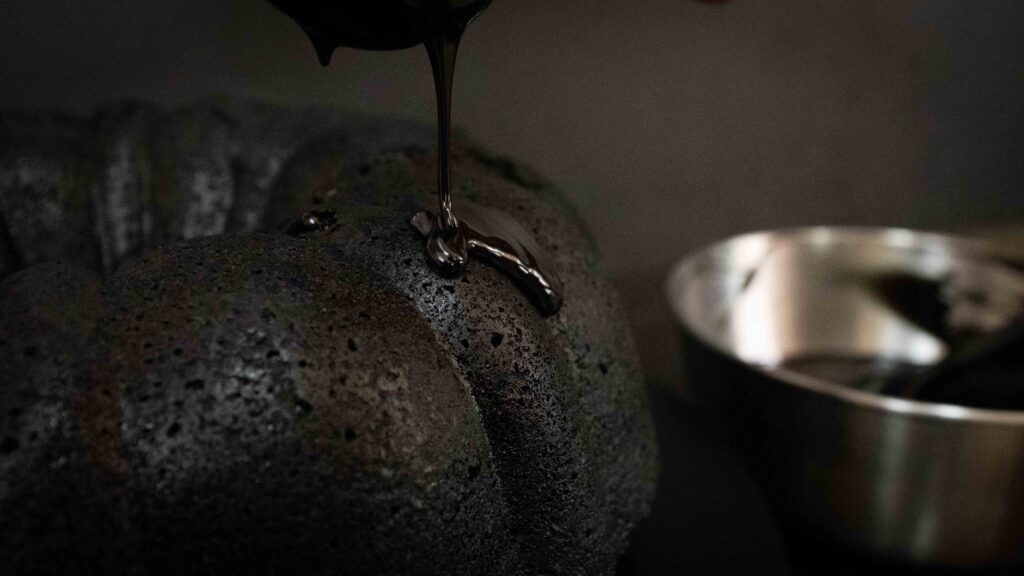
After it is glazed, this cake can stay out at room temperature for an entire day (since it is topped with fresh fruit, it should not be kept in the sun or hot environments). Thereafter, it’s best to store it in the fridge, in an airtight container. Even though it stays super moist in the fridge, chilled cake slices should be brought to room temperature to soften the ganache before eating. Fair warning! Owing to the black food colouring in the ganache, your tongue and teeth will get temporarily stained, but it’s totally worth it!

