Makes 5 servings.
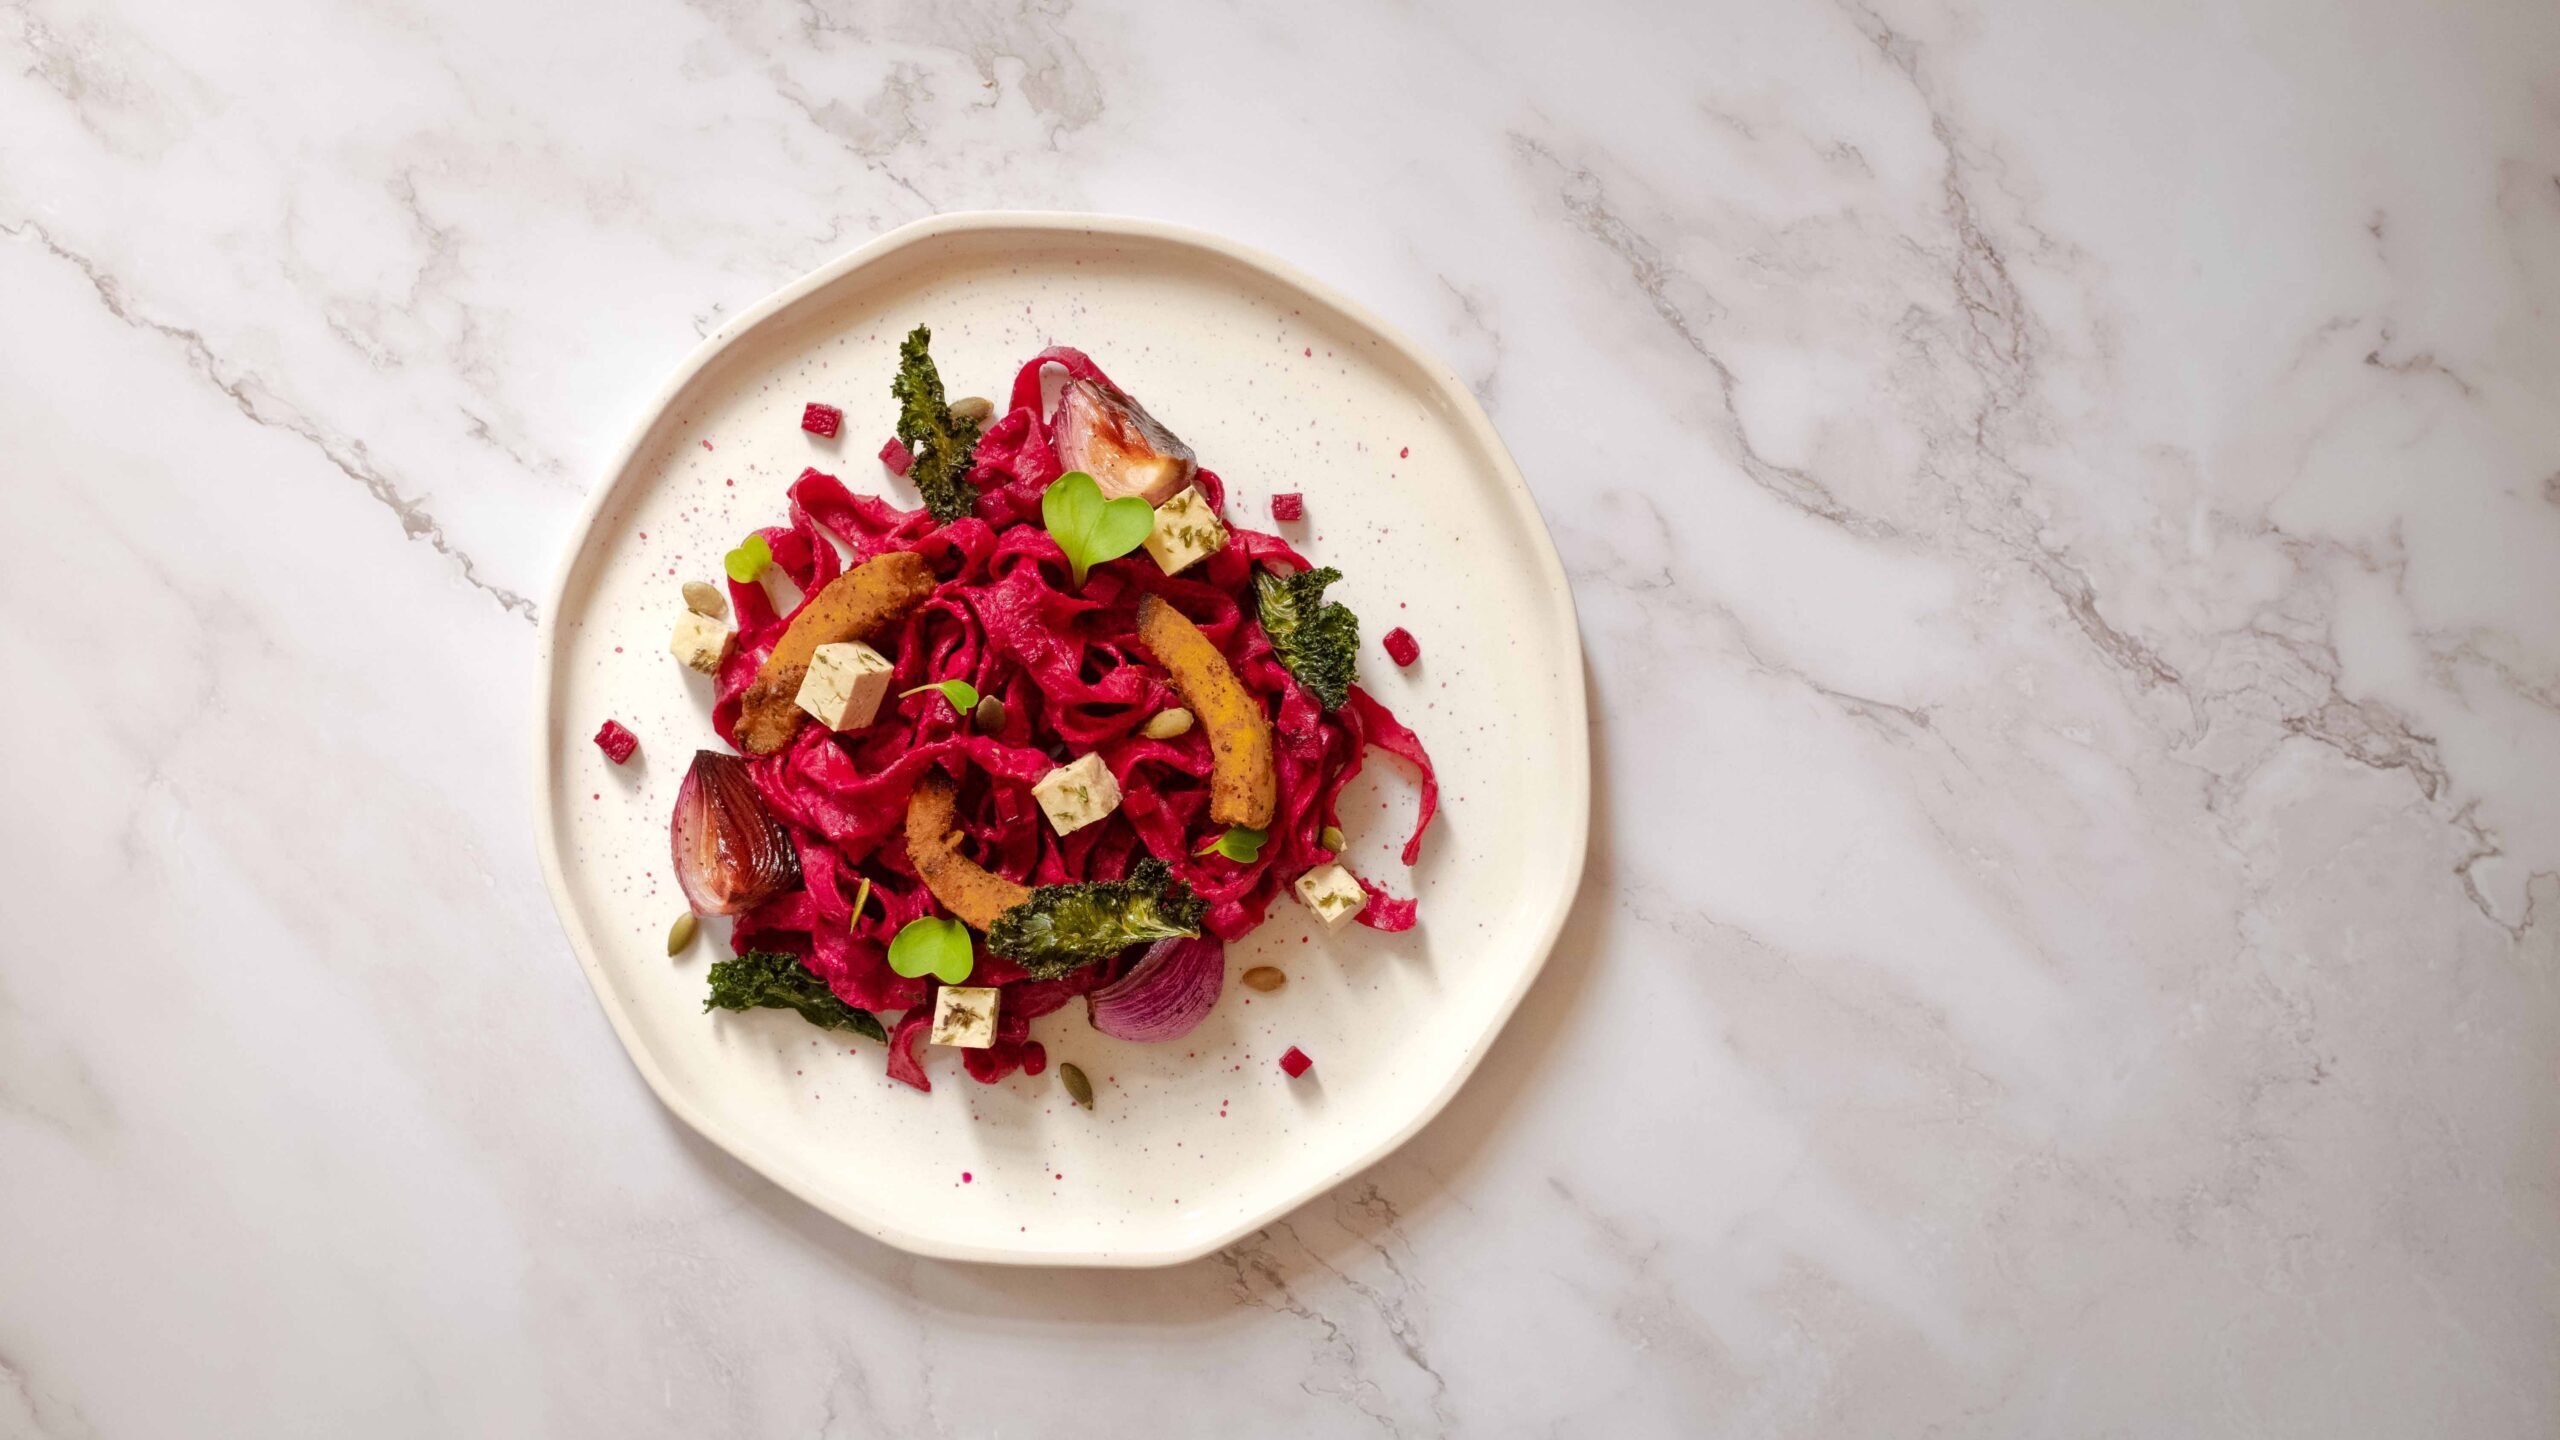
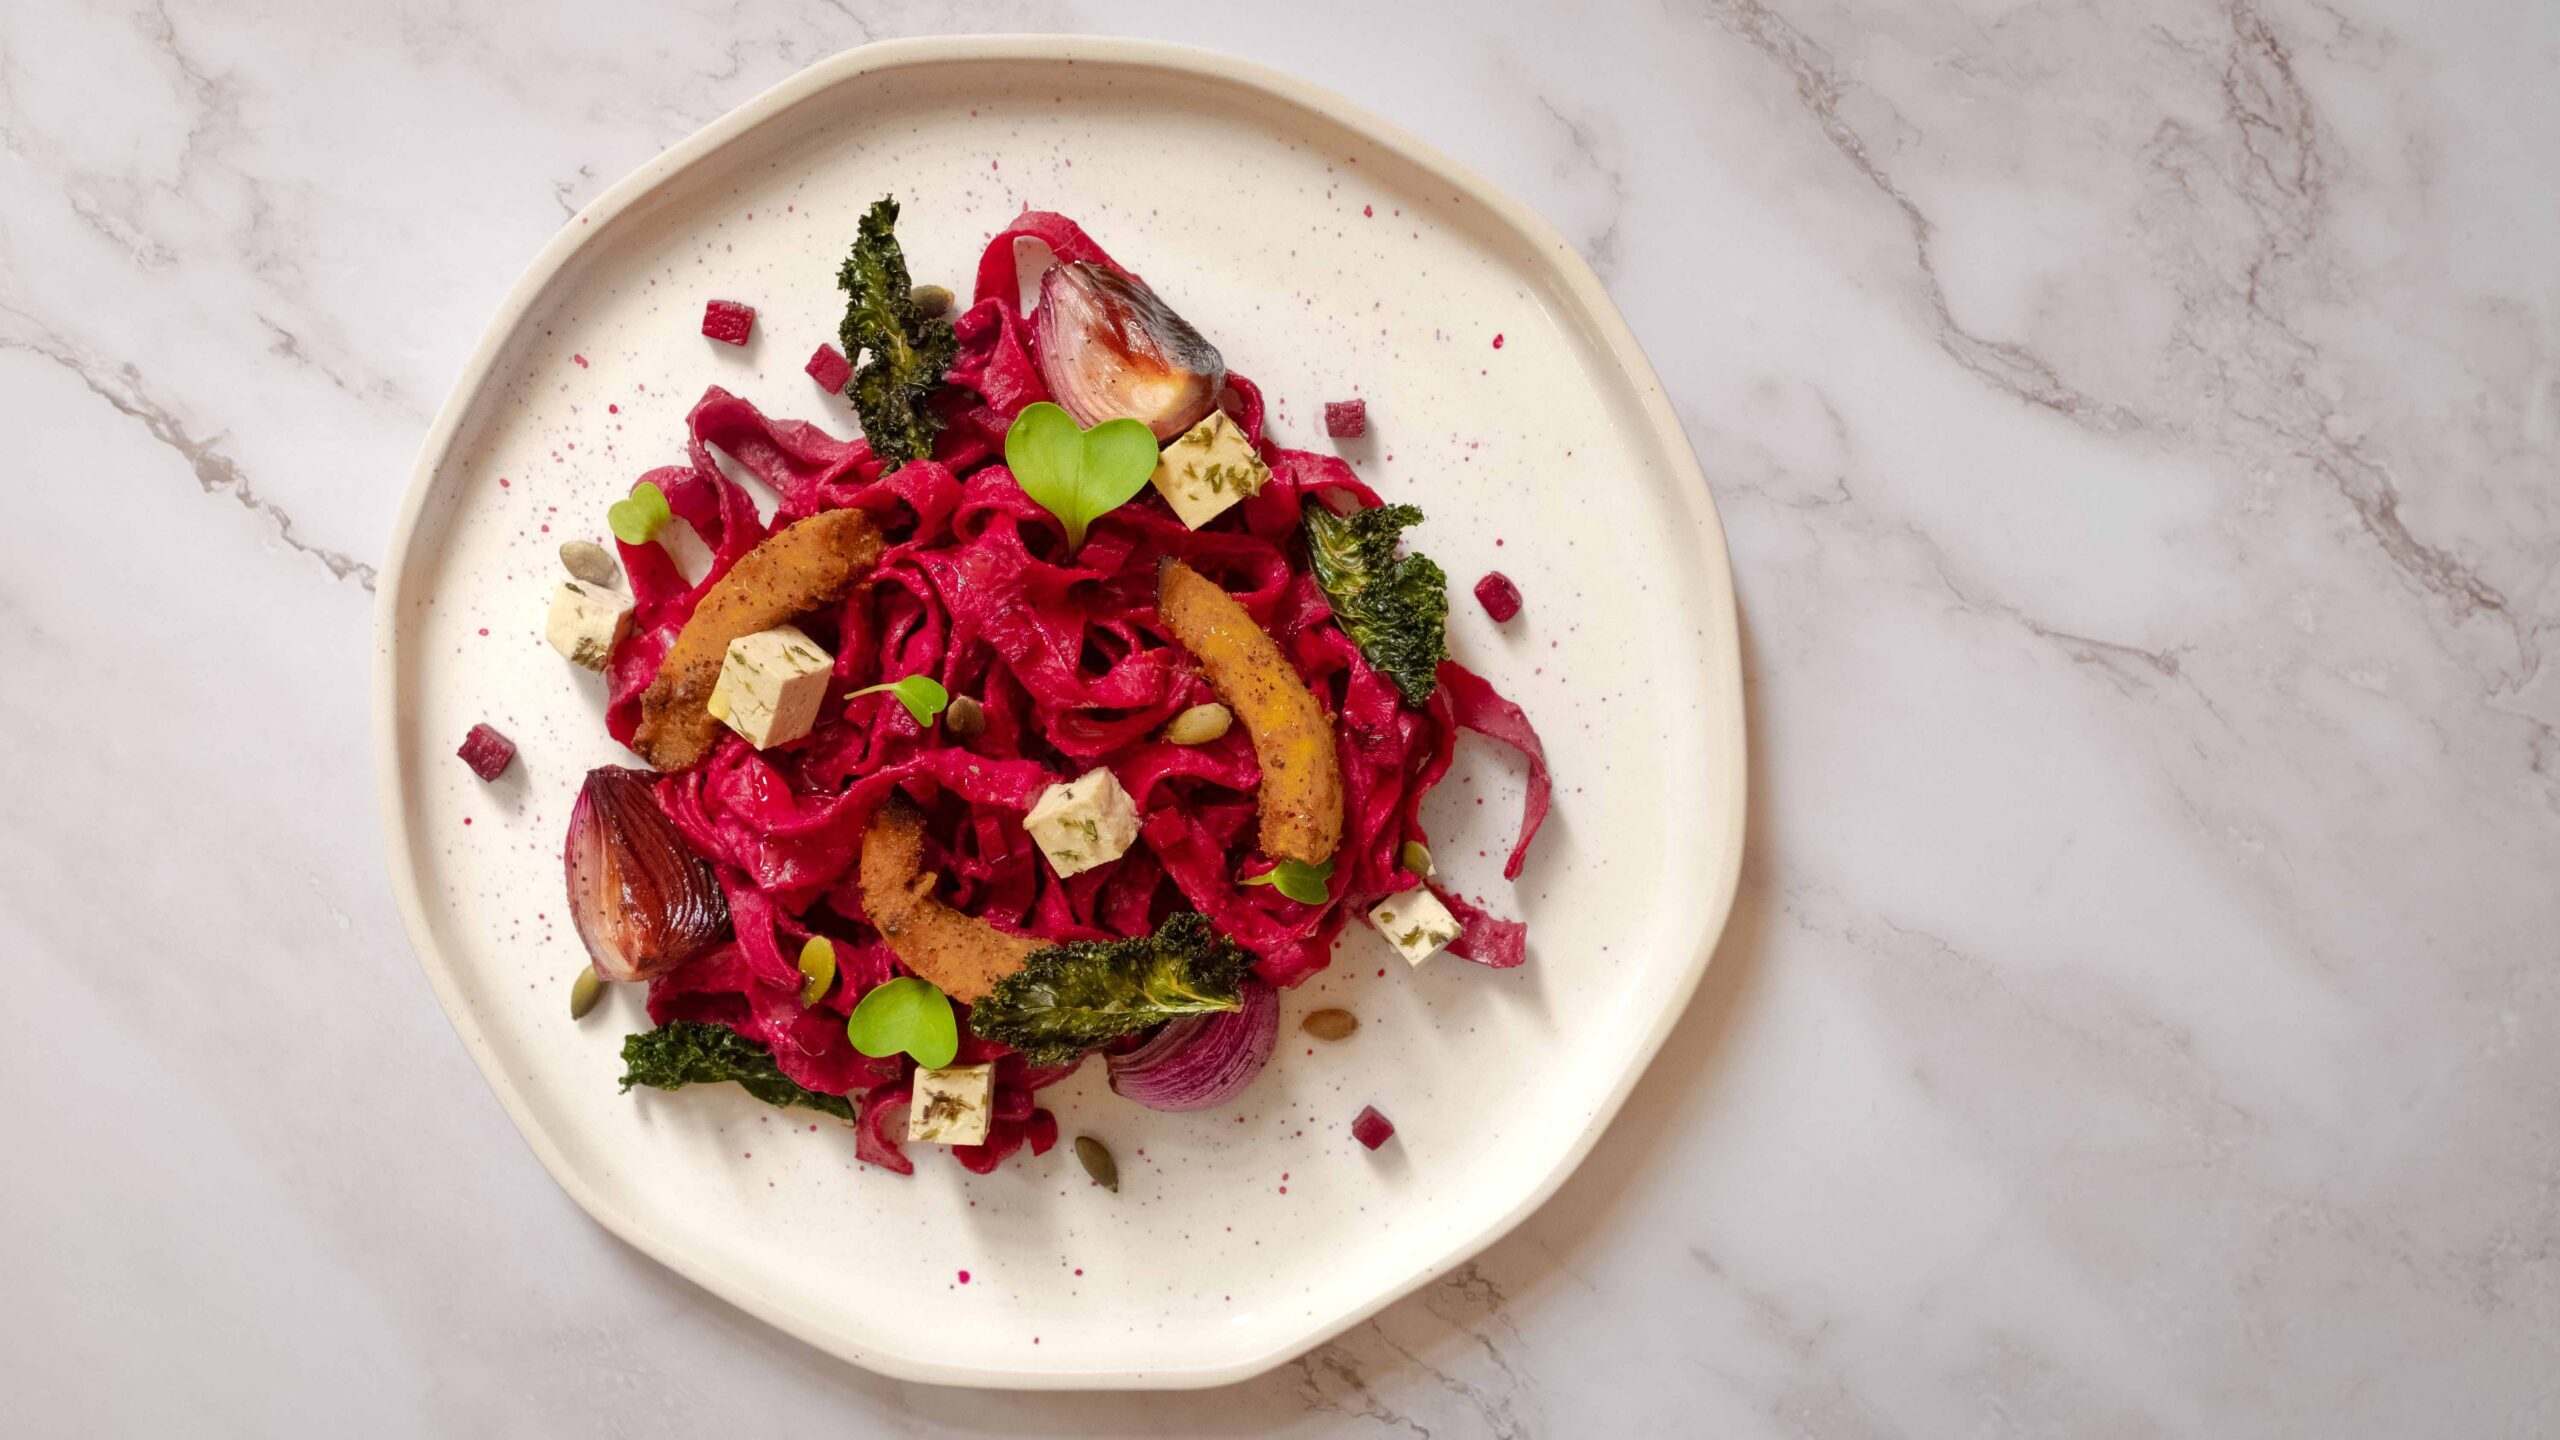
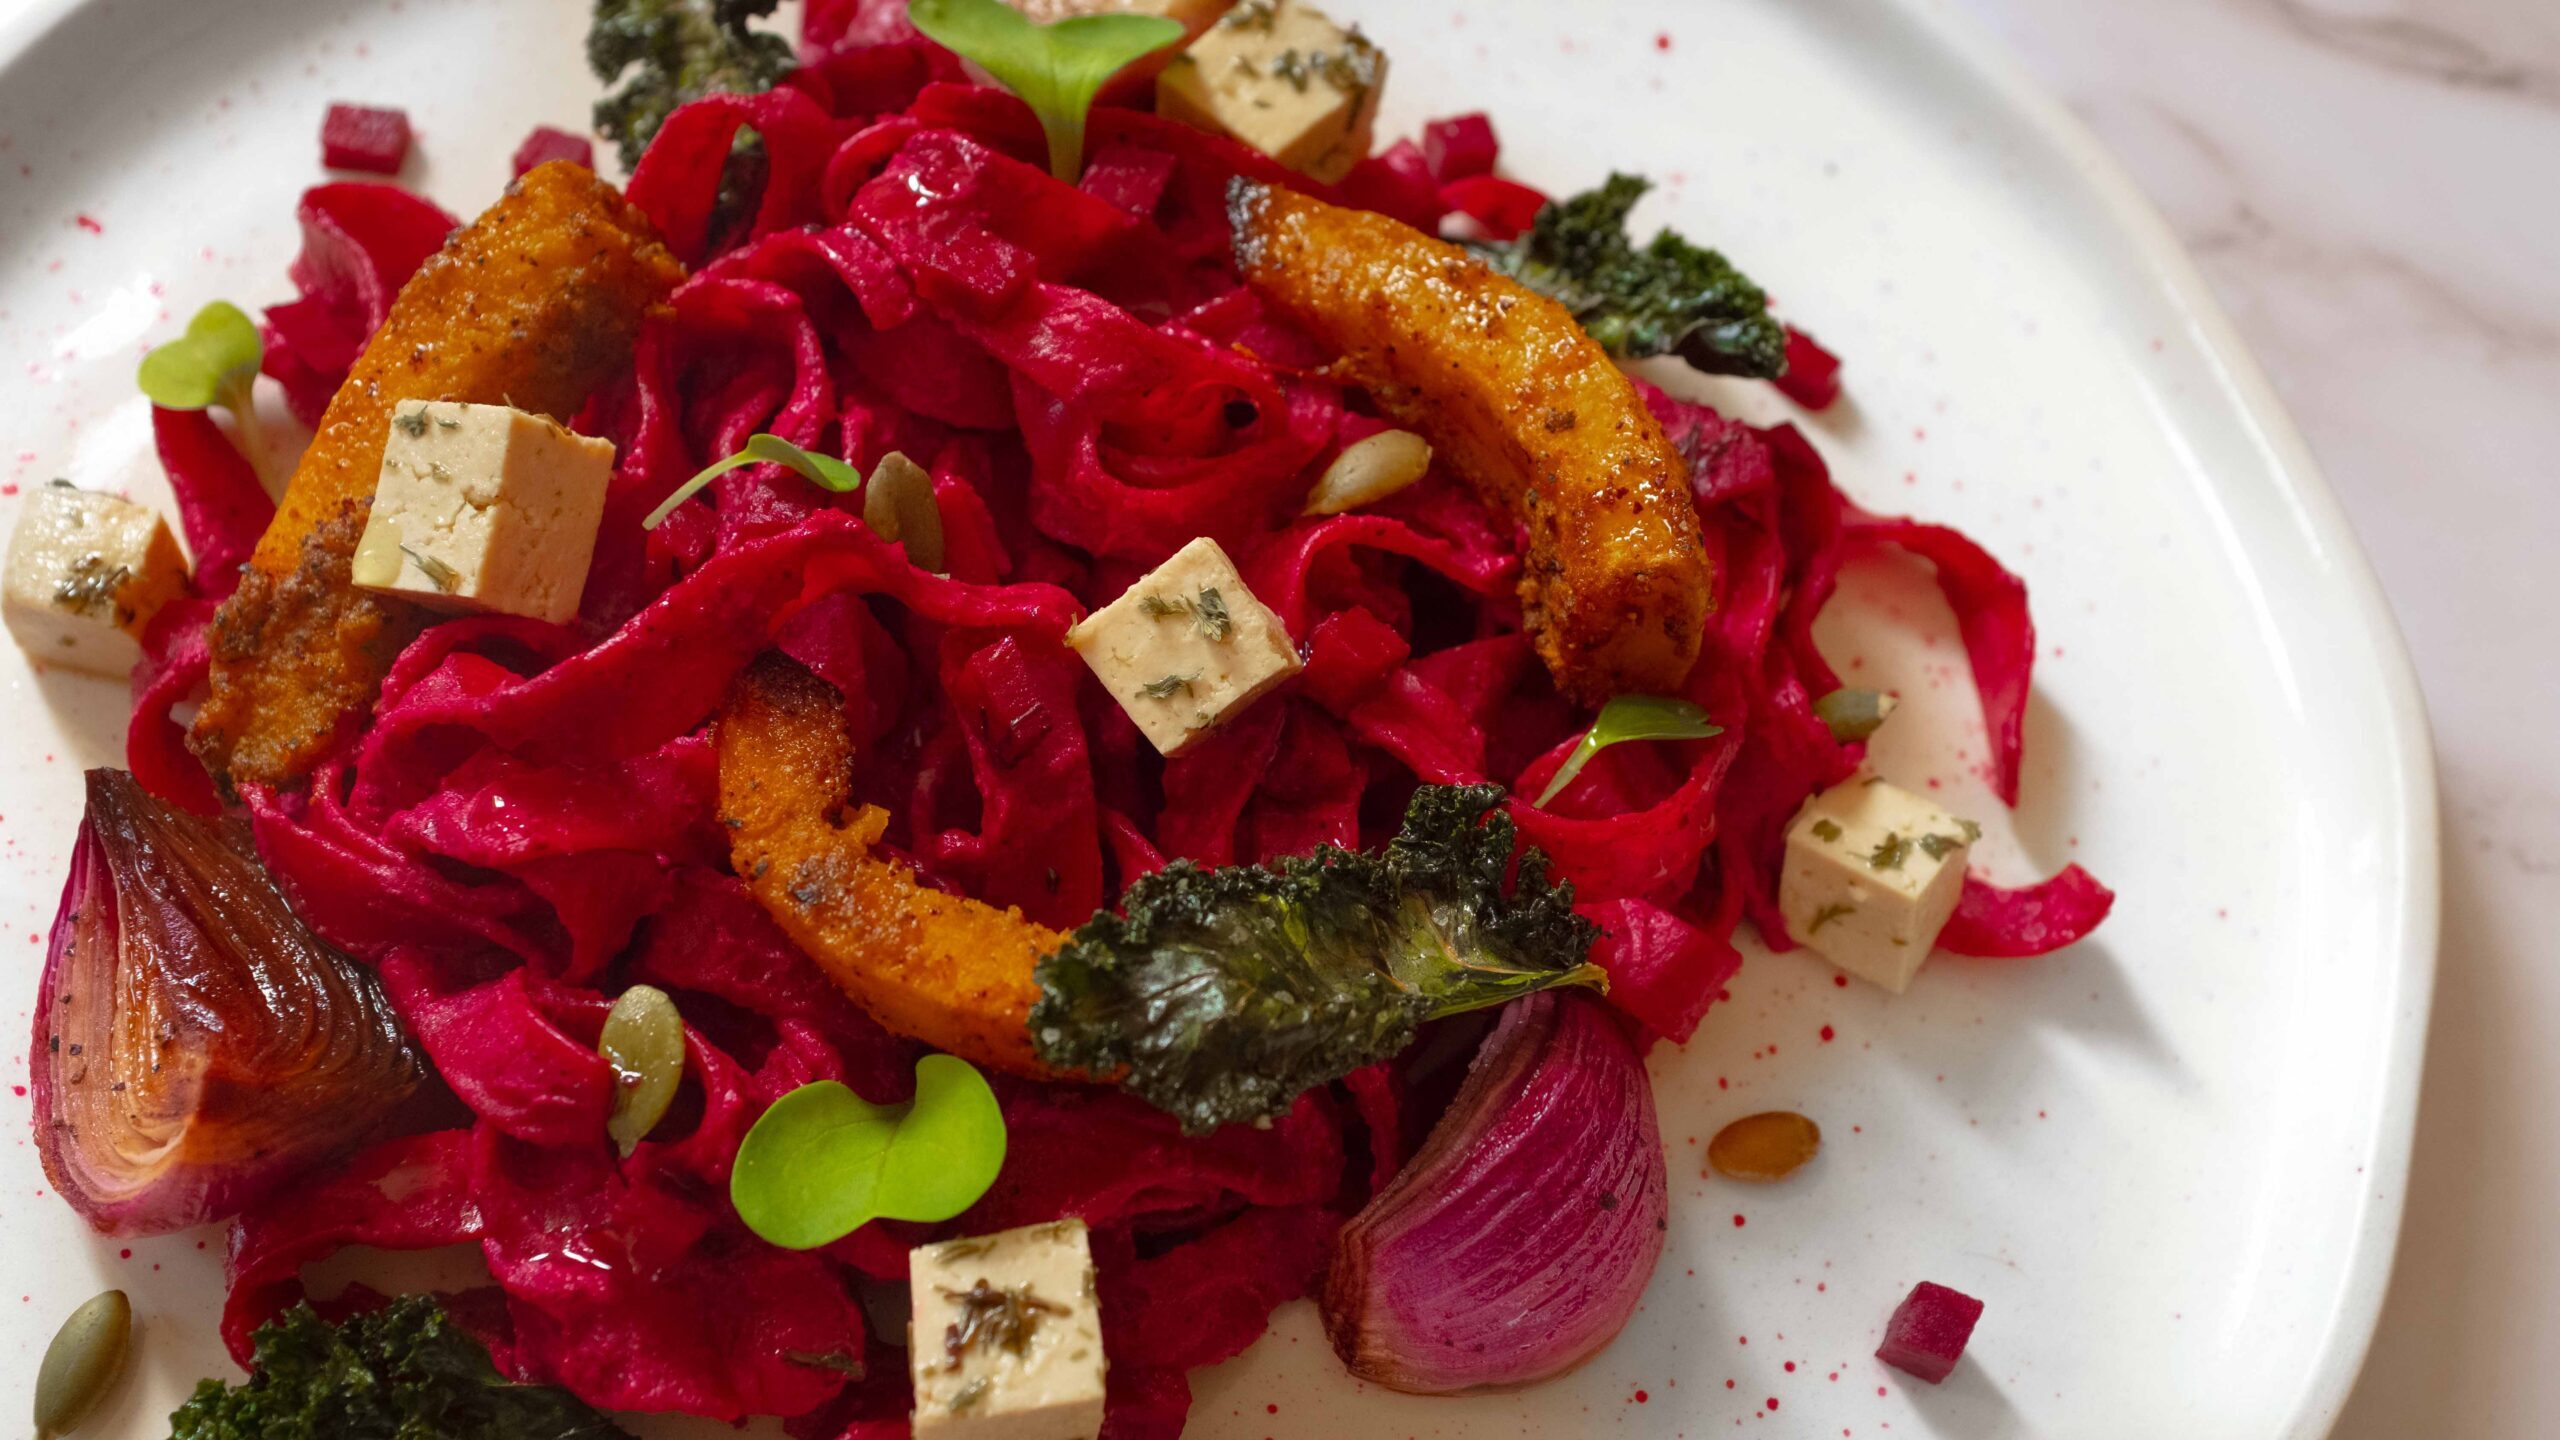
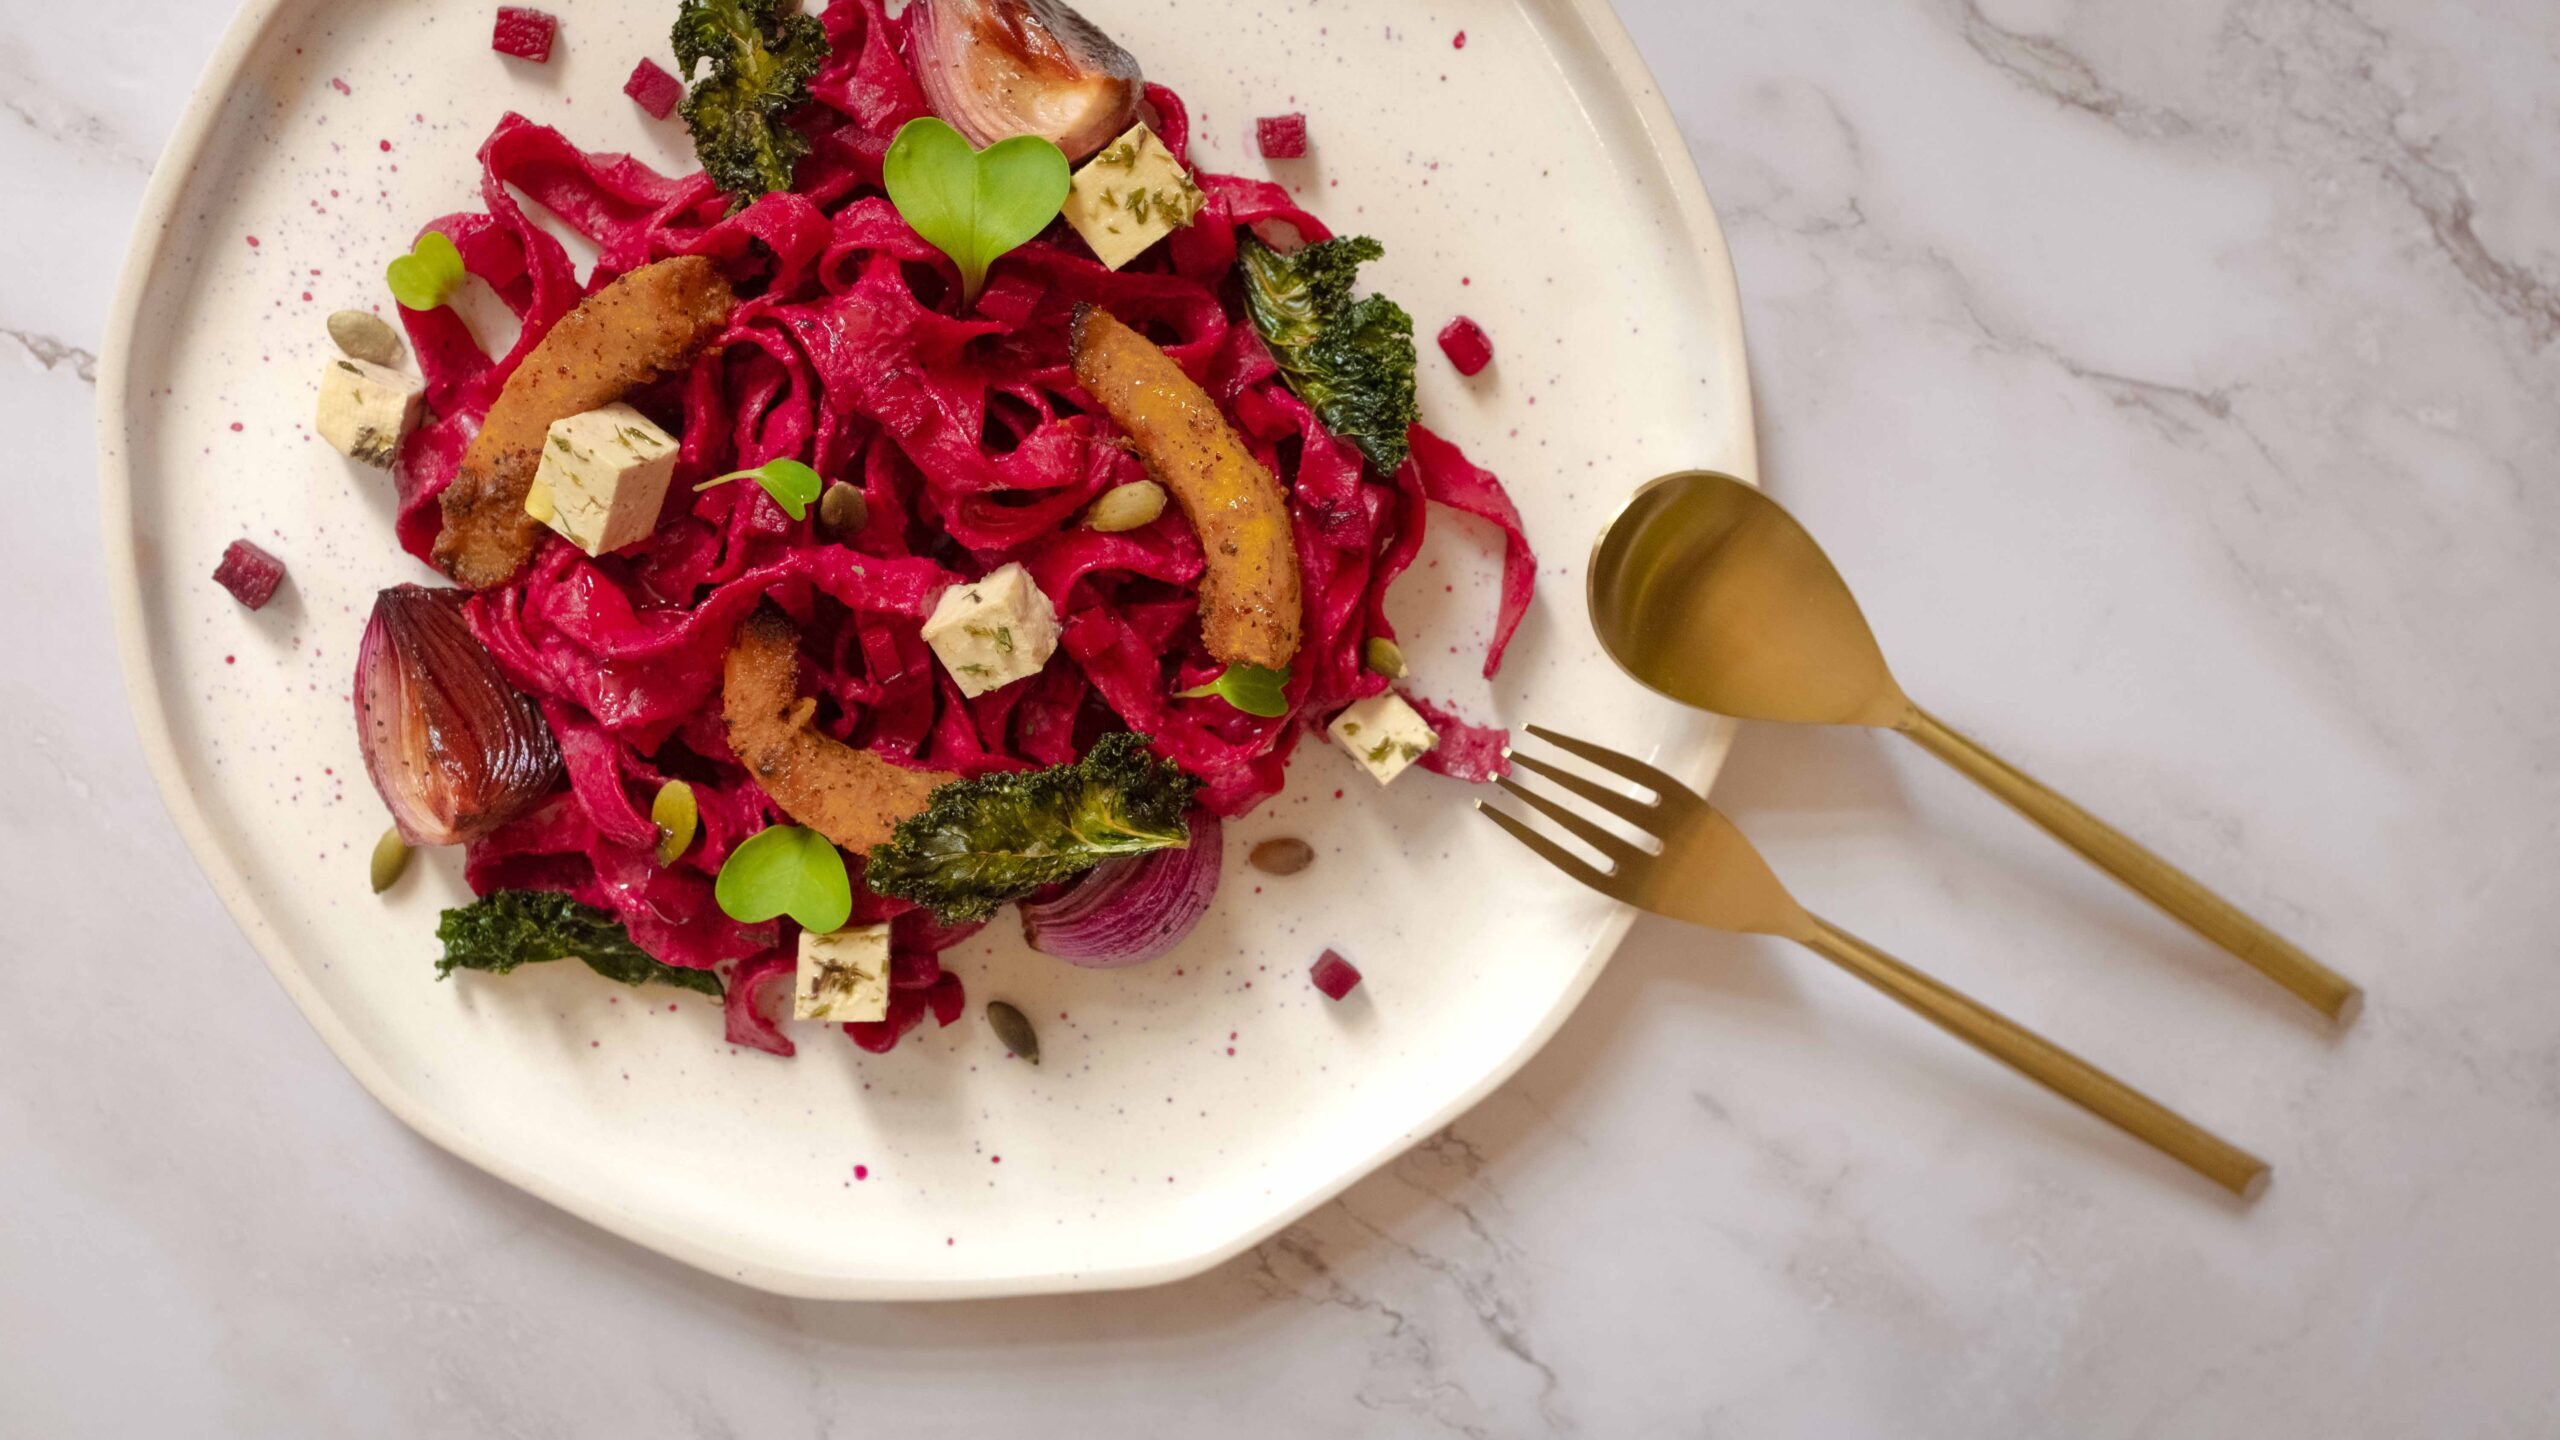
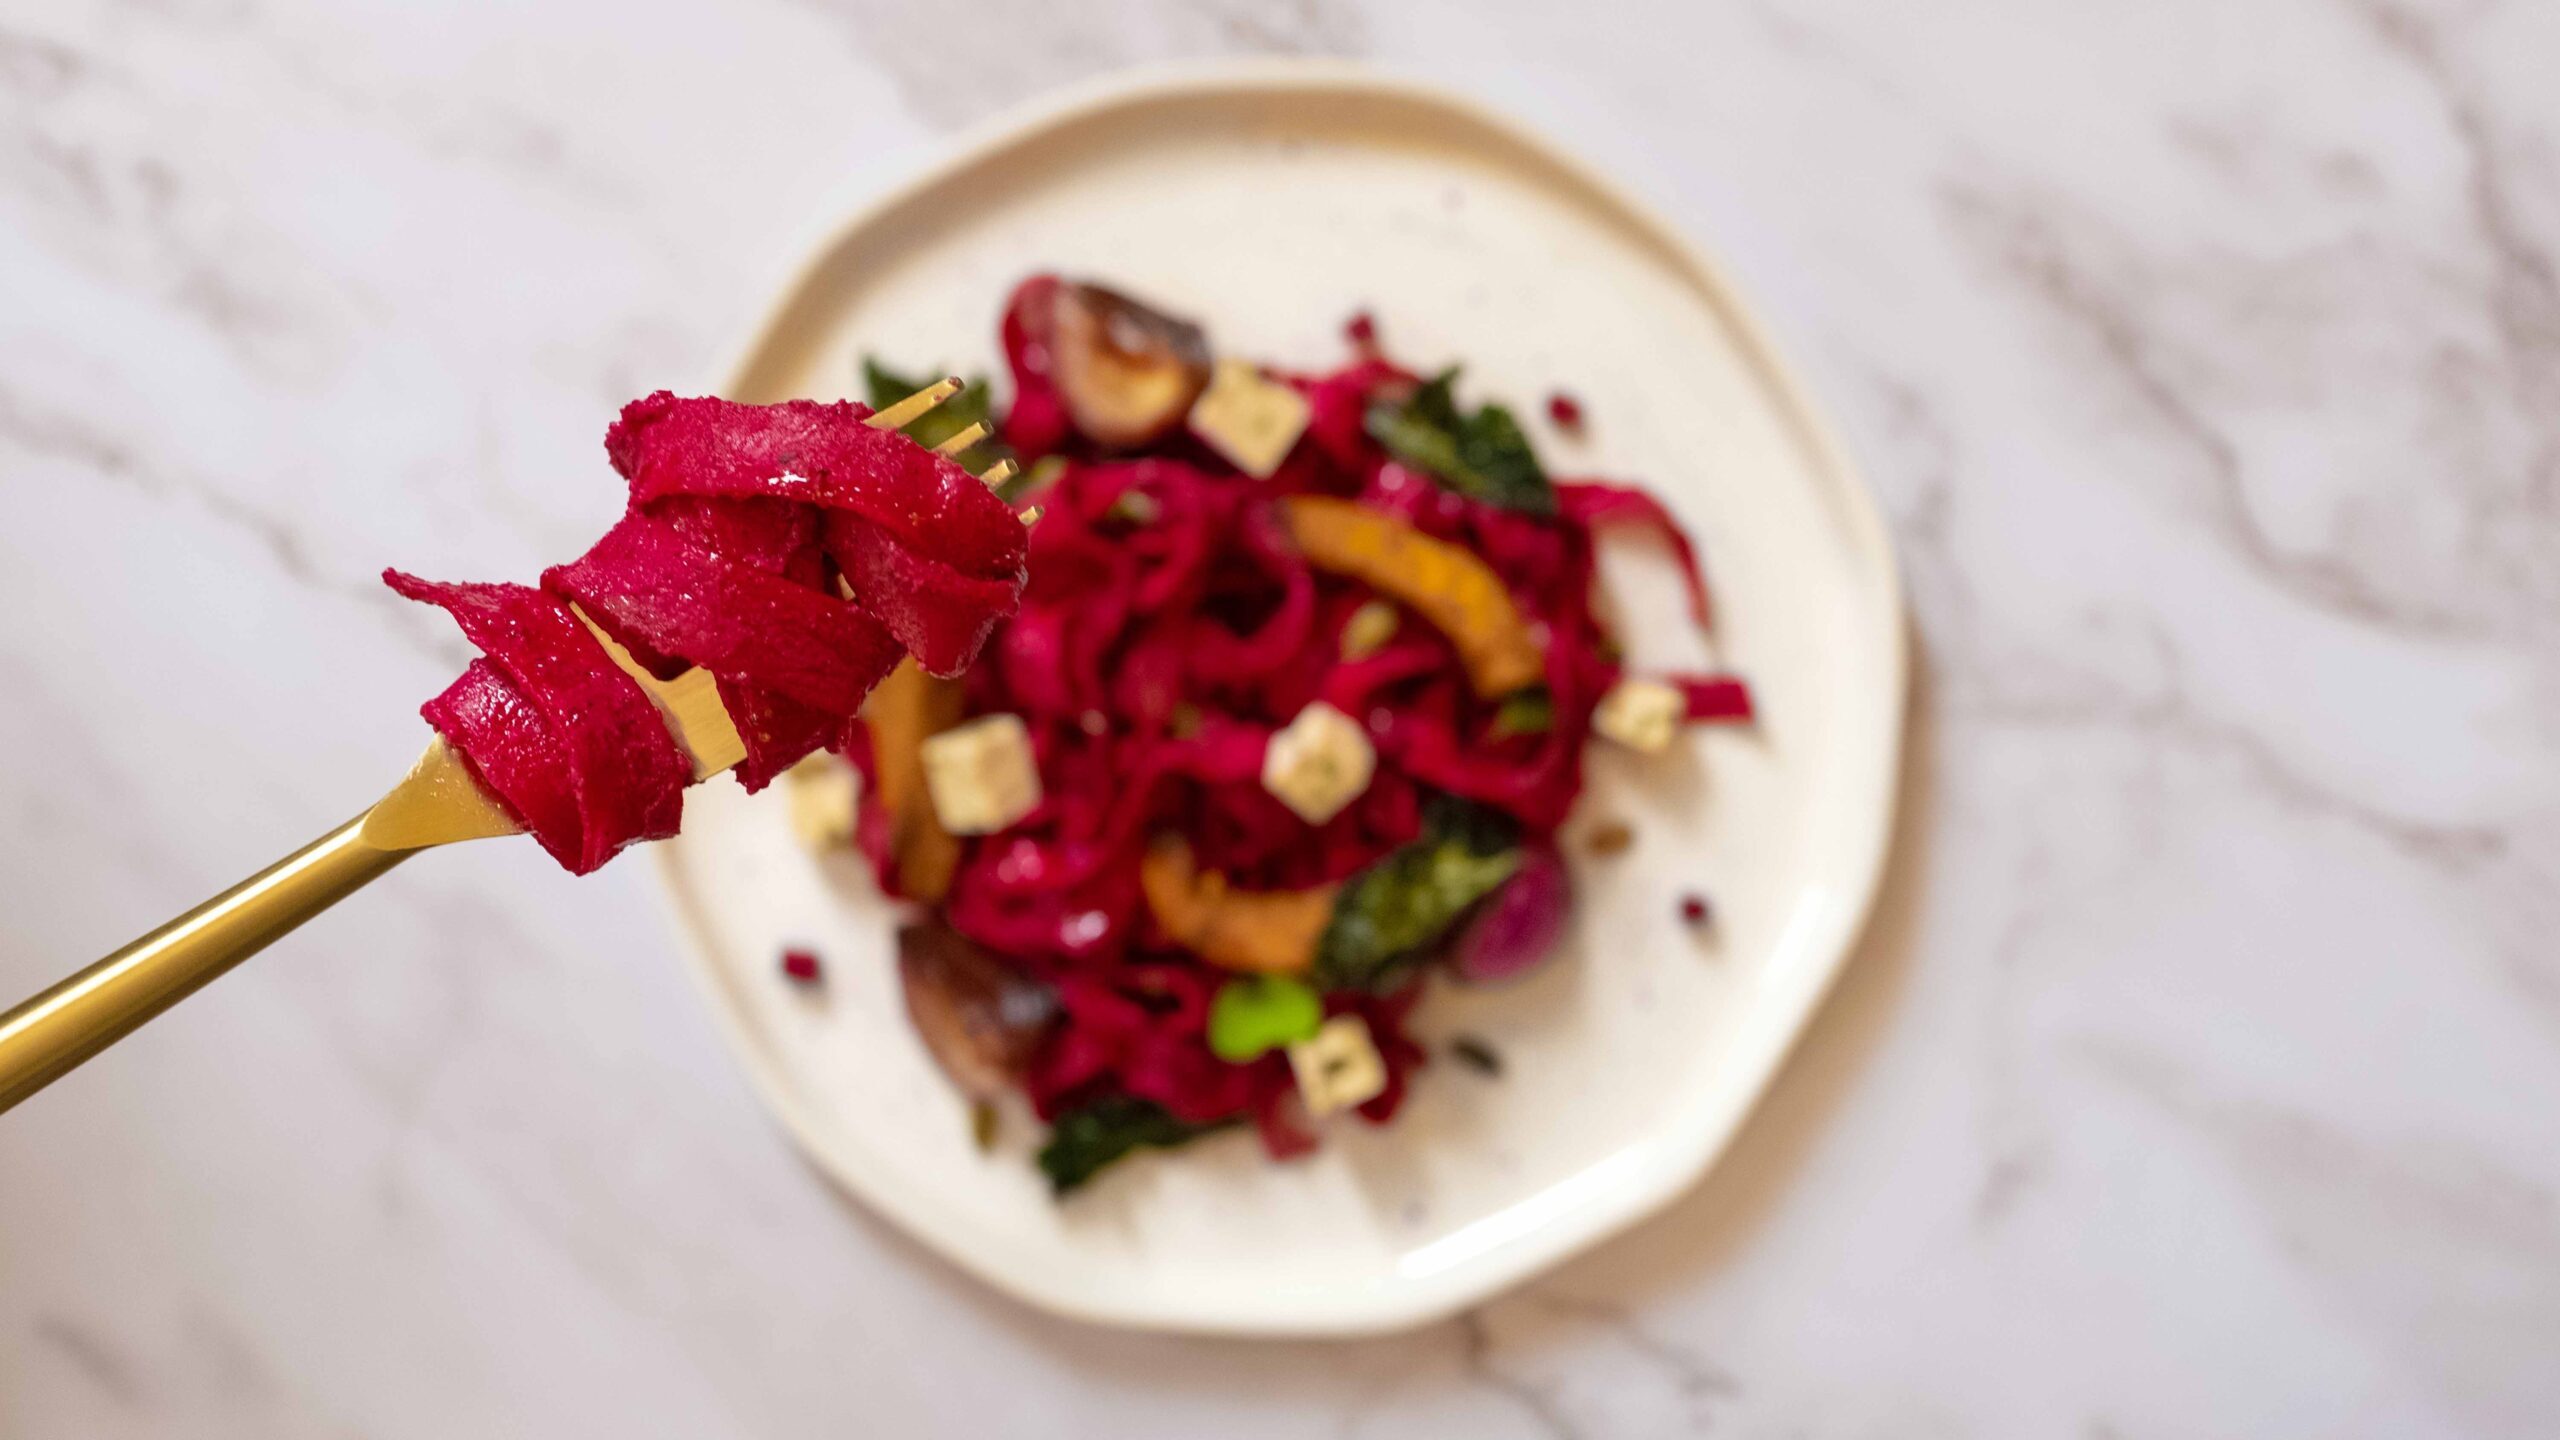
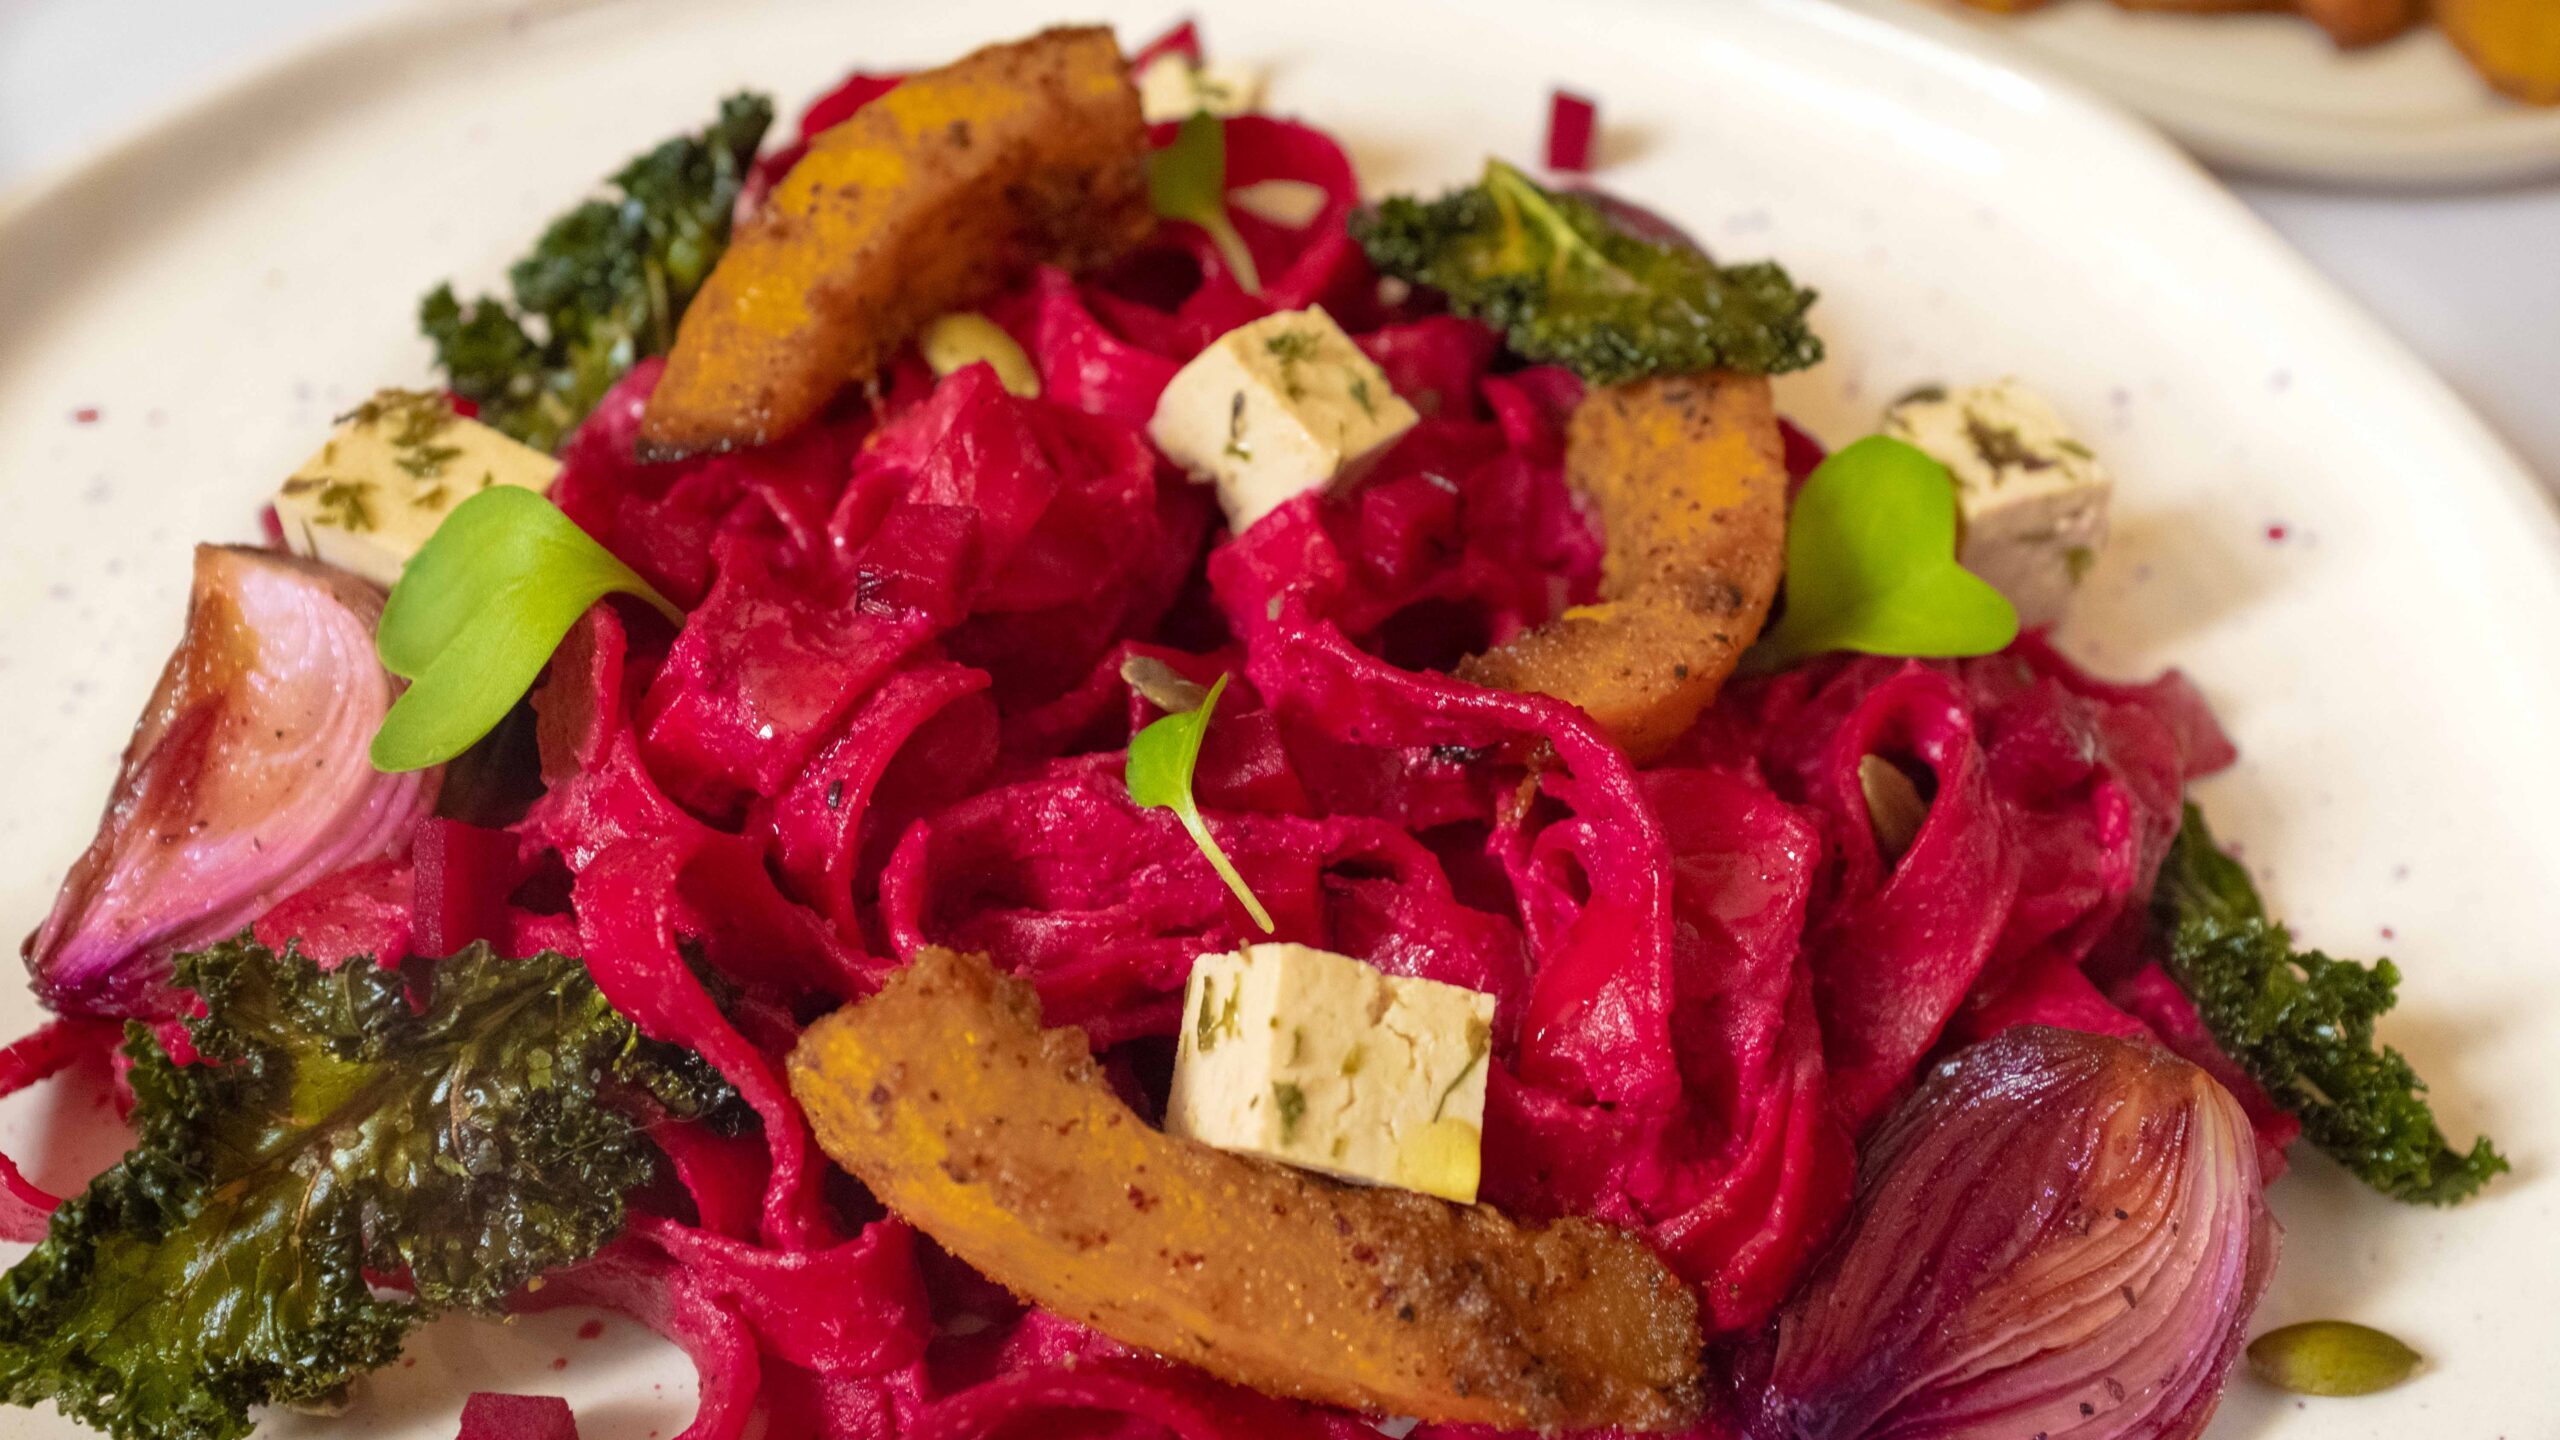
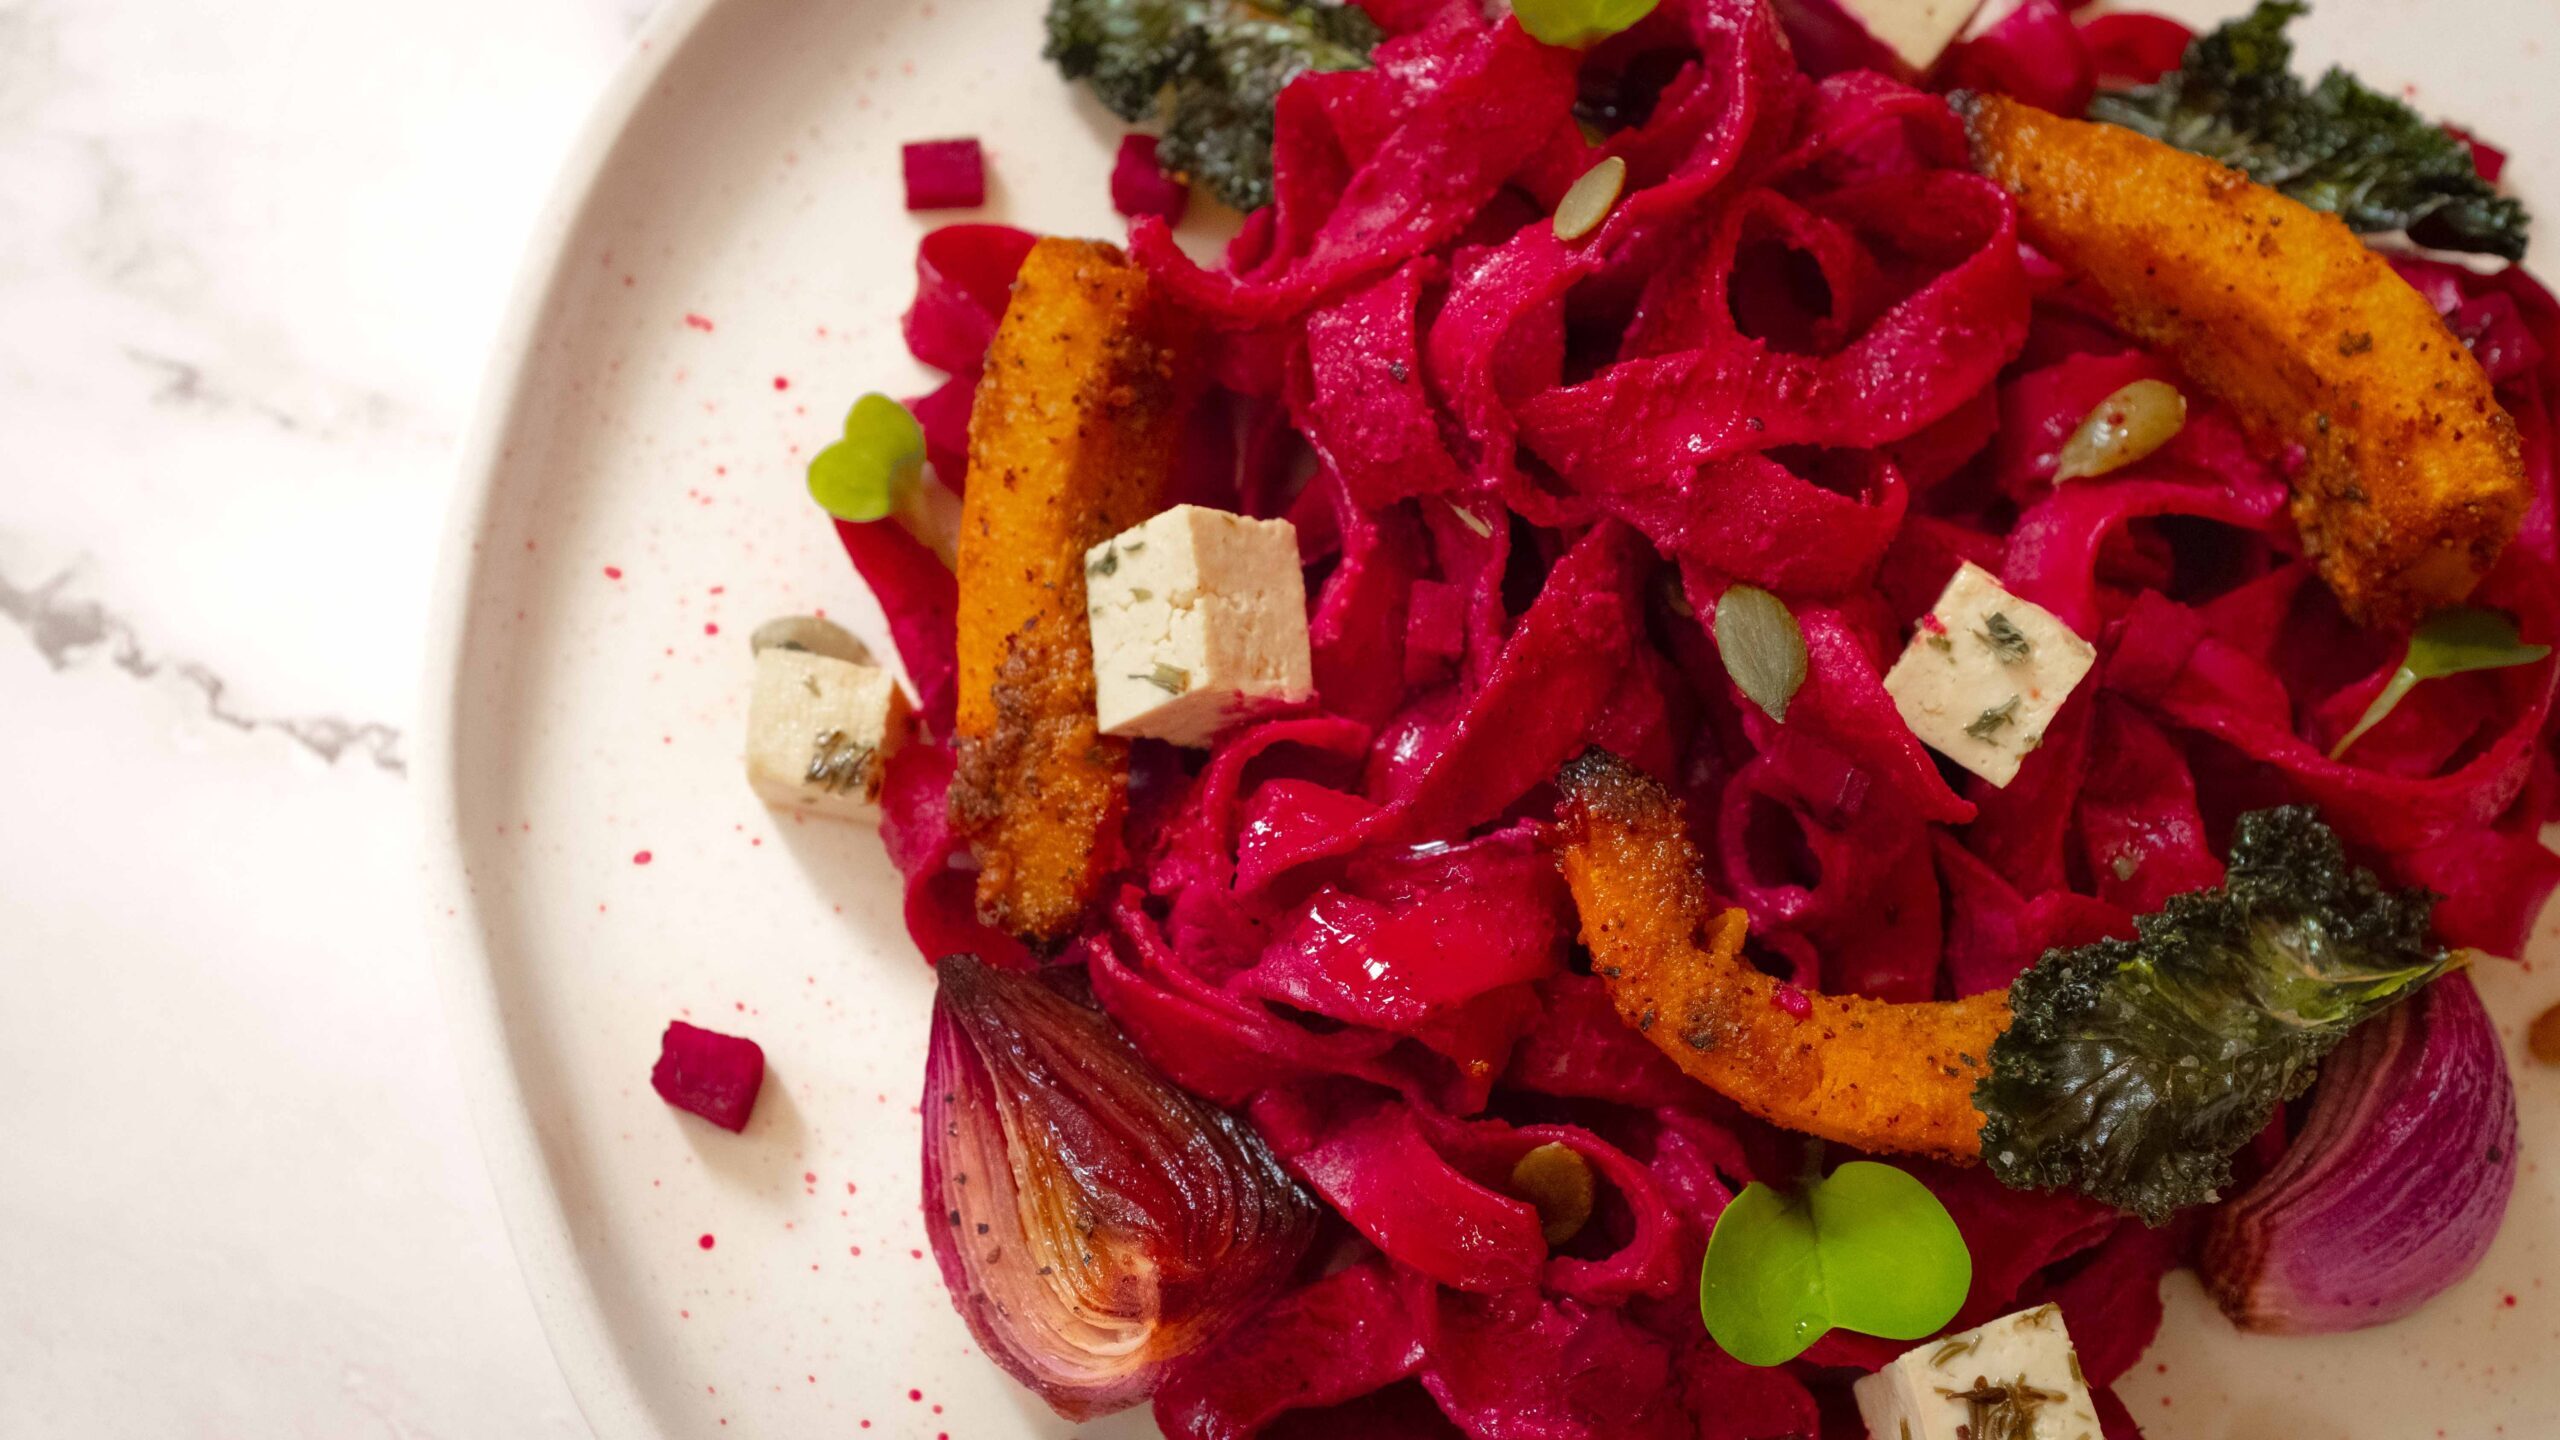
There’s something wholly exhilarating about eating a colourful plate of food. It appeals to our inner child (taste the rainbow, anyone?) and makes for an instant mood lifter. This colourful Holi inspired dish is not just a riot of flavourful hues, it’s also a kaleidoscope of textures ranging from creamy to crunchy. With earthy beetroot as the star and savoury onions, sweet pumpkin, bitter kale, and sour tofu playing supporting roles, it’s everything you want from a vegan dish. Pink, purple, orange, green, and white—this isn’t just pretty looking pasta—it’s a glorious celebration of the spring harvest season.
At a glance
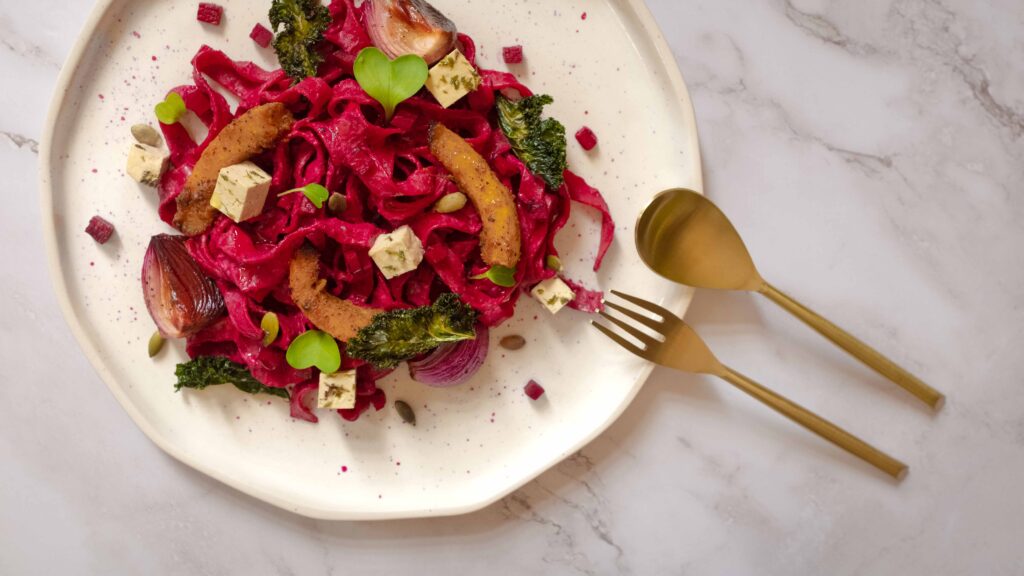
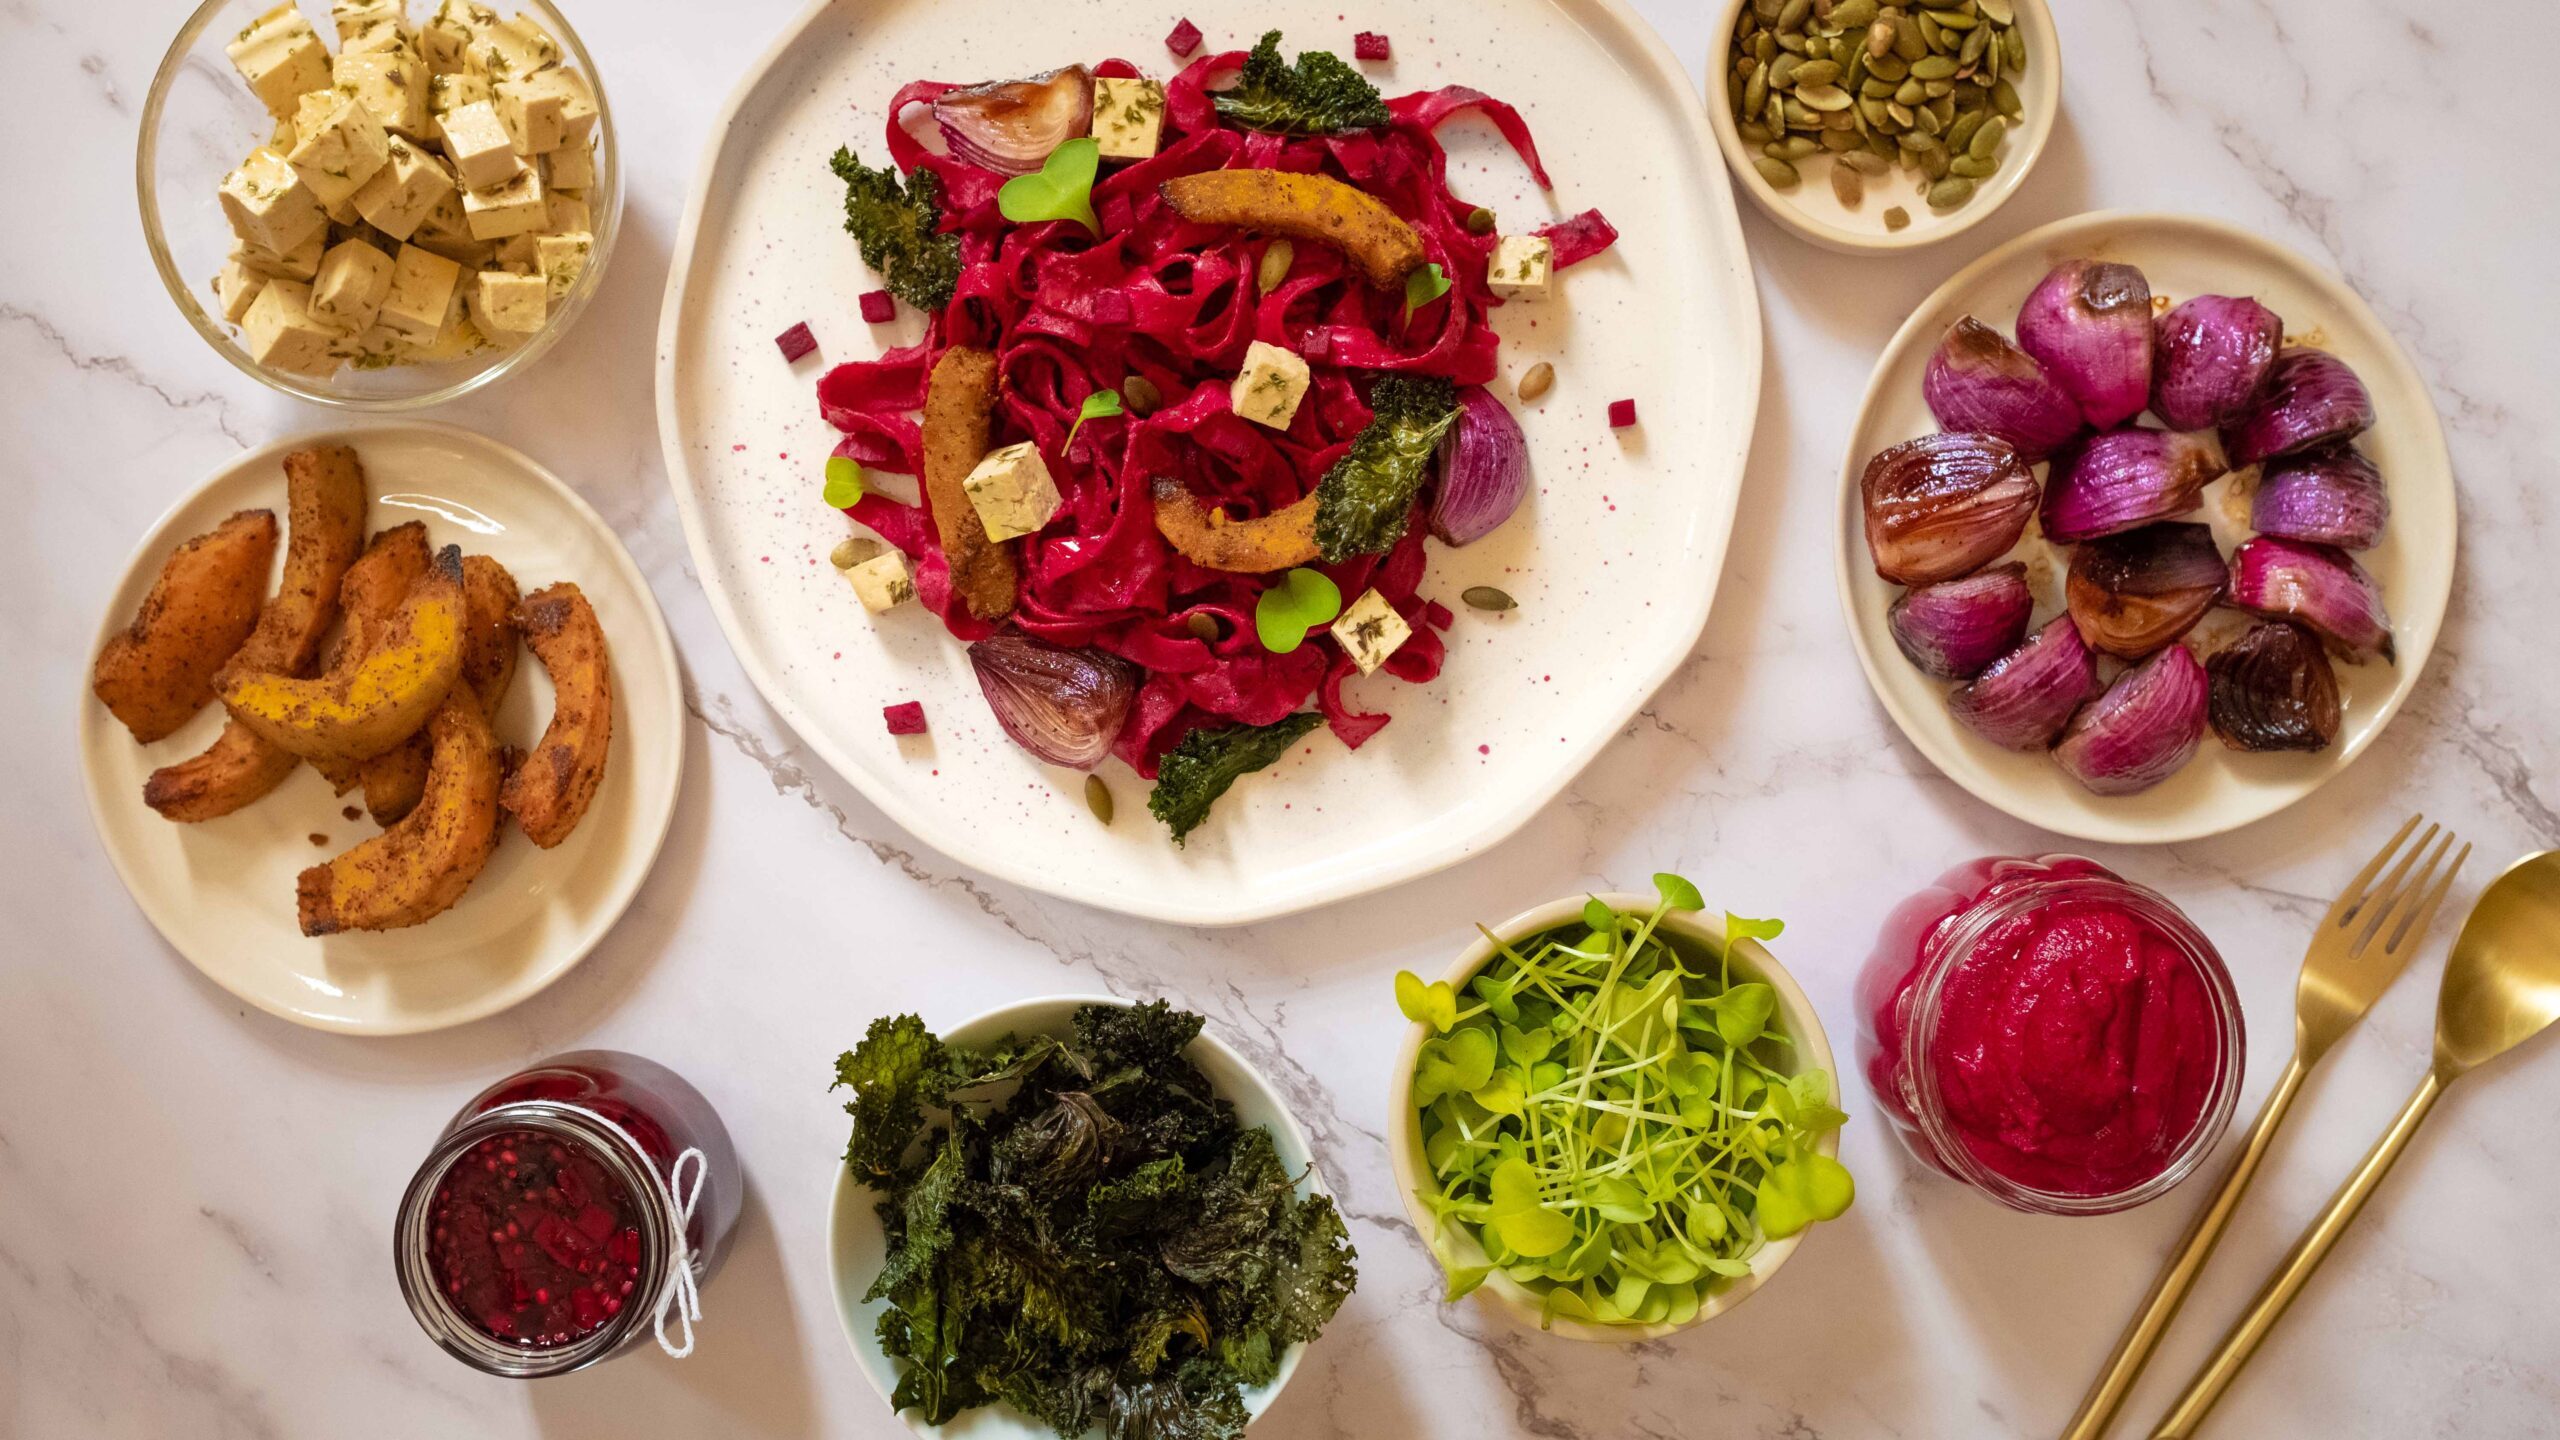
– This dish comprises beetroot pickle + marinated tofu + kale chips + roasted pumpkin + roasted onions + beetroot pesto.
– You will need a big cooking pot (4-5 litre capacity), some baking trays, baking parchment and aluminium foil, some pans, and a blender.
– This recipe has been broken into 7 stages for ease and comprehension. Please read the entire recipe from start to finish before beginning.
Stage 1: beetroot pickle
Ingredients
1. 1 small beetroot or 150 gm equivalent
2. 3/4 tsp red chilli flakes
3. ½ tsp black peppercorns
4. ½ tsp dried dill
5. ¼ tsp caraway seeds
6. ¼ tsp cumin seeds
7. ¼ tsp coriander seeds
For the pickling liquid
8. 55 ml balsamic vinegar
9. 2 ½ tbsp. sugar
10. 60 ml water
11. 100 ml red wine vinegar
12. ½ tsp salt
Method
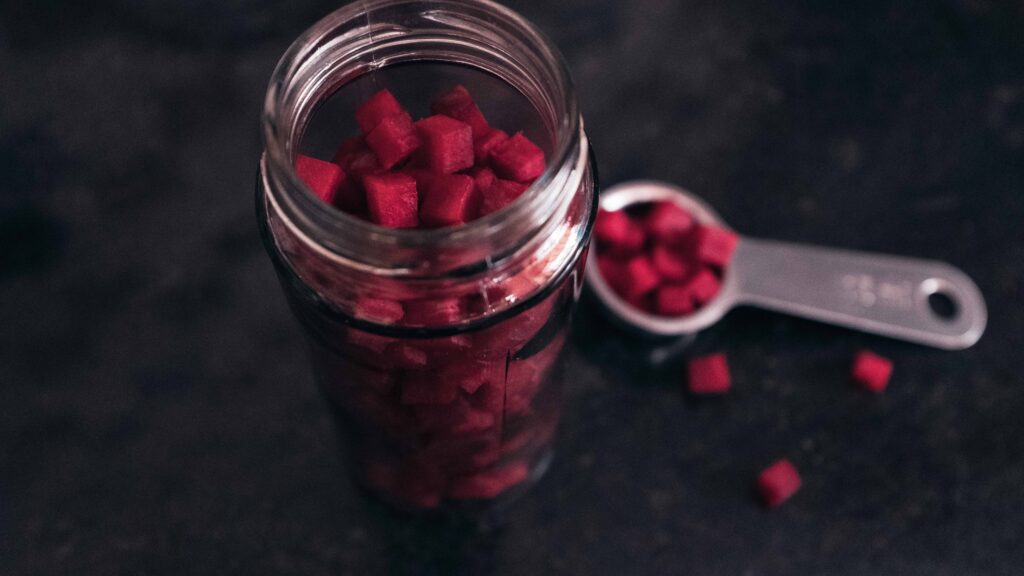
1 – Wash and scrub the beetroot and pat it dry. Peel and dice the beetroot into ¼ inch cubes. Place the cubes in a heat-proof, sterilised glass jar.
2 – Add the red chilli flakes, black pepper corns, dried dill, caraway seeds, cumin seeds, and coriander seeds to the jar.
3 – Mix the sugar with the balsamic vinegar in a small saucepan and bring to a simmer over medium heat. Reduce and thicken until it’s the consistency of a pouring syrup, roughly 7-8 minutes.
4 – Add the water, red wine vinegar, and the salt to the same saucepan and bring it to a simmer over medium heat.
5 – As soon as it comes to a simmer, pour the pickling liquid into the glass jar, to submerge all the beetroot. Make sure you leave at least ¼ inch space between the jar contents and the top of the jar (to prevent pressure building up and the lid popping).
6 – While the mixture is still hot, screw on the cap of the jar and leave to cool to room temperature.
7 – Once it’s cool to the touch, place your jar in the fridge and allow the beets to pickle for a minimum of 5 days for best results.
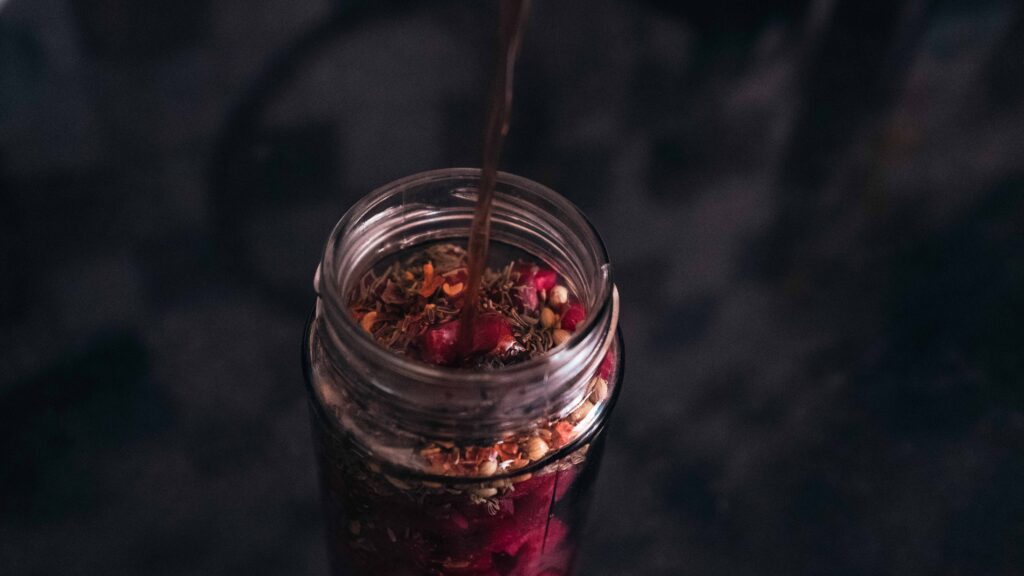
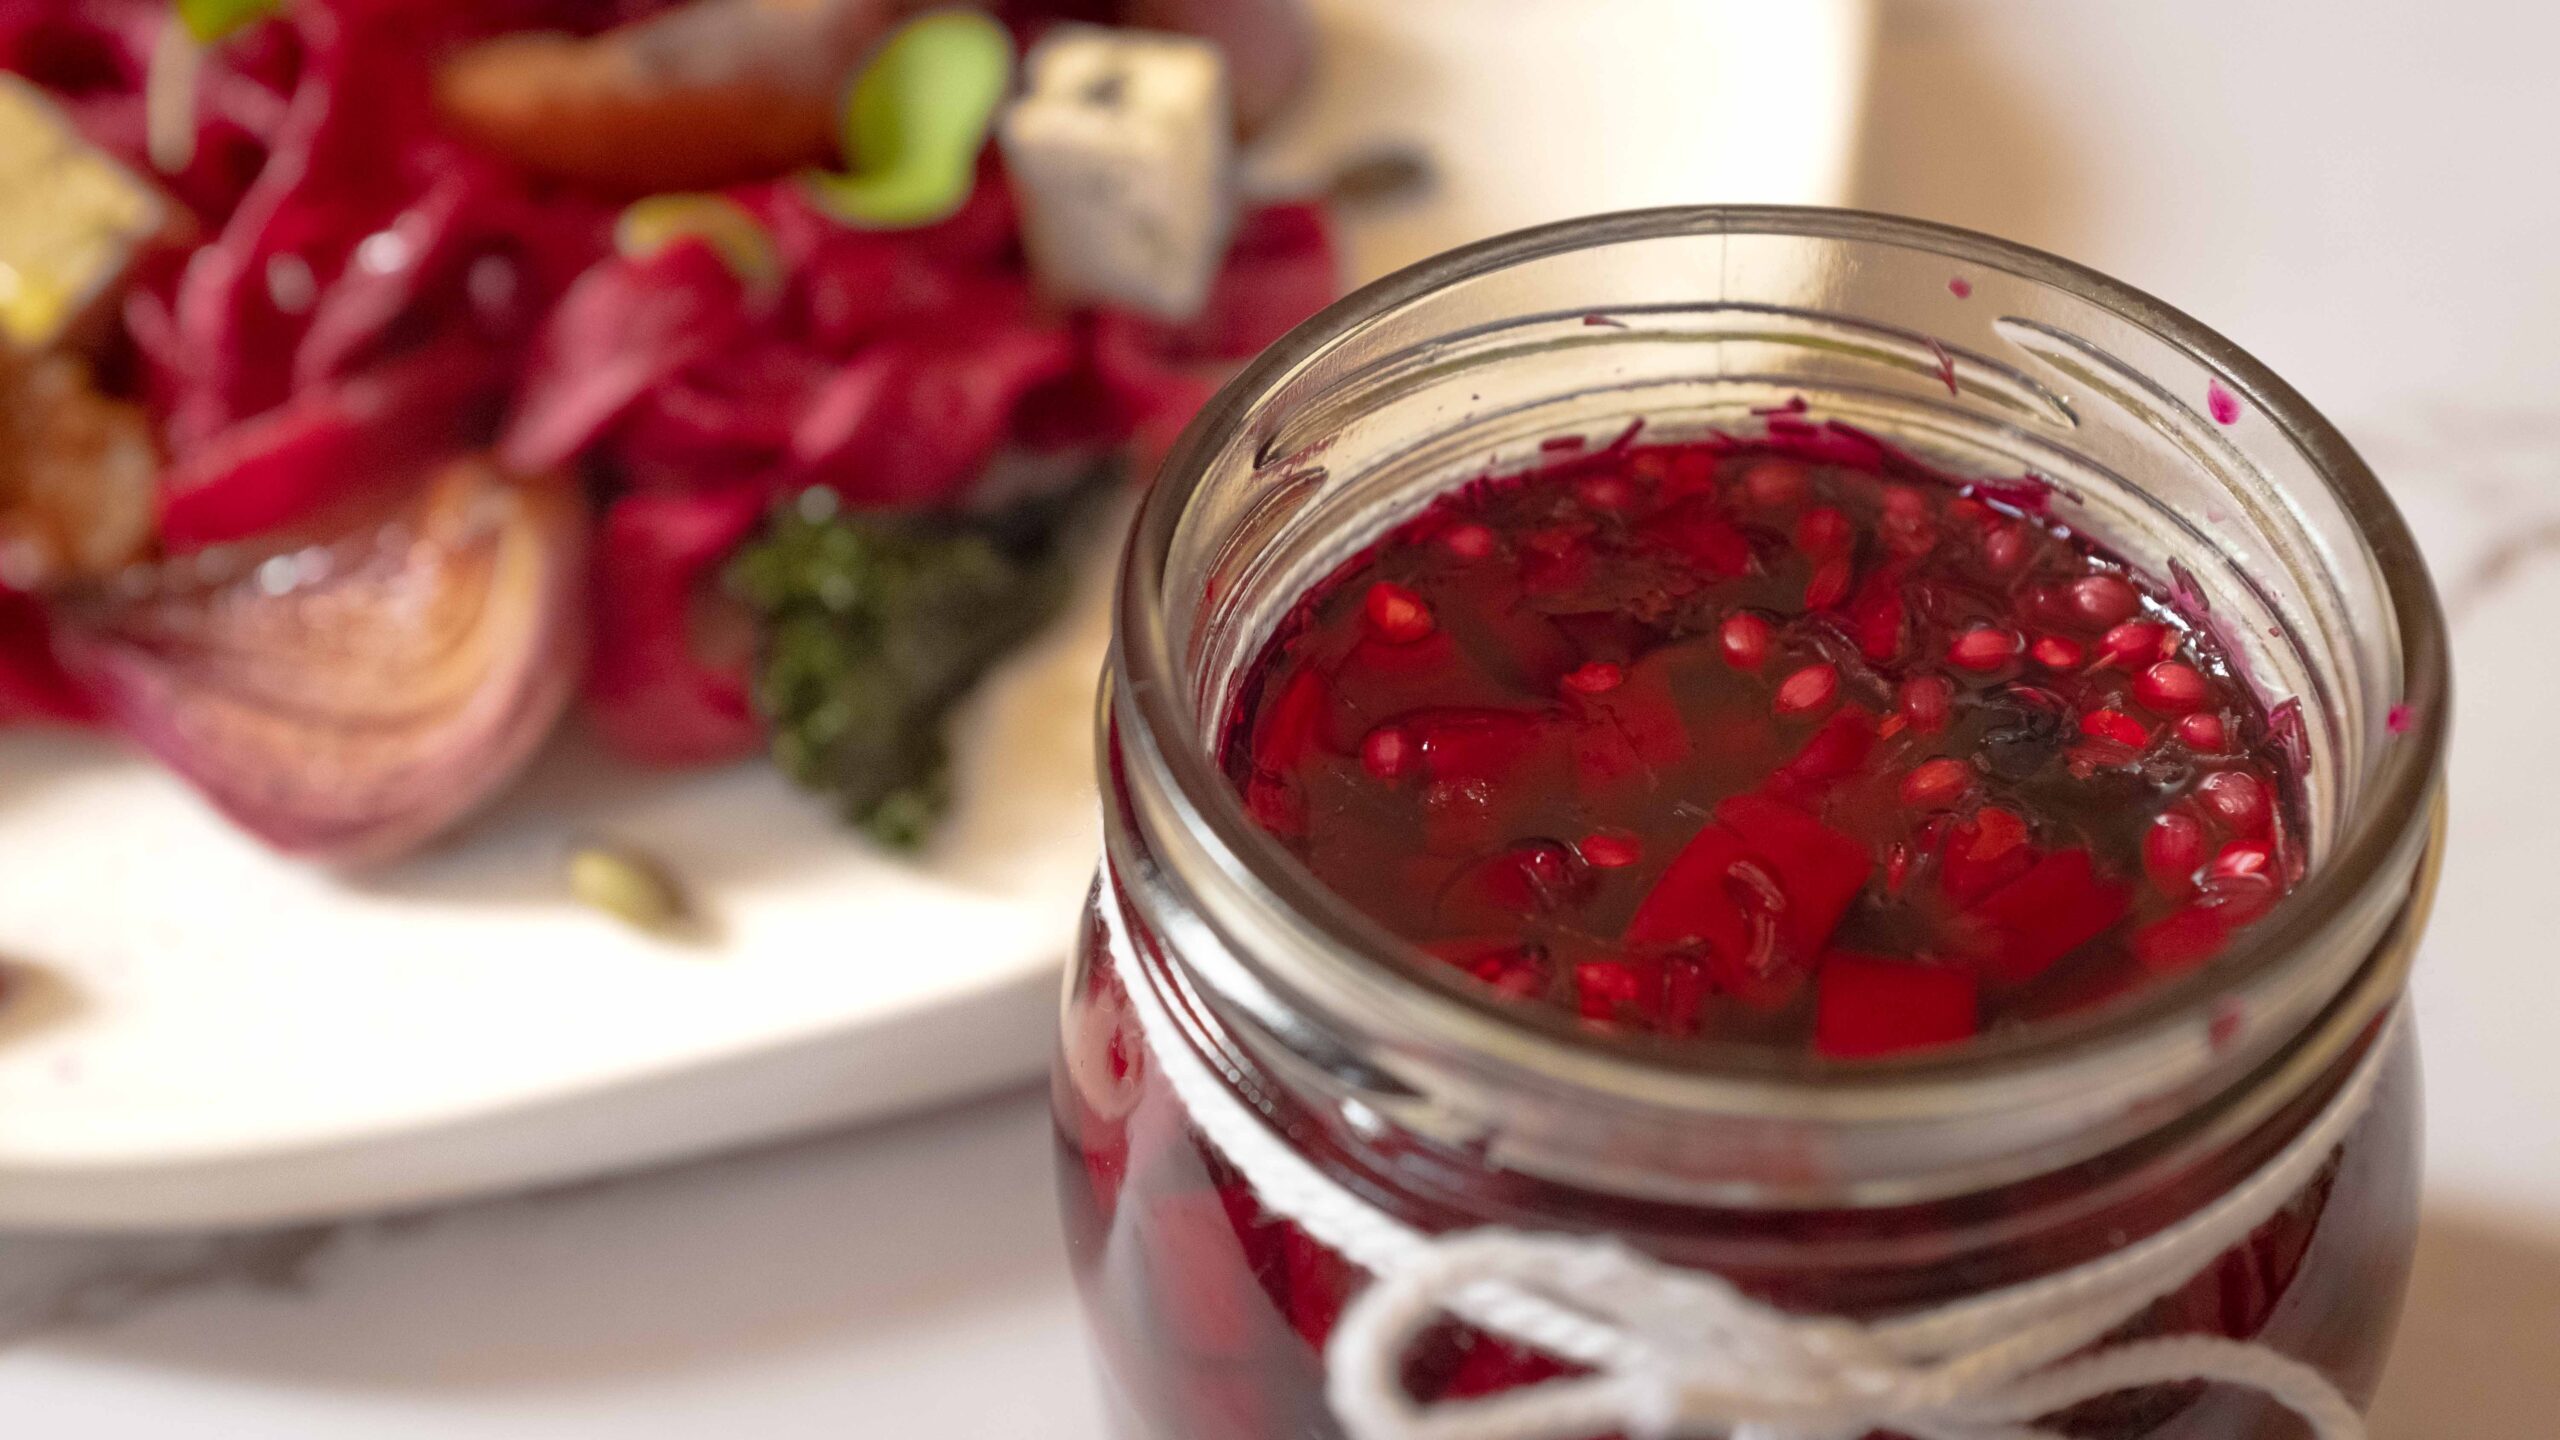
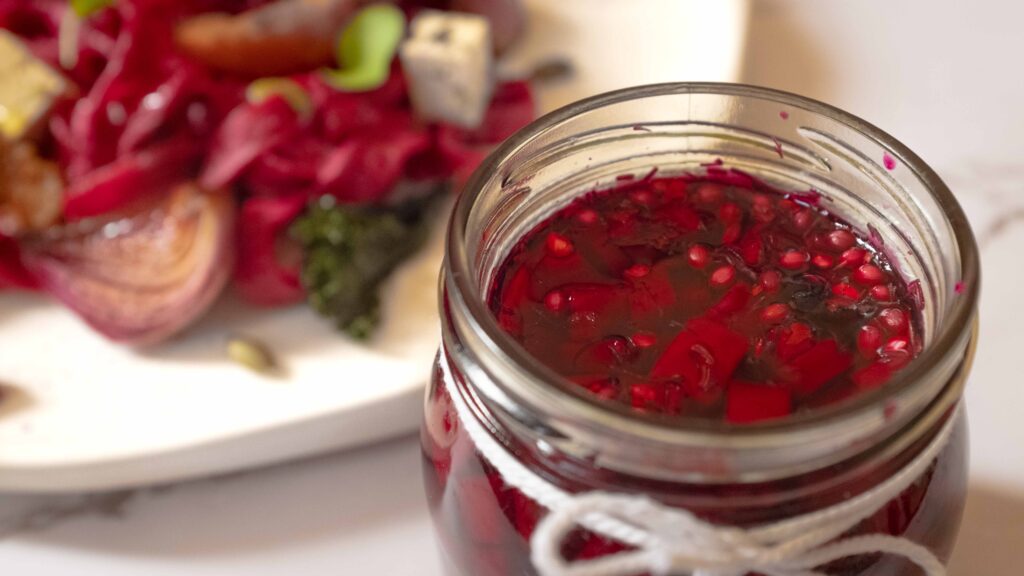
This component adds crunchy pops of texture to the dish. I recommend making this component first, as it requires a steeping time of at least 5 days. This amount of beetroot pickle fills up a 400 ml jar. For this dish, you’ll only need about a tablespoon per serving, so you’ll have lots left over. Store the rest of the pickle in the fridge, where it will keep for a month or so. For a tangy and crunchy pop, sprinkle it on salads, or add it to sandwiches and wraps.
Stage 2: marinated tofu
Ingredients
1. 200 gm firm or extra firm tofu
For the marinade
2. 120 ml water
3. 60 ml freshly squeezed lemon juice
4. 60 ml white vinegar
5. 2 tbsp. nutritional yeast
6. 1 tbsp. extra virgin olive oil
7. ½ tsp garlic powder
8. ½ tsp onion powder
9. ½ tsp dried dill
10. ½ tsp dried parsley
11. ½ tsp dried thyme
12. 1 tbsp. white miso paste (fermented bean paste)
13. 1 ½ tsp salt
Prep
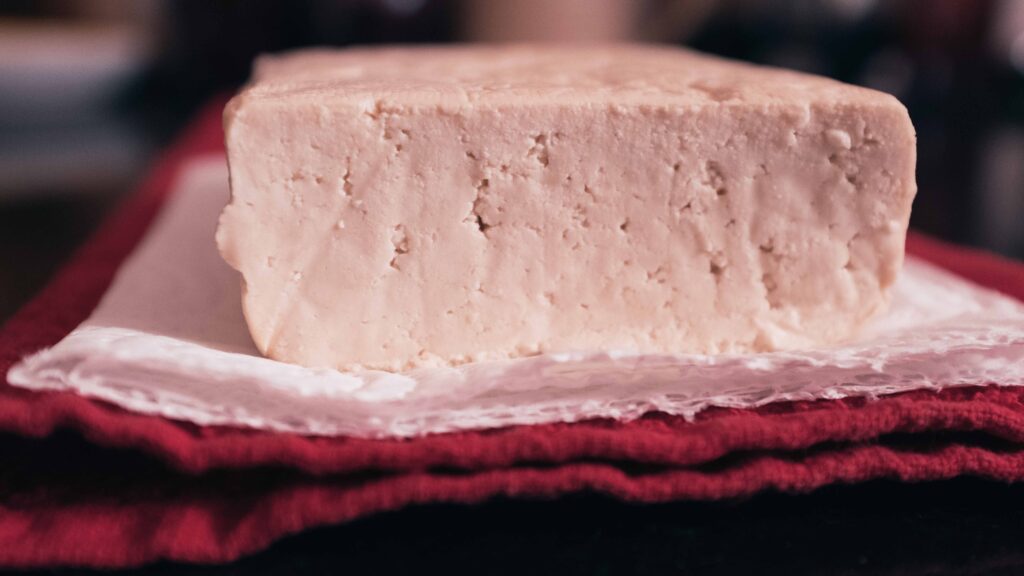
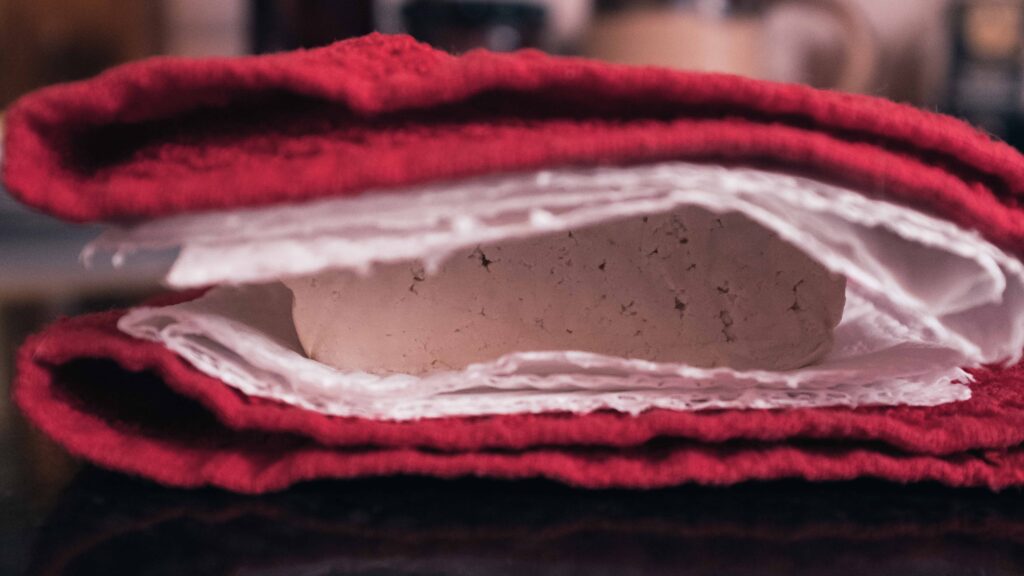
1 – Press the tofu; Remove the block of tofu from its packaging and then pat it dry with kitchen paper. Place the block on some kitchen paper and then place it on one half of a soft absorbent towel. Place some more kitchen paper on top of the block and then fold over the towel. Now place a tray or cutting board on top of the wrapped block. Finally, place 4 kg of even weight on the tray. 4-5 coffee table books or hard bound books work very well. Do not stack all 4 kg at once. The trick is to add each book one by one, every 5 minutes so that you don’t smash the tofu. Once all the weight is added, let the tofu press for 40-60 minutes. The tofu will become slightly flatter and lose most of its water content. This step is essential, as removing the water content allows for the tofu to soak up the marinade.

Method
1 – After the tofu is done being pressed, cut it into ½ inch cubes.
2 – Add all the marinade ingredients together in a large container with an airtight lid. Whisk together to combine.
3 – Add the cubes of pressed tofu to the container, making sure they’re all well coated or submerged in the marinade.
4 – Cover the container and leave it to marinate overnight for best results. It can be made in advance and kept in the fridge for about 3-4 days.
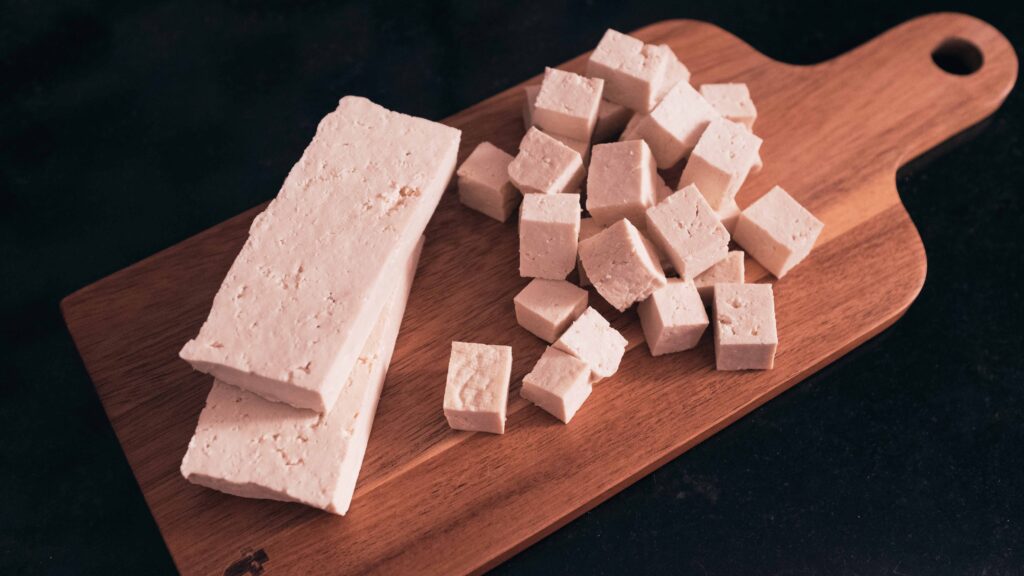
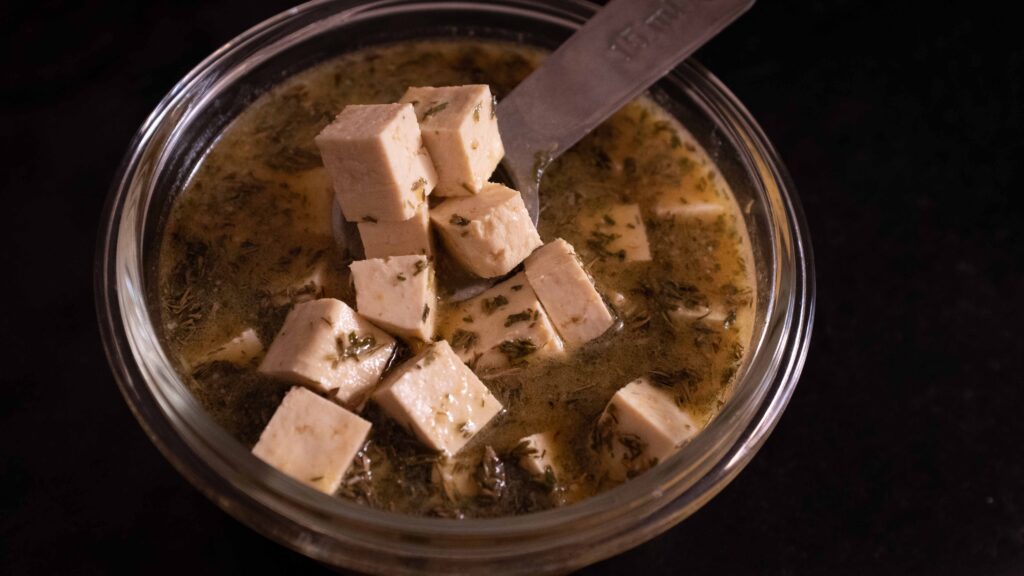
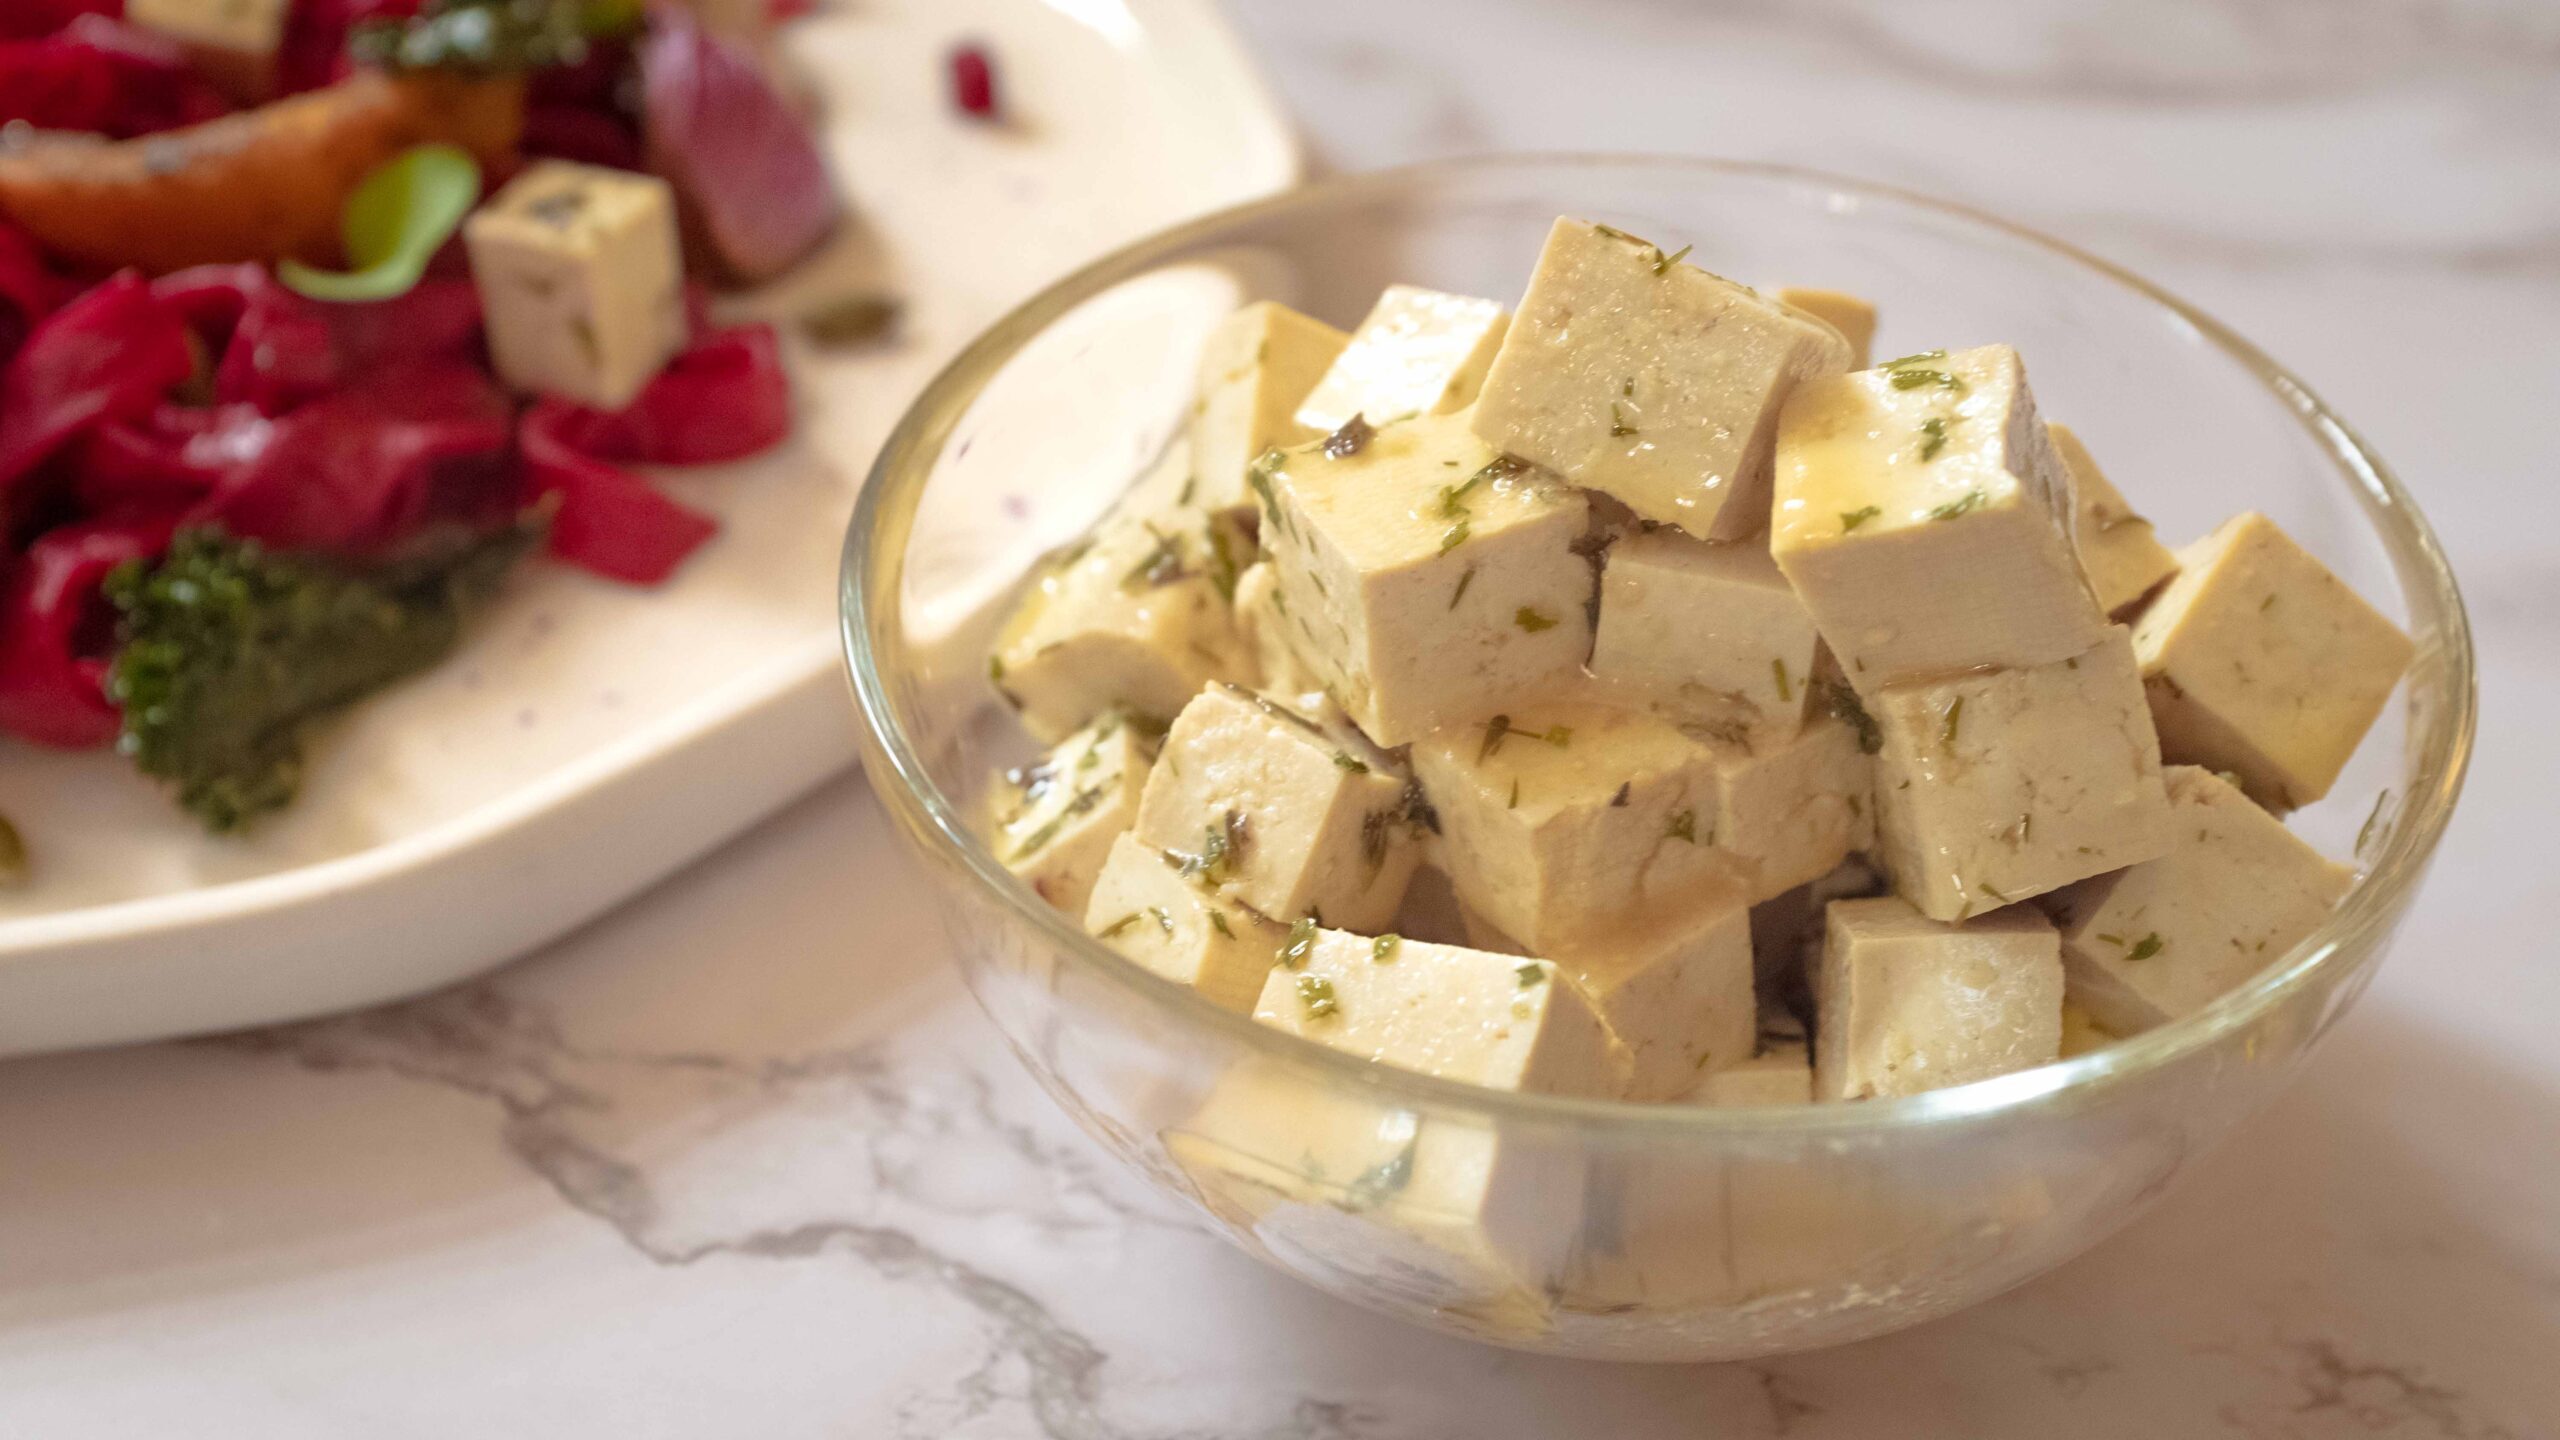
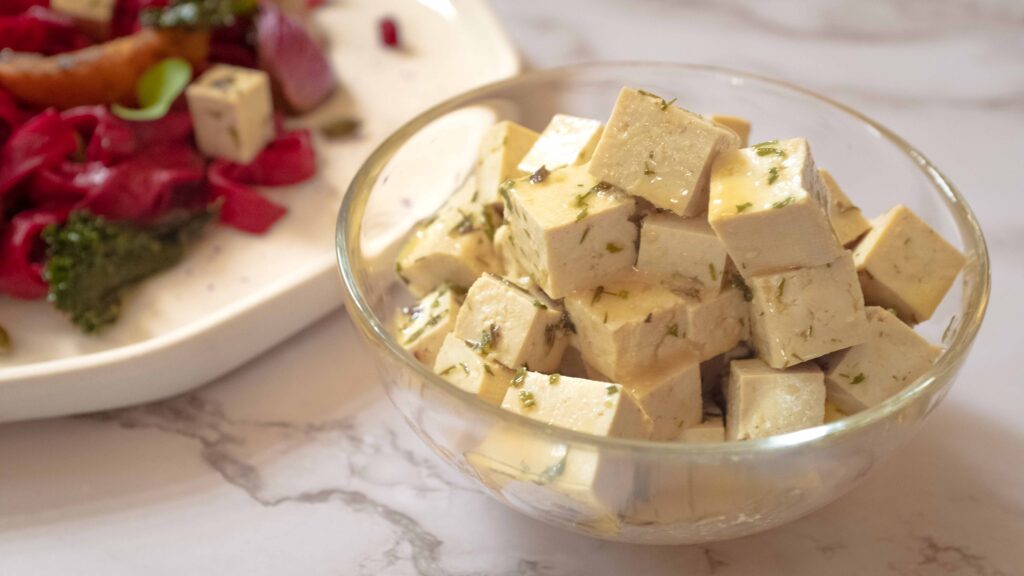
The purpose of this component is to imitate salty feta cheese, which pairs brilliantly with earthy beetroot. While this marinated tofu can’t replicate the creamy, crumbly texture of feta, it does offer the same tangy, savoury zing that feta brings. To achieve the texture of actual feta, one has to make ‘vegan feta’ from scratch, using blitzed cashew nuts, tofu, and agar agar. I tried twice and failed twice, as my blitzed mixture refused to set! Miso contributes to the fermented, funky flavour of real feta, so try not to leave it out. This amount is more than enough for 6-8 servings. After the marinated tofu is used up, don’t throw the marinade away! It makes for a zesty, flavour-packed salad dressing.
Stage 3: kale chips
Ingredients
1. 125 gm kale
2. 1 tbsp. extra virgin olive oil
3. 1 tsp salt
Prep
1 – First wash and then pat down your kale until it’s completely dry. You could also use a salad spinner for this if you have one. The leaves must be bone dry. I spread them out on a kitchen towel and turned on the fan to get rid of any residual moisture.
2 – Line a baking tray with some parchment paper.
Method
1 – Preheat your oven to 160°C.
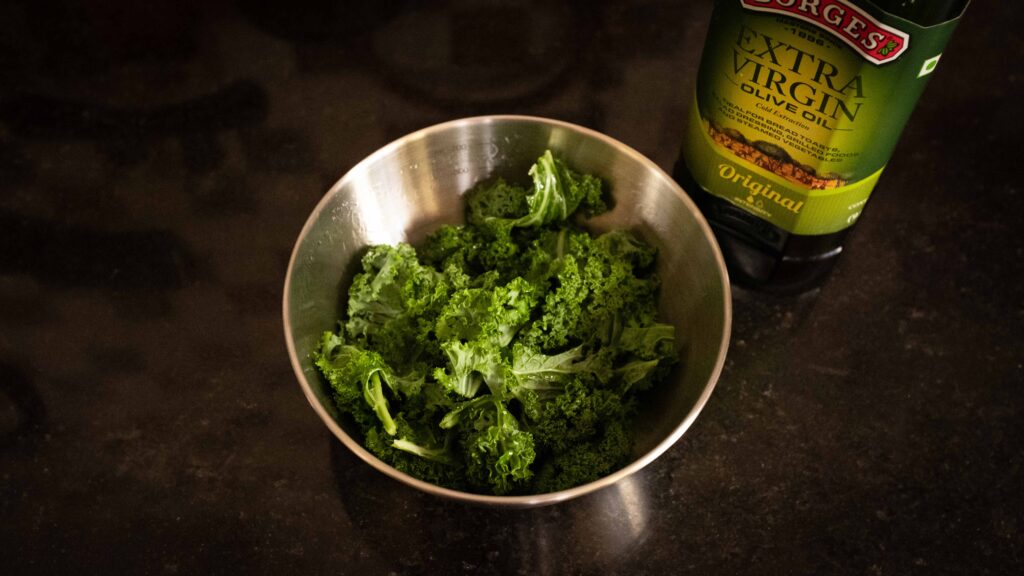
2 – With a knife or kitchen scissors carefully remove the leaves from the thick stems and then tear the leaves into bite sized pieces (2 inch x 2 inch).
3 – Transfer your prepared kale leaves to a large bowl. Drizzle with 1 tablespoon of extra virgin olive oil and then put a lid on the bowl. Shake the bowl well to evenly distribute the oil. Then rub the oil onto the leaves. Their surfaces should be lightly slick with oil.
4 – Place the oiled kale leaves on your lined baking tray, without overlapping any of the leaves. Sprinkle the leaves with a smattering of salt. You may have to bake multiple batches depending on the size of your oven and how many baking trays you have.
5 – Bake the leaves at 160°C for 12-14 minutes until the edges of the leaves begin to darken. They will significantly shrink. Thereafter, turn the leaves over and bake at 160°C for an additional 3-4 minutes. Keep a close watch on your kale, as you don’t want it to brown and become bitter.
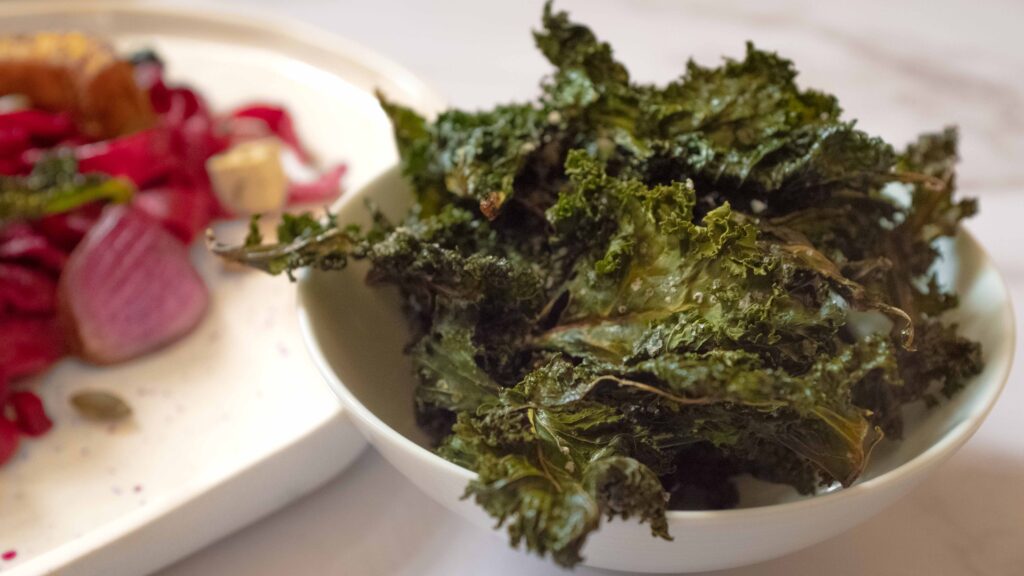
6 – Remove the kale from the oven and let it cool to room temperature before storing in an airtight container lined with kitchen paper. Kale chips ready, set aside.
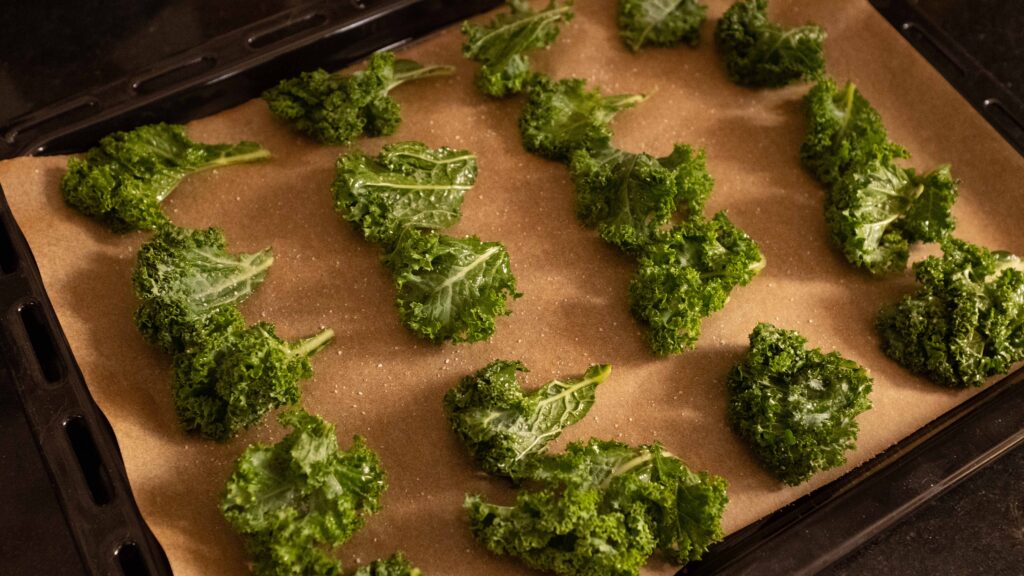
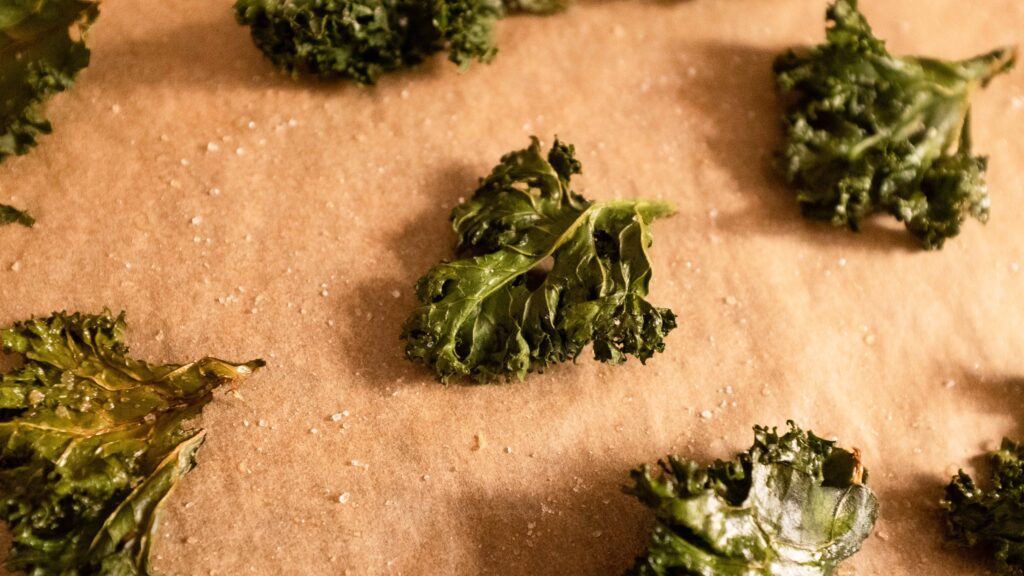
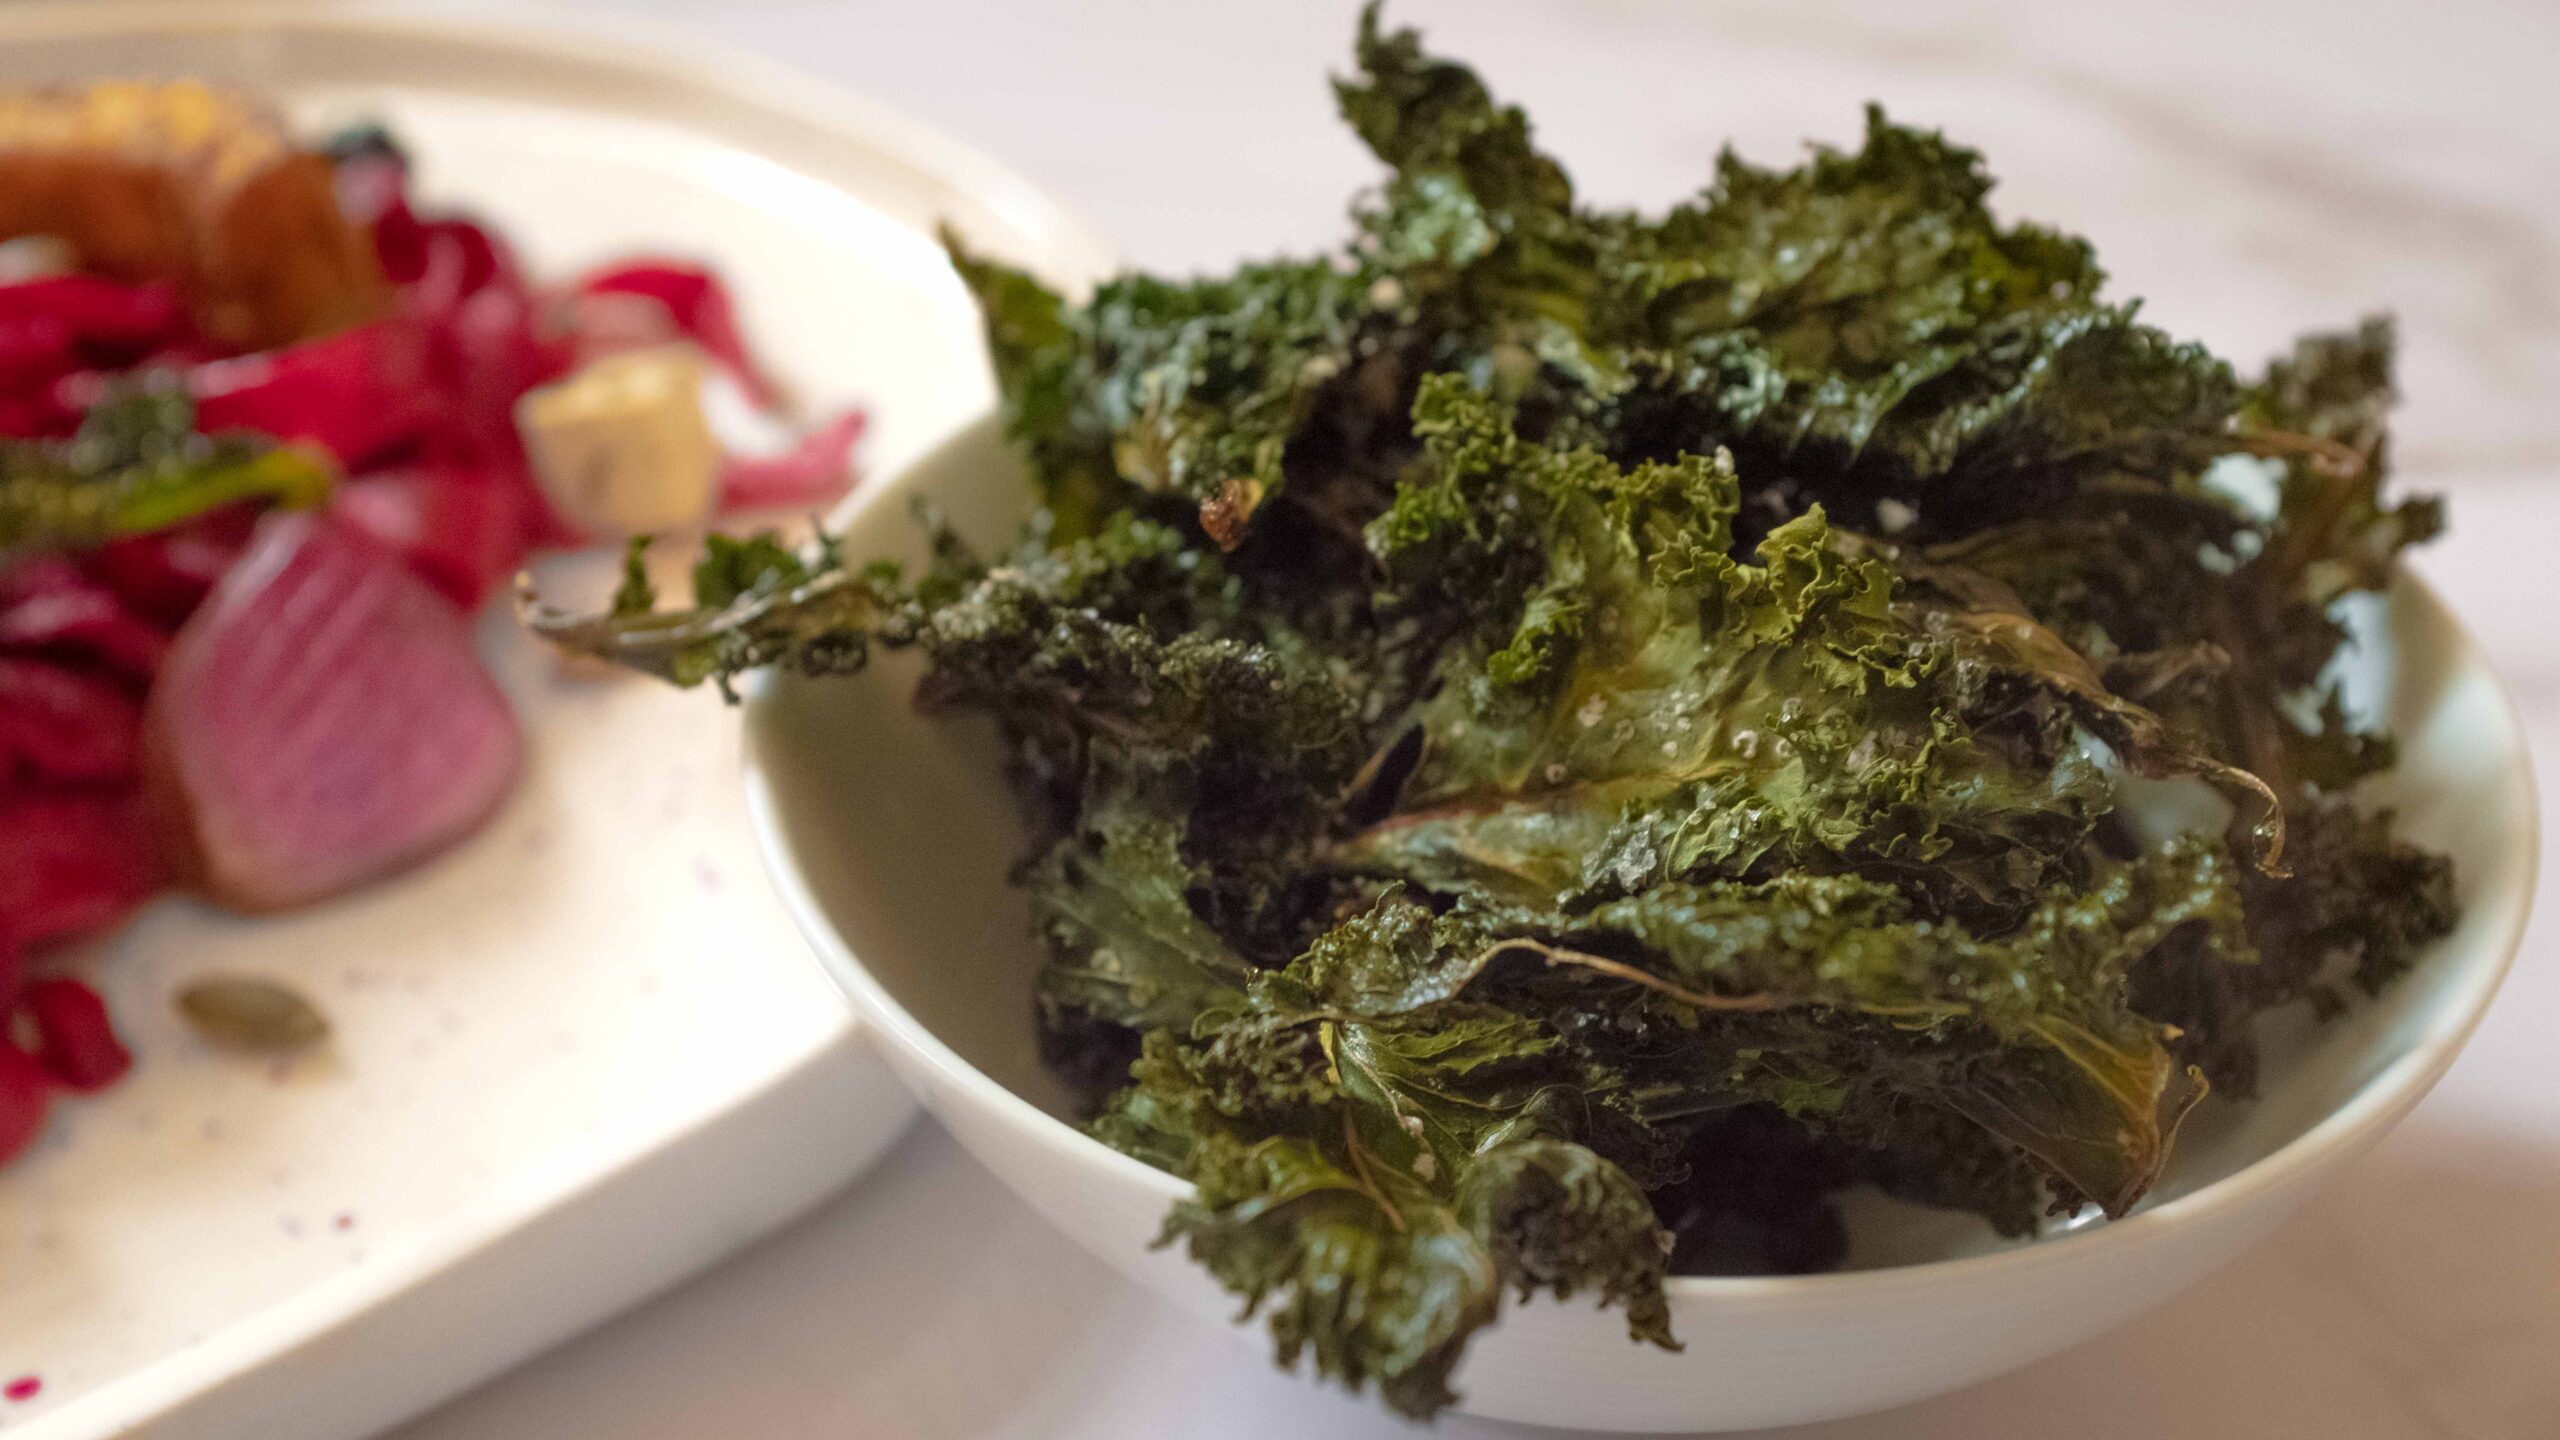
Crispy, homemade kale chips is the snack everyone needs in their lives. They are incredibly delicious and I can polish off this entire quantity in a few minutes. You will only need about half the amount for this dish, but extra kale chips never hurt anyone! Season your kale with whatever spices you like, but honestly, they have such incredible roasted broccoli-like flavour, that all they need is a little salt. A variety of green leaves can be used to make chips such as beet greens, chard, and mustard leaves. The trick is to go low and slow so that the leaves dry out and crisp up without browning. Even though these are crispiest on day 1, they can be stored in a paper-lined airtight container for about 3 days before they get soft. If they do soften, put them back in oven at 100OC for 30 minutes or so and they will crisp right back up.
Stage 4: roasted pumpkin
Ingredients
1. 850 gm pumpkin to give 700 gm peeled and cut pumpkin
2. 3 small cloves of garlic
3. 1 ½ tsp cumin powder
4. 1 tsp coriander powder
5. 1 ½ tsp Kashmiri red chilli powder
6. ½ tsp turmeric powder
7. 1 tsp black pepper powder
8. 4 tbsp. extra virgin olive oil
9. 3 tsp salt
10. 2 tsp sumac powder
Prep
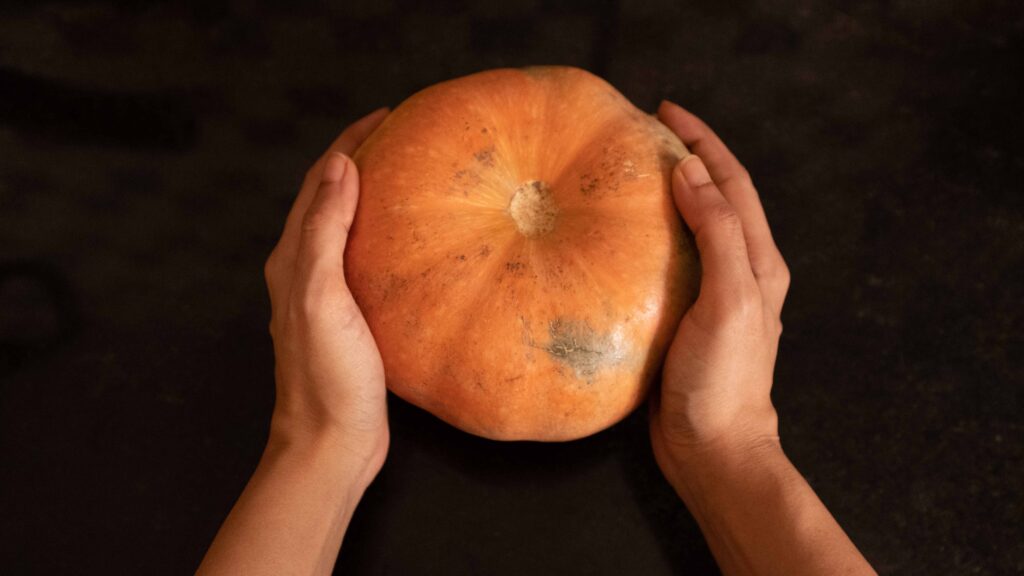
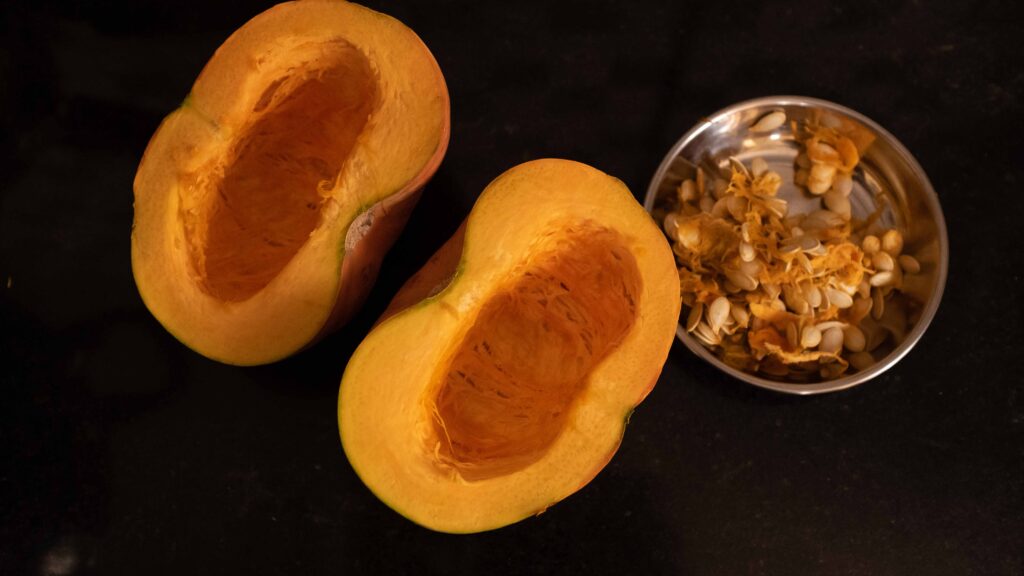
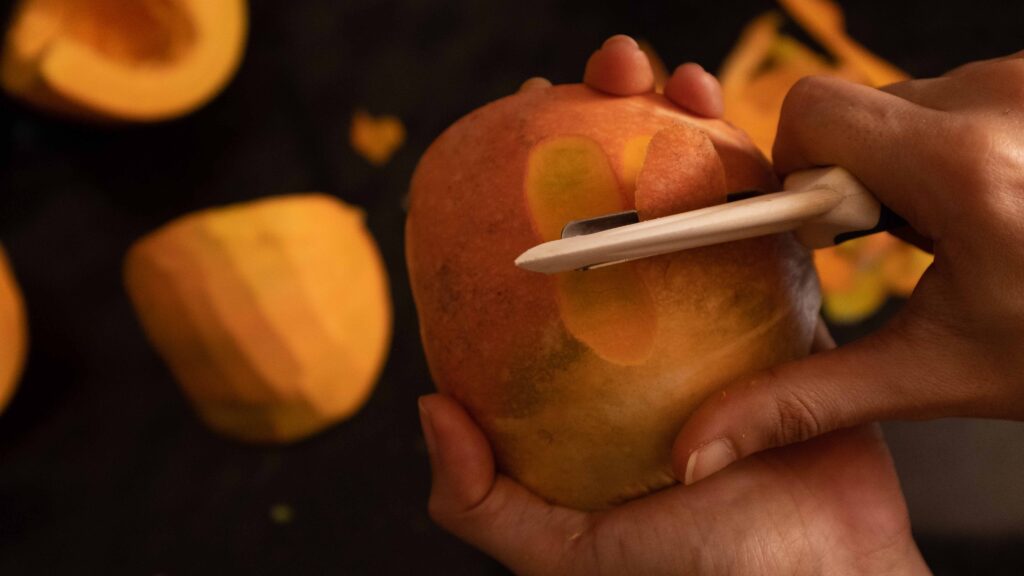
1 – Cut the pumpkin into quarters and then peel it. Remove the pumpkin guts and seeds. Watch this video to see how. Throw out the guts and keep the seeds, which can be washed, dried, hulled, and then roasted to make a delicious snack. Weigh out 700 grams of pumpkin.
2 – Line a baking tray with some parchment paper.
Method
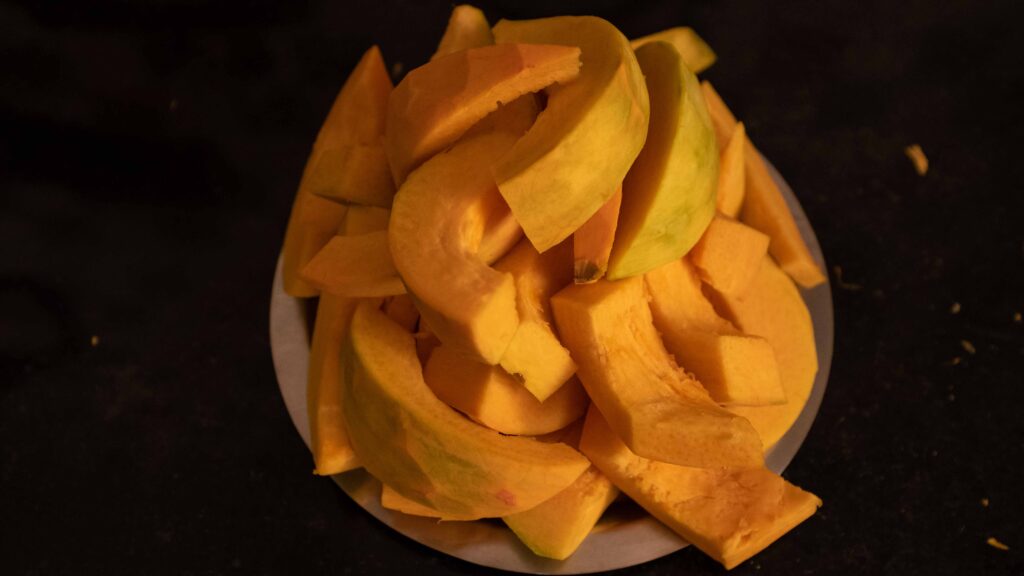
1 – Cut the pumpkin into wedges, about 2 inches long and ½ inch thick. Place them in a bowl.
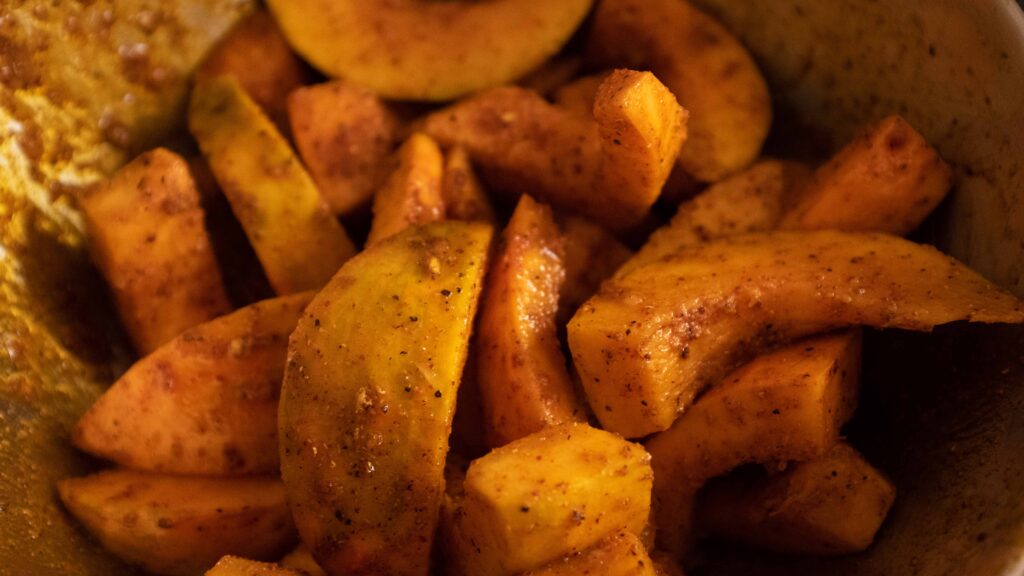
2 – Roughly chop your cloves of garlic, then transfer it to a small bowl along with all the spice powders, except for the sumac. Add the extra virgin olive oil and whisk to combine.
3 – Pour the spiced oil onto the pumpkin. Using your hands, rub it onto the wedges, making sure to get into all the crevices. Leave to marinate for 20 minutes.
4 – In the meantime, start preheating your oven to 230°C.
5 – After 20 minutes, place the wedges of pumpkin onto the parchment lined baking tray, avoiding overlapping the wedges. Salt the pumpkin wedges on both sides.
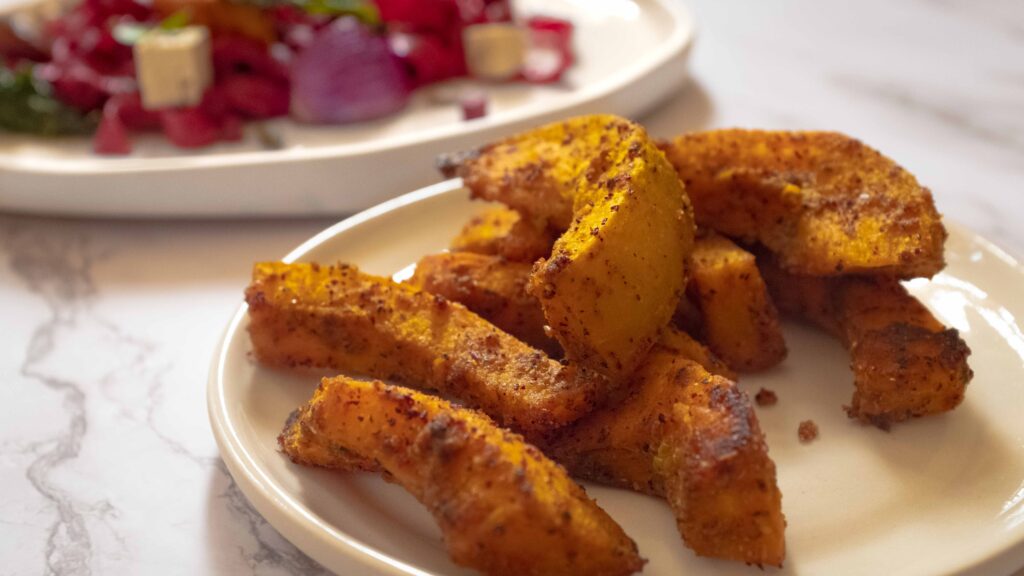
6 – Roast the pumpkin at 230°C for about 20 minutes, or until the wedges are no longer hard, but not mushy either. Start checking the texture at the 20 minute mark for doneness.
7 – Take the pumpkin out of the oven and sprinkle the sumac on top of the wedges while they’re still hot. Pumpkin ready, set aside.
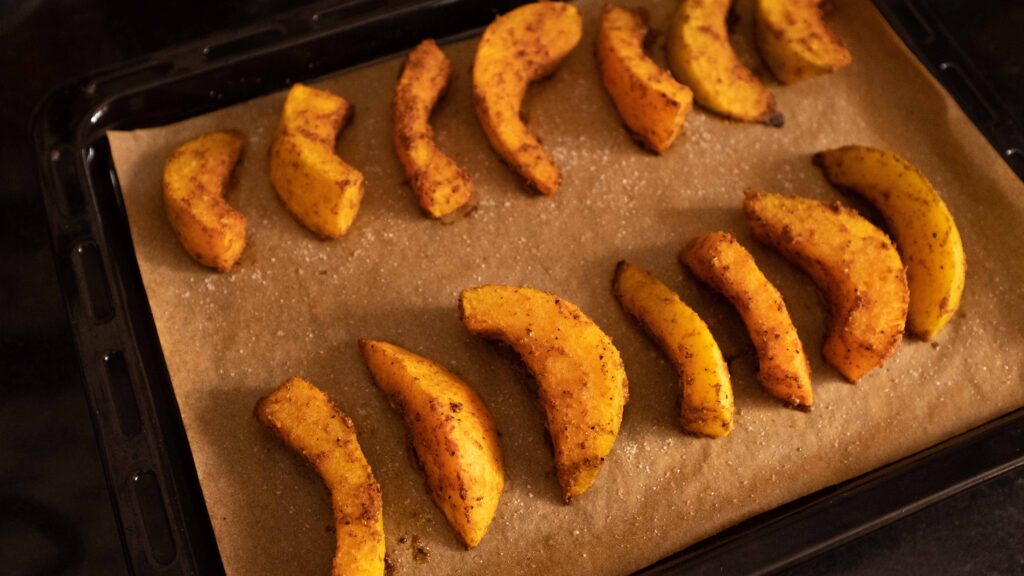
The quantities mentioned here are more than double of what you need for this dish. Feel free to halve the recipe for the same results. When roasting any kind of vegetables, it’s essential to cut all the pieces approximately to the same size so that they cook evenly and are ready to come out at the same time. Avoid high edged pans and glass/ceramicware when roasting, as the vegetables are likely to steam and get limp rather than roast and get charry. I use metal, low-lipped bakeware whenever I’m roasting veggies. If you’re making the roasted pumpkin for this dish, the sweetness is the perfect foil against all the sour, punchy components like the beetroot pickle and the marinated tofu. If you make the roasted pumpkin as a standalone dish, I highly recommend drizzling some freshly squeezed lemon juice on top of the slices before serving. That extra hit of lemon really amps up all the flavours!
Stage 5: roasted onions
Ingredients
1. 4 small to medium red onions or 300 gm equivalent
2. ½ tbsp. extra virgin olive oil
3. ½ tbsp. balsamic vinegar
4. ½ tbsp. kecap manis (sweet soy sauce)
5. ½ tsp salt
6. ½ tsp black pepper
Method
1 – Preheat your oven to 230OC.
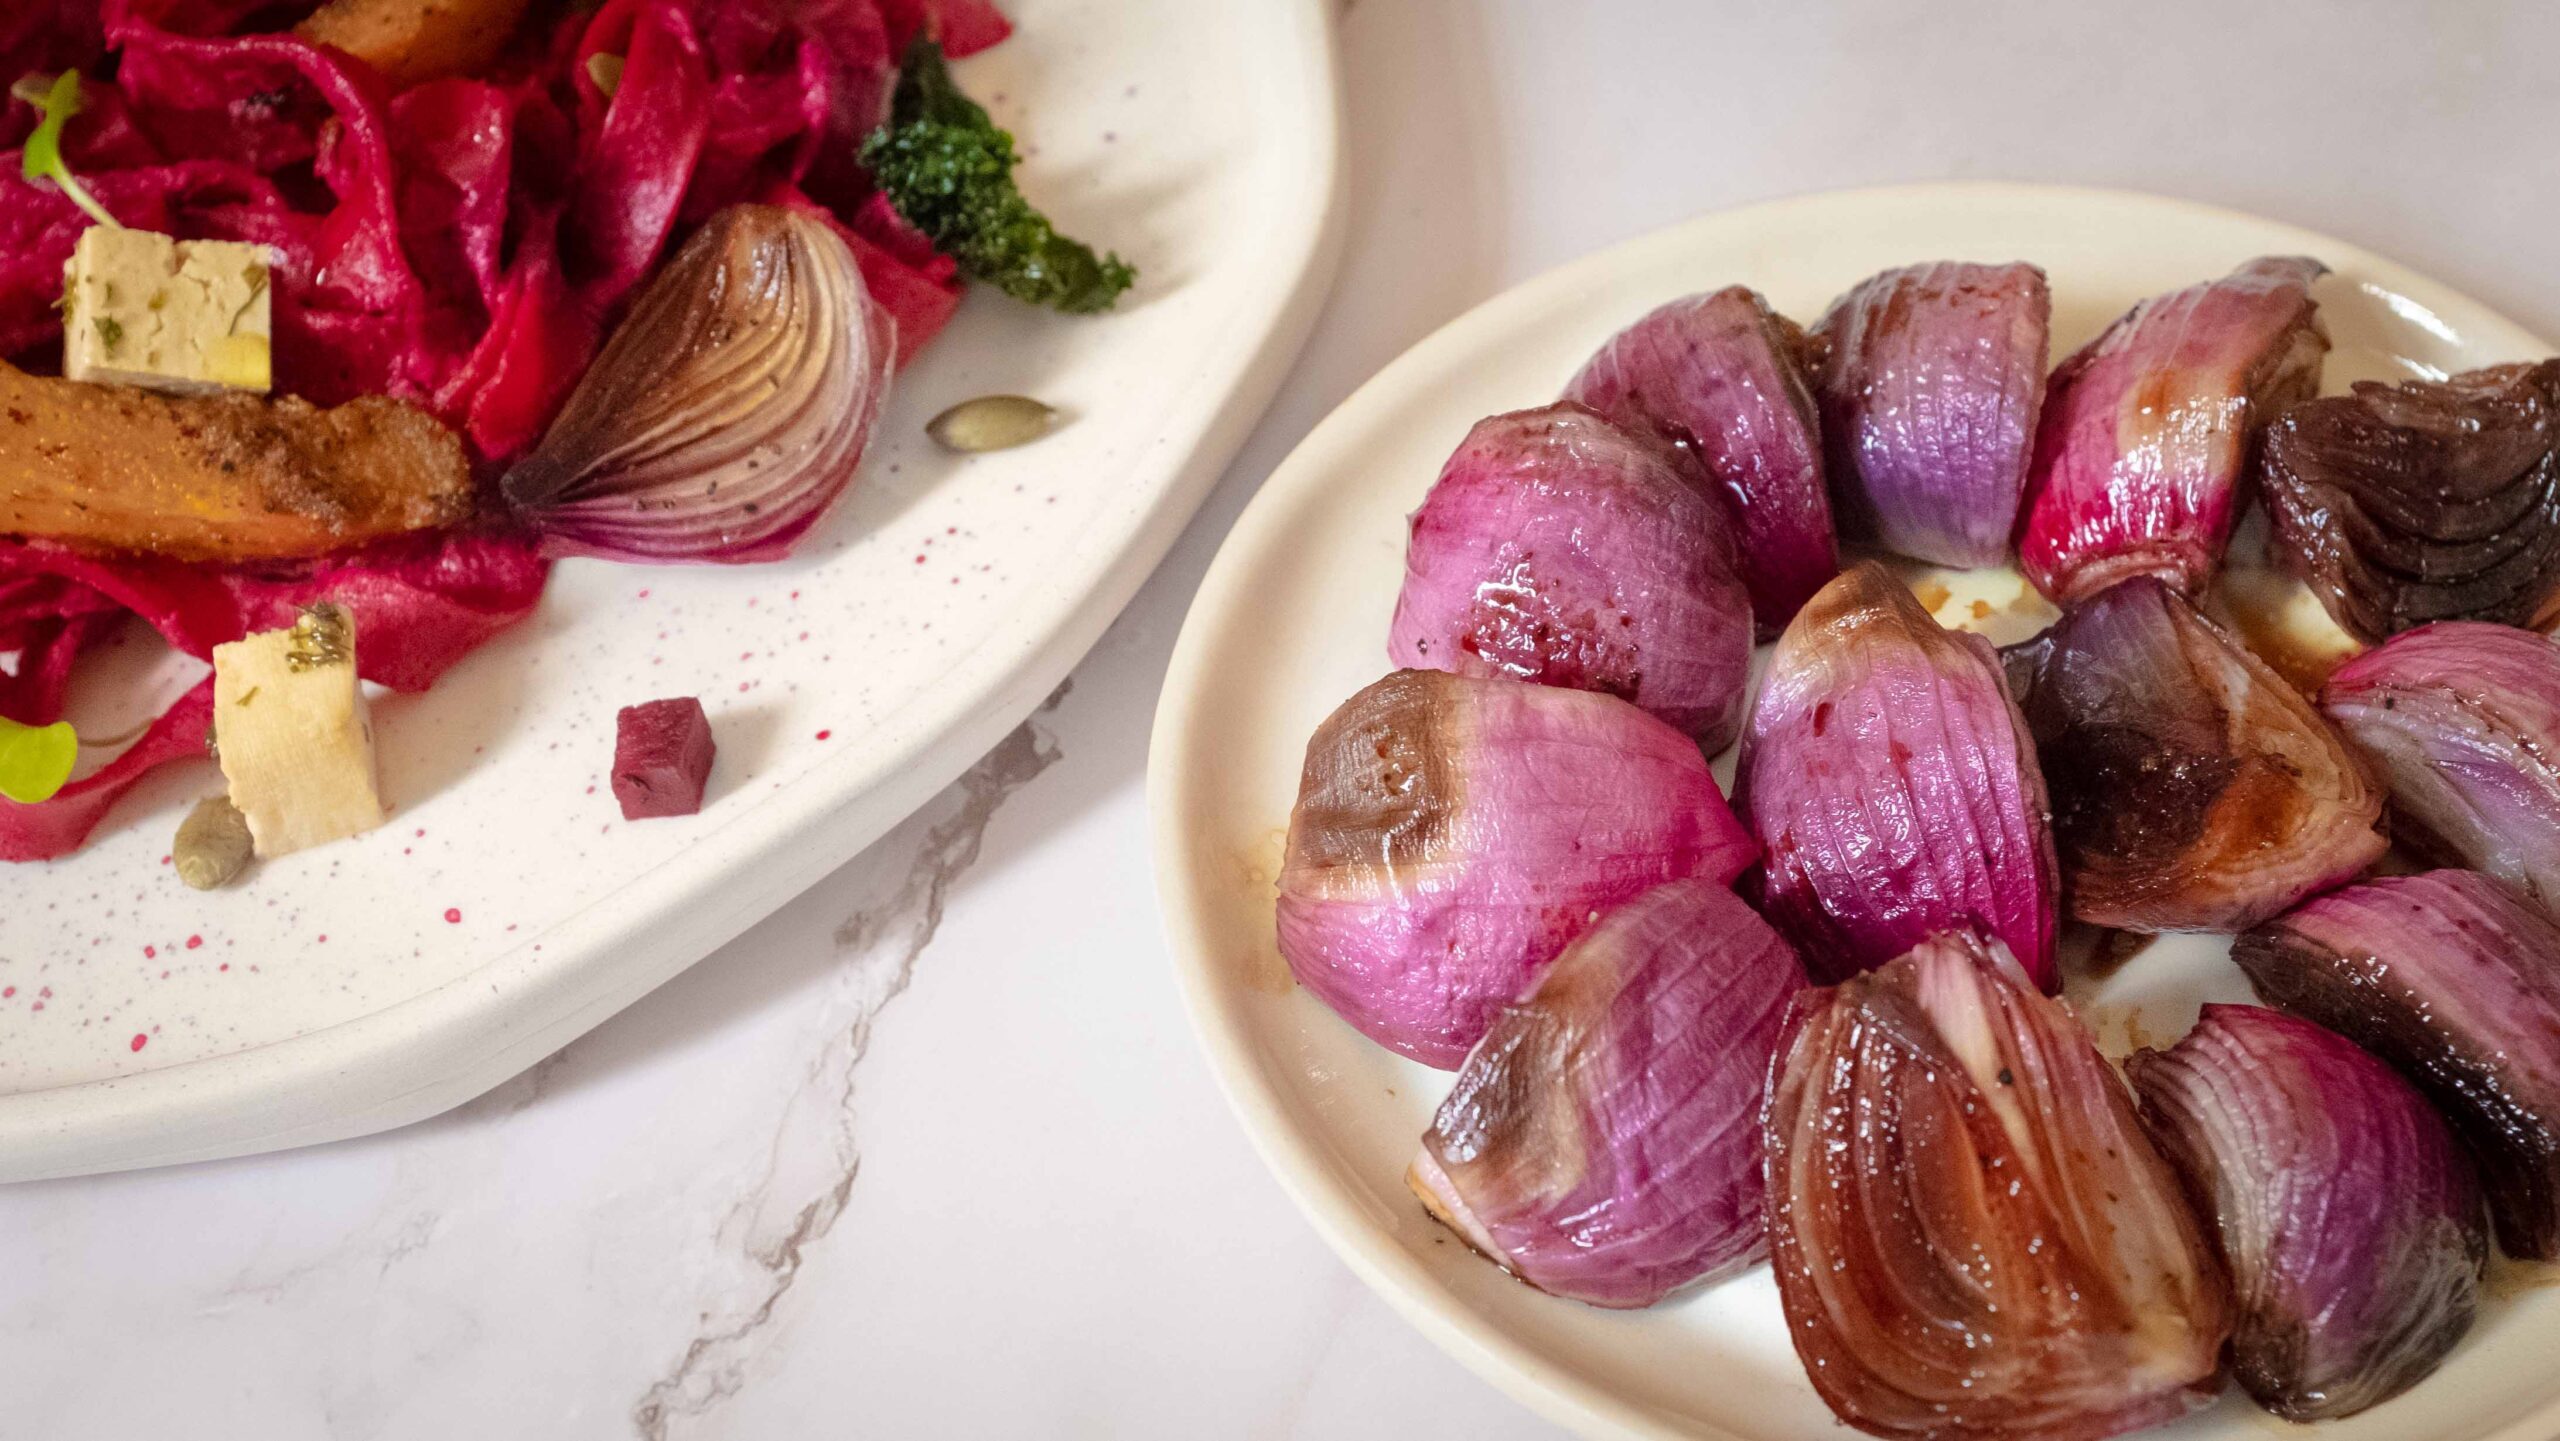
2 – Peel and quarter your onions. Keep each quarter intact and place the quartered onions in a baking dish.
3 – Whisk together the extra virgin olive oil, balsamic vinegar, kecap manis, salt, and black pepper.
4 – Drizzle this mixture onto the onions and then tightly cover the baking dish with aluminium foil.
5 – Bake the onions at 230OC for 12-15 minutes. Then remove the foil cover and flip the onions. Continue baking the onions, uncovered for 18-20 minutes, until lightly browned.
6 – Remove the baking tray from the oven. Onions ready. Set aside.
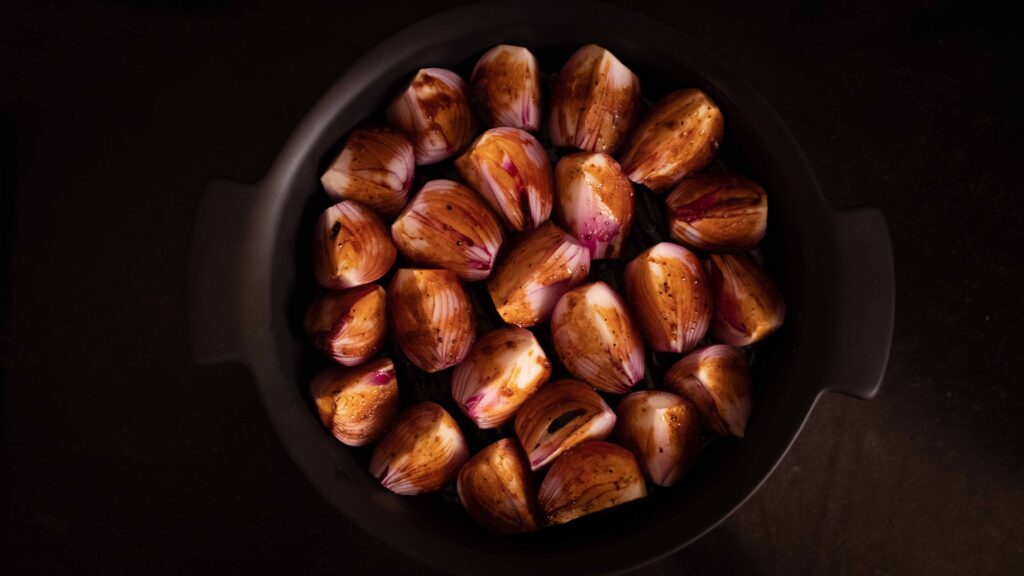
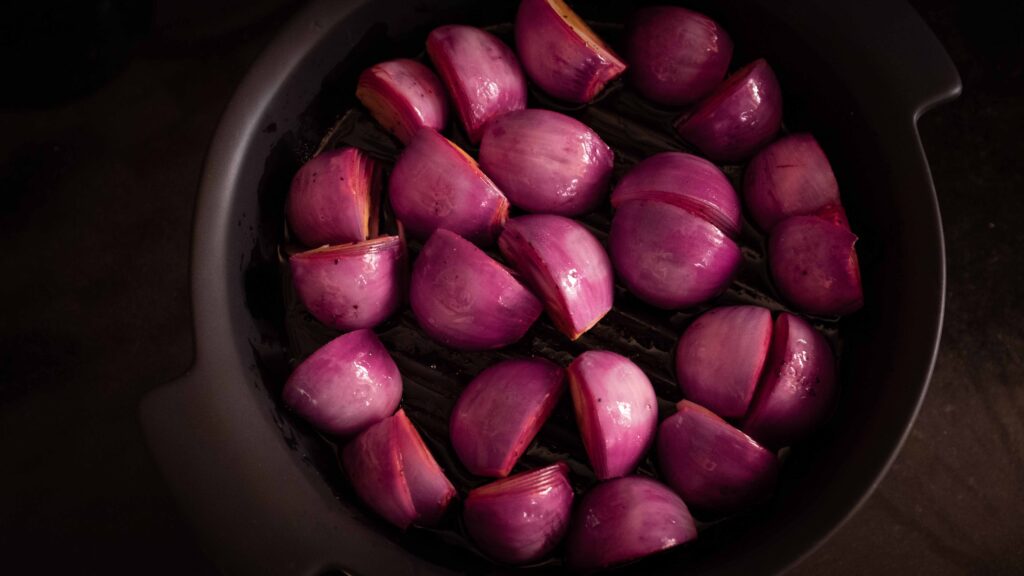
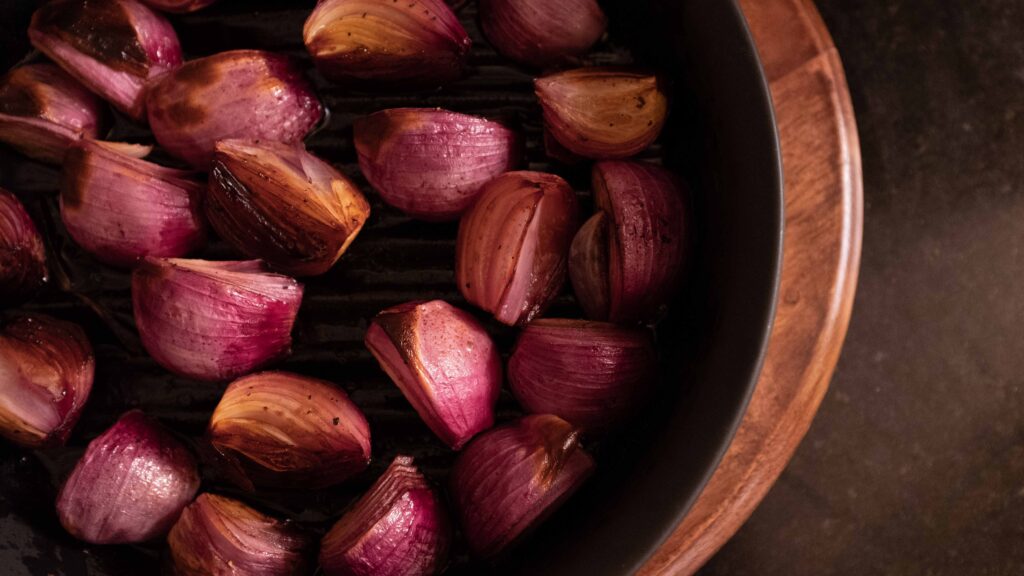
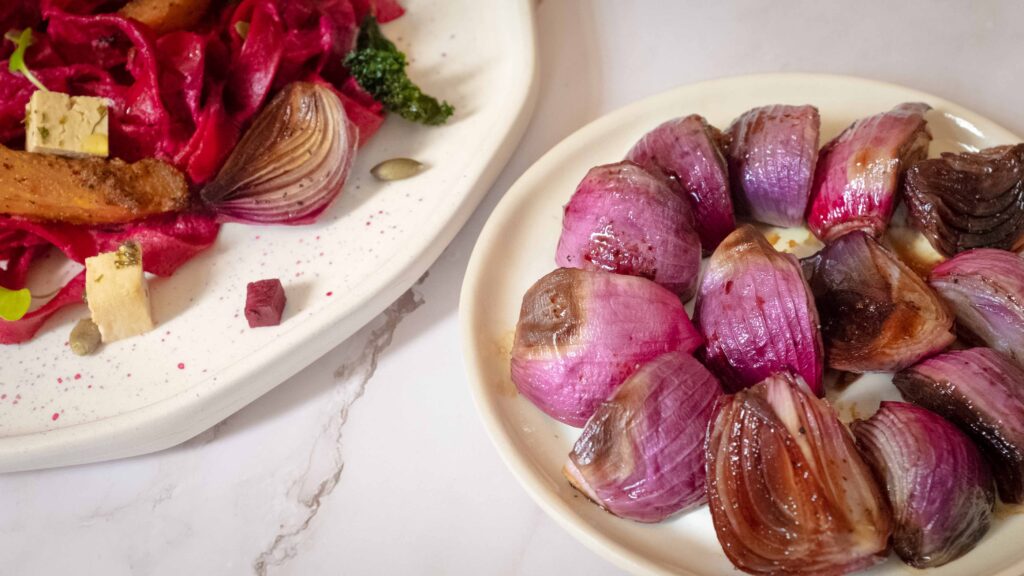
While you can use any kind of onion for this dish, red-purple onions really make for a visual treat and pack the most flavour when briefly cooked or cured. Moreover, in India, they’re the most readily available kind of onions; enjoyed raw or used in pickles, dips, salsas, and other condiments.
Stage 6: beetroot pesto
Ingredients
For the pesto:
1. 2 large beetroots or 500 gm equivalent
2. 2 small garlic cloves
3. 50 gm raw cashews (to roast the cashews)
4. 1 tsp cooking olive oil
5. 1/3 cup extra virgin olive oil (80 ml)
6. 2 tbsp. balsamic vinegar
7. 2 tsp sumac powder
8. 1 tsp freshly cracked black pepper
9. ½ tsp Kashmiri red chilli powder
10. 2 tsp salt
For the pasta:
11. 500 gm fettuccine like this (100 gm per serving is ideal)
12. 1 tbsp. salt
13. 4 litres of water for boiling
14. 1 tsp extra virgin olive oil
Prep
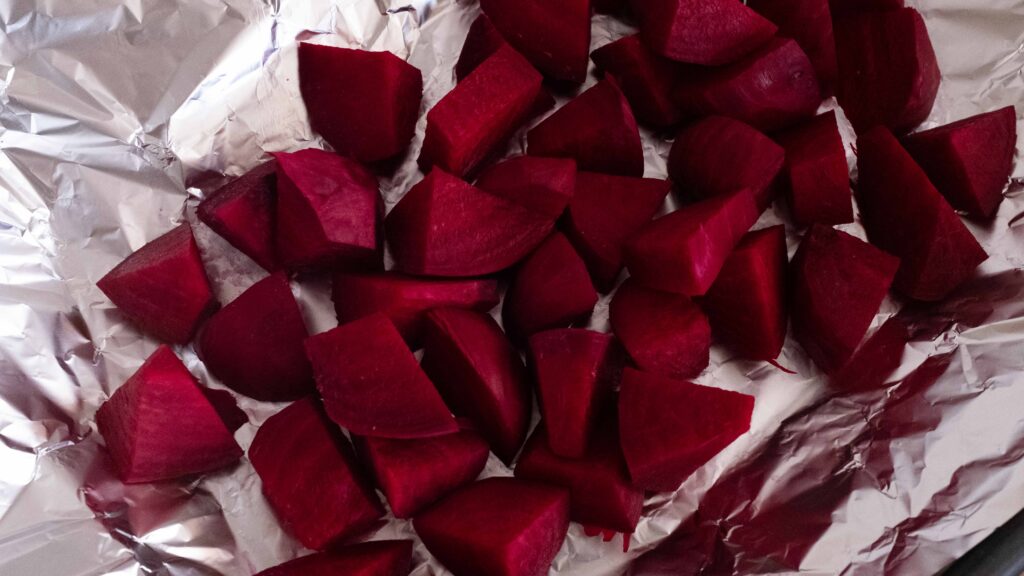
1 – Preheat the oven to 190°C. Wash and scrub the beetroots and pat them dry. Peel and roughly chop the beetroot into 1 inch cubes.
2 – Grease a large rectangle of heavy duty aluminium foil and then make a ‘foil bag’. Watch this to see how.
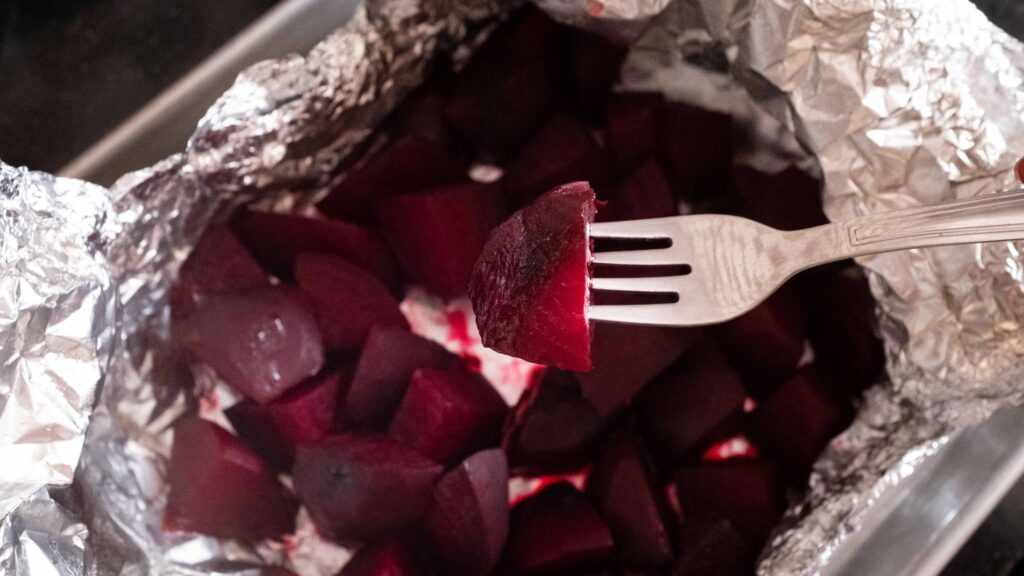
3 – Place the beetroot cubes inside the foil bag and seal it up. Place the bag on a baking tray and cook in the oven at 190°C for 40 minutes, or until the cubes are fork-tender.
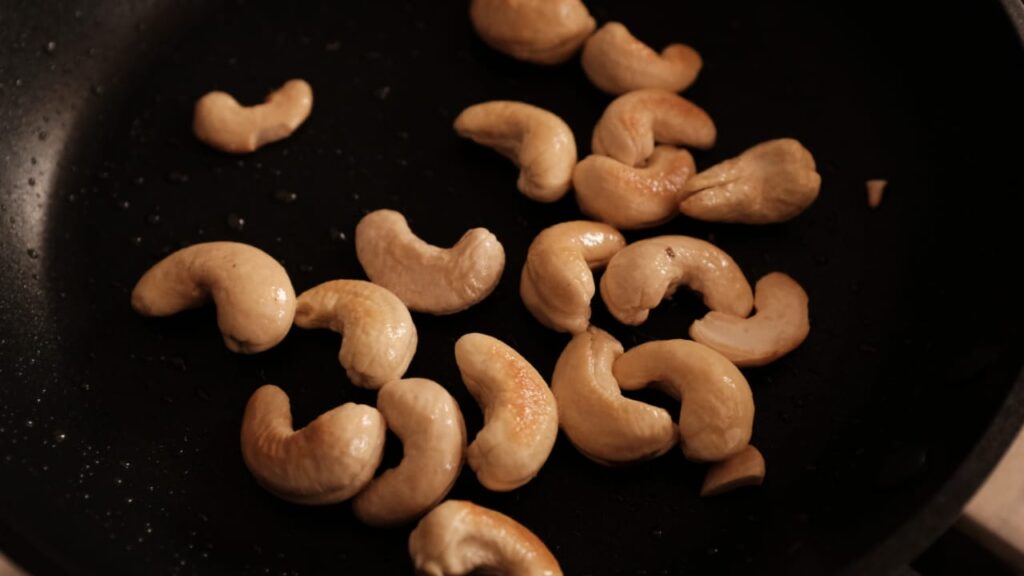
4 – While the beetroot is baking, roast the cashews in a frying pan with one teaspoon of cooking olive oil. Set aside to cool.
Method
1 – Once the beetroot is done, pull out your baking tray and let the beets come to come to room temperature inside the foil packet. Keep your oven on.
2 – Lower the oven temperature to 100OC, and then place your trays of roasted pumpkin and roasted onion into the oven. This will keep them warm while you carry on with the rest of the recipe.
3 – Place the garlic and cashews in the jar of a blender and blitz until the cashews are a coarse powder and the garlic is minced.
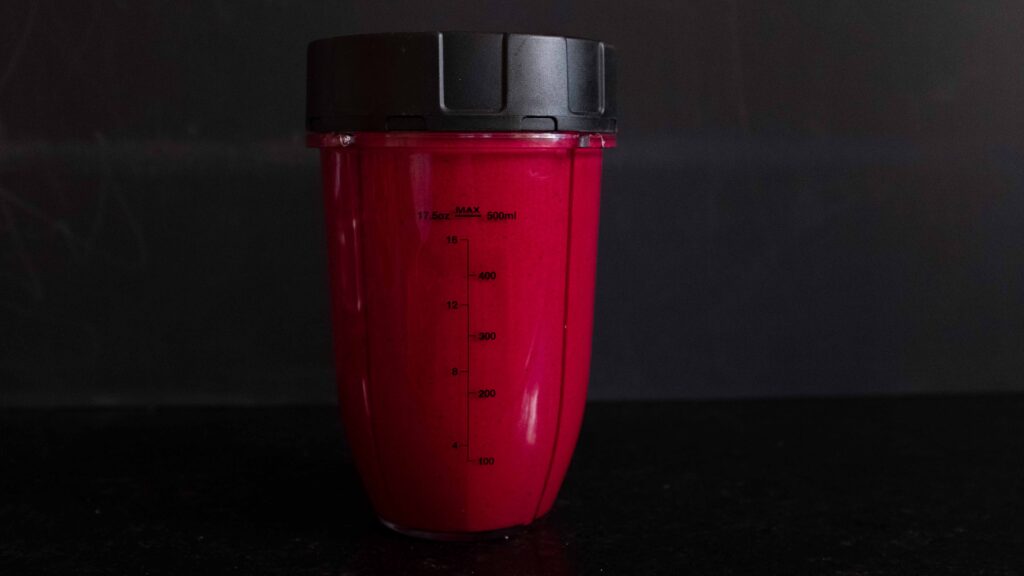
4 – Then add the cooled roasted beetroot, the extra virgin olive oil, balsamic vinegar, sumac powder, Kashmiri red chilli powder, black pepper, and salt. Blend until you have a smooth pesto-like sauce. Taste the sauce and season with more salt if desired. Transfer the pesto to a large bowl.
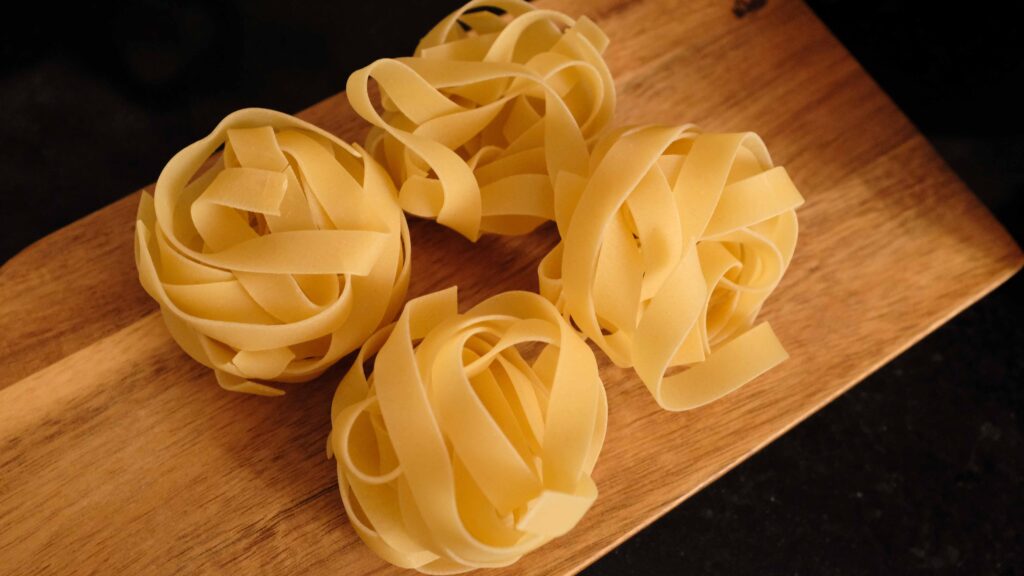
5 – Cook your pasta. Bring a large pot of water to a boil. Once it’s bubbling, add the salt and continue to boil for 30 seconds. Then add the fettuccine and cook until al dente. Drain well and reserve about ¼ cup (60 ml) of pasta water.
6 – Toss the hot fettuccine in the beetroot pesto. Add some reserved pasta water to make it as saucy as you like. Once all the pasta is well-coated and dyed magenta, drizzle the extra virgin olive oil on top and toss together. Get ready to serve it hot and immediately move on to Stage 7. If you want to serve the pasta at room temperature or chilled, rinse the pasta with cold water and set it aside. Do not coat with oil or toss in the pesto, as you only want to do this right before serving.
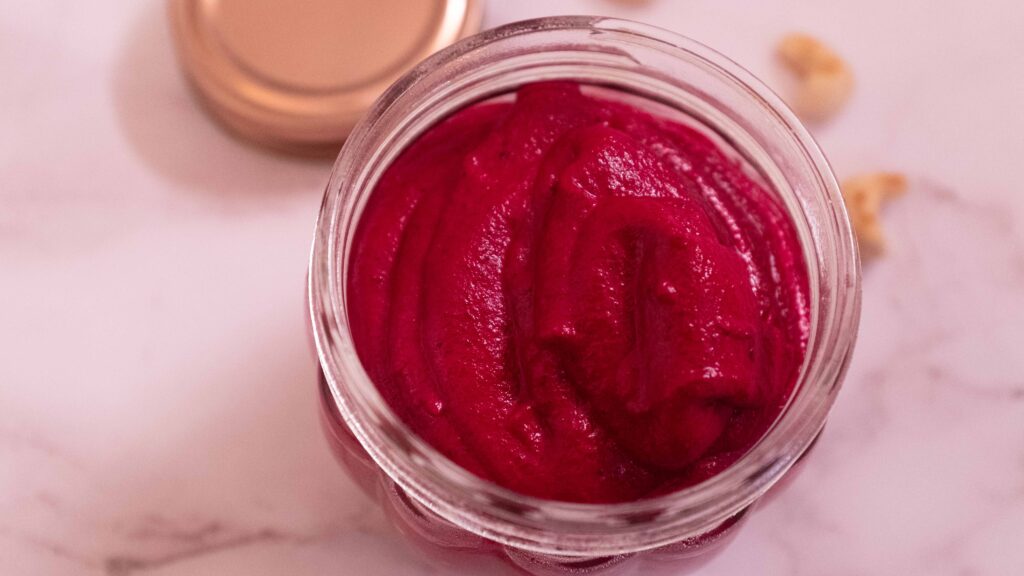
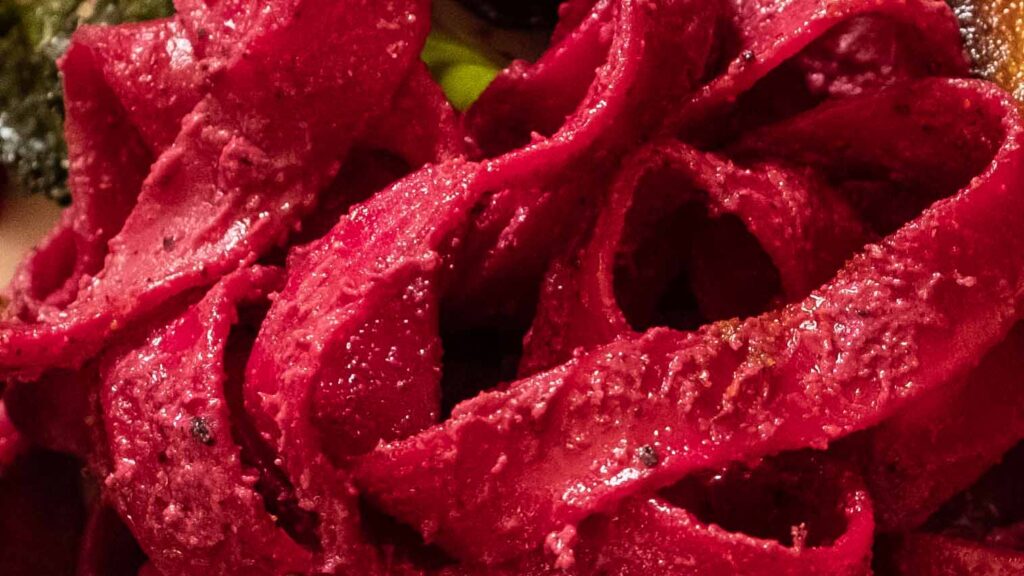
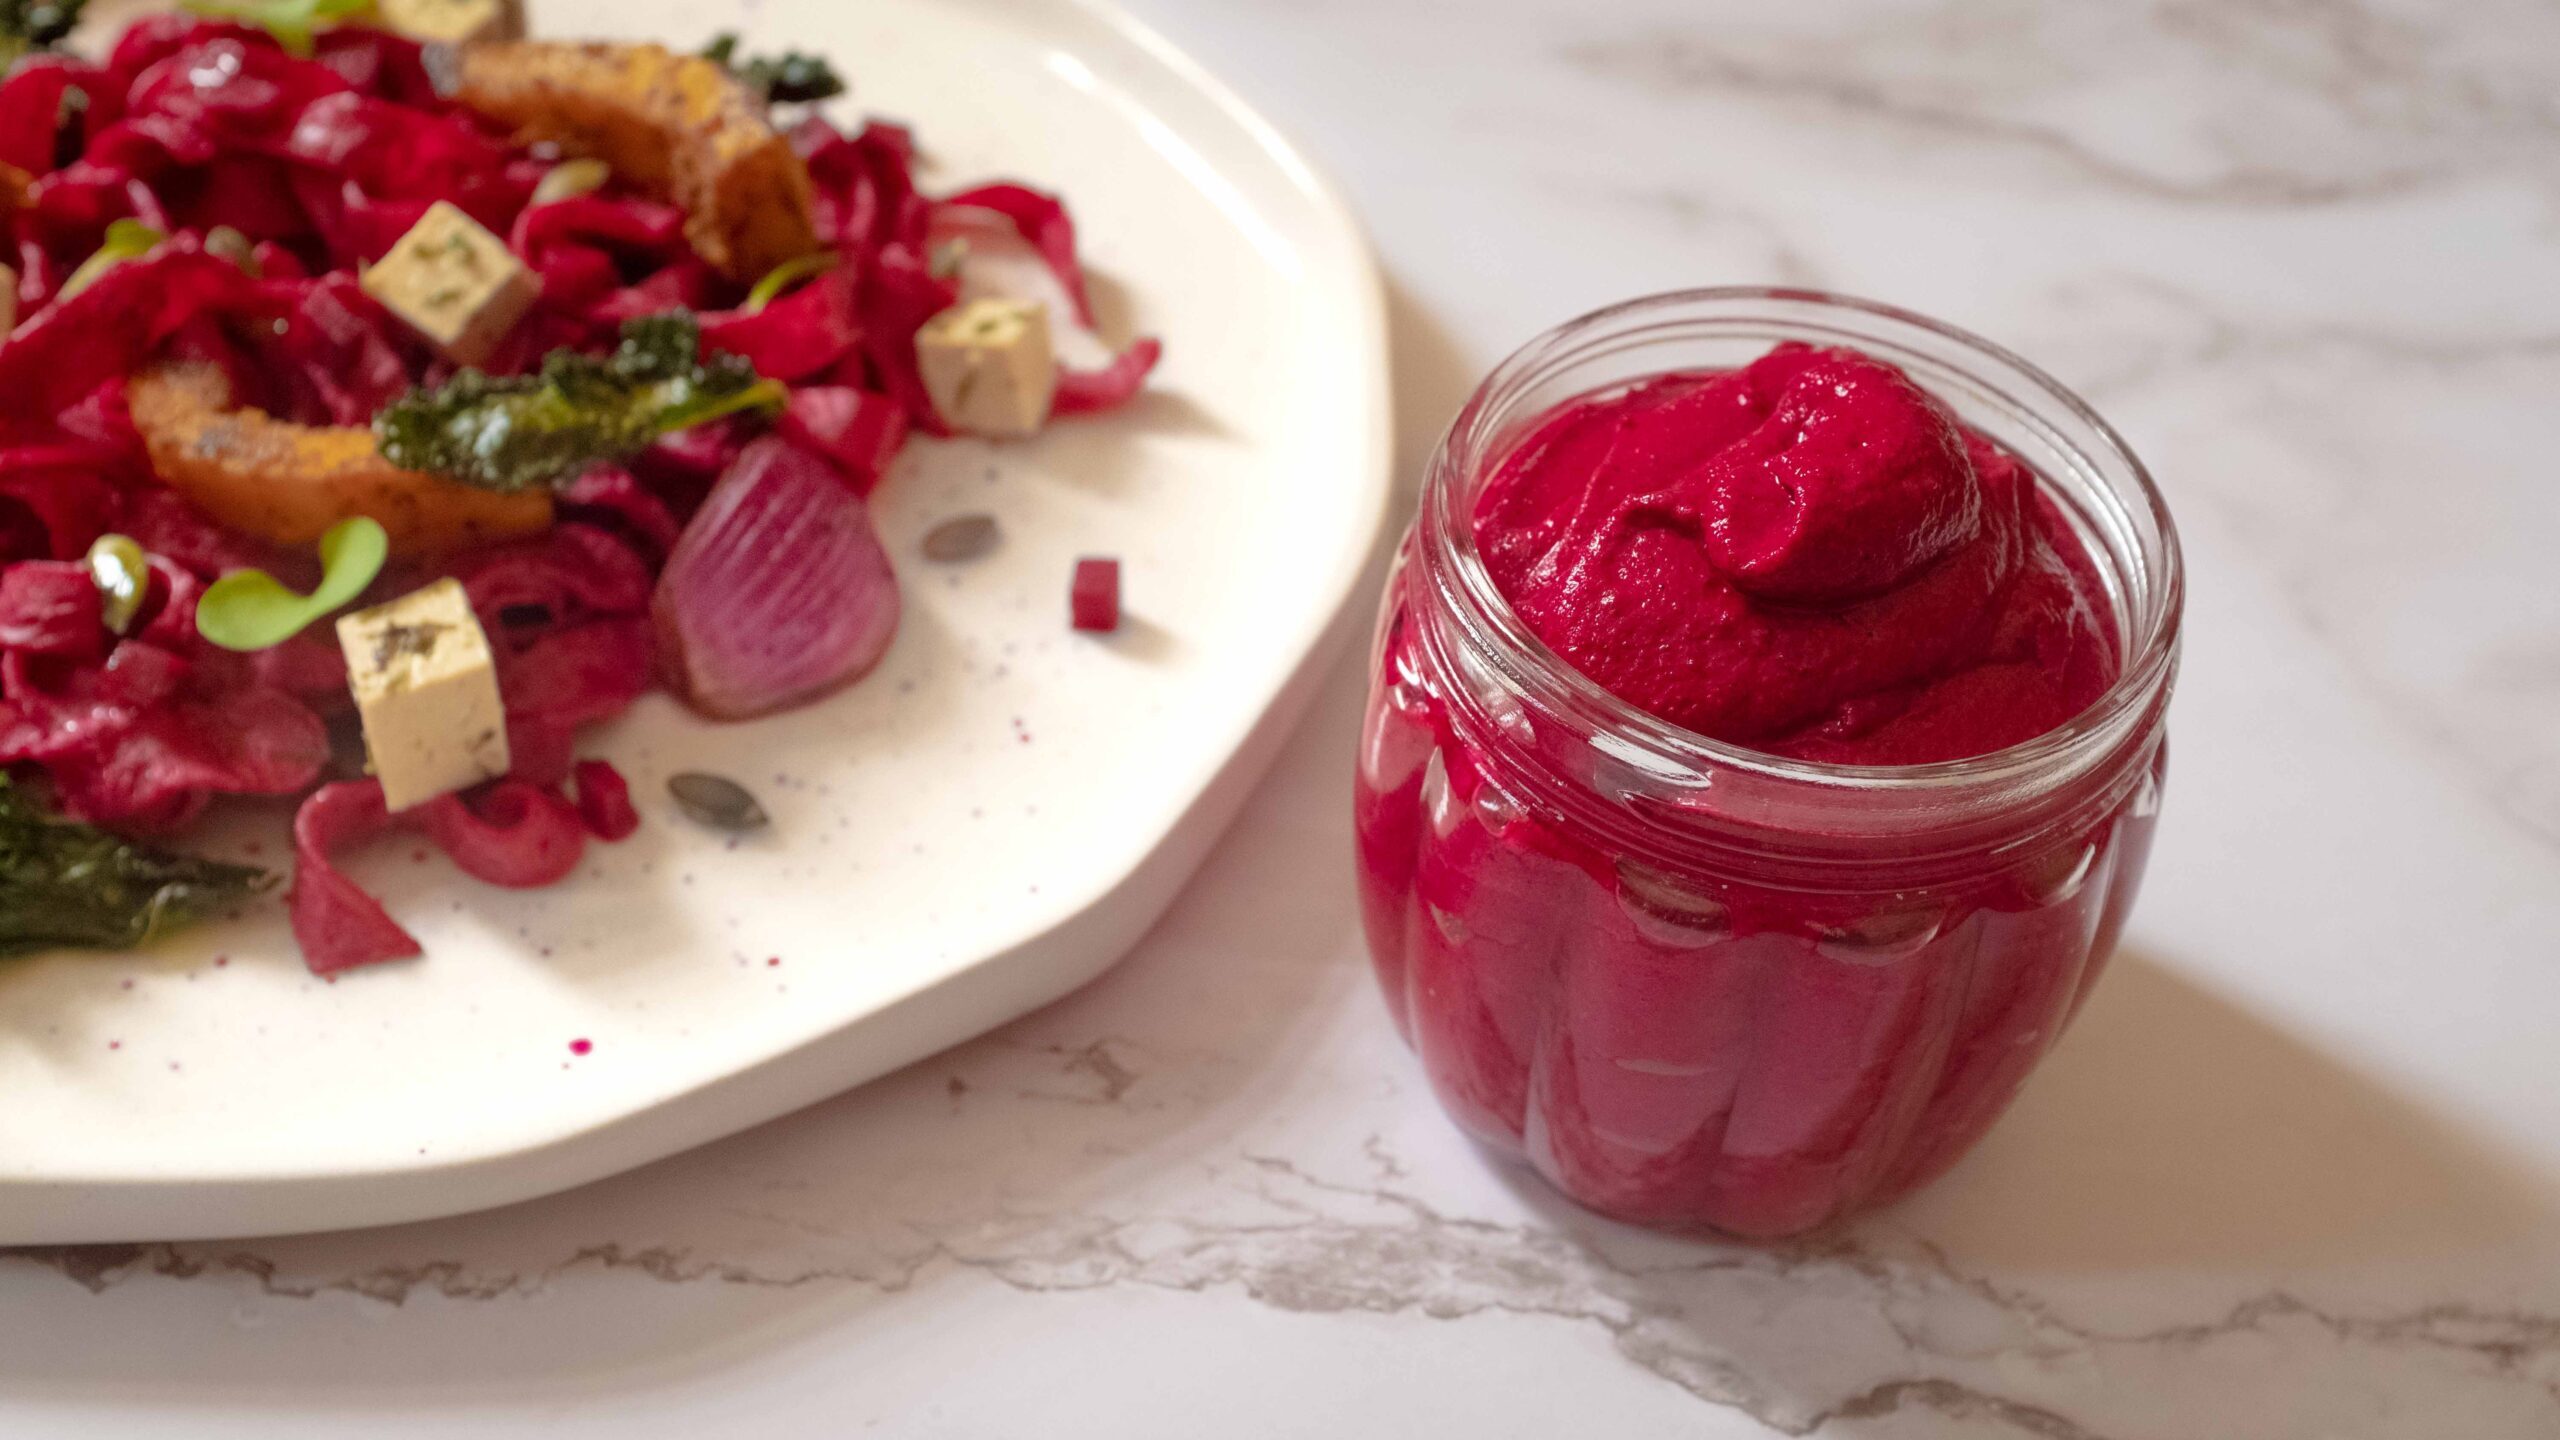
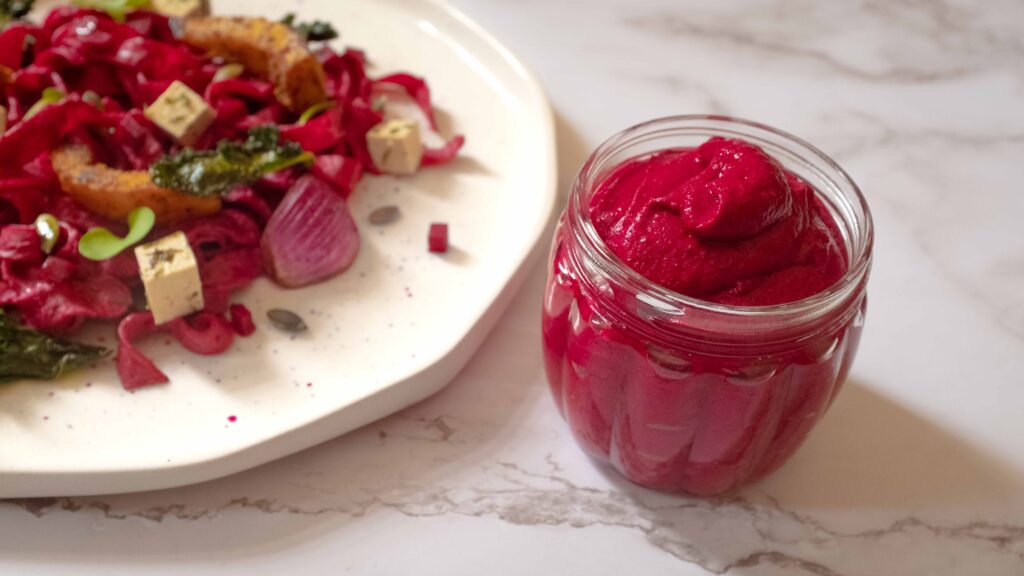
This amount of pesto is perfect for 500 gm of fettuccine or 5 generous servings. It can be made with a variety of beets, but of course, the deep gorgeous magenta of red beetroot is inimitable. Plus, red beets are the sweetest kind and taste phenomenal when roasted. When buying beetroot, select produce that is firm and heavy. If they come with leaves attached, even better, as you can use the leaves to make green chips! Remember to cut off the leaves and stalks from the root before storing in the fridge, as this will keep all parts of the vegetable freshest for the longest period. You could make the beetroot pesto in advance and store it in the fridge for up to a week. You can then gently warm it in a saucepan before tossing it with the hot, freshly made fettuccine.
Stage 7: finale; assembly for 5 servings
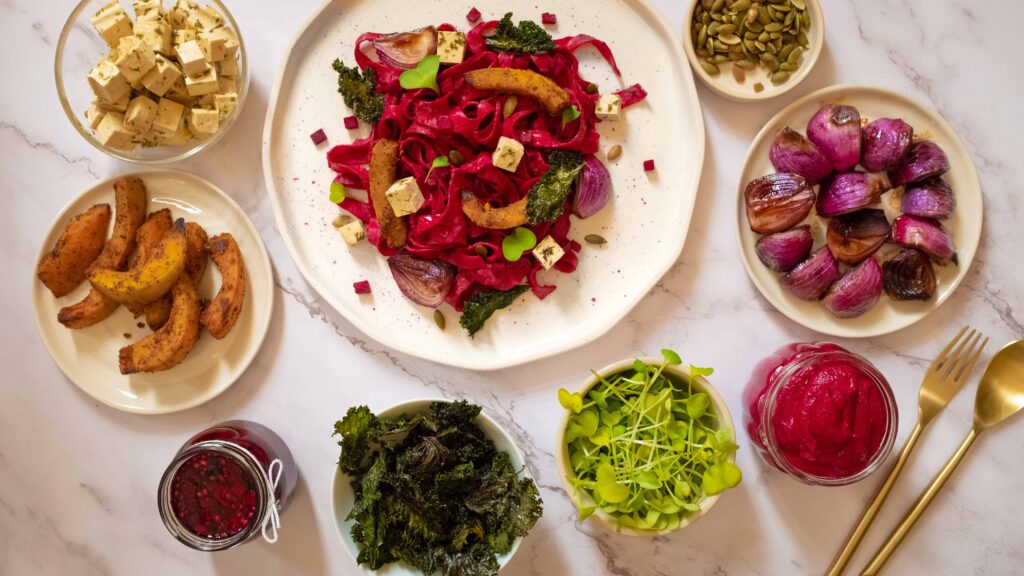
Components
1. Prepared beetroot pesto pasta
2. Prepared kale chips
3. Prepared roasted pumpkin (warmed in the oven)
4. Prepared roasted red onions (warmed in the oven)
5. Prepared marinated tofu
6. Prepared beetroot pickle
7. 50 gm pumpkin seeds hulled (10 gm per serving)
8. 100 gm radish microgreens (20 gm per serving)
9. Freshly cracked black pepper
10. Extra virgin olive oil
Prep
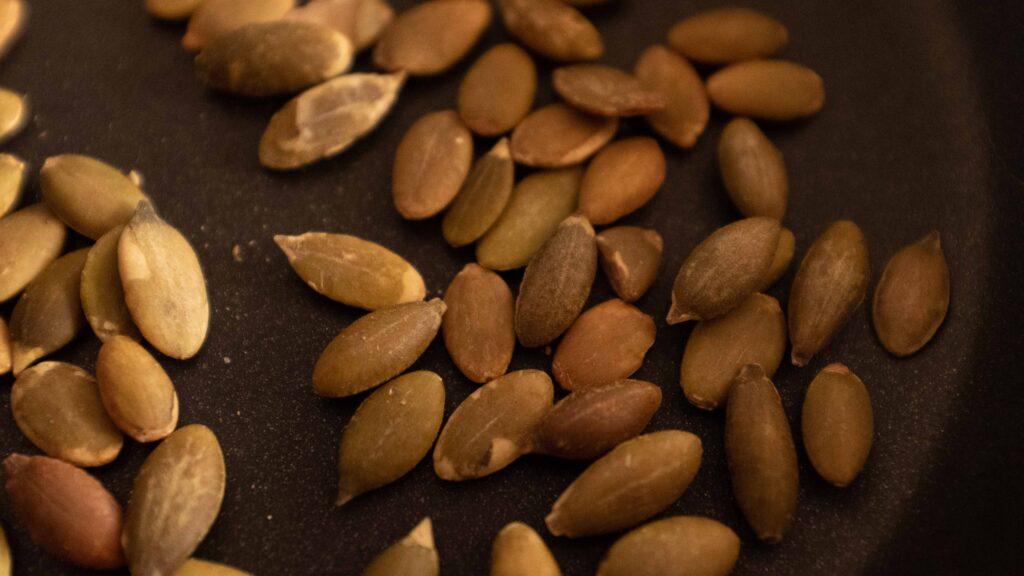
1 – Toast your hulled pumpkin seeds on a dry skillet, roughly 5-8 minutes on low heat. Lightly season the seeds with some salt. Feel free to use pre-packaged toasted seeds as well.
2 – If your roasted pumpkin and roasted onions have been gently warming in the oven, switch off the oven and take them out.
Method
1 – Arrange 1/5 beetroot pesto pasta onto a plate.
2 – Dot 1 tablespoon’s worth of pickled beetroots on top of the pasta (don’t add the pickling liquid).
3 – Place 4-5 wedges of roasted pumpkin onto the pasta.
4 – Arrange 3-4 wedges of roasted red onions onto the pasta (don’t add the juices).
5 – Arrange 8-9 cubes of marinated tofu on the pasta (don’t add the marinade).
6 – Scatter 10 gm of roasted pumpkin seeds onto the pasta.
7 – Scatter 20 gm of radish microgreens on top of the dish.
8 – Top the pasta with 6-7 kale chips.
9 – Crack some fresh black pepper on top of the dish.
10 – Drizzle some fresh extra virgin olive oil on top. Sing “oh rang barse, Holi hai!” Now eat!
I made this dish to celebrate Holi, the festival of colours that marks the spring harvest in India. However, since the ingredients are pretty much always in season here, it really is a round-the-year dish. You don’t have to be vegan to enjoy vegan food! Both my husband and I eat animal products and we absolutely love this stunning coterie of plant based goodness. And while I wouldn’t add any meat to this dish (it honestly doesn’t need it), feel free to replace the marinated tofu in the recipe with real feta. Radish microgreens with their crunch and fresh pepperiness really cut through the fats in the dish, and pair wonderfully with beets. In fact, this dish can quickly transition from a heavy main to a light salad, by simply replacing all the fettuccine with radish microgreens! 100 grams of microgreens per plate would make for a generous serving of salad.
Tips & Tricks:
How to peel and cut a pumpkin:
How to make a foil bag:

