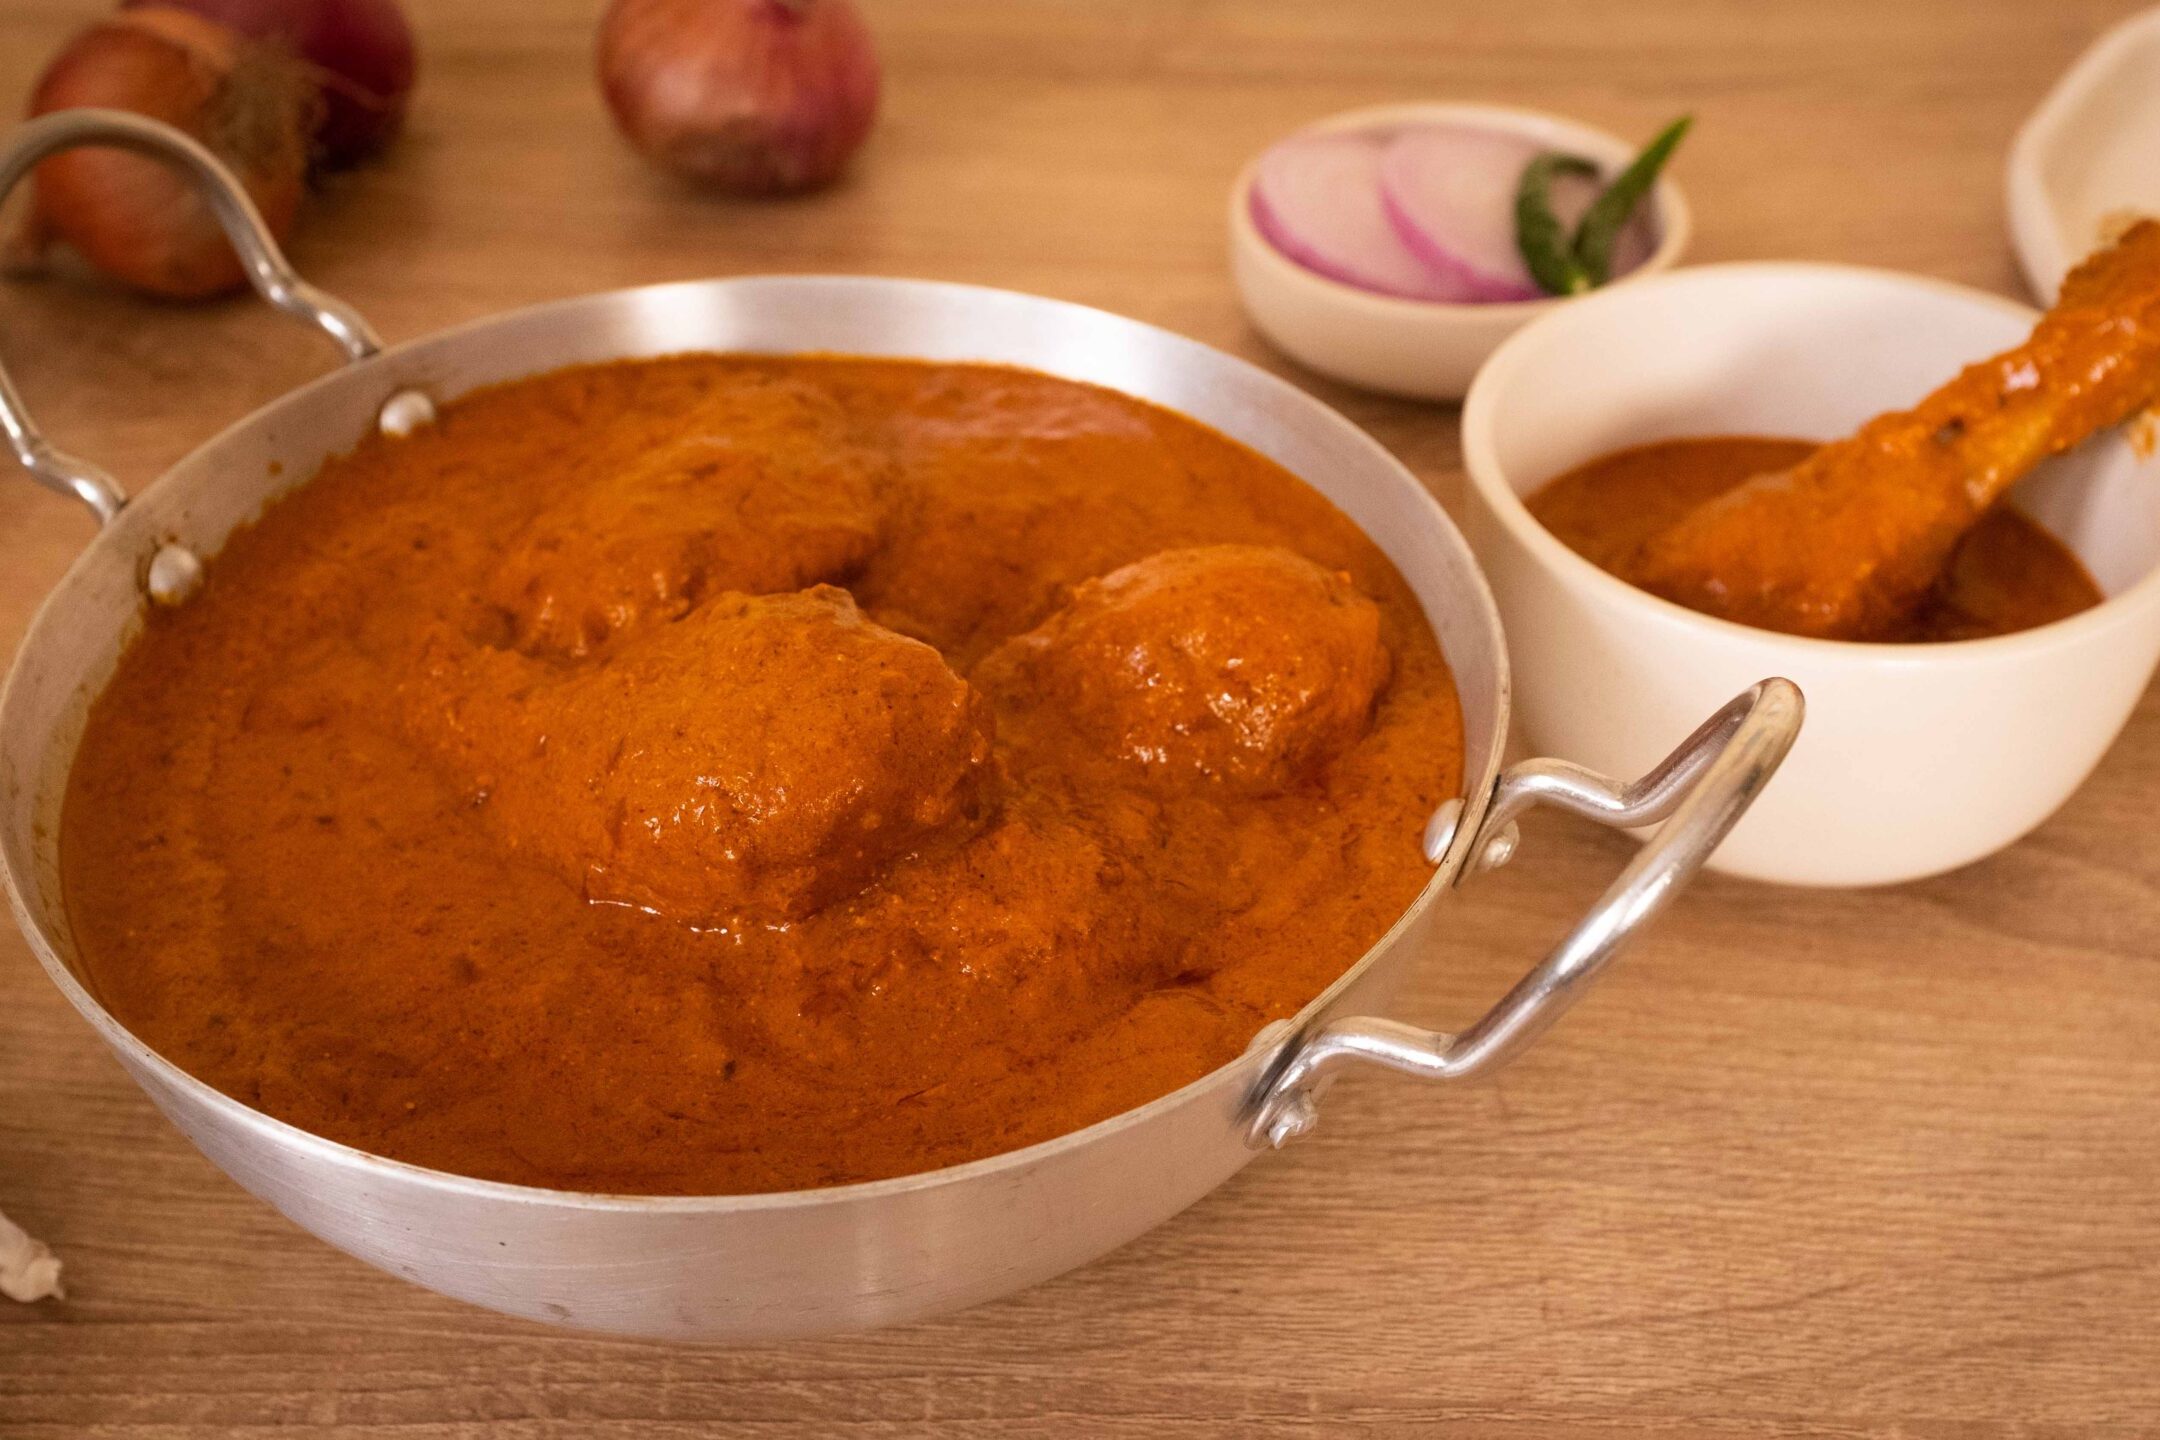
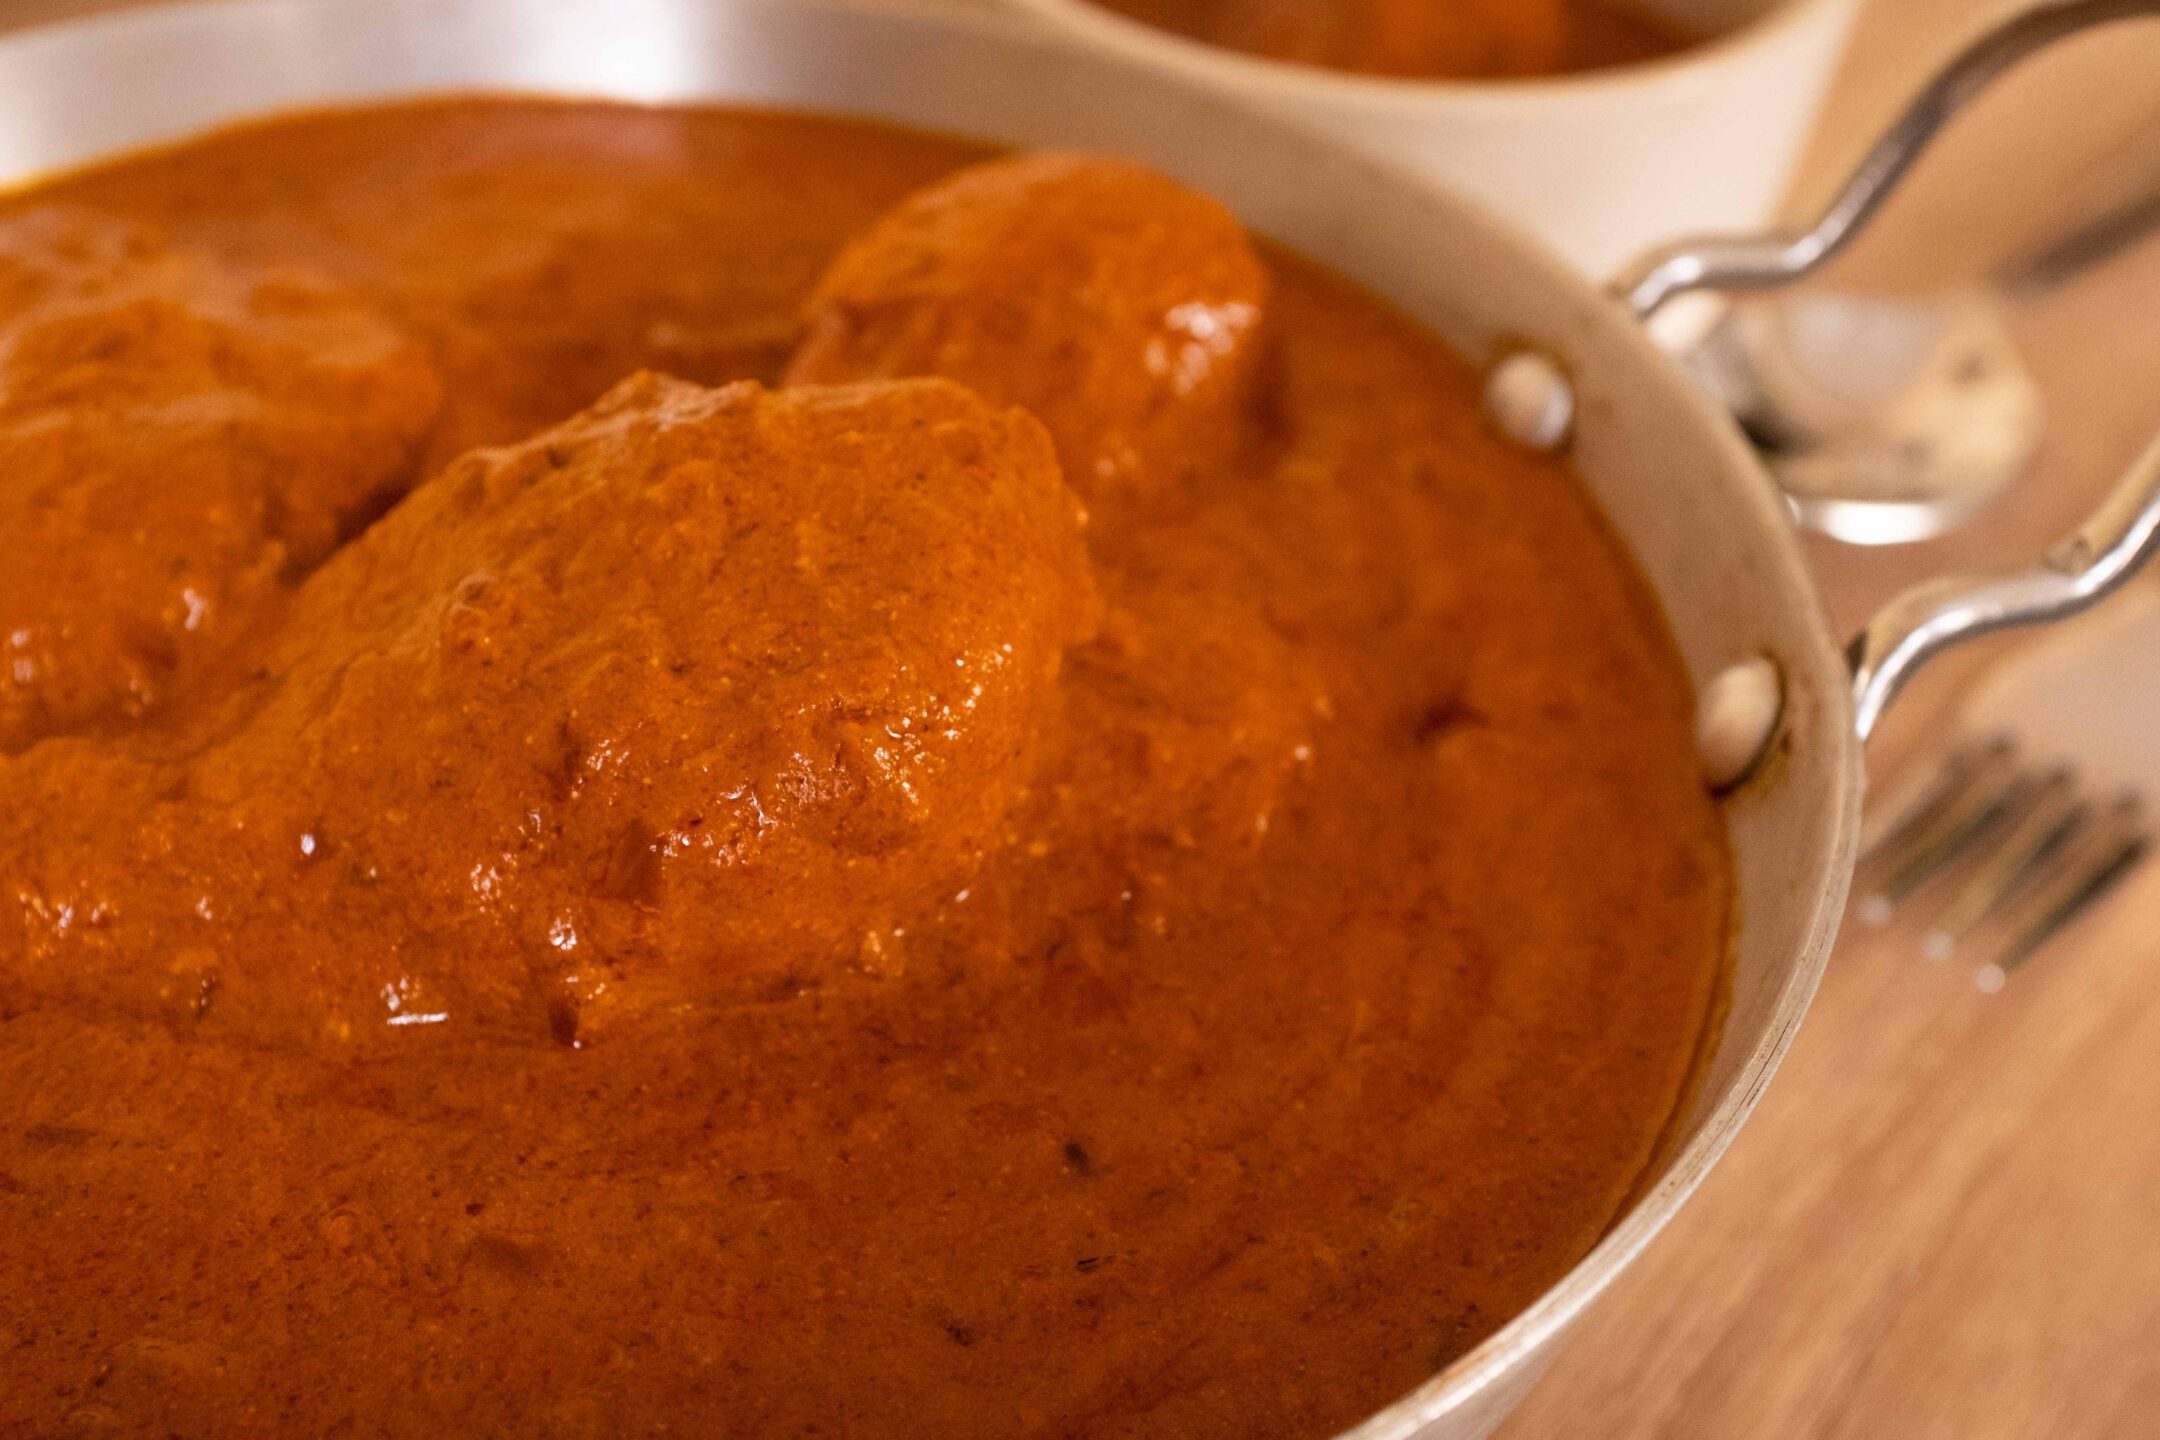
Delhi Butter Chicken

Makes 4-6 servings.

Necessity is the mother of invention. This recipe was born of all the disappointing butter chickens that we’ve ordered in Bombay. I’m yet to eat anything here that matches even the most average Delhi butter chickens. Ergo, making butter chicken became an absolute necessity. This dish is completely homemade, but involves a make or break cheat. And while it takes a long time to make, I promise you, it truly is up there with the top butter chickens of Delhi.

At a glance
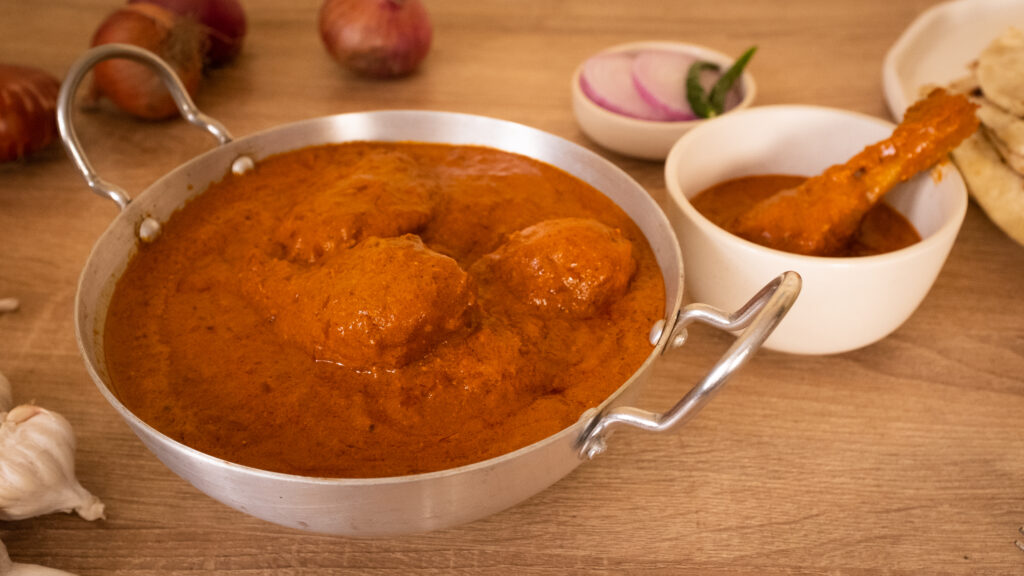
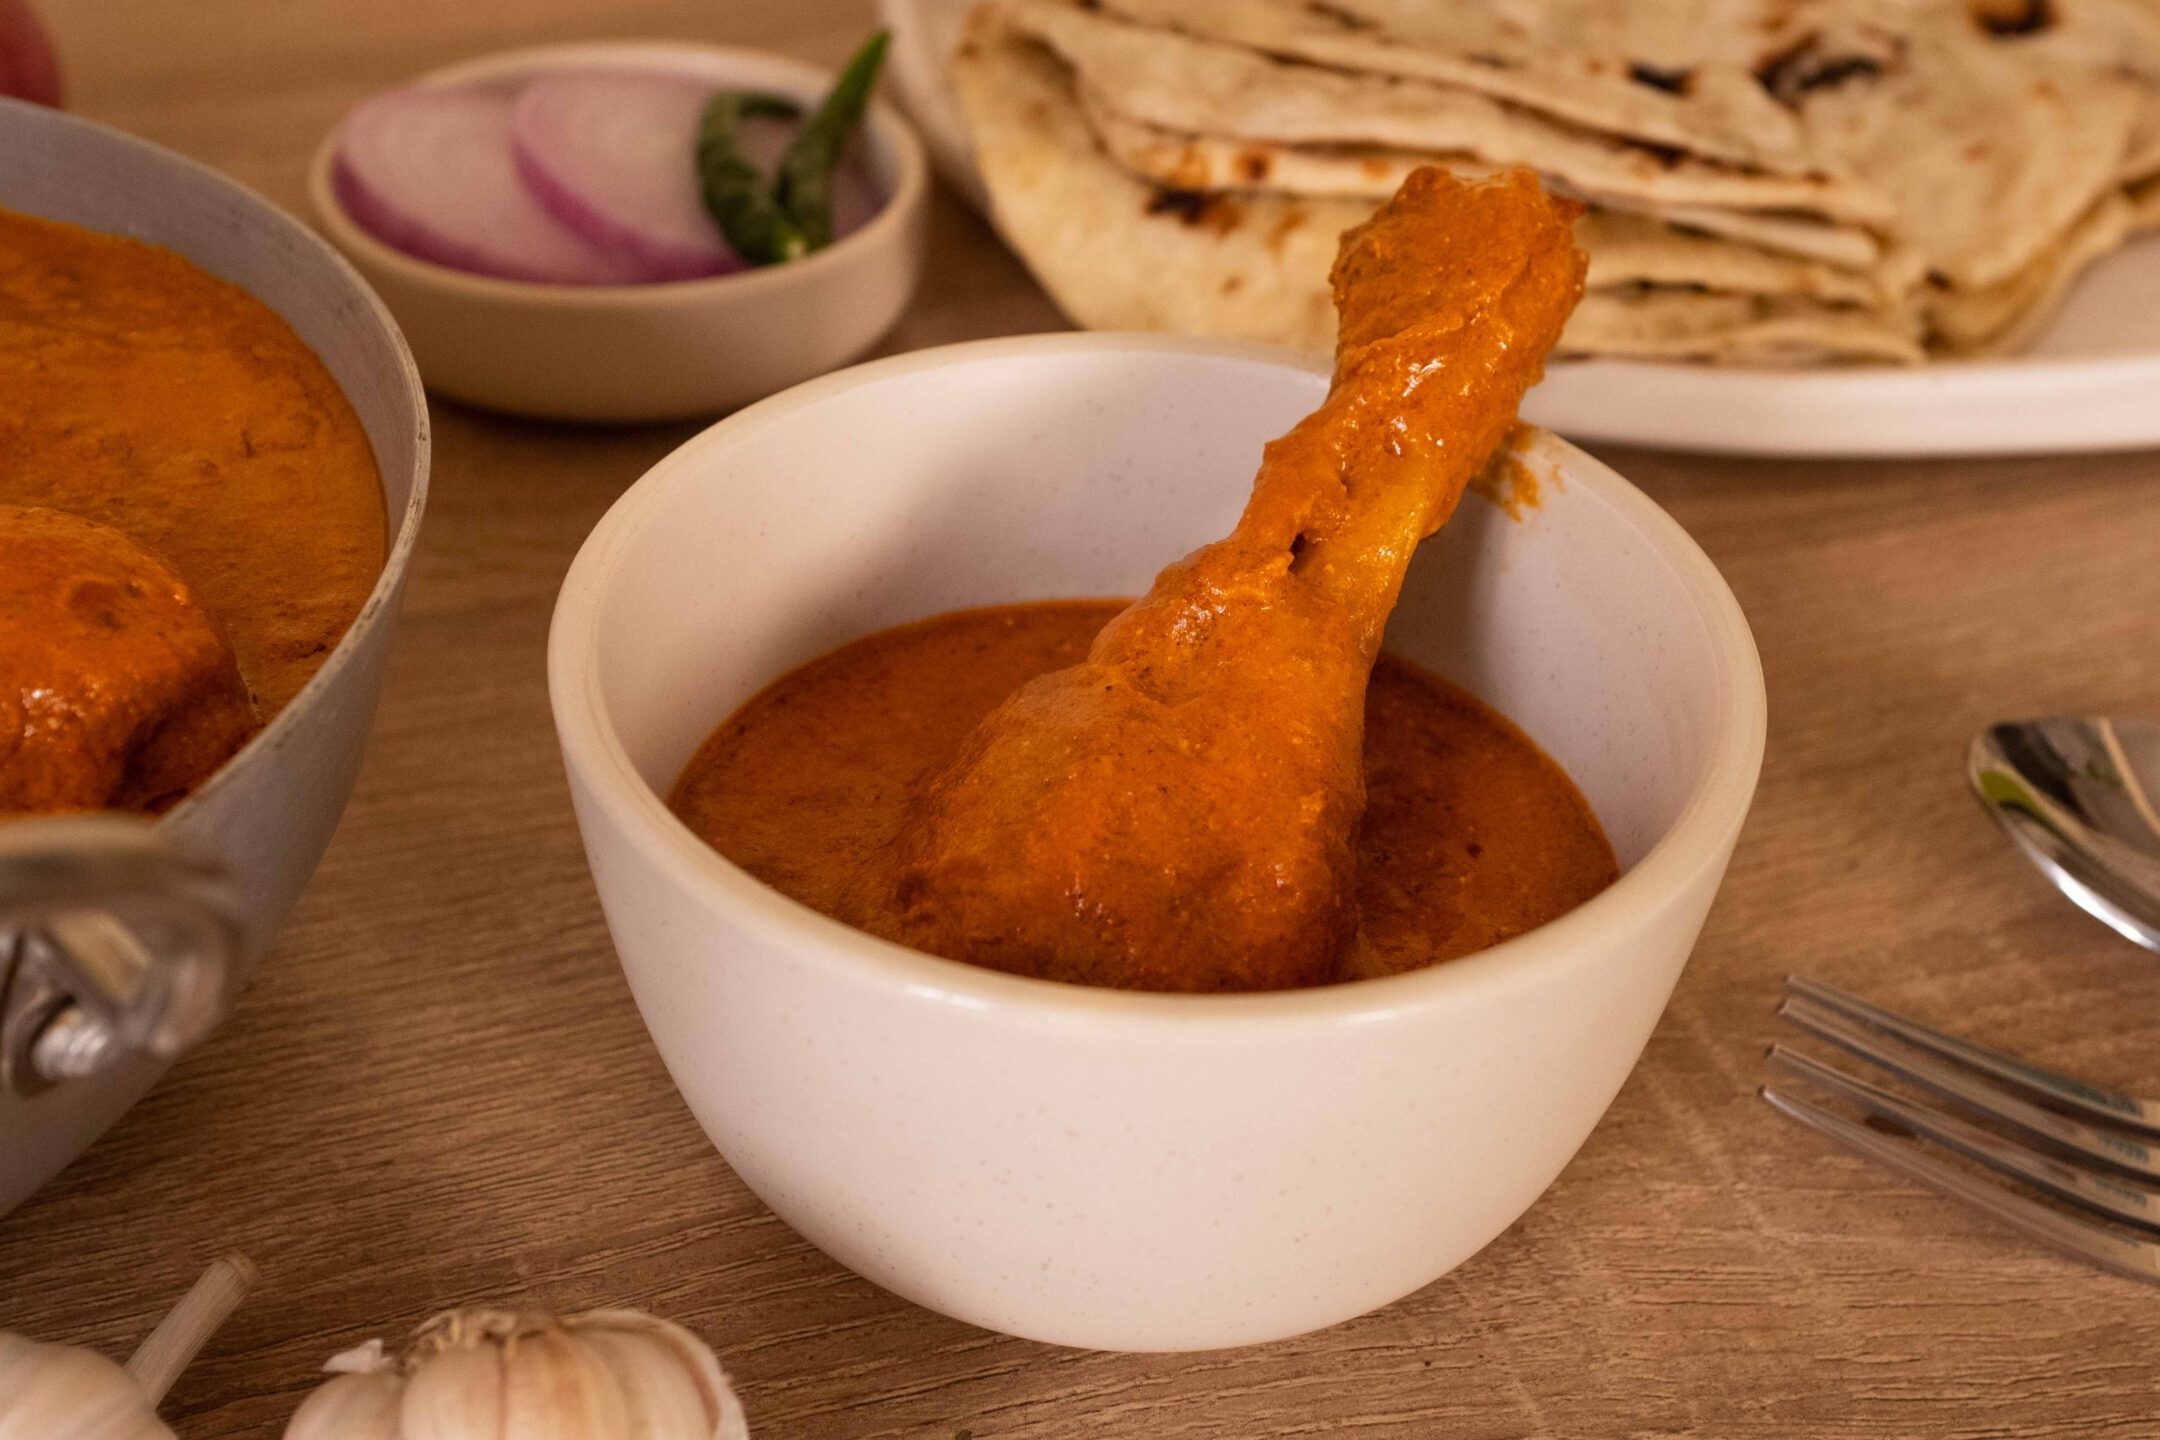
– This dish comprises tandoori chicken + butter chicken sauce 
– You will need a big kadhai/cooking pot (5 litre capacity).
– This recipe has been broken into 2 stages for ease and comprehension. Please read the entire recipe from start to finish before beginning.

Stage 1: tandoori chicken

Ingredients
1. 6 skinless chicken drumsticks + 6 skinless chicken thighs

Marinade 1:
2. Juice from 2 limes
3. 1 tsp salt
4. 2 tsp Kashmiri laal mirch powder (Kashmiri red chilli powder)

Marinade 2:
5. ¼ tsp haldi (turmeric powder)
6. 1 ½ tsp Punjabi garam masala
7. 1 tsp Kashmiri laal mirch powder (Kashmiri red chilli powder)
8. 2 tsp kala namak (black salt)
9. 2 tbsp. mustard oil 
10. 2 tbsp. ginger and garlic paste
11. 250-300 gm thick curd/yoghurt to yield 150 gm hung curd
12. Tandoori food colouring (optional)

Tikka sized pieces/boneless chicken eats easier, but we prefer bone-in as it’s always more flavourful. If using tikka pieces, get about 1-1.5 kg for this recipe.

Prep
1 – Scour the chicken pieces. 3 slits per piece, on either side should do it. 

2 – Marinate the chicken with Marinade 1. Leave aside for a minimum of 20 minutes.

3 – Next, proceed with Marinade 2. Rub the marinade very well into all crevices. Cover and rest in the fridge overnight, or for at least 2 hours. The longer you let it steep, the more tender the pieces will be.

Method
1 – The following day (or at least 2 hours later), take your marinated chicken pieces out of the fridge and let them come to room temperature. In the meantime, preheat your oven to 200OC.

2 – Line a roasting pan with aluminium foil. Pick up each piece of chicken and shake off the extra marinade before placing it in the pan. You don’t want superfluous marinade in the pan while roasting the chicken, as any that isn’t stuck to the chicken will simply burn.

3 – Roast the chicken pieces for 20 minutes at 200OC, upper and lower heating, convection mode. 

4 – After 20 minutes, pull the roasting pan out, turn the pieces over, baste them with the marinade, and roast the pieces for 15 minutes at 200OC, upper and lower heating, convection mode. 

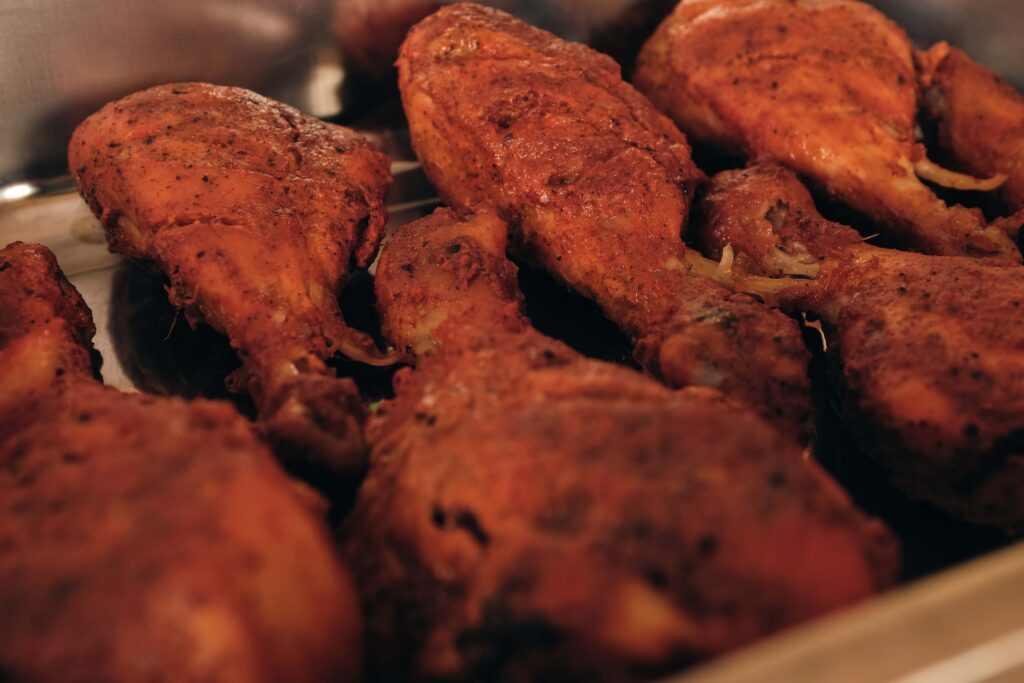
5 – After 15 minutes, raise the temperature to 230 OC (upper heating only) convection mode, and roast the chicken for 5-7 minutes. You’re looking for intentional spot-charring, not burning.

6 – You now have tandoori chicken! Keep it aside to rest. Refrigerate, covered; if you’re not immediately proceeding with Stage 2.

If you don’t have an oven, you can pan fry the pieces. Chicken cook-time depends on the size of the pieces. If you’re finicky like me, check the internal temperature of the biggest piece in the pan. It should be 75 OC or 165OF. Don’t worry if the temperature is higher than that. The beauty of chicken thighs and drumsticks is they’re very forgiving and remain juicy even if over-cooked. Conversely, don’t stress too much if they’re not fully cooked, as they will be simmered in the sauce for a bit, later on. 

Stage 2: butter chicken sauce
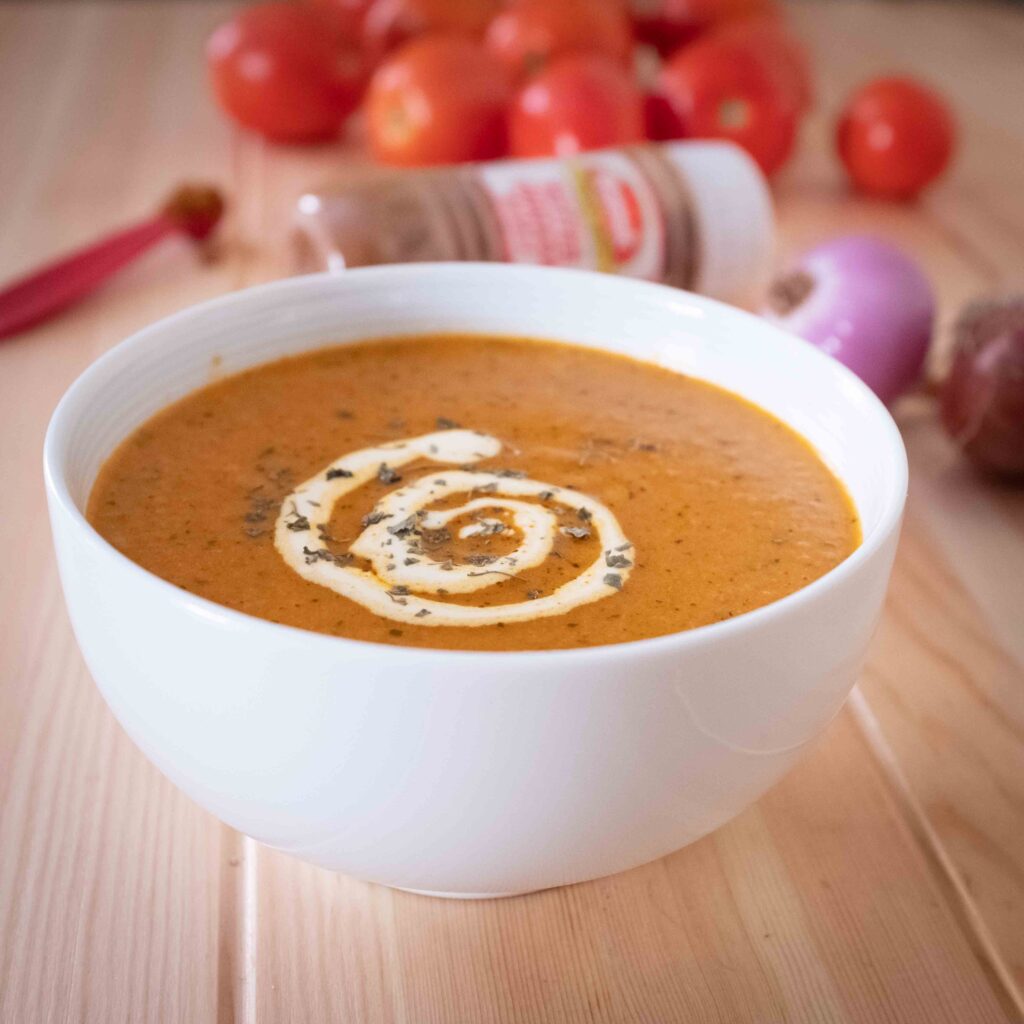
Don’t eat meat? No worries! This sauce tastes amazing with tandoori paneer/tofu/soya chaap/mushrooms/cauliflower, stir-fried or steamed mixed vegetables, or even plain boiled eggs. If you plan to make the sauce minus the tandoori chicken, you might need to add a little extra salt, (since the tandoori chicken is seasoned as well). For a meatless dish, I recommend preparing the sauce separately and then adding in your pre-cooked protein or veg.

Ingredients
1. 100 gm salted butter + 1 tbsp. for frying
2. 2 tbsp. unflavoured cooking oil 
3. 3 large onions very finely diced
4. 600 ml packaged tomato puree
5. 2 tsp Kashmiri laal mirch powder (Kashmiri red chilli powder)
6. Here’s the cheat! 6 tbsp. Roopak Butter Chicken Masala. Get it here.
7. 250 ml warm water
8. 1 ltr of boiled water, kept hot
9. ½ tbsp. crushed kasoori methi (dried fenugreek leaves)
10. 200 ml fresh cream
11. 2 tsp sugar/honey + extra as per taste (taste the sauce and add)
12. 1 – 1 ¼ tbsp. salt
13. Your cooked tandoori chicken pieces

Ok, so my cheat is that I use a readymade butter chicken masala. I make no apologies for that, because this particular masala of this particular brand is the only thing that lends a truly authentic Delhi butter chicken flavour to the dish. You could try other brands or even your own spice mix, but this is what works for me. And no, I haven’t been paid to say this, alas. Keep in mind that store-bought tomato puree is quite concentrated. If you you’re using fresh, homemade tomato puree, keep some tomato powder handy to add at the end, to boost the tomato flavour.

Method
1 – In a large heavy bottomed pan, heat 1 tablespoon of butter with 2 tablespoons of cooking oil. 

2 – Once it’s melted and simmering, add the chopped onion. Fry very well on low-heat till the raw onion smell goes. I add 2 teaspoons of sugar at this point to intensify the caramel notes. Keep sautéing, taking care not to burn the onions. You’re looking for the onions to become golden brown but not dark. This can take a good 10-15 minutes.

3 – Mix the butter chicken masala and kashmiri laal mirch powder with 250 ml warm water to make a slurry. Add this slurry to the fried onions and stir everything together. Let it simmer for 5-7 minutes.

4 – Pour in all of the tomato puree and stir everything together.

5 – Raise the flame to medium, cover with a lid, and cook. Now, here’s where both your patience and intuition need to kick in. During this step, there’s a lot of waiting, stirring, adding hot water, stirring, putting the lid back on etcetera. Tomatoes take their time to cook. You will need to keep checking the simmering gravy for doneness. Every 10 minutes or so, take the lid off, stir the mixture well and taste it. If it has reduced a lot, still tastes raw, and is sticking to the bottom of the pan, add half a cup of hot water, cover the pan again and let it cook. Do this as many times as is necessary. You’ll know when it’s done when the gravy is thick like molten lava, no longer tastes like raw tomatoes, and has a sweetish depth of flavour. This can take anywhere from 30 to 80 minutes!

6 – When your sauce is cooked, reduce the heat to the lowest setting. Submerge all your tandoori pieces in the gravy and gently simmer everything for 5 minutes. (If you’re keeping it meatless, now’s the time to add your pre-cooked veg or protein and simmer it in the sauce for 5 minutes. Proceed with the rest of the steps below to complete the dish.)

7 – Add crushed kasoori methi and stir it in. Simmer for another minute.

8 – Pour in the fresh cream and stir gently to incorporate. Your gravy will turn from deepreddishorange to brightpinkishorange. Make sure the flame is low, as fresh cream will split on high heat. Simmer for another 2 minutes.

9 – At this point, taste and adjust all seasonings. Add as much sugar/honey and salt as you like, to make it your own. Go easy on the salt because the next step involves adding 100 gm of salted butter. I added exactly 1 tablespoon of salt.

10 – Switch the stove off and add the salted butter. I just plop the whole slab of butter on top of the curry and pop the lid back on. The residual heat melts the butter. Once it’s melted, stir gently to incorporate.

11 – Wait at least half an hour before plating up, to rest the meat and let the flavours infuse. Reheat gently. Serve with naan or roti. Devour.

When making this curry, avoid aluminium vessels as they leech into acidic foods like tomatoes. Remember, the sweeter the tomato, the faster it will cook. In India, winter tomatoes are far sweeter than the ones you get in summer. Additionally, how much sweetener you add to the dish at the end depends on how sweet the tomatoes are to begin with. Either way, if you don’t slowly cook the tomatoes down and extract all their natural sweetness, your end dish won’t be tasty. Like most meat dishes, this curry tastes even better the next day, once the flavours have really had time to work their magic.

New York Cheesecake

Makes one 8 inch round cake

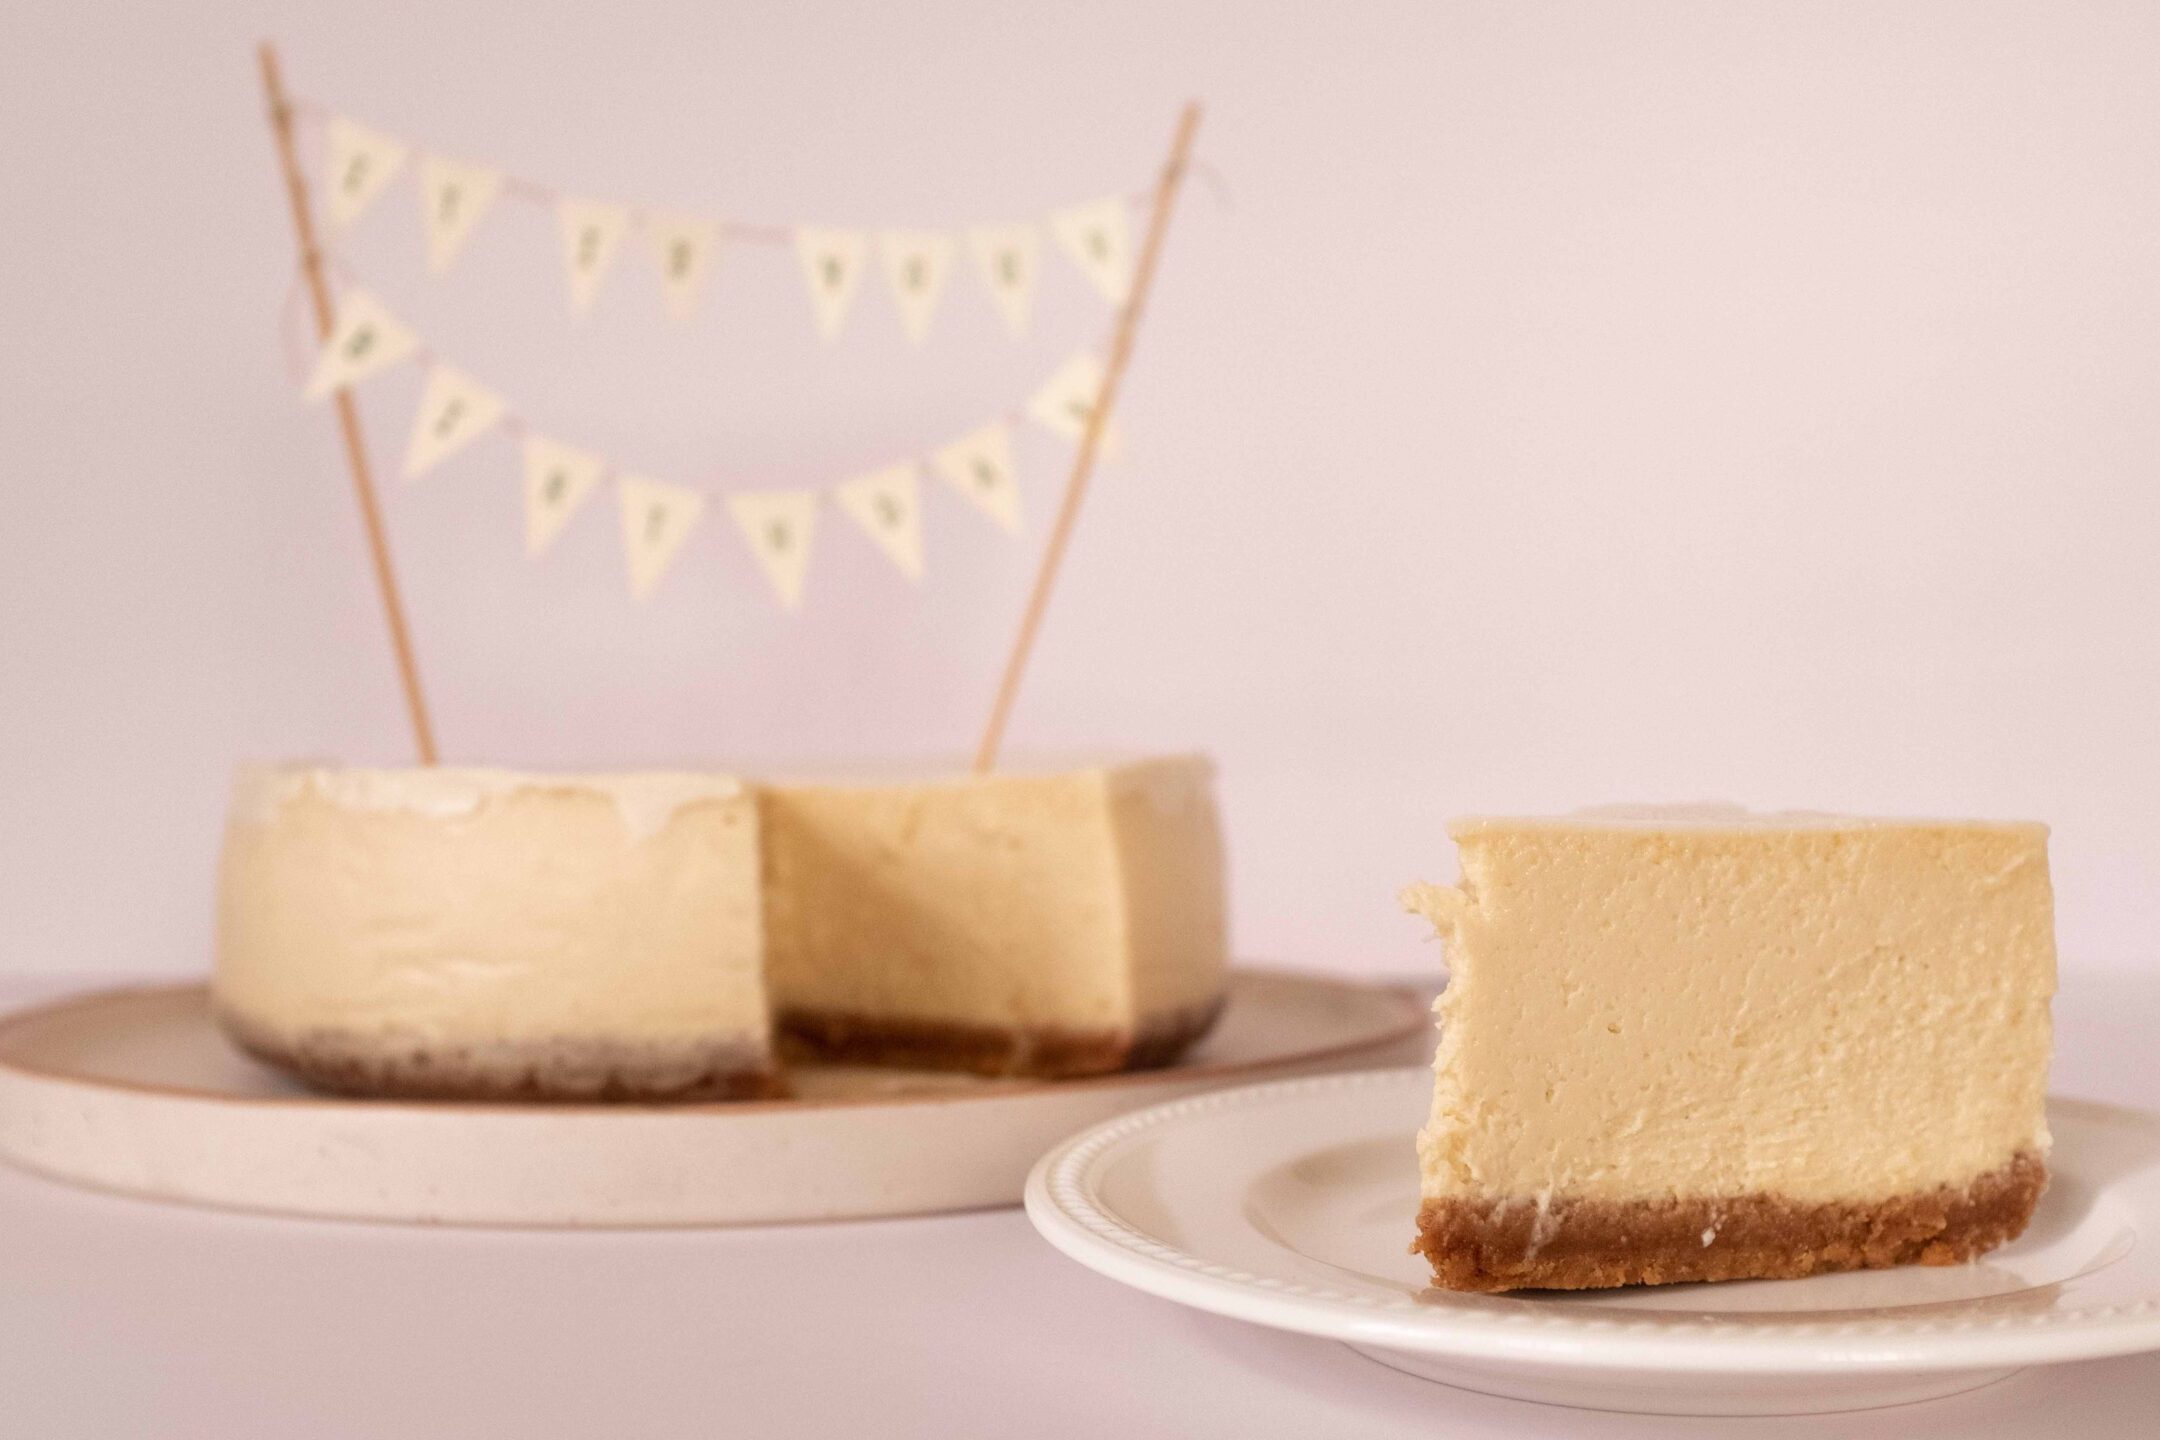
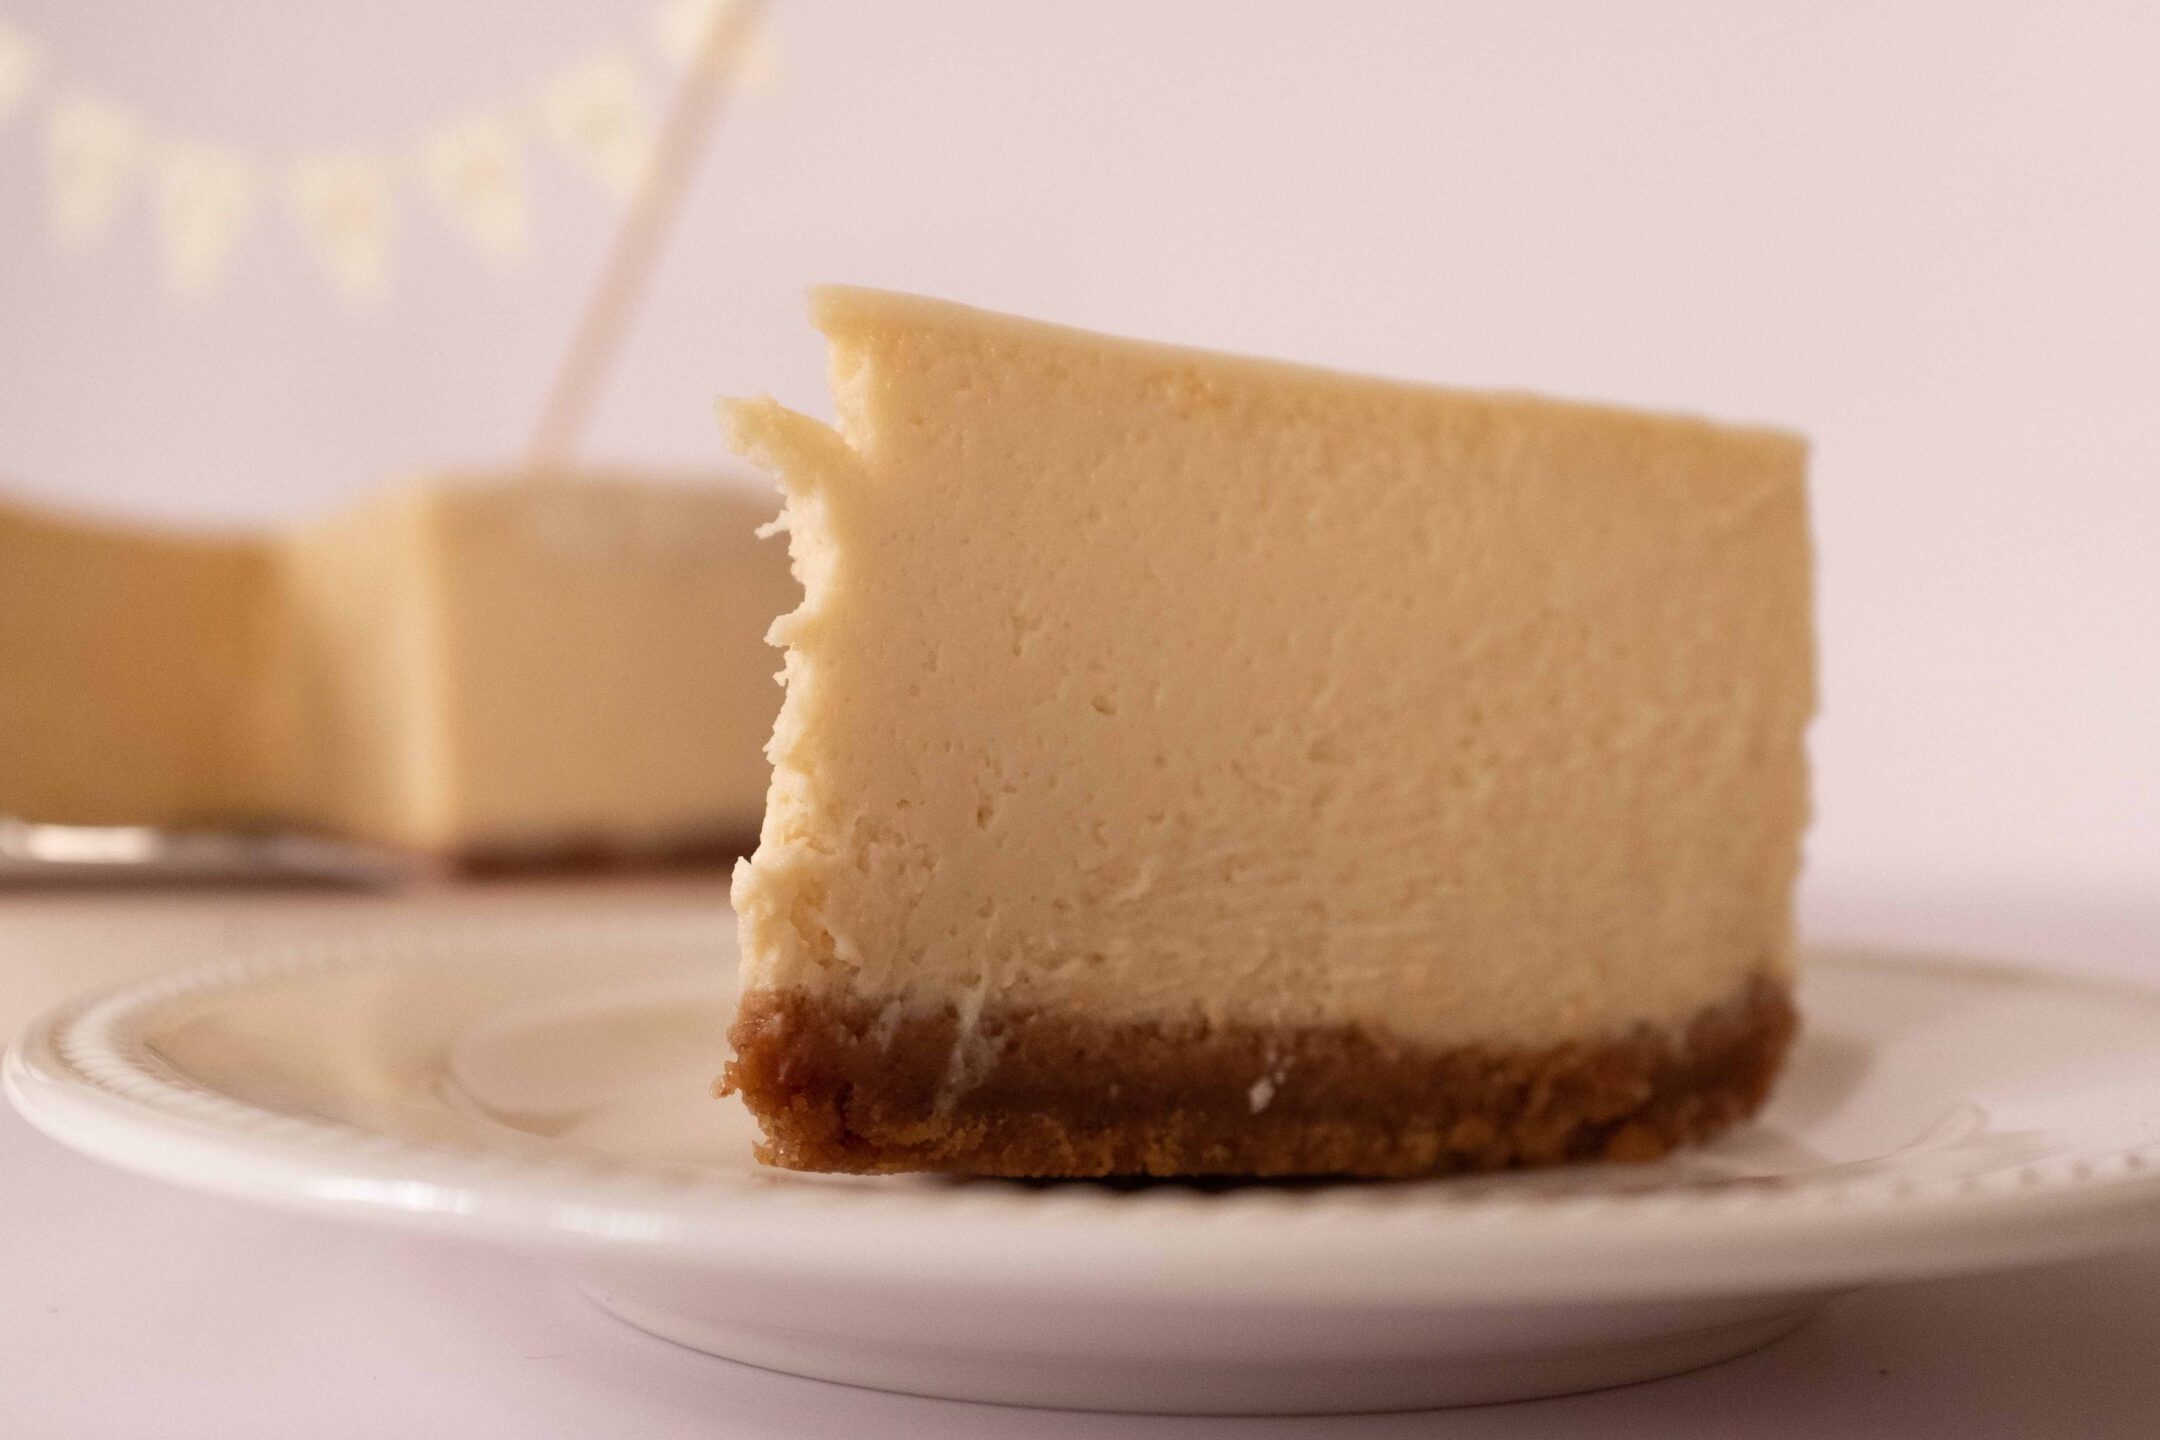
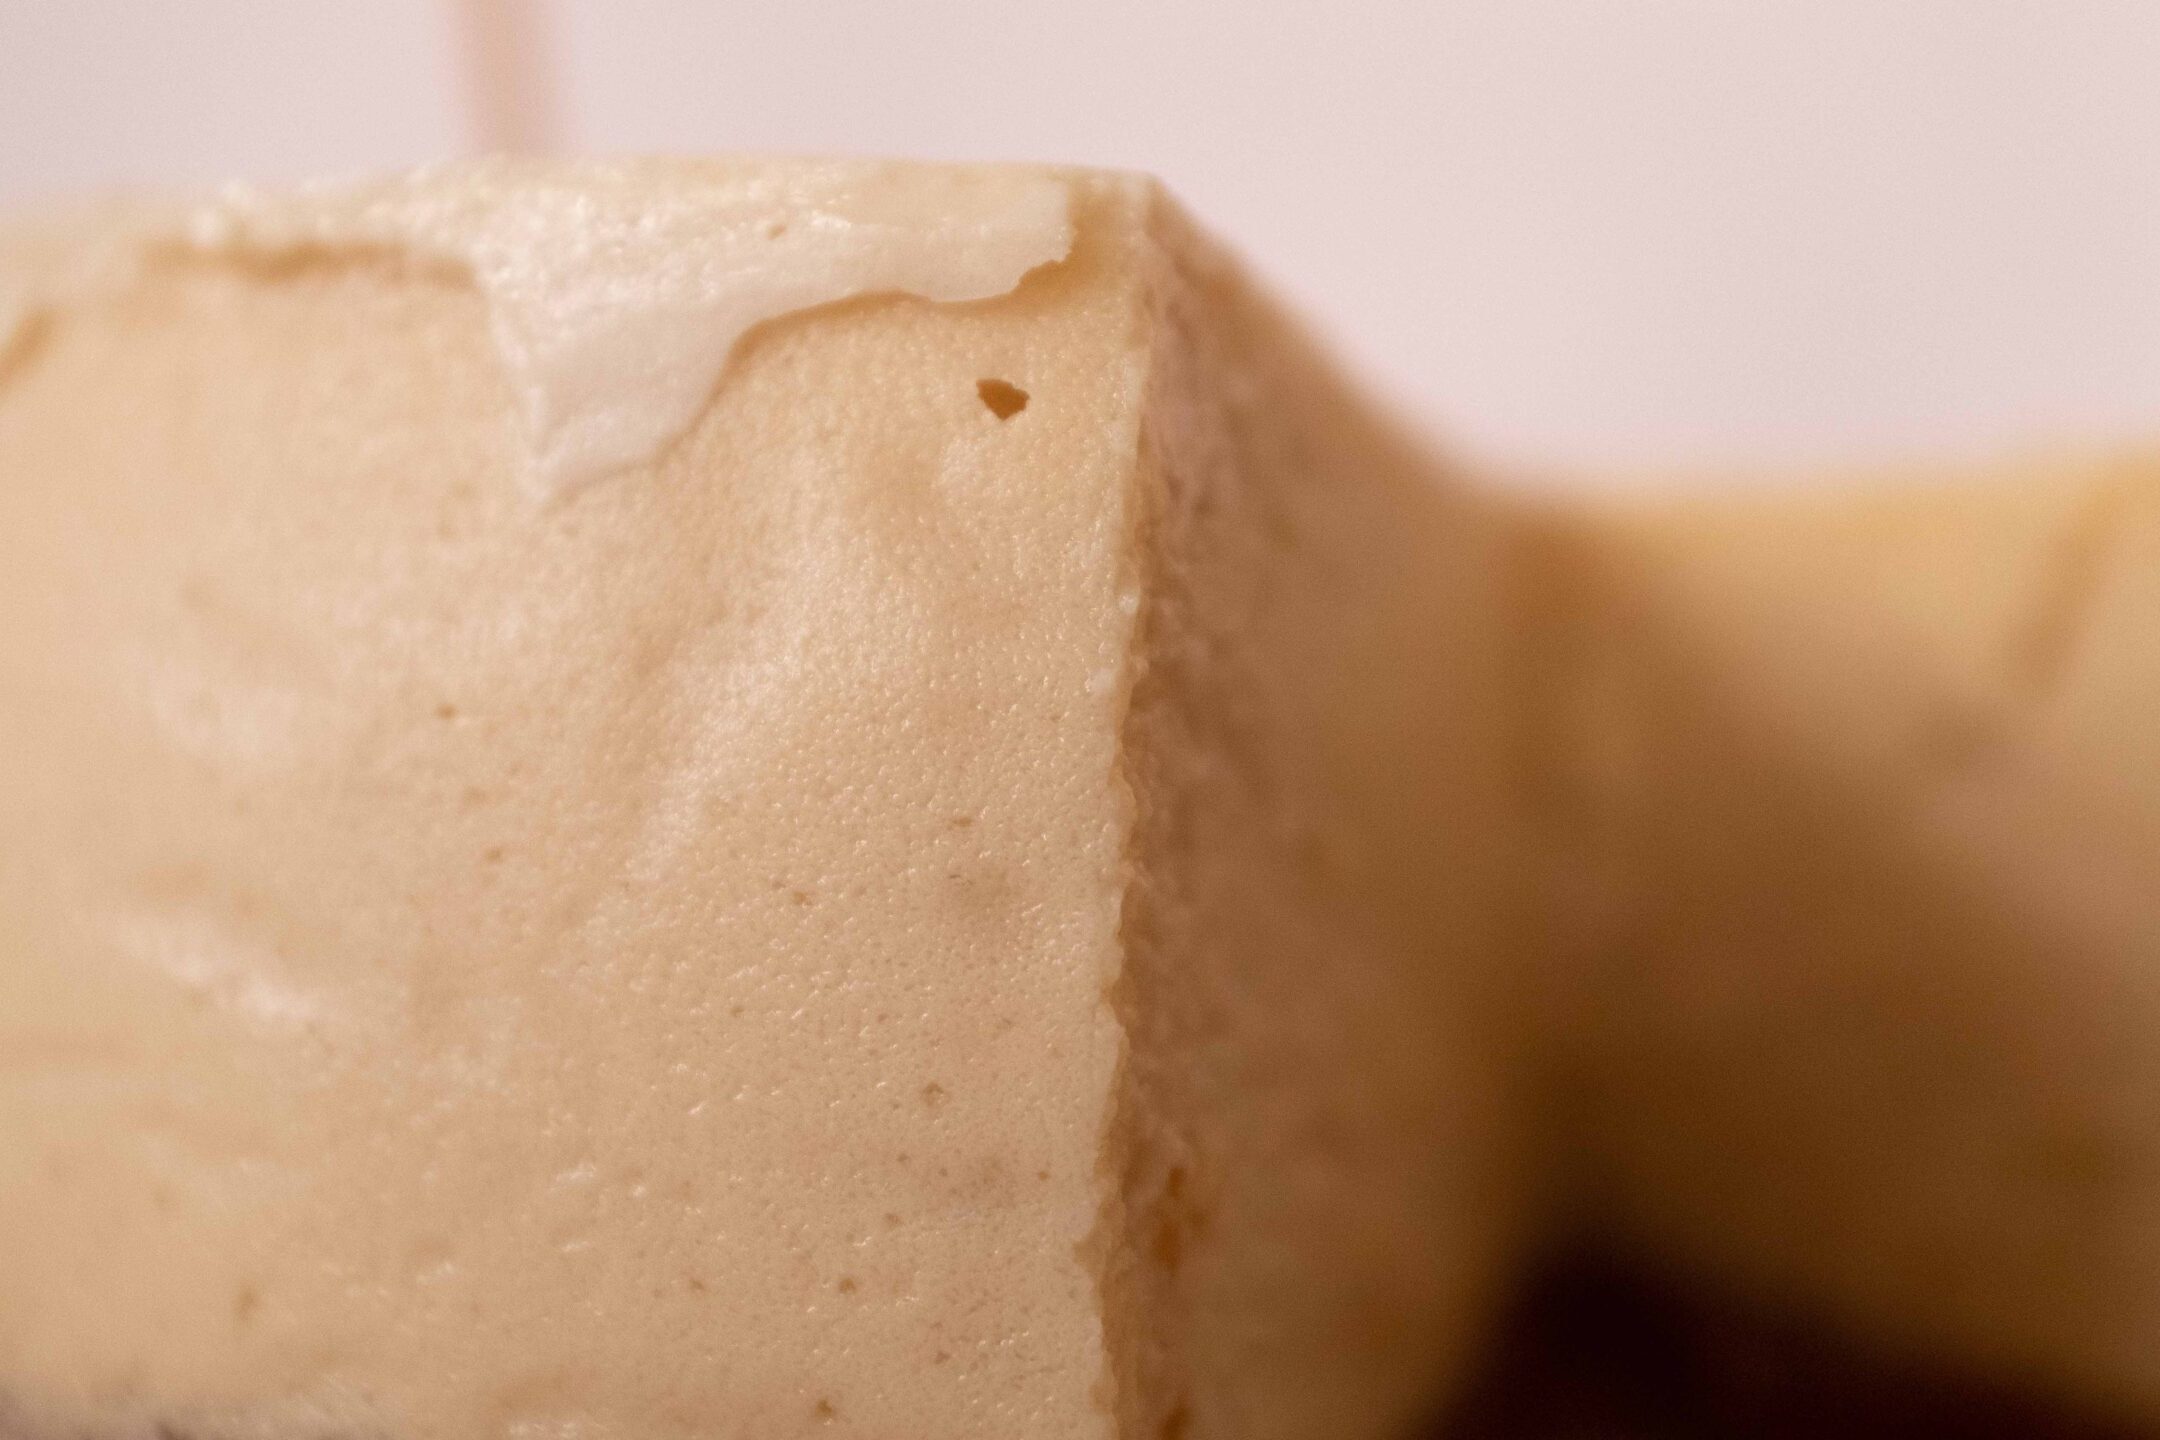
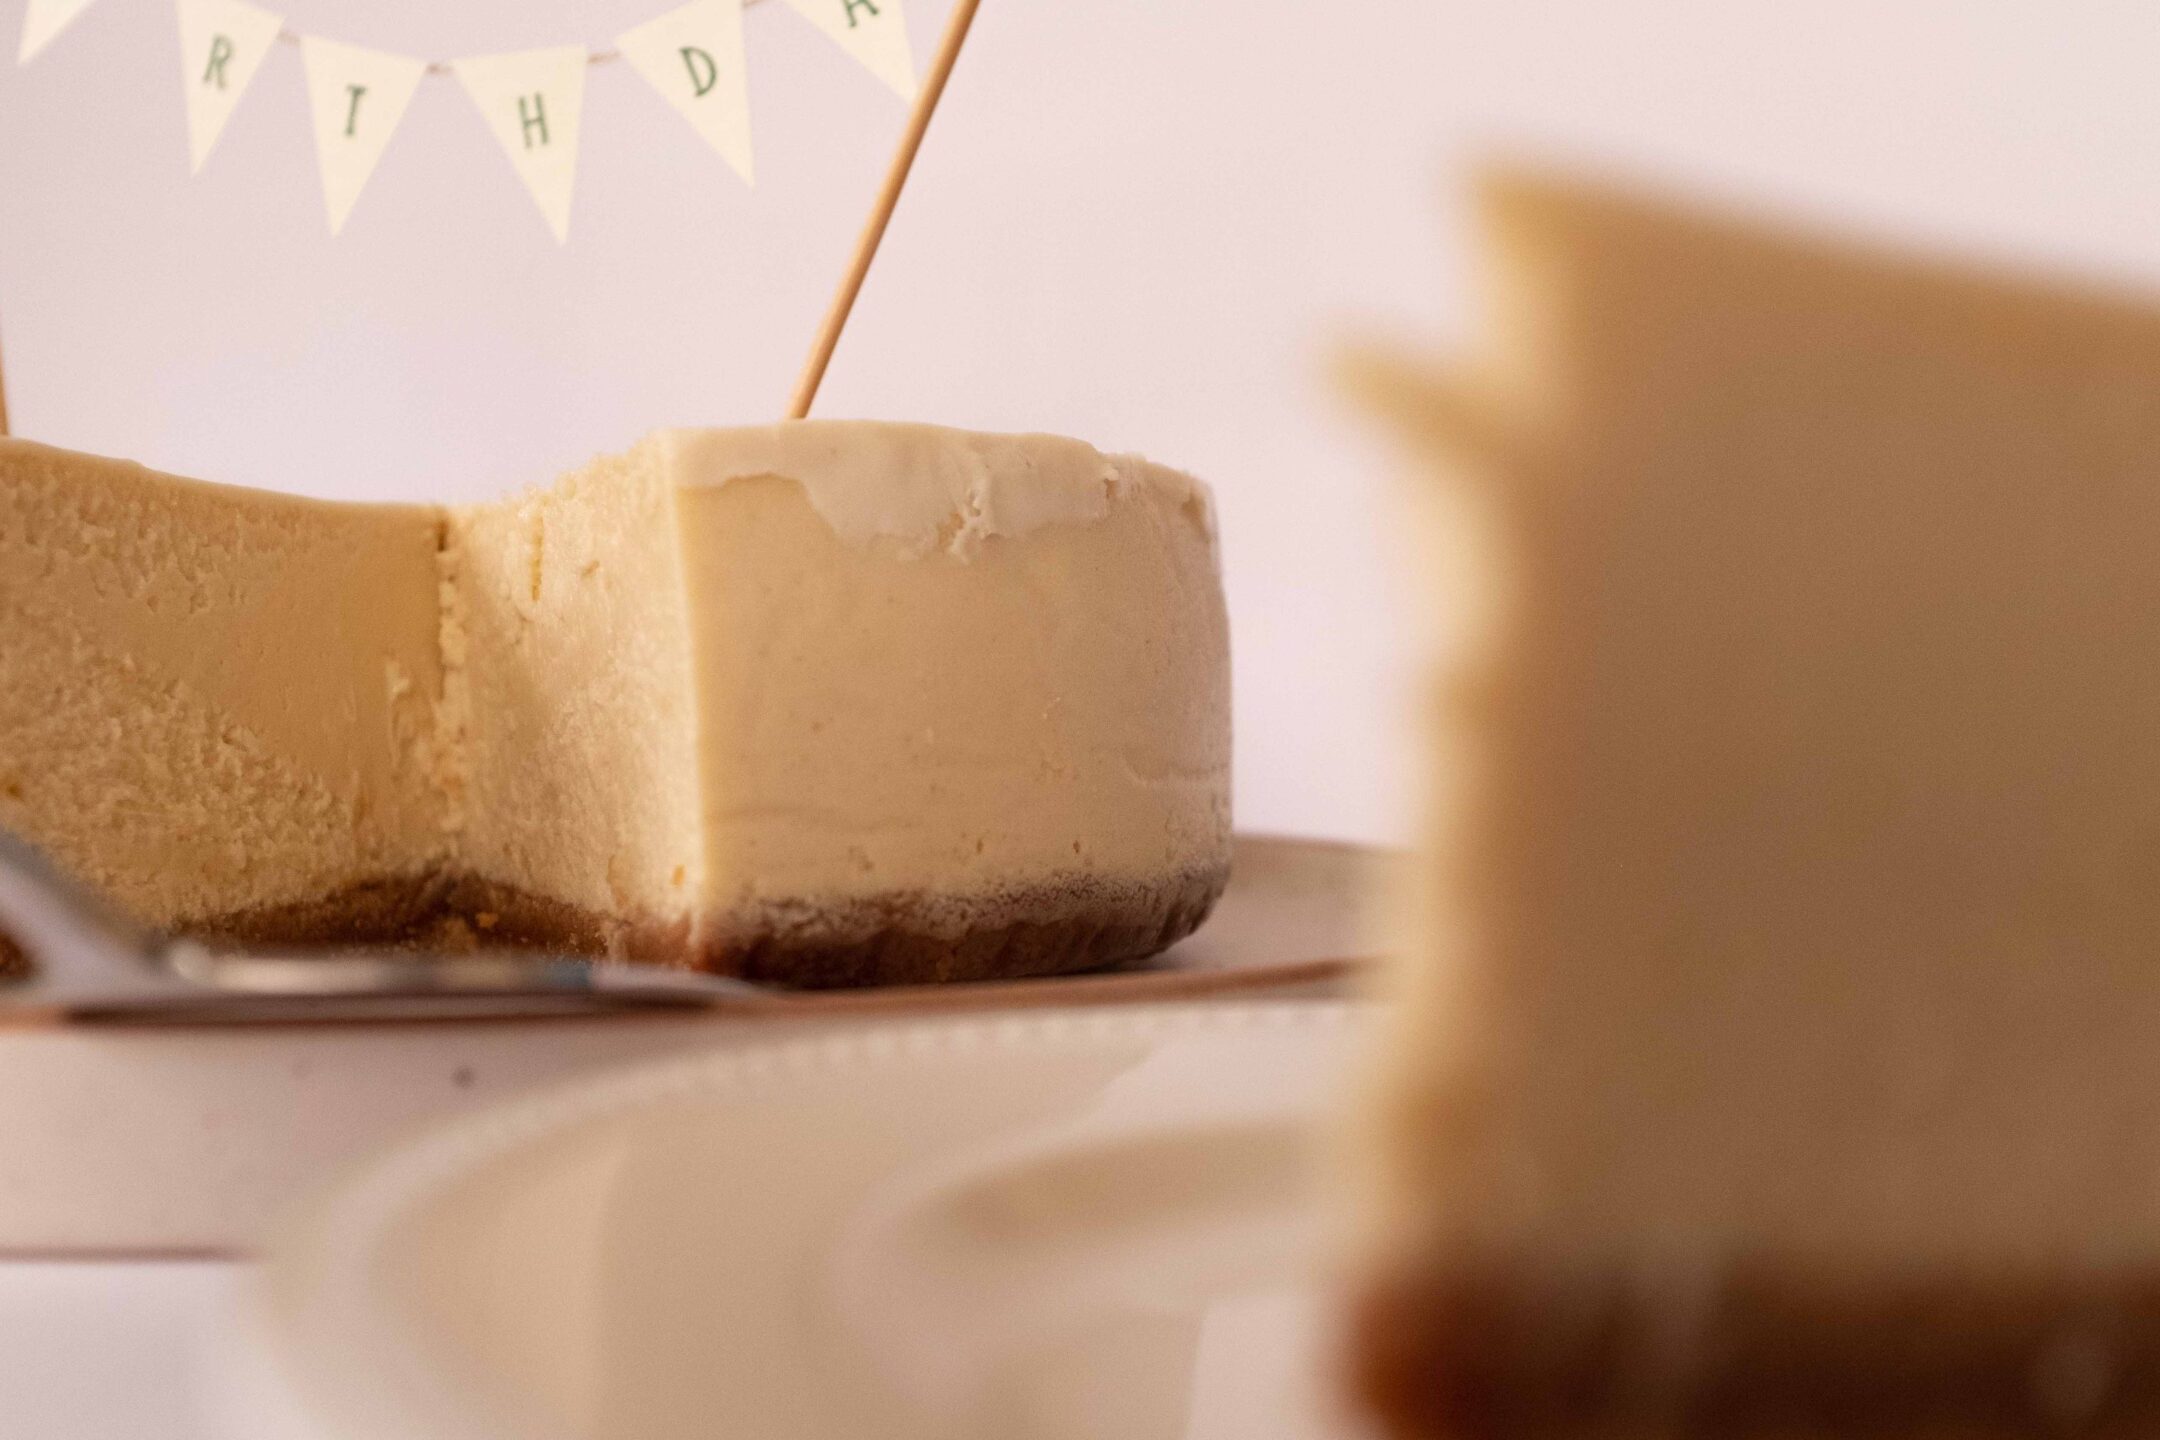
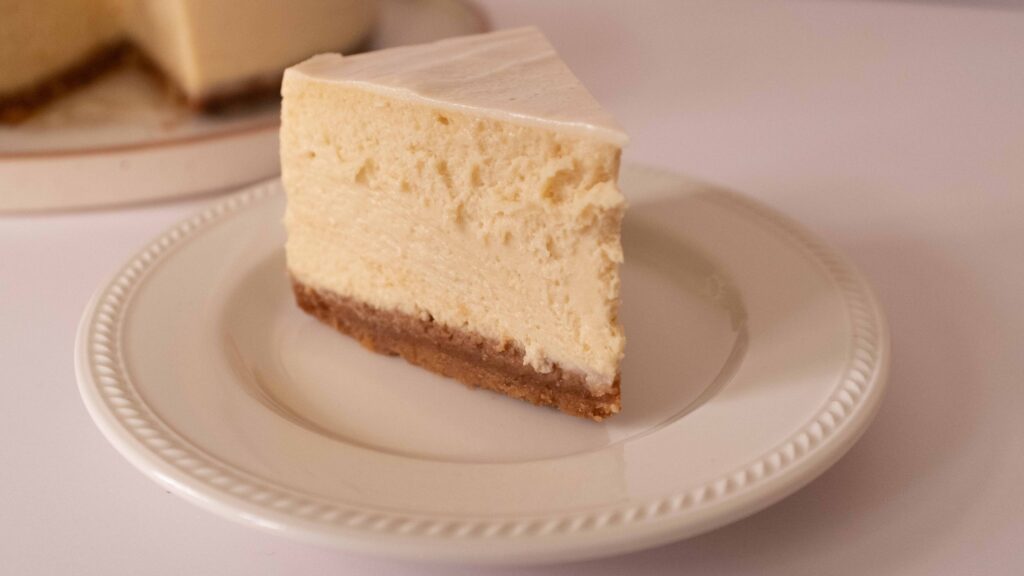
New Yorkers believe that cheesecake wasn’t really cheesecake until it came from New York. I have to agree. A perfectly baked cheesecake should be a symphony of texture and flavour—at once both smooth and velvety, rich yet light, sweet as well as tangywith no overpowering notes of vanilla or citrus. Moreover, when you get the taste right, it needs to look like perfection too. Look no further. Your quest for cheesecake enlightenment ends here.

At a glance

– This cake comprises a biscuit base + cheesecake filling + sour cream topping + bonus recipe for Homemade Vanilla Extract.
– You will need an 8 x 3 inch round springform pan, a deep roasting pan/baking pan that can contain the springform pan, and parchment paper.
– This recipe has been broken into 4 stages for ease and comprehension. Please read the entire recipe from start to finish before beginning.

Stage 1: Biscuit base

Ingredients
1. 200 gm digestive biscuits
2. 1 tbsp. granulated sugar
3. 50 gm unsalted butter, melted and cooled.

Prep
1 – Preheat your oven to 180OC.

2 – Grease a tall 8 inch springform pan with nonstick spray and line the bottom and inside edges with parchment paper. Your parchment should stick up ½ an inch taller than the pan’s height.

Method
1 – Using a food processor, combine the digestive biscuits, granulated sugar, and melted butter. Pulse until the mixture has the appearance and texture of wet sand.

2 – Press this crumbly mixture into the base of your prepared springform pan, using a flat-bottomed glass/cup to compress it into an even layer.

3 – Bake the base for 8-10 minutes, or until golden brown. Remove it from the oven and let it cool to room temperature on a wire rack. 

The reason the base is baked, is to prevent the liquidy filling from making it soggy. If you skip this step, you won’t get that great biscuit texture on the bottom. It’s so hot and humid where I live, that I have to refrigerate the pan as soon as the base has come to room temperature. This is to prevent the butter content from separating from the crumbs. You won’t need to do this if you live in a cooler climate.

Stage 2: Cheesecake filling

Ingredients
1. 680 gm full fat cream cheese like this (not cream cheese spread or the whipped stuff)
2. 90 ml heavy or whipping cream (not the low fat stuff)
3. 345 gm sour cream
4. 3 ¾ tbsp. all purpose flour
5. 3 large eggs (171 gm)
6. 300 gm castor sugar
7. 2 ½ tbsp. vanilla extract
8. ½ tbsp. finely zested lemon rind (optional)
9. Pinch of salt
10. 1 ½ ltr water for a water bath or baine-marie

Granted, there’s a lot of dairy in this recipe. That’s what makes it so delicious. If you use cream cheese spread (which is whipped, lighter, and has more water content than plain cream cheese) or low fat cream cheese, you will compromise the stability of your cheesecake. Look for cream cheese with at least 33% fat and a moisture content of no more than 55%. Don’t skimp on the rest of the dairy either. Heavy cream brings airiness, while sour cream imparts tartness. Sour cream also results in a creamier, smoother cheesecake. This cheesecake also contains a lot of vanilla and might just deplete your stash. To keep a steady supply of vanilla in your pantry, without spending big bucks buying the real stuff, check out my bonus recipe for Homemade Vanilla Extract at the bottom of this recipe!

Prep
1 – Before beginning, ensure that all your ingredients are at room temperature.

2 – Wrap the outside of your springform pan with heavy duty foil. Do three layers for good measure. Place the wrapped pan inside your roasting pan/baking pan.

3 – Preheat your oven to 180OC.

4 – Fill your kettle with 1 ½ litres of water and set it to boil

Method
1 – In a large bowl, add the cream cheese and sugar. Using a handheld blender, beat the ingredients together till well-combined and fluffy (about 1-2 minutes).

2 – Pour in the heavy cream and beat to combine (about 30 seconds).

3 – Add the sour cream, all purpose flour, salt, vanilla extract, and lemon rind and beat to combine (another 30 seconds).

4 – Add the eggs, 1 at a time. Beating in each one till combined. As soon as the last egg has been combined, stop beating. Scrape your bowl down to ensure everything has been mixed in. The mixture should be smooth and creamy, but you must not over-mix it.

5 – Pour the cream cheese mixture into your springform pan. Smooth out the top with an offset palette knife or spatula.

6 – Fill the roasting pan/baking pan with hot water, about 1 ½ inches up the sides of the springform pan. This is our water bath or baine-marie.

7 – Carefully place the entire roasting pan/baking pan (containing the springform pan and hot water) into the oven and bake for 1 full hour at 175-180OC.

8 – Turn off the heat, and keeping the oven door closed, let the cheesecake rest inside for 1 hour. Do not open the door before the hour is up.

When you’re pouring your cheesecake filling into your springform pan, don’t be alarmed if the batter comes almost to the top – it will only marginally rise, and the extra parchment lining will give your pan additional height. Because you’re using a water bath, your cake will cook evenly and gently, and sport zero cracks. Once it’s baked, don’t open your oven door for an entire hour. This will set your cheesecake fully and prevent it from sinking in the middle. When you do finally pull it out, it should look perfect. You could stop right there, but I like to elevate it further by brightening it up with a fresh, sweet-tart note. Keep reading.

Stage 3: Sour cream topping

Ingredients
1. 170 gm sour cream
2. ½ tbsp. castor sugar
3. ½ tsp vanilla extract

Method
While your cheesecake is cooling inside the oven, make your sour cream topping. Simply whisk the sour cream, sugar, and vanilla together until it’s all smooth. Keep aside.

Stage 4: Finale; last bake & chill

Components
1. 1 baked cheesecake rested in the oven for an hour (with the door closed)
2. Sour cream topping.

Method
1 – Remove the springform pan from the baking pan/roasting pan.

2 – Unwrap the foil-covering and discard.

3 – Apply the sour cream topping and evenly spread it on top of the cheesecake. You’re looking for a layer of topping that’s about 3-4 mm thick.

4 – Place the springform pan back into the oven (no water bath is required for this step) and bake it for 10-12 minutes at 175-180OC.

5 – Remove the springform pan from the oven. Your cheesecake needs to come to room temperature before you can refrigerate it. While it’s still warm, gently run a paring knife around the outside of the cheesecake to loosen the parchment from the sides of the pan. This prevents pulling, which can cause cracks as the cheesecake cools. 

6 – Once sufficiently cool, cover the entire pan with plastic wrap and transfer it to the fridge. The plastic should not touch the surface of the cheesecake. Chill it overnight.

7 – Take the chilled cheesecake out of the fridge and release the springform pan. Thereafter, carefully strip away the parchment lining and discard it.

8 – Loudly sing ‘We are the champions’ for having created something this spectacular. Now eat!

To achieve the perfect cheesecake (taste-wise and visually), do try to follow this recipe to the tee. Make minor adjustments only if your oven runs hotter/colder than normal, or you’re using a 9 inch pan. To serve perfectly clean slices, dip your knife’s blade into a tall container of hot water, dry it off, and then cut downwards in one smooth motion. Wipe off the cake residue after each cut. Again; dip, dry, cut, wipe, repeat.

Bonus Recipe! Homemade Vanilla Extract

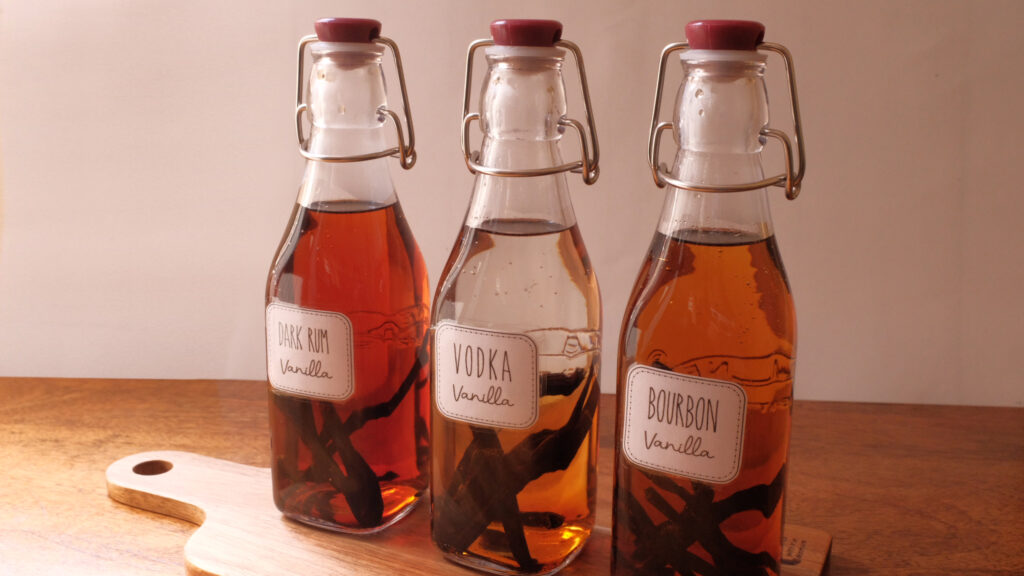
Just steeped
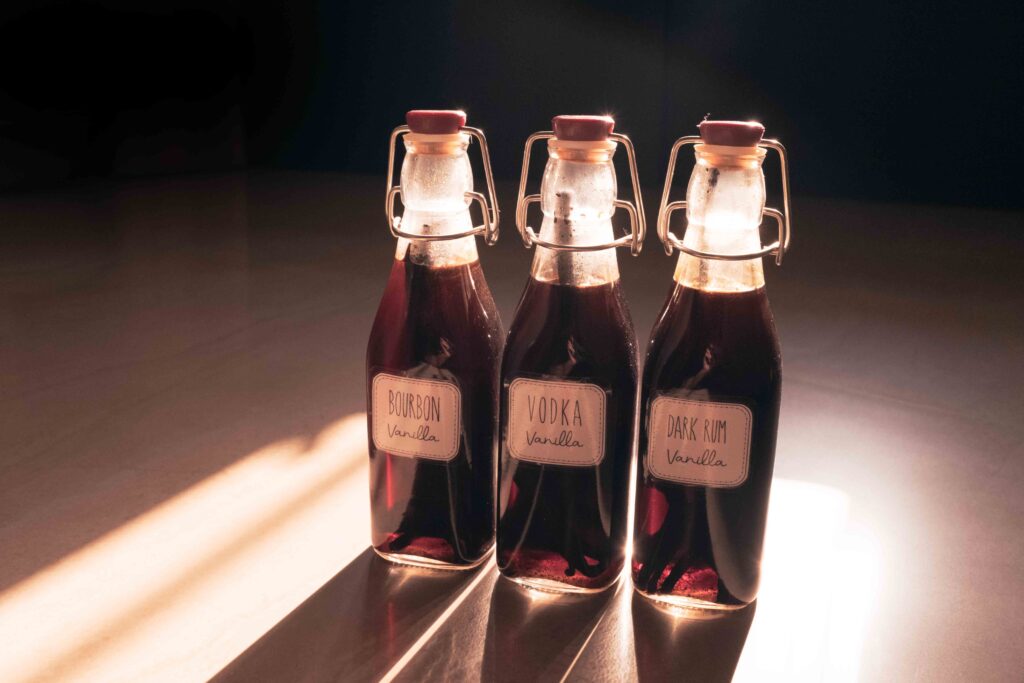
After 12 months

Ingredients
1. 240 ml unflavoured alcohol with ABV of 40% or higher such as vodka, rum, bourbon, or brandy
2. 5-6 vanilla pods

Materials
1. 250 ml capacity bottle with a rubber/vacuum seal
2. Small funnel
3. Sharp paring knife

Method
1 – Wash and dry your bottle. If it’s a heat-proof bottle, sterilise it with hot water.

2 – Hold down one end of a vanilla pod and slit it down the middle to expose the seeds inside. The pod will become a little slimy if it is poking above the level of alcohol, so cut it in half if necessary. Place the slit pod inside your washed and dried bottle. Repeat with the rest of the vanilla pods.

3 – Using a small funnel, fill the bottle with your chosen alcohol so that the pods are fully submerged.

4 – Seal the bottle and shake the hell out of it for a good 10-15 seconds.

5 – Store your bottle of vanilla extract at room temperature, away from direct sunlight. Do the shake-shake-shake once every 2 weeks and then place it back inside your pantry.

6 – If you have no patience, you can begin using your homemade vanilla after 2 months of steeping. However, for optimum flavour, wait 12 whole months like me!

I made 3 x 250 ml bottles of homemade vanilla extract, using plain vodka, dark rum, and bourbon. As long as you use a drinking alcohol with at least 40% ABV (alcohol by volume), feel free to use whatever alcohol you like. It’s wise to choose an alcohol that won’t obliterate the notes of vanilla with its own strong flavour. Once you start using your vanilla extract, remember to top it up with a little more alcohol, re-seal it, and then give it a good shake. Keep topping it up after every use, or until the extract loses its vanilla aroma – which means the pods have released all their flavour. Remember, if it still smells like vanilla, it’s still going to impart vanilla flavour to your dishes. To re-invigorate your extract, replace the old pods with fresh ones and resume the topping up + shaking up ritual.

Tips & Tricks

How to slice a cheesecake:


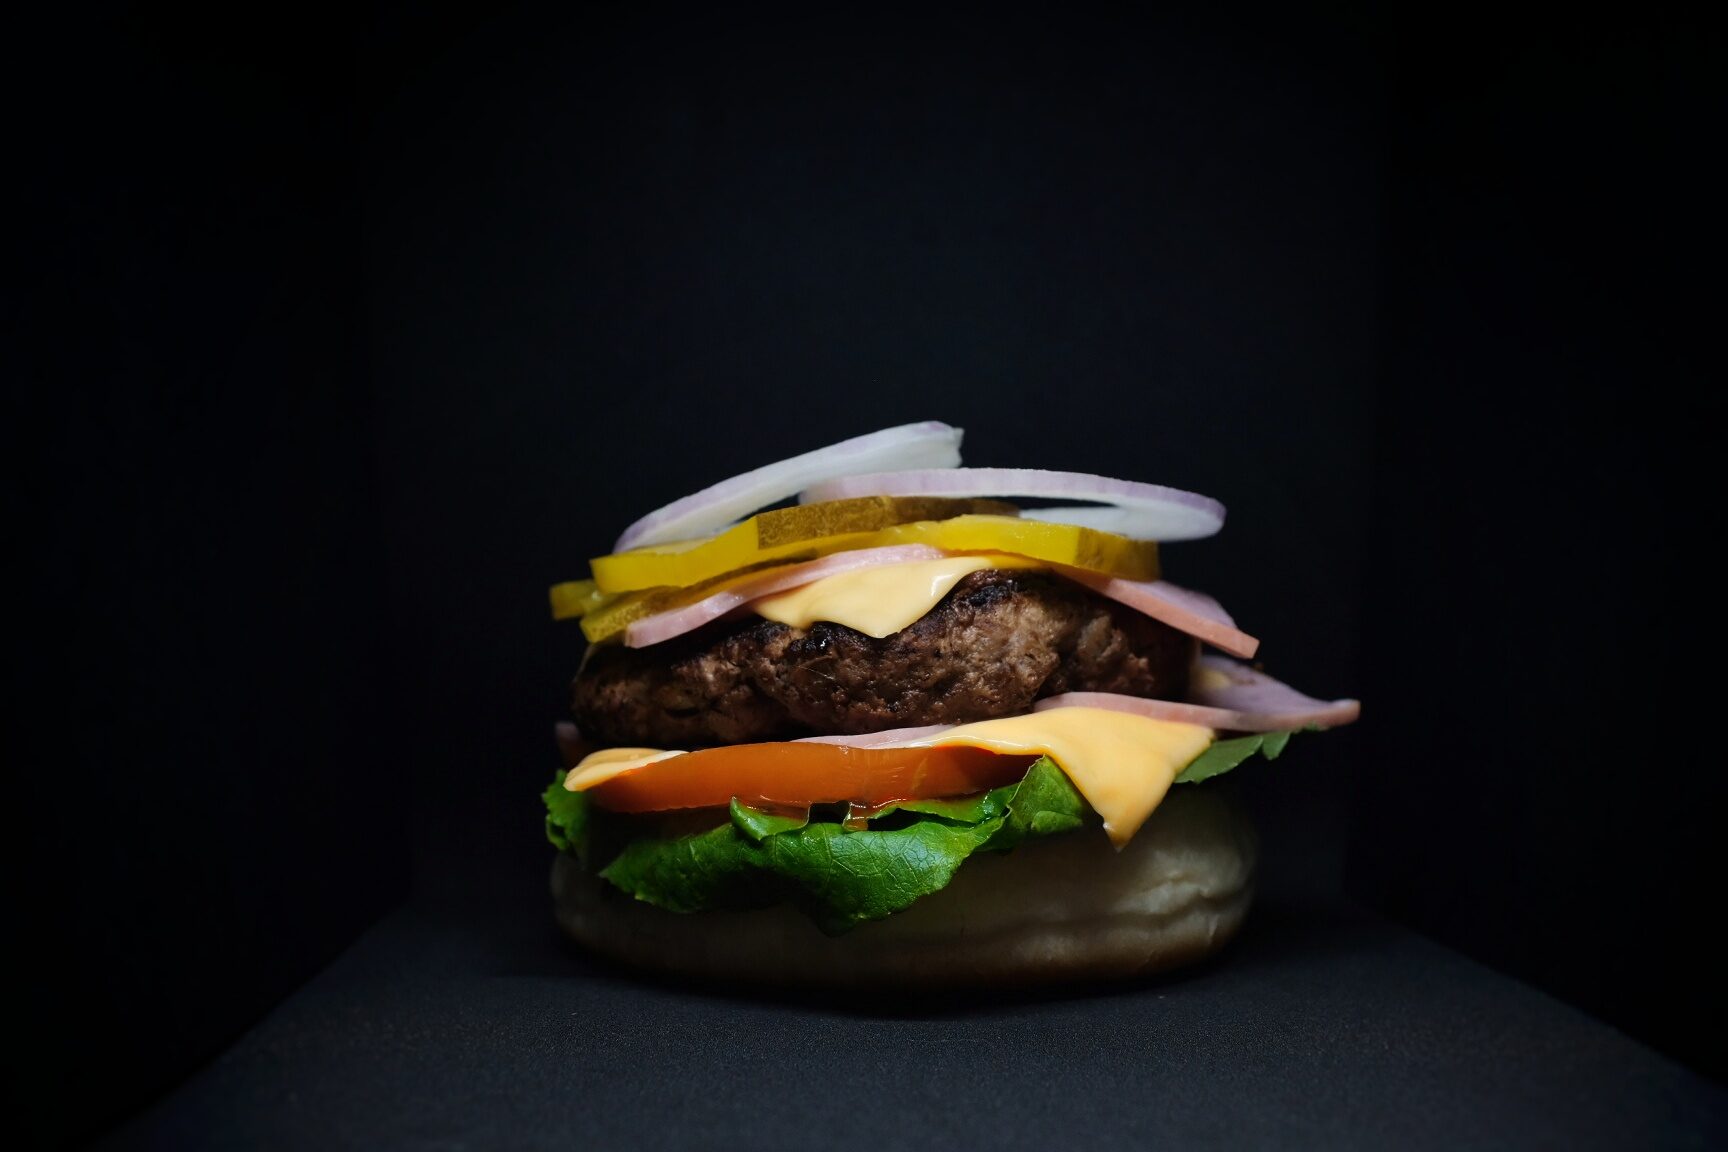
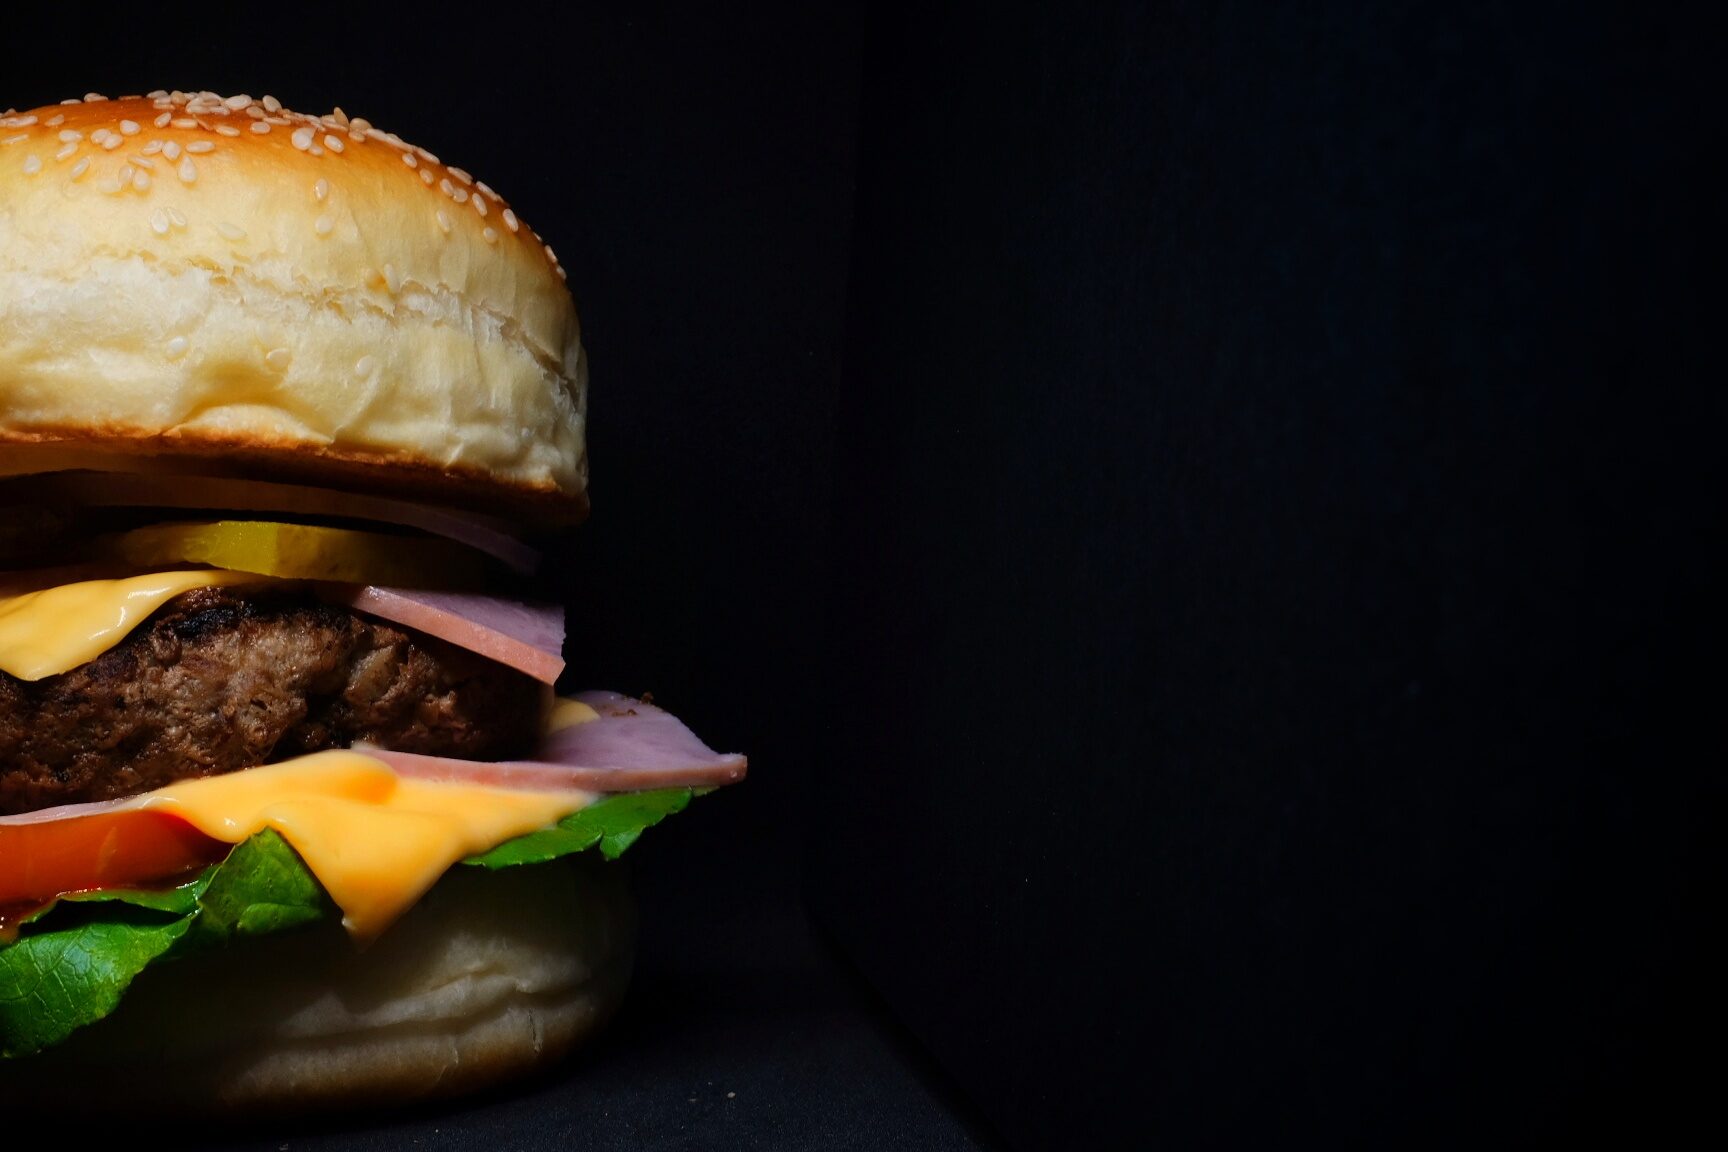
Bigass Burgers

Makes 6 burgers

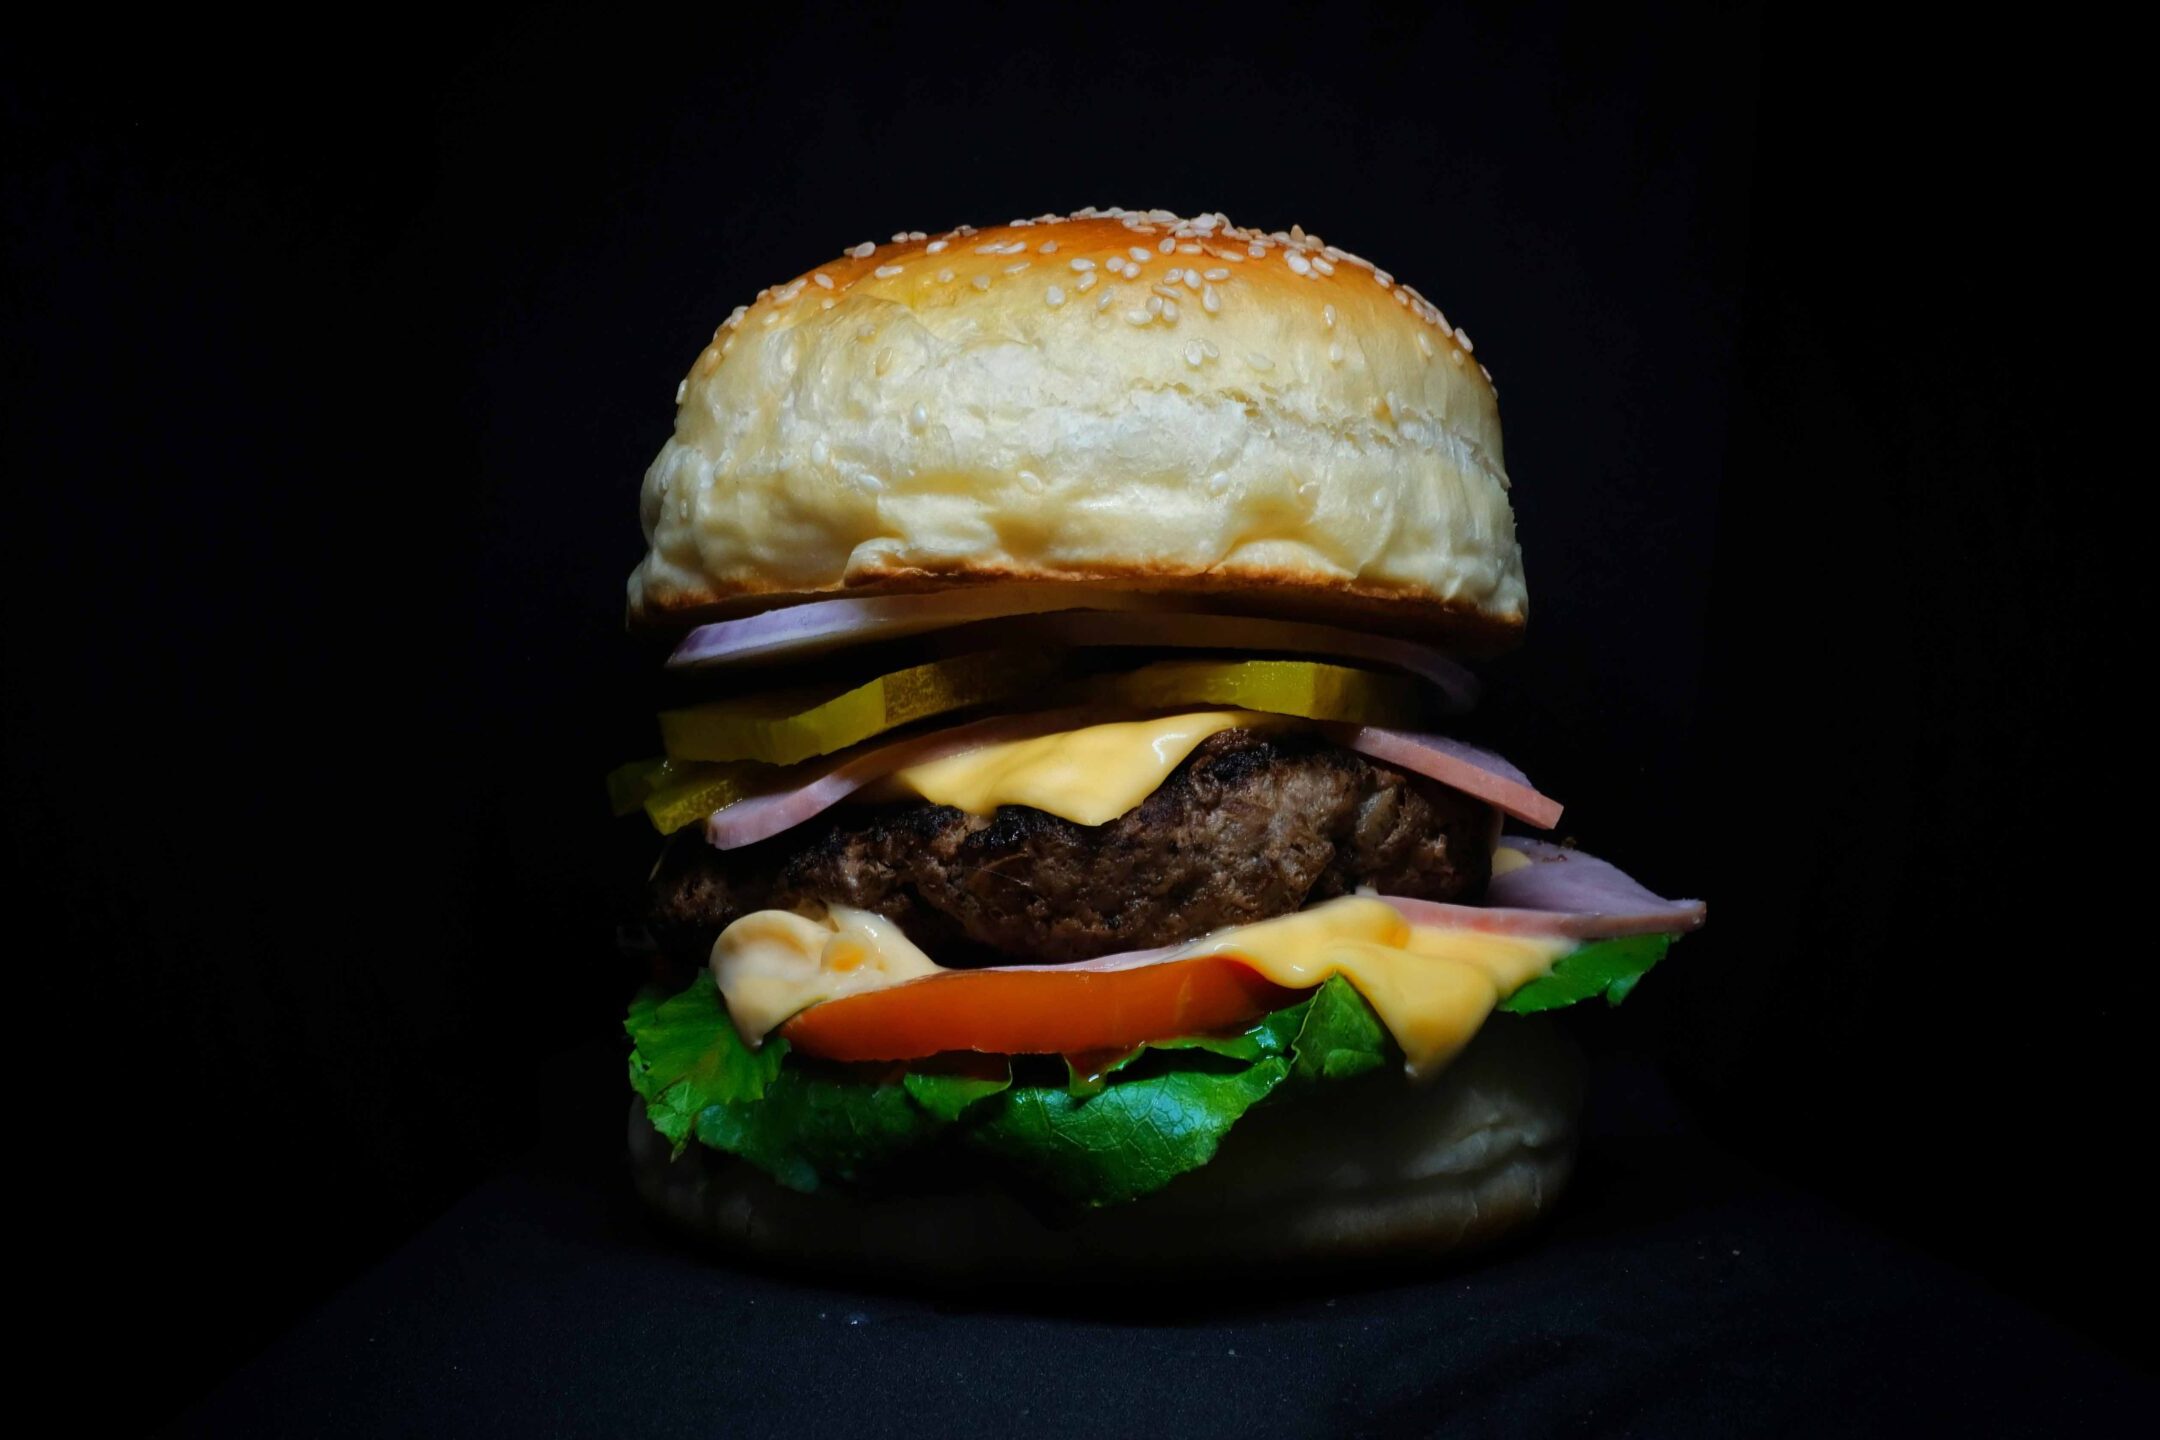
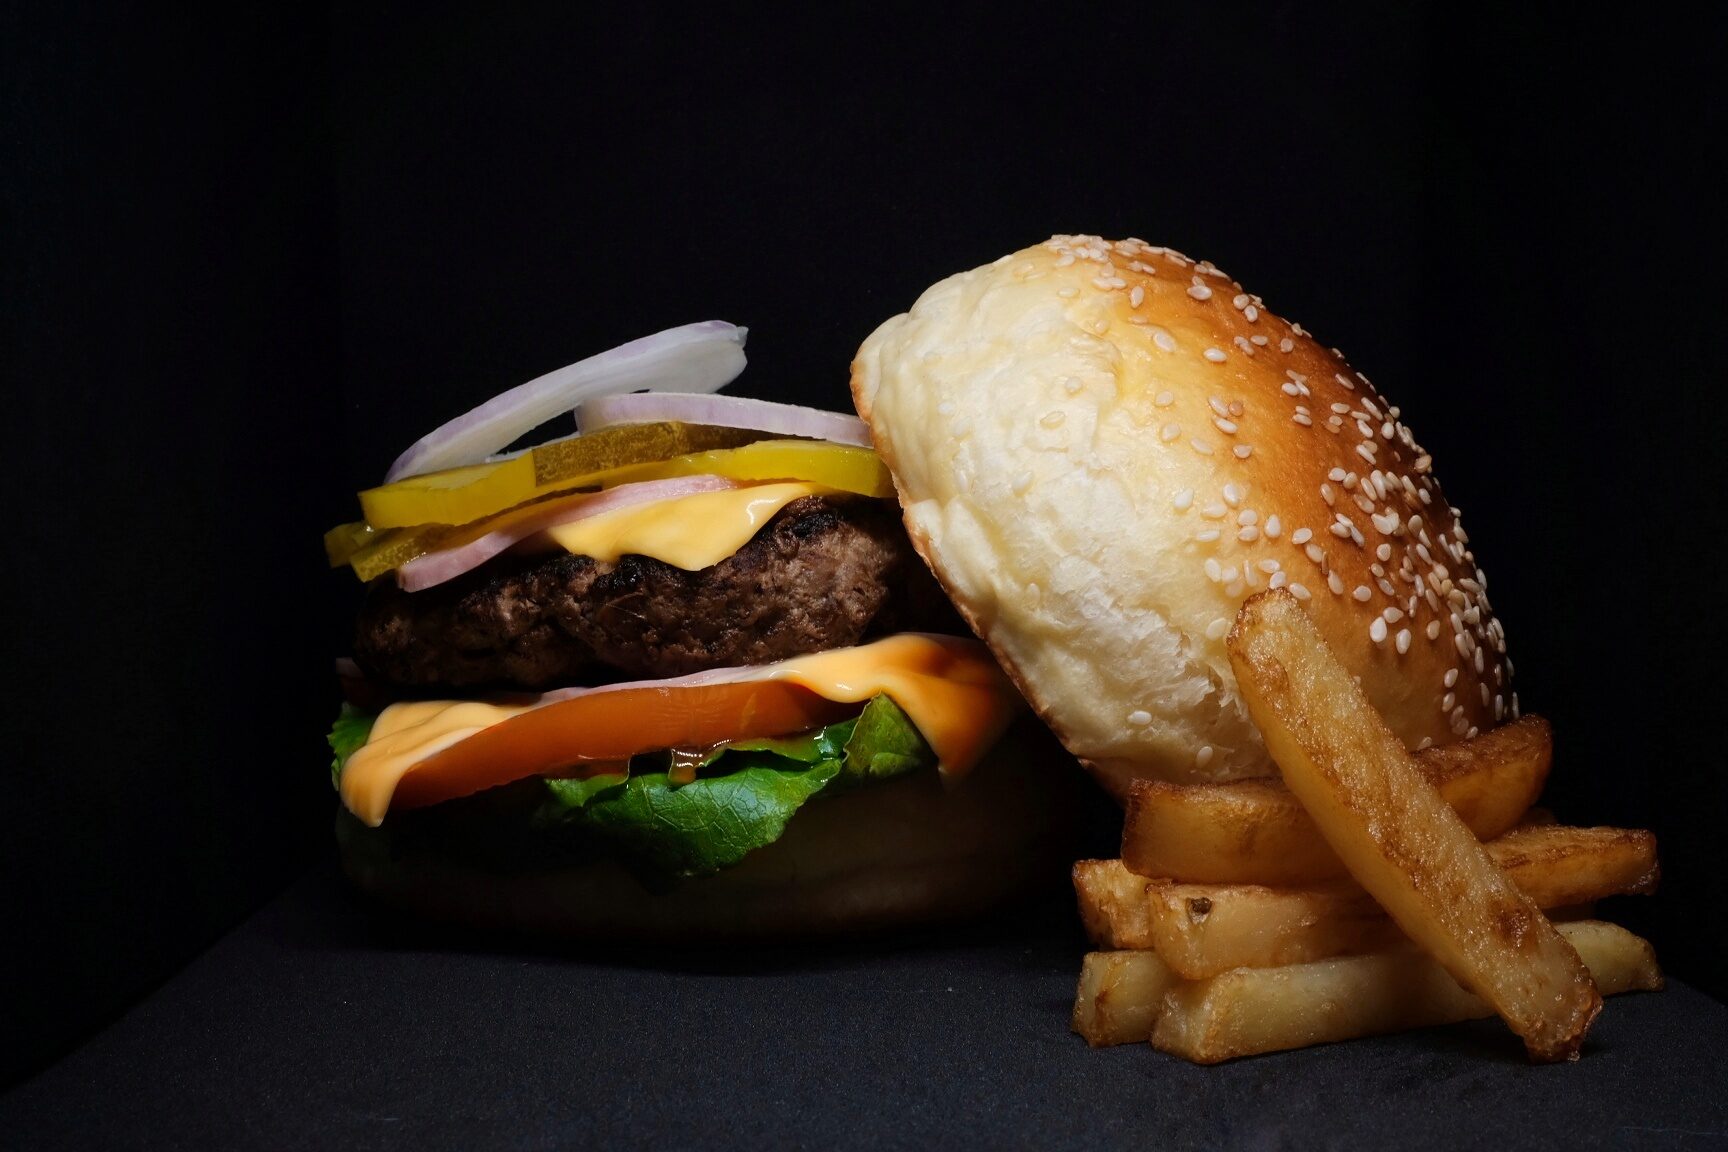
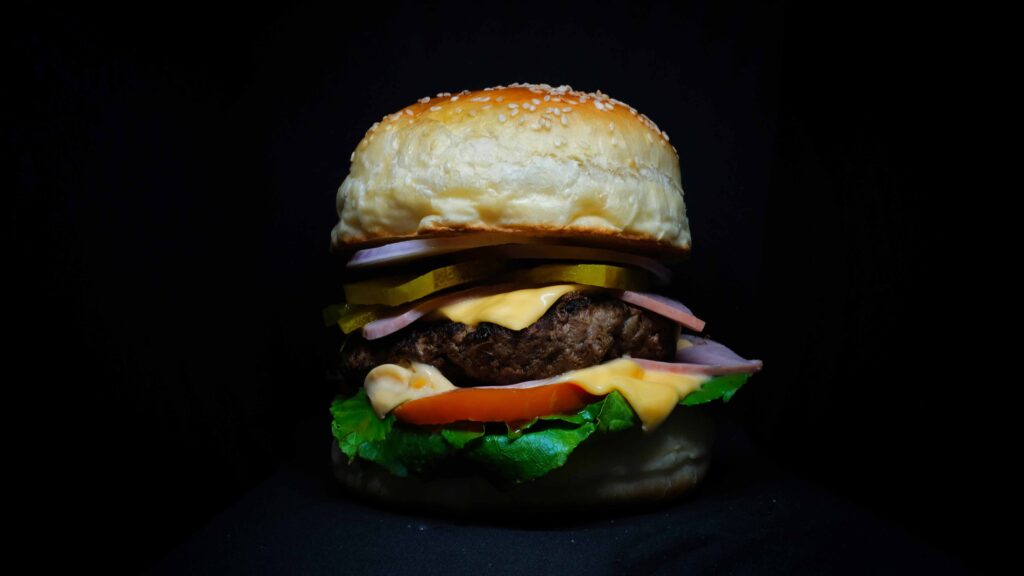
If the Big Mac had an elegant cousin, this would be it. Juicy, tender and loaded with flavour, there’s a reason I call it “bigass”. Fully assembled, it stands at about 6 inches tall. However, because the bun is so soft, it squishes down oh so easily, adjusting itself to your mouth for the perfect bite. Love sharing? Hah! Like Barad-dûr, this dark tower of deliciousness will activate your lizard brain and have you fiercely protecting it while hissing out “my precious”.

At a glance

– This burger comprises burger buns + burger patties + extras
– You will need 6 metal rings; 1 ½ inch tall x 4 ½ inch across, and 6 “parchment paper collars”; 2 inch tall x 16 inches long. Click here to learn how to make your own rings out of aluminium foil.
– This recipe has been broken into 4 stages for ease and comprehension. Please read the entire recipe from start to finish before beginning.

Stage 1: Burgers buns

Ingredients
1. 90 gm water at room temperature  
2. 1 tsp instant yeast
3. 90 gm whole milk at room temperature 
4. 135 gm unflavoured vegetable oil
5. 2 large eggs (114 gm) at room temperature 
6. 28 gm granulated sugar
7. 400 gm all purpose flour
8. 1 tsp bread improver powder, whisked into the flour
9. 1 ¼ tsp fine sea salt
10. Egg wash; 1 whole egg + 1 tbsp. water
11. 1/8th cup white sesame seeds for topping
12. Baker’s vegetable oil spray

Method
1 – In a large bowl, combine the water, whole milk, vegetable oil, eggs, granulated sugar, instant yeast, and half of the all-purpose flour. Stir the ingredients together till you get a thick batter.

2 – Whisk the sea salt into the remaining flour and it to the bowl. Fold the mixture together until you get a thick shaggy mass of dough.

3 – Using a scraper, tip the dough out onto your work surface. Your dough will be incredibly sticky. Don’t panic by adding more flour.

4 – Knead the dough; using one hand to flatten and spread it and the bench scraper to gather it back. Knead it like this for 4-6 minutes to develop the gluten.

5 – Once the dough comes together as a mass, start stretching and folding it with the aid of your bench scraper. This can take anywhere from 8-15 minutes depending on your brand of flour and how humid it is. You’re looking for a smooth and elastic dough, that’s strong enough to pull away from the counter in one piece. Don’t panic if it’s still slightly sticky after 15 minutes and don’t be tempted to add extra flour. Trust yourself and the process. Keep kneading till the dough is the correct consistency.

6 – Grease a big mixing bowl with vegetable oil. Form the dough into a ball and place it in the bowl. Lightly coat the dough ball in the oil and then cover the bowl with cling film. Ferment at room temperature for 1 hour until the dough grows 1 time its original size.

7 – Turn the fermented dough on a lightly oiled surface. Fold the dough in “thirds”; first from top to bottom, and then from left to right. Do this just once.

8 – Place the folded dough back in a lightly oiled bowl and oil the top of the dough as well. Cover the bowl in cling film again and let it ferment at room temperature for 1 hour until the dough grows 1 ½ times its original size.

9 – After the hour is up, turn the fermented dough onto a lightly oiled surface. Oil your hands and gently deflate the dough.

10 – Divide the dough into 6 pieces, weighing 125 grams each.

11 – Shape each individual dough into a tight round ball. Place your 6 balls on a lightly oiled surface and lightly spray the tops with oil. Loosely cover the dough balls with cling film and let them rest for 15 minutes at room temperature.

12 – Line your baking tray with parchment paper. Evenly space your aluminium rings on the tray and line the inside of each ring with parchment paper collar.

12 – Uncover the dough balls and lightly sprinkle the tops with flour. Reshape each ball into a tight round shape and place each ball into the centre of a ring. 

13 – Lightly spray the tops of the buns with some vegetable oil and loosely cover the tray with cling film. Proof the buns for 1 ½ hours or until they triple in size.

14 – When you have 15 minutes remaining on your proofing time, start pre-heating your oven to 190OC.

15 – Using a pastry brush, very gently brush the tops of the buns with the egg wash. Evenly sprinkle the wet tops with sesame seeds.

16 – Your oven should have been preheating for 20 minutes now. Place your buns inside the oven and bake at 190OC. for 14-16 minutes or until the tops are a glossy, golden brown. Depending on your oven, you might need to turn your tray at the halfway mark for even heat distribution and browning.

17 – Remove your tray from the oven and place it on a wire rack to cool. Use the burger buns when they’re completely cool for the softest texture and best flavour.

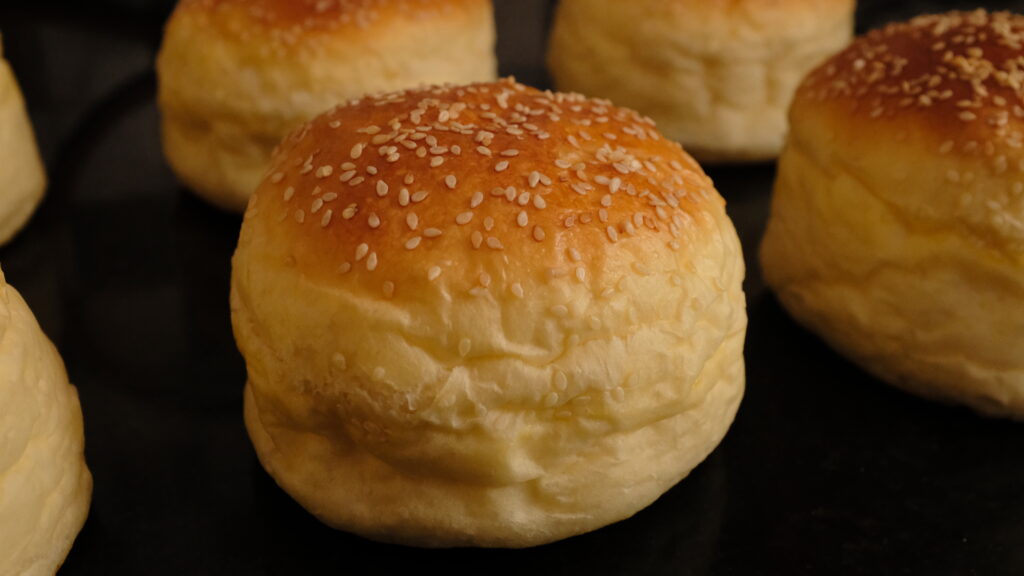
Because of the fermentation times, it literally takes half a day to make these. And while baking bread from scratch is definitely challenging, these Big Mac style buns with their evenly airy crumb texture are infinitely superior to generic store bought buns. Give it a go once, just for the joy of the crumb! While these taste amazing fresh out of the oven, the tops will be crusty and will be difficult to squish down when you’re trying to get a bite of all the burger layers. I recommend letting them rest overnight to soften a bit. I made the buns a day in advance and stored them at room temperature in an airtight container. You can pop them in the fridge for a few days as well, and bring them to room temperature before using.

Stage 2: Extras

Ingredients
1. Lettuce leaves (I use Romaine)
2. Sliced tomatoes
3. Ham slices/cooked bacon rashers
4. Thickly sliced cheddar cheese
5. Seared onion rondels (in a hot pan, quickly grill some onion rondels with salt and pepper. You’re looking for quick caramelisation, where the onions retain their crunch but no longer taste savagely raw)
6. Dill pickle slices
7. Mustard and mayonnaise
8. Salt and pepper

There are no rules when it comes to burger accompaniments. The above list of ingredients is simply what we like in our house. You can prep whatever your palate prefers. Prep your toppings and keep your condiments ready before you move on to Stage 4.

Stage 3: Burger patties

Ingredients
1. 375 gm pork mince
2. 375 gm beef/buff mince
3. 1 large egg (57 gm)
4. 1 tbsp. Worcestershire sauce
5. 1 small red onion, very finely diced
6. 2 fat garlic cloves, very finely crushed
7. 2 tbsp. smoked paprika
8. Salt and pepper for seasoning
9. High smoking oil for frying
10. 6 thick American cheese slices 

Method
1 – In a large bowl, combine all the ingredients except for the salt, pepper, the cheese, and the oil. Using your hand or a wooden spoon, stir everything together till it’s all combined and just comes together as one. Don’t knead or overwork the mix.

2 – Divide the mixture into 6 portions and form even, compact patties. A burger press is useful for this as there’s no fiddling and fussing around with the meat (the less you touch it, the better). Remember, your burger buns are 4 ½ inches across, so you want patties that are 3/4th of an inch thick and 5 ½ inches across to account for shrinkage while cooking.

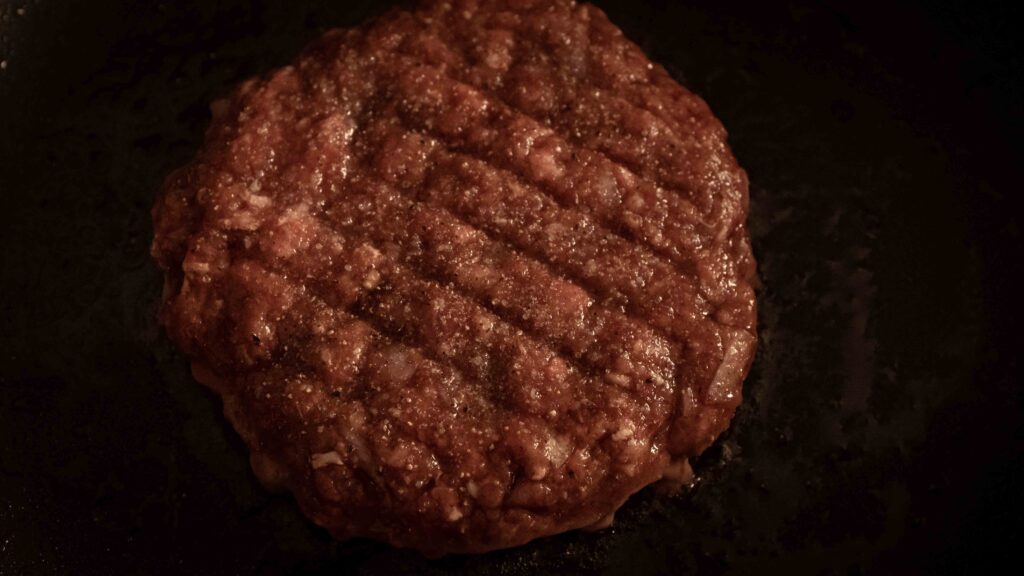
3 – Generously season both sides of your patty with salt and pepper and then, using your index finger, make a shallow indent in the centre of the patty. This prevents the surface from bulging in the middle while cooking (although I have never needed to do this).

4 – Heat a cast iron skillet (or any high-heat pan) to medium-high. When the pan is hot, add a glug of oil and then put in the patties one by one, indent-side up.

5 – Sear the patties for 5 minutes on one side (covered). Flip the patties when you see juices beginning to pool on their tops. Sear for another 5 minutes (covered).

6 – Remove the lid, apply the cheese slices on top of the patties and cook for an additional minute, or until the cheese is melty and the internal temperature of the patty is about 75OC. Remove the patties from the pan, and rest them for at least 5-7 minutes.

I use a 1:1 pork to buff ratio because we like how the pork brings a fatty sweetness to lean structure of the buff (Indian cattle is the Twiggy of the bovine world). This hybrid also allows for more diverse toppings, condiments and sauces. You can use whatever meat you like, but the cook time will change for say, a chicken burger patty, which must be fully cooked through. An internal temperature of 75OC for our patties gives a medium to almost well-done burger. I don’t risk rare in our house. If you’re somehow left with extra patty mix, reshape and freeze it for another day. These patties hold their shape and texture really well. Simply thaw them to room temperature before searing.

Stage 4: Finale; the construction

Components
1. Burger buns, slit in half, buttered and toasted and grilled, butter-side down (do this in the last 2 minutes that the patties are cooking)
2. Burger patties
3. Everything from Extras (Stage 2)

Method
Much like a building, there’s a correct way to construct a steady burger. Always layer your ingredients so that the structure doesn’t topple or get soggy. Here’s how I do it — starting from the bottom to the top.

1 – Toasted bun bottom

2 – Lettuce leaves

3 – Sliced tomatoes

4 – Sprinkle of salt and pepper

5 – Thick slice of cheddar cheese

6 – Dollop of mayo

7 – Warm burger patty

8 – Ham slice/cooked bacon rashers

9 – Dill pickle slices

10 – Seared onion rondels

11 – Dollop of mustard

12 – Toasted bun top

After all that work, you’ve more than earned the 650 calorie (at least) burger towering before you. These burgers taste best, freshly made. If you don’t plan to scarf down your burger immediately, keep a skewer handy to hold it all in place.

Inspiration for buns:


Apple Frangipane Tart

Makes one 10-11 inch tart

If you love French pastries, you’re going to fall hard for this dessert. Truth be told, even if you detest everything, you’ll love this. My husband once told me that he didn’t care for apple pie or marzipan. Imagine my horror. That’s until he tried this gloriousness, which brings together the best of the two classics. Yes, it takes an age and all of your patience—but just one bite will be enough to convince you that the painstaking effort was worth it.

At a glance

– This tart comprises a sweet shortcrust pastry + frangipane filling + apple slices.
– You will need a 10-11 inch fluted tart tin with a removable base, baking weights, and baking parchment.
– This recipe has been broken into 4 stages for ease and comprehension. Please read the entire recipe from start to finish before beginning.

Stage 1: Sweet shortcrust pastry

Ingredients
1. 170 gm all purpose flour, sifted + extra for dusting
2. 60 gm icing sugar, sifted
3. 1/8 tsp table salt
4. 113 gm cold unsalted butter
5. 1 large egg (57 gm) cold
6. ½ tsp vanilla extract

Prep
1 – Cut the butter into 1 cm cubes – keep chilled.

2 – Crack the egg, lightly beat it – keep aside, chilled.

3 – Weigh out your flour and sugar – keep chilled.

Keep all the ingredients chilled before starting. Yes, flour and sugar too if you’re in a hot and humid city like Mumbai. 

Method
1 – In a large bowl, whisk together the flour, sugar and salt.

2 – Add the chopped butter to the bowl. Using a pastry cutter or two butter knives, ‘cut’ the butter into the flour until you achieve a texture akin to coarse cornmeal with dabs of pea-sized butter chunks distributed throughout. 

3 – Add vanilla extract to the chilled beaten egg.

4 – Add the vanilla-egg mixture into the flour mixture, a little at a time, incorporating it with each addition. Mix with the knives in a cutting and scraping motion, till the dough comes together. It should feel crumbly but hold its shape when brought together in your fist.

5 – Transfer the dough to a very lightly floured surface. Form into a ball. Do not over-handle it.

6 – Wrap the dough in cling wrap and flatten it to form a thick disk. Chill in the fridge for 1 hour, or ½ hour in the freezer. 

7 – While you wait, grease your tart pan and cut 2 parchment sheets large enough to cover the base and sides of your tart pan.

8 – Remove the wrapped dough from the fridge and let it sit for a minute or two.

9 – Lay down a sheet of parchment and lightly flour it. Place your dough on top of it and then place the second sheet of parchment on top. Roll your chilled dough between the two sheets of parchment until you get a circle, roughly 12 inches across and 1/8th inch thick.

10 – Using whatever means necessary (the rolling pin method works for me), lift the dough and gently lower and ease it into the tart tin, making sure not to stretch it. Use a ball of scrap dough like a makeup brush to ‘dab’ the dough into the tin’s fluted crevices. Trim off the extra overhanging pastry and seal any cracks with the scraps. .

11 – Lightly prick the base of the dough all over with a fork. Cover your tin with cling wrap and place it in the freezer for 30 minutes.

12 – It’s time to partially blind bake your pastry crust. Preheat your oven at 180OC for 20 minutes. 

13 – Cut out a 12 inch parchment round. Scrunch the parchment round into a ball and then open it out. We’re making what is known as a cartouche. Take out your chilled tin. Place the wrinkled parchment round on top of the dough and then evenly weigh it down with baking weights. I use a mixture of dried kidney beans and raw rice for this purpose.

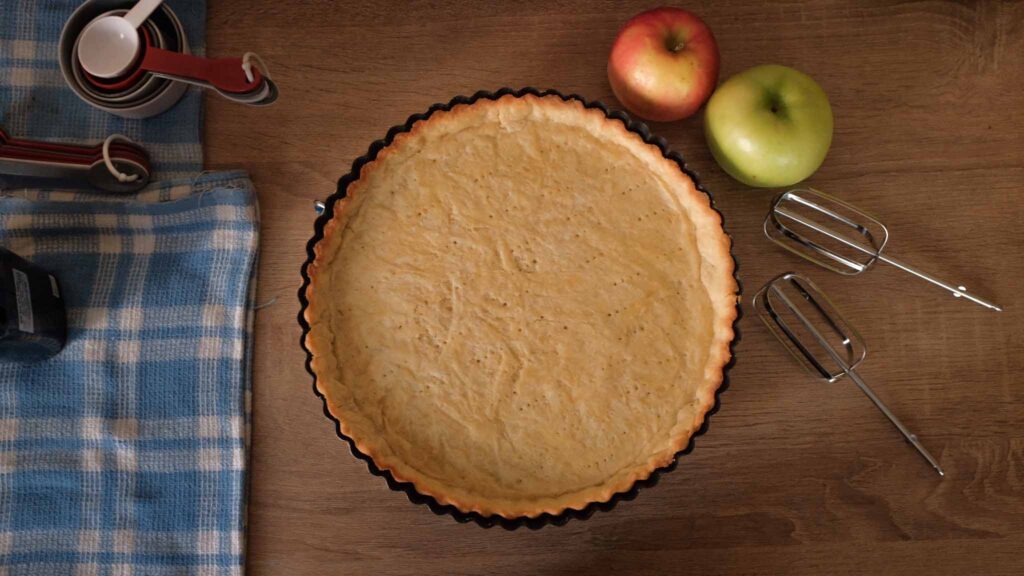
14 – Bake the pastry crust at 180OC for 20 minutes. Thereafter, remove the weights and parchment paper, and bake for an additional 5 minutes at the same temperature. This process is known as “blind baking” and keeps the pastry from getting soggy when the filling is added later.

15 – Remove your tin from the oven and cool it to room temperature on a wire rack. Do not remove the tart from the tin. This is your “tart shell”.

Hot and humid climate? Make your pastry dough in an air-conditioned environment. Work quickly. If it’s warm, use disposable gloves to prevent the transfer of heat from your hands. Pop the dough back into the fridge if you see the butter melting or the dough getting too soft at any stage. Make and blind-bake the crust in advance – cool the crust, keep it in its tin, wrap it in cling and store it in the fridge for up to a week in advance. Freeze leftover raw pastry dough. It keeps for 3 months!

Stage 2: Frangipane filling

Ingredients
1. 115 gm unsalted butter, softened to room temperature
2. 115 gm fine granulated sugar or castor sugar + 1 tsp. for sprinkling
3. 115 gm finely ground almond flour, sifted
4. 3 large eggs (171 gm) at room temperature
5. 1 tbsp. all purpose flour, sifted
6. 1 tsp vanilla extract
7. 1 drop almond extract
8. Pinch of salt, whisked into the all purpose flour

Method
1 – In a large bowl, combine the butter and sugar. Using an electric whisk, beat at medium speed until the mixture is creamy and pale.

2 – Switch to a spatula. Alternating between the eggs and almond flour, mix these into the butter-sugar mixture, using firm but few turns to incorporate.

3 – Sprinkle in the all purpose flour and fold it into the mixture. Take care not to knock the air out of the batter.

4 – Add the vanilla and almond extracts. Combine well (but gently).

5 – Cover and refrigerate this mixture until you’re ready to use it.

While your crust is cooling, make the frangipane filling and prep the apples. It can also be made a day in advance and kept in the fridge. 

Stage 3: Apple slices

Ingredients
1. 1 Granny Smith apple
2. 1 Pink Lady apple

Method
Core and cut both apples into 3 mm thick slices. Do not peel.

I use two contrasting apples for colour, flavour, and texture. The sour velvety mouthfeel of the Granny Smith pairs beautifully with the crisp sweetness of the blushing Pink Lady. You’ll want to slice the apples right before you’re ready to use them to retain their colour and avoid oxidation. If you’re worried about browning, add a spritz of lime juice to the slices, toss, and then keep them aside, covered.

Stage 4: Finale; construction and final bake

Components
1. Blind baked tart shell (still in the tin)
2. Cold frangipane filling
3. Apple slices
4. Castor sugar/fine granulated sugar
5. Apricot glaze (made by diluting 1 tbsp. apricot jam with 1 tbsp. hot water)
6. 25 lightly toasted almond slivers (optional)

Method
1 – Make sure your tart shell is no longer warm. Chilled is fine.

2 – Start pre-heating your oven at 180OC. 15-20 minutes is ideal.

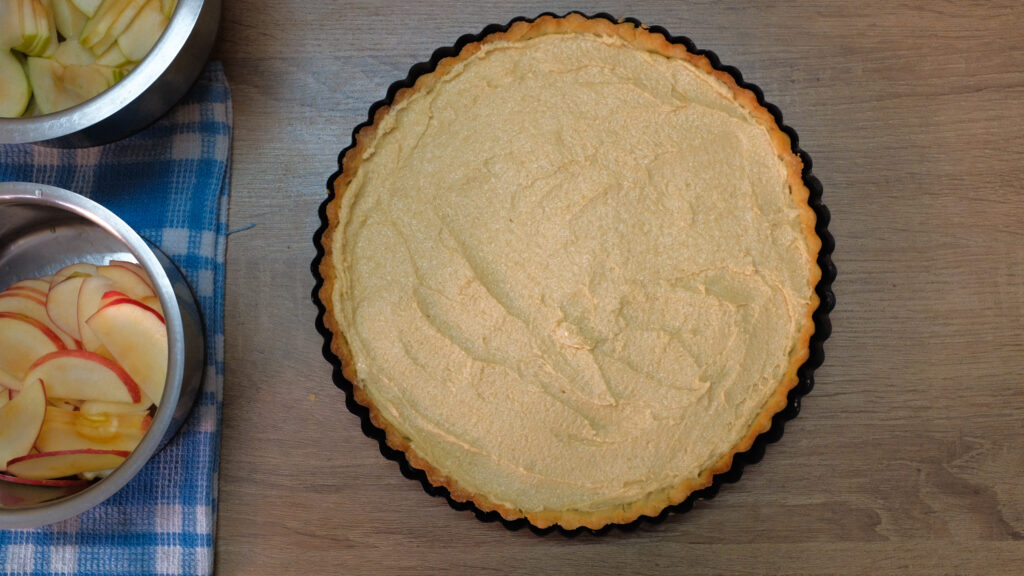
3 – Dollop the cold frangipane filling into the tart tin, coming up 3/4th of the way.

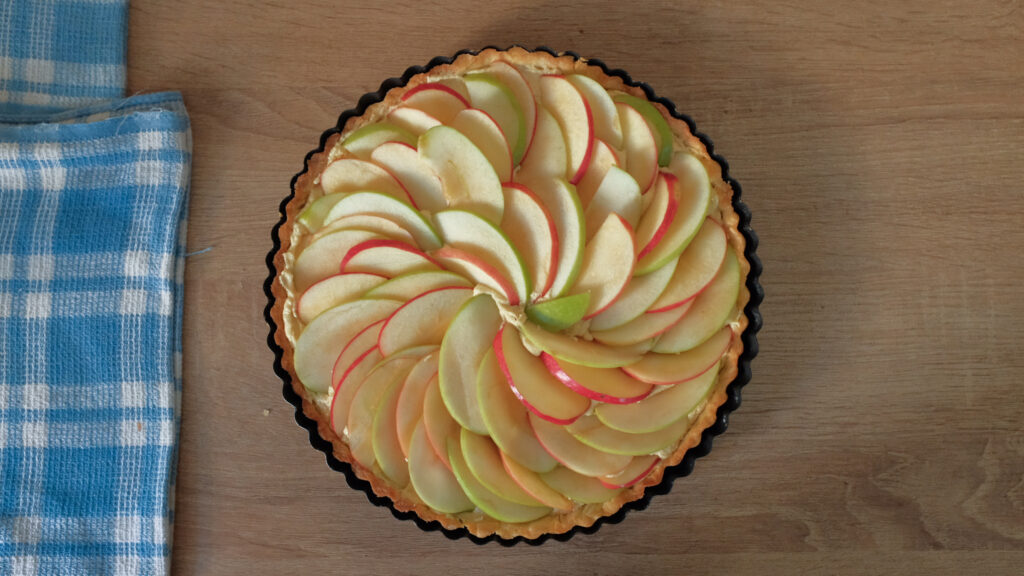
4 – Arrange the apple slices on top of the frangipane layer. Create whatever apple slice pattern you like, but be sure to alternate between the green and pink slices. I do an overlapping spiral, working from the inside out.

5 – Sprinkle a teaspoon or so of granulated sugar on top of the apple slices (optional).

6 – Keeping the tart in the tin, bake it at 180OC for 50-55 minutes or until the frangipane filling has risen a fair bit around the apple slices, and is a toasty golden-brown colour.

7 – Transfer the tart tin to a cooling rack. Cool to just warm. In the meantime, make your apricot glaze and toast your almond slivers.

8 – Glaze the surface of the apple slices with the warm apricot mixture and arrange the lightly toasted almond slivers onto the still sticky glaze.

9 – Carefully remove the tart from the tin when it’s no longer warm. Slice and serve immediately, or chill before slicing and serving. Now eat!

Did you know, chilling something mellows out its sweetness? That’s why ice cream tastes overly sweet in its melted state. We prefer eating this tart after it has chilled for a few hours in the fridge. All the individual almond and apple flavours get enhanced, the crust crisps up, and the perfect level of sweetness is achieved. 

Tips & Tricks

How to make shortcrust pastry by hand:

https://www.youtube.com/watch?v=OwjqLFo7lJw&ab_channel=LeithsSchoolofFoodandWine


How to transfer rolled pastry dough to a mould: