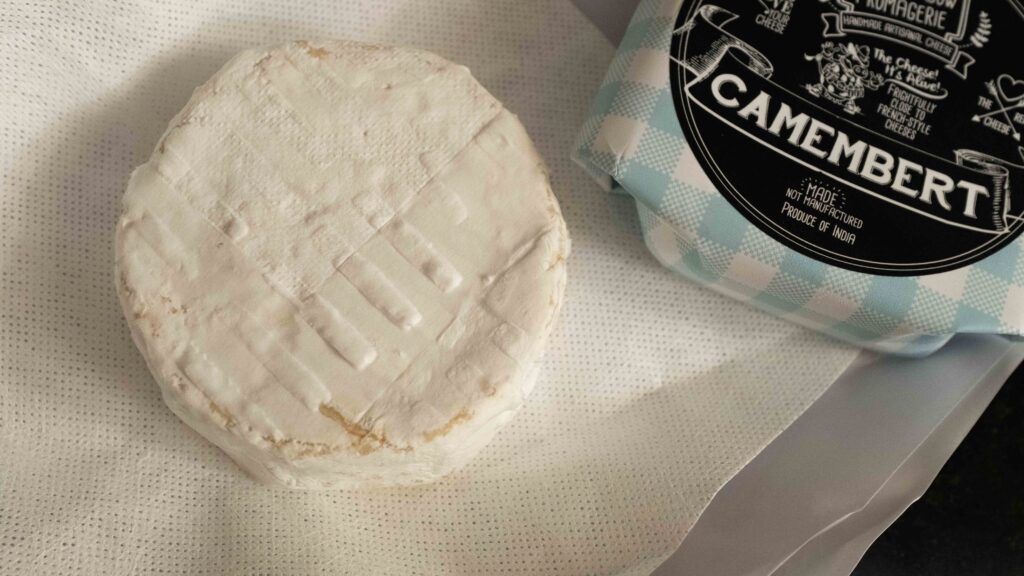
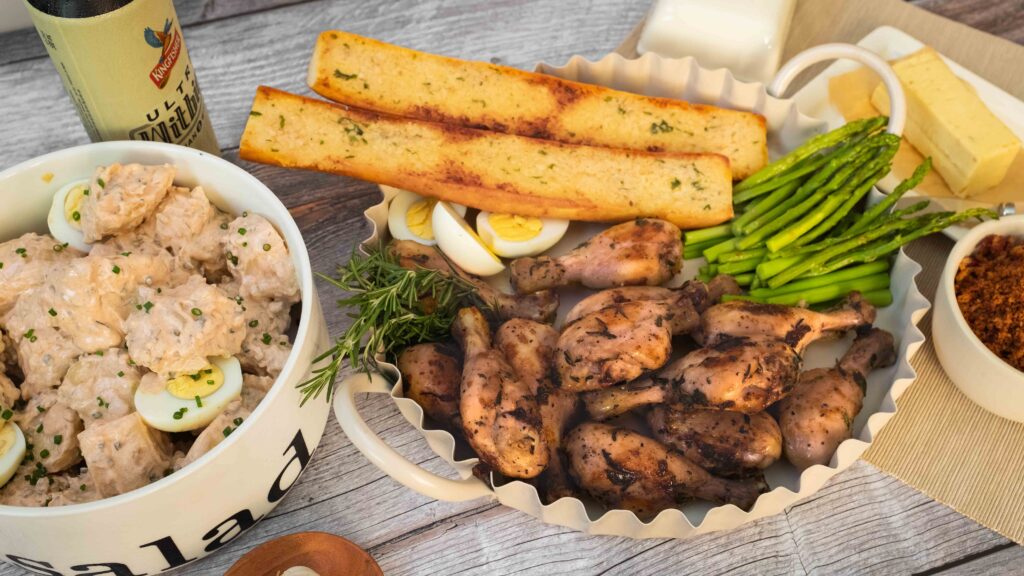
Makes 6 servings or 24 tacos.
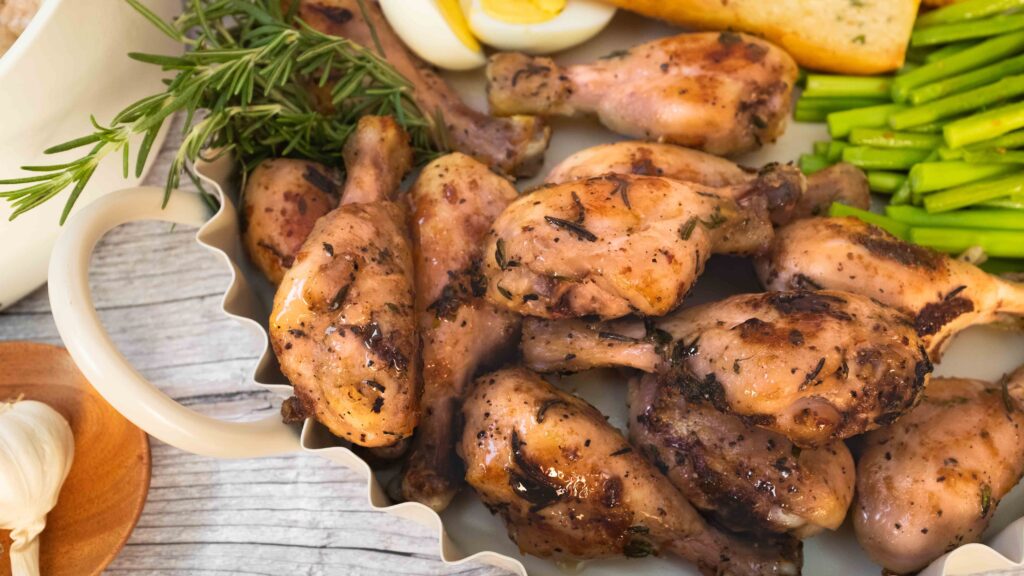
While this Mexican export may be beloved the world over, it’s close to impossible to get a decent taco in all of Mumbai. To honour what makes the taco so immensely popular, I set out to make every single element from scratch. My recipe features soft corn tortillas filled with shredded slow-braised lamb that has been crisped up carnitas style. The soft-shell tacos are then garnished with a variety of toppings and served with homemade black beans, fresh guacamole and salsa. Our resounding verdict on these tacos? ¡Ay, caramba!
At a glance
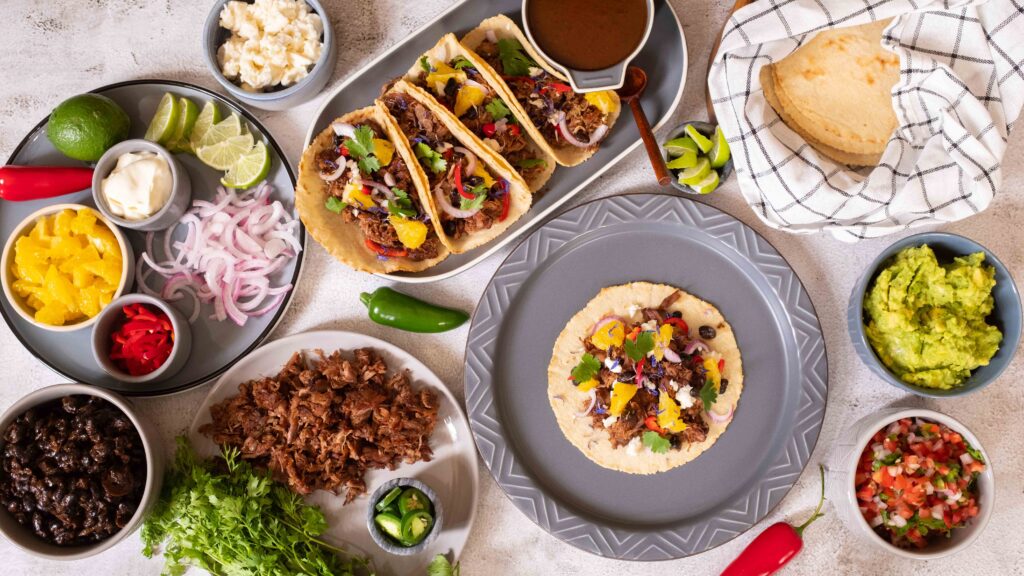
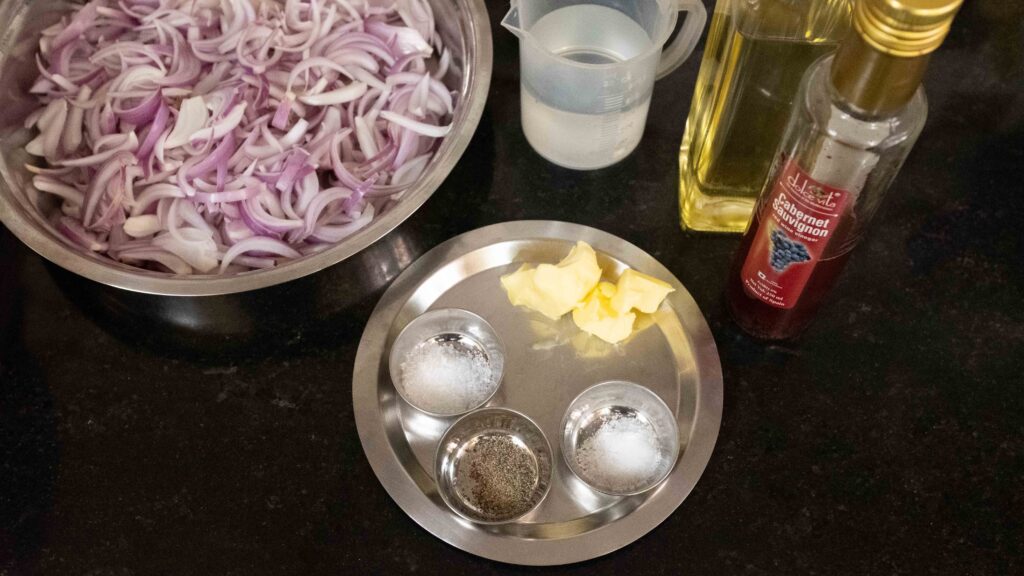
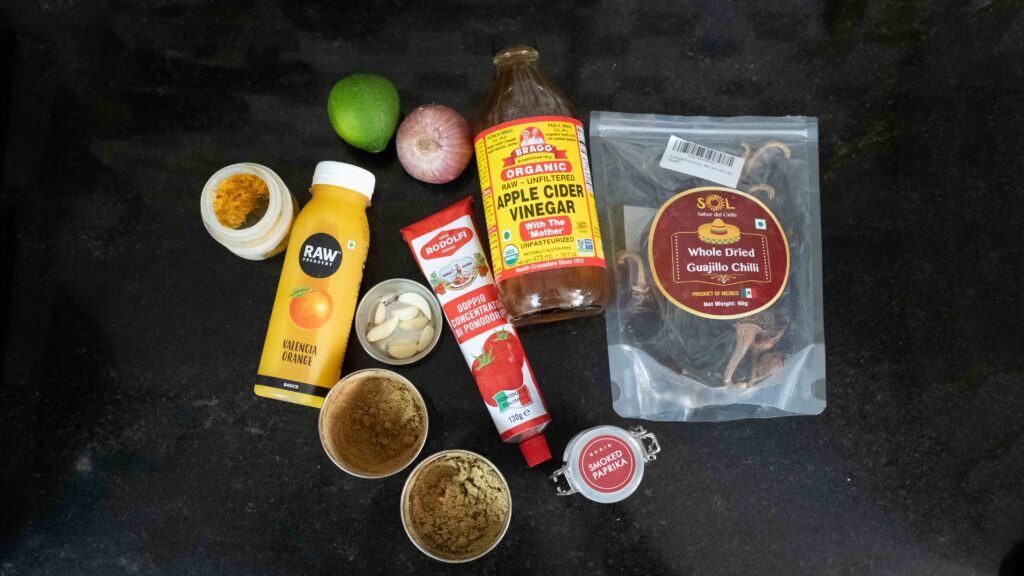
– This dish comprises lamb stock + braised lamb “carnitas” + black beans + fresh salsa + guacamole + corn tortillas + miscellaneous toppings.
– You will need a big roasting tray, a blender, a couple of medium cooking pots (3 litre capacity), a large cooking pot (6 litre capacity), a large skillet, and a flat griddle.
– This recipe has been broken into 6 stages for ease and comprehension. Please read the entire recipe from start to finish before beginning.
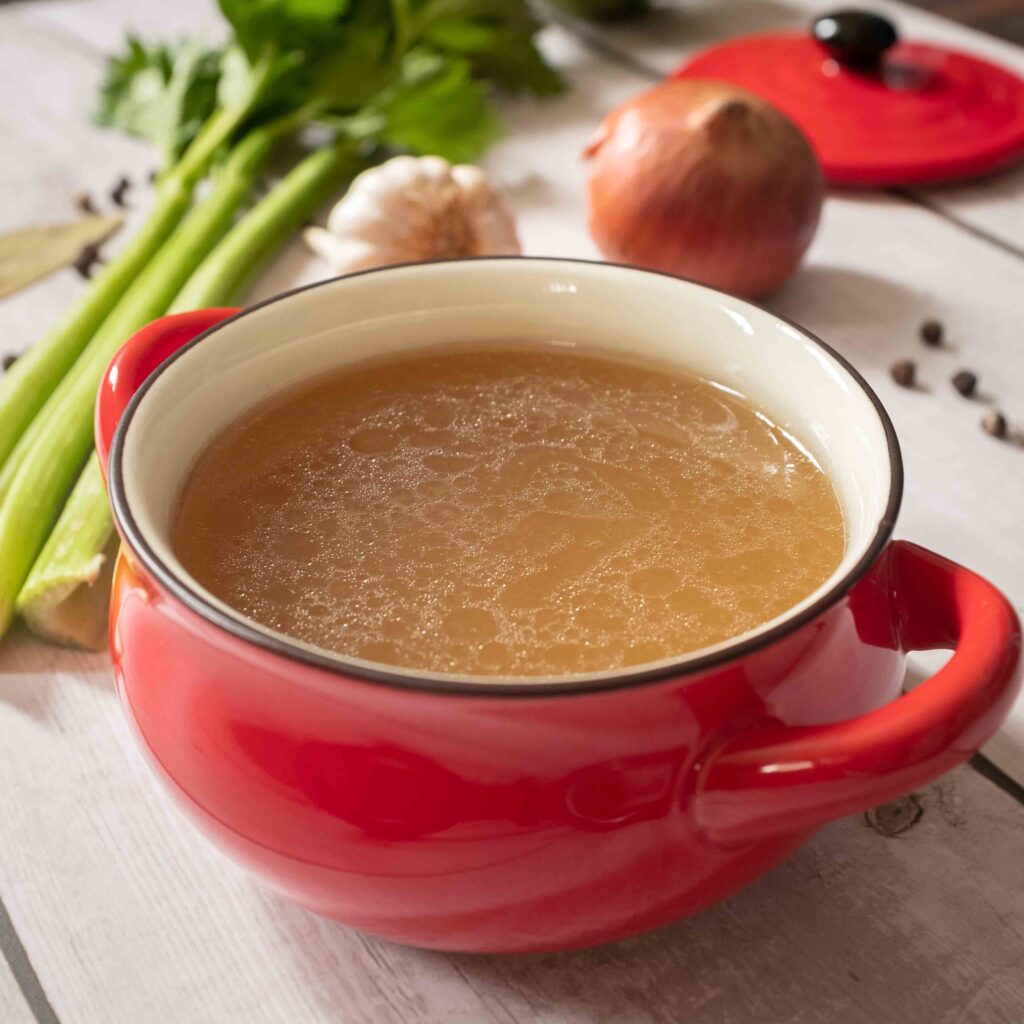
Stage 1: lamb stock
Feel free to use 1.5 litres of ready-made lamb stock for this recipe and skip this entire step. I couldn’t, so I had to make it from scratch.
Ingredients
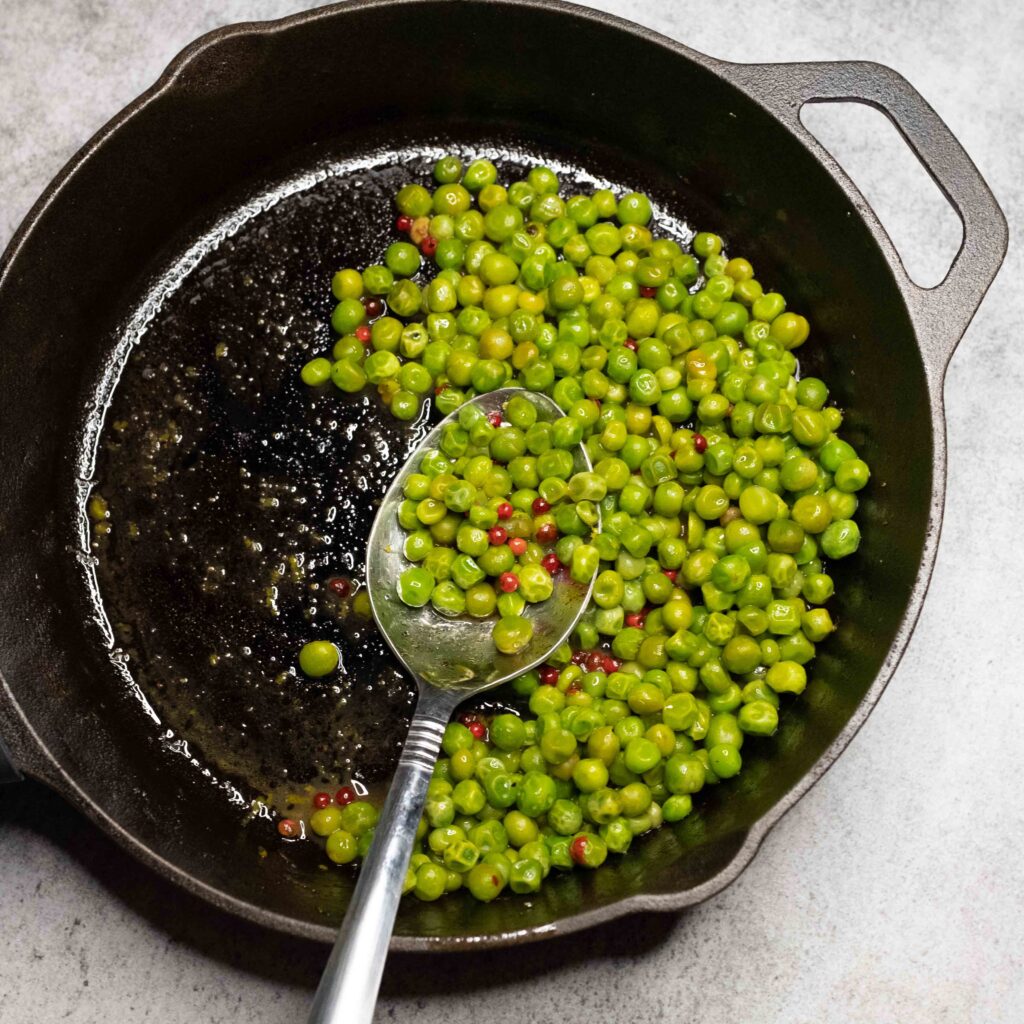
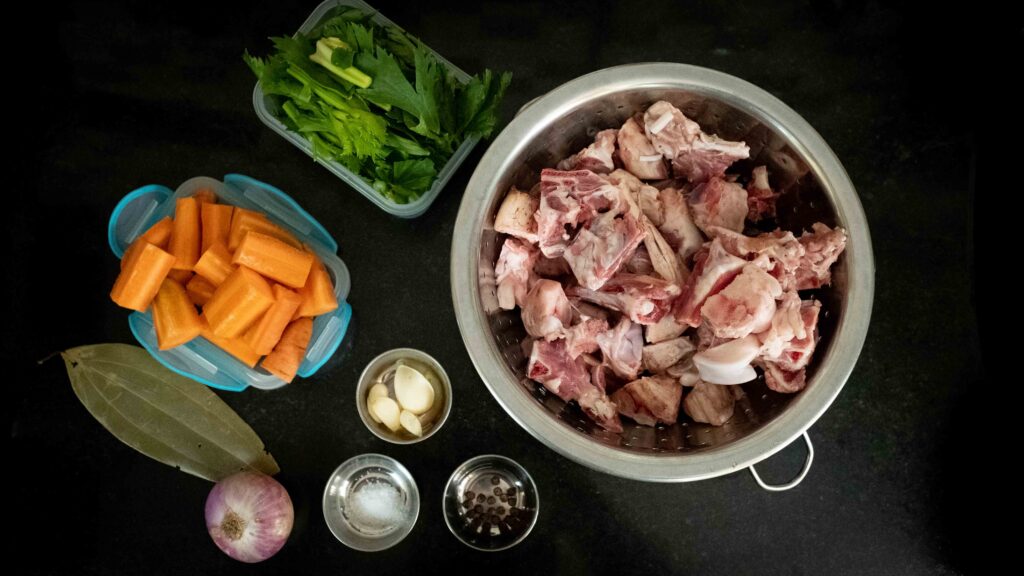
1. 2 tbsp. vegetable oil
2. 1 kg raw lamb bones
3. 150 gm carrot (roughly 1 medium)
4. 100 gm onion (roughly 1 medium-large)
5. 100 gm celery, stalks, leaves and all
6. 2 large cloves of garlic
7. 1 large Indian bay leaf (or regular bay leaf if you have it)
8. 20 black peppercorns
9. 2500 ml plain water (cool)
10. 1 tsp salt
Method
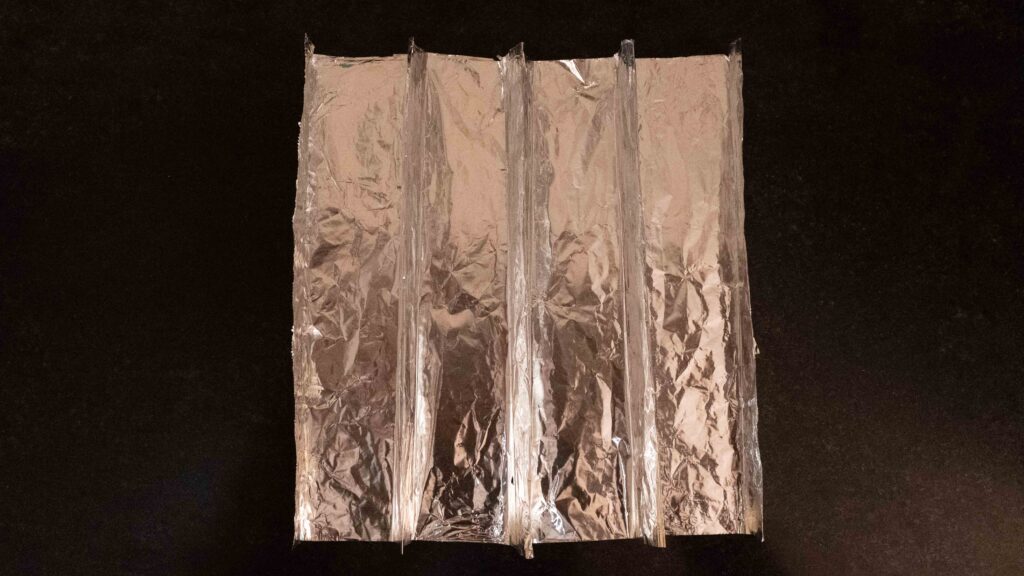
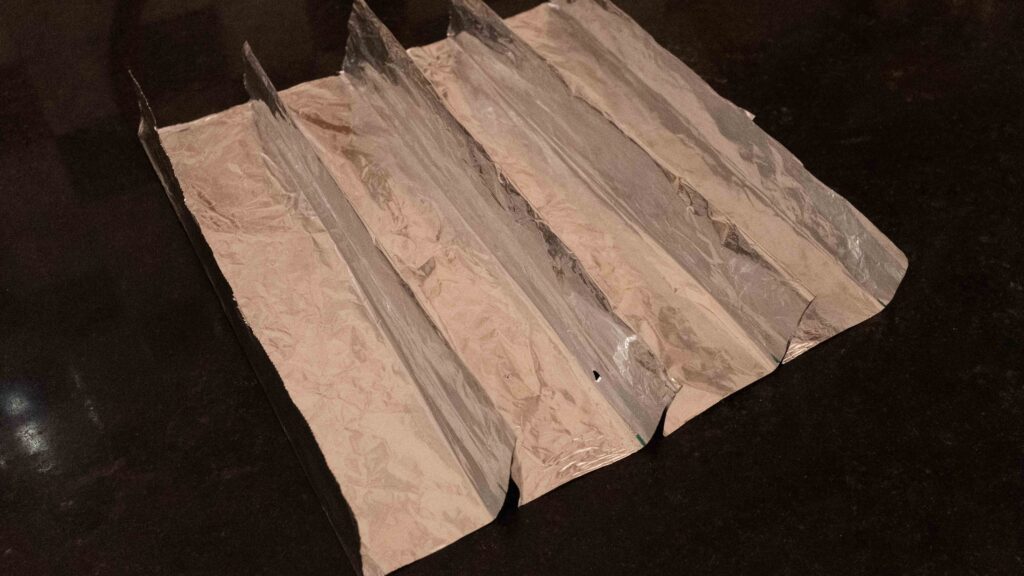
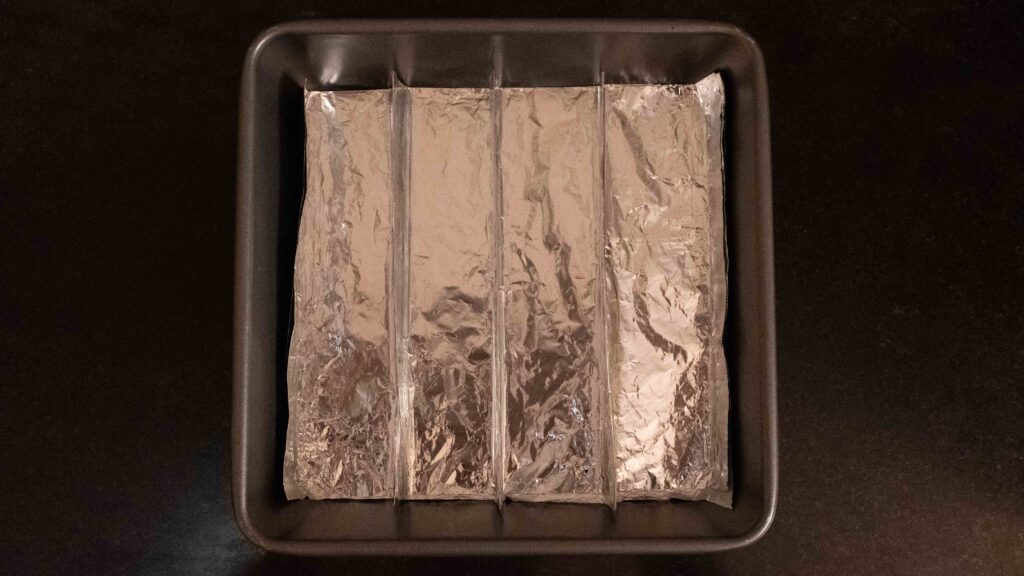
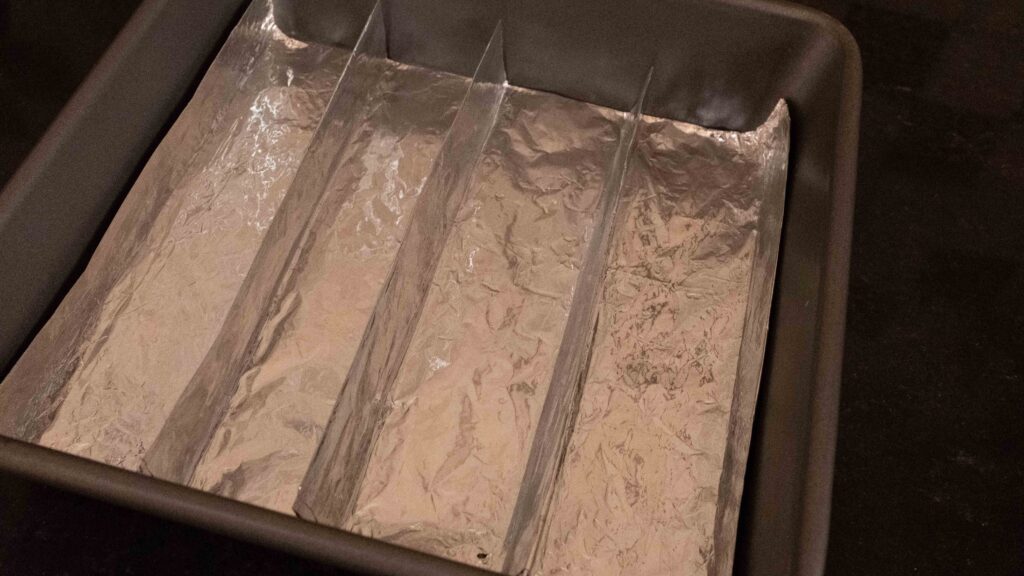
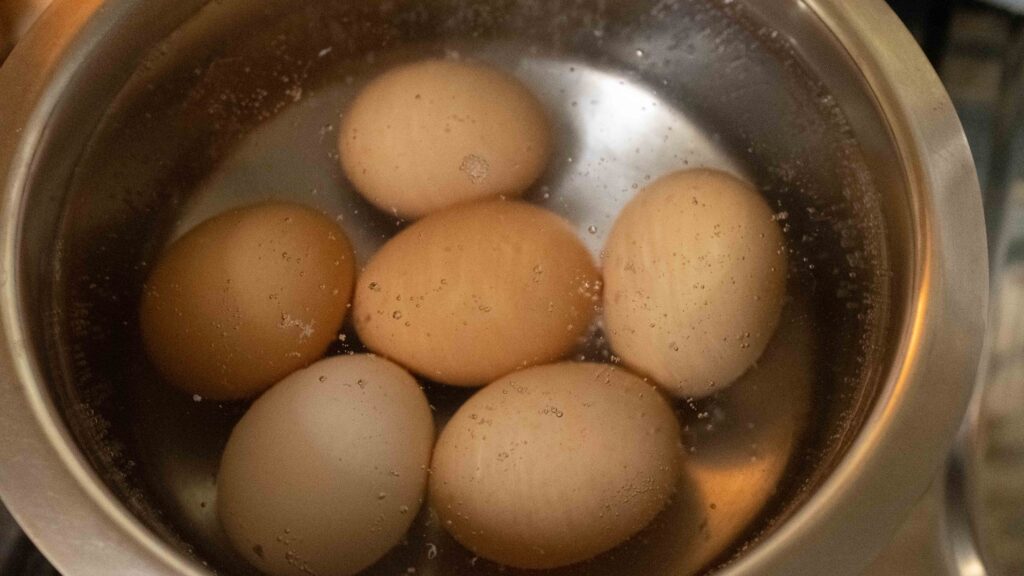
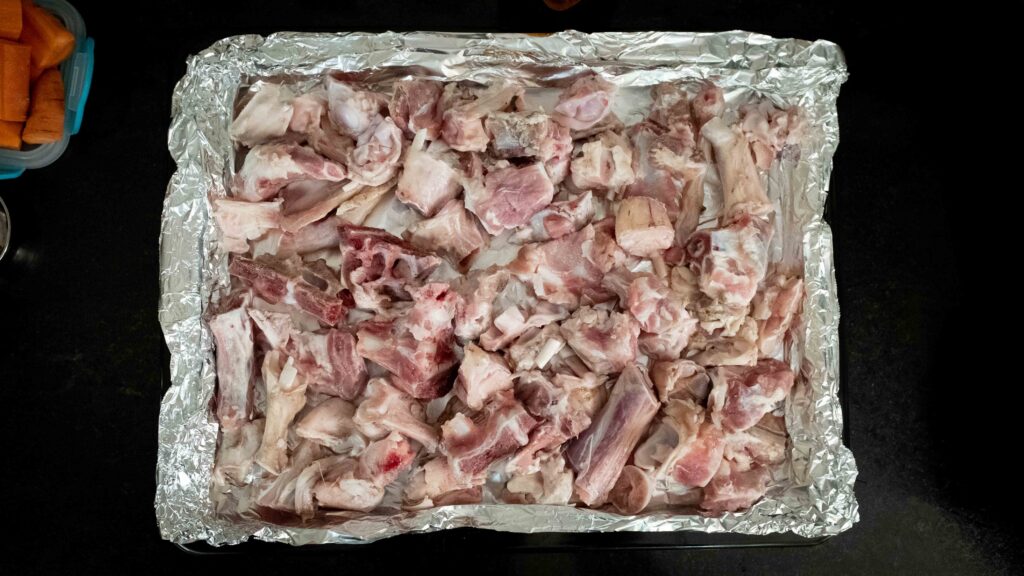
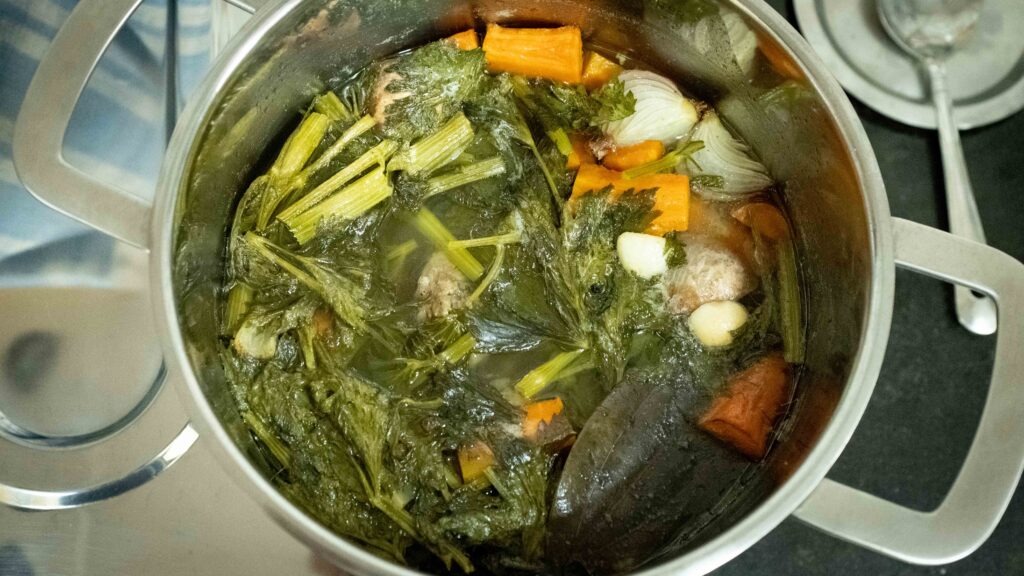
1 – Preheat your oven to 200OC and line a baking tray with aluminium foil. While your oven in preheating, wash the bones very well under running water and then pat them dry with paper towels.
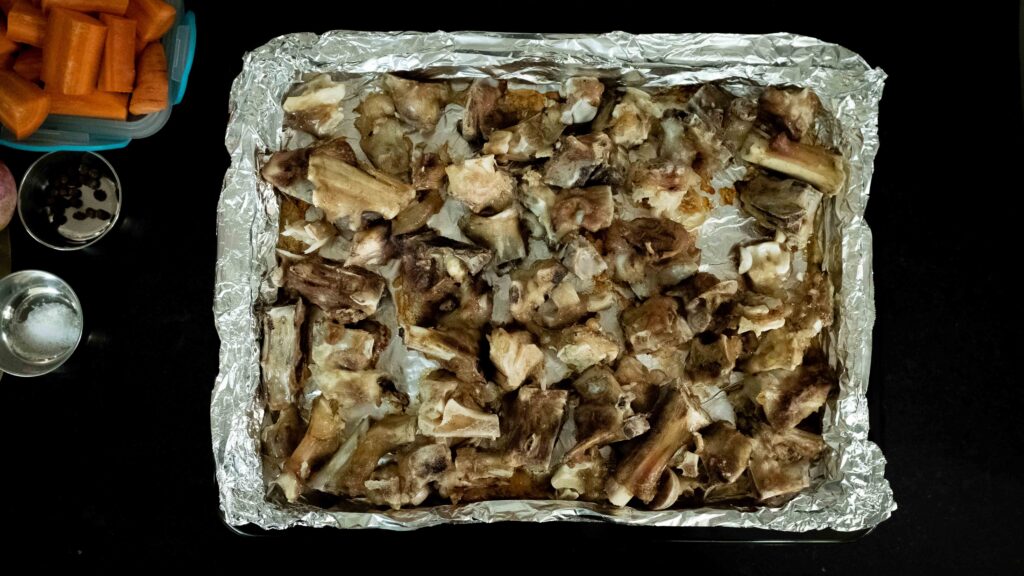
2 – Rub the lamb bones with 1 tablespoon of vegetable oil and then place them on the prepared baking to roast for 40 minutes or until well-browned.
3 – When the bones are done roasting, transfer them and any released tray juices to a cold 6 litre stock pot.
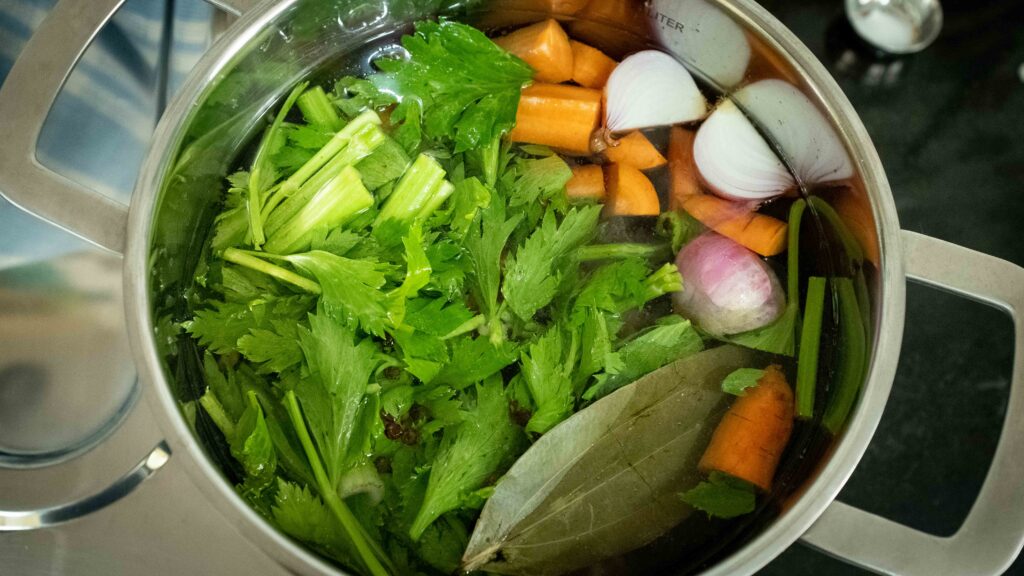
4 – Now clean your carrot, onion, celery, and garlic. There’s no need to peel any of the veg. Cut the carrot and celery into 4 cm chunks, quarter the onion, cut the garlic cloves in half, and then add all the veg to the pot. Now pop in the bay leaf and peppercorns.
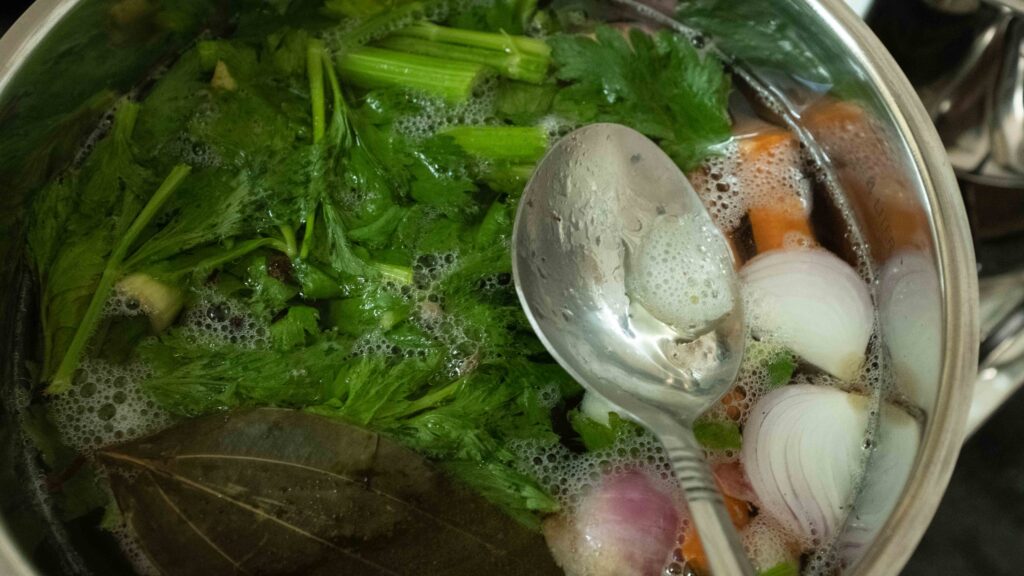
5 – Add 2500 ml plain water, which should be enough to submerge everything. Bring the pot to a gentle simmer, ensuring it never comes to a boil. As it’s coming to a simmer, impurities will rise to the surface. Periodically remove this ‘foam’ by carefully skimming it off with a large metal spoon.
6 – Once the liquid comes to a simmer, add the salt. Gently and steadily simmer the stock for about 2 hours or until the liquid has reduced by a third. Do not put a lid on. Every 15 minutes or so, skim off the foam from the surface (lamb bones release a tonne of scum). Do not stir the stock or boil it at any stage or it will become cloudy.
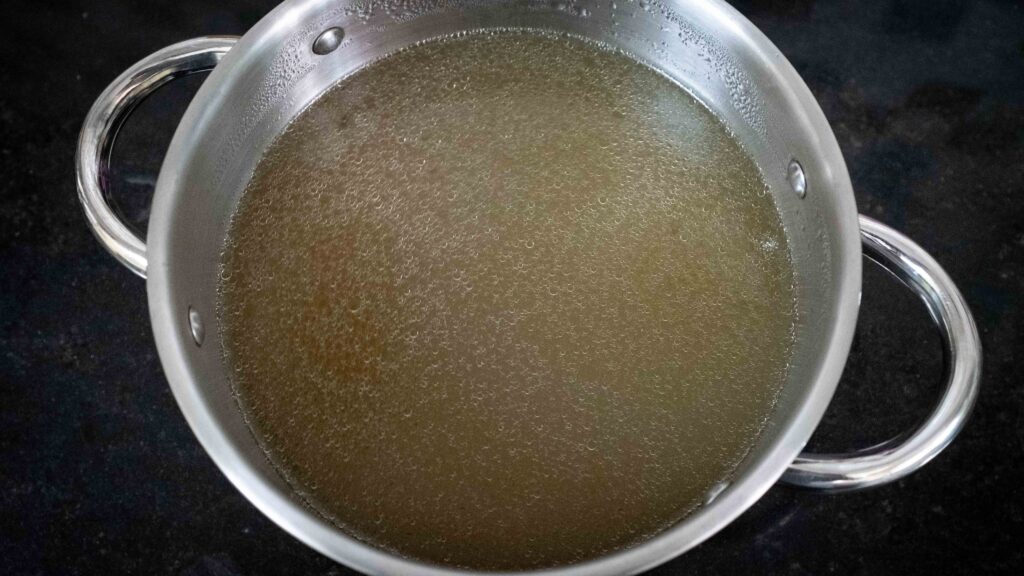
7 – After it’s done, turn the heat off and strain the stock through a muslin-lined fine mesh strainer with a clean bowl placed underneath it. You should have about 1.5 litres of stock. Do not push anything through the strainer as this will make your stock cloudy and undo all your hard work! There’s going to be a lot of stuff in the strainer; you can totally eat the carrot, but it won’t offer much in the way of nutrition. Discard everything else.
8 – Let the bowl of strained stock come to room temperature, then cover the bowl with plastic wrap and place it in the fridge overnight if not using immediately. It will stay fresh in the fridge for up to one week.
Lamb stock is the perfect broth to make hearty soups and stews. Keep in mind that store-bought stock contains a lot of sodium, whereas this stock is seasoned with very little salt — allowing you to add as much salt as you want when you’re using the stock in a recipe later. If you want to save time on future meals, make a double batch and store it in the freezer for up to 6 months. That way you can make this dish in no time at all!
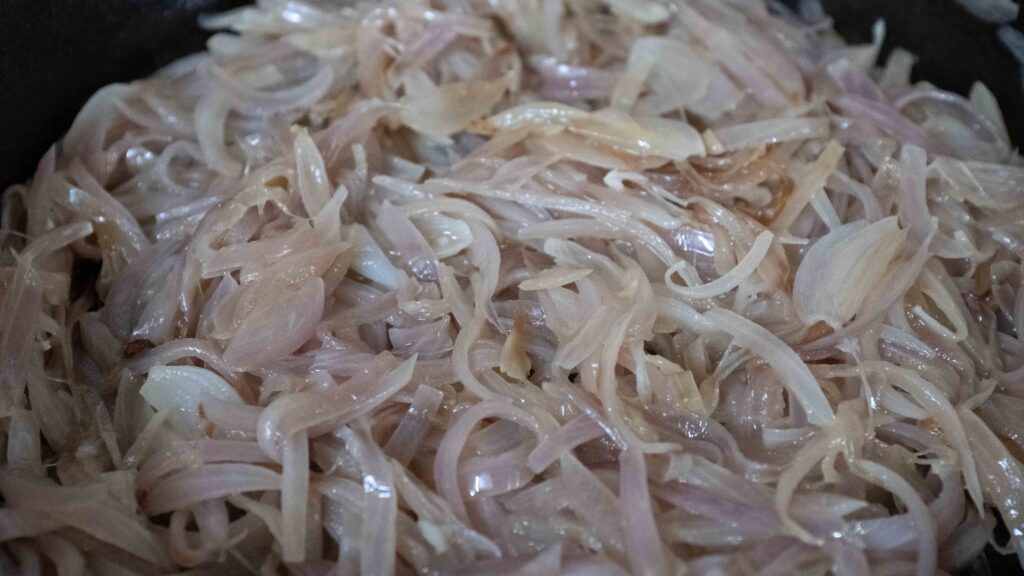
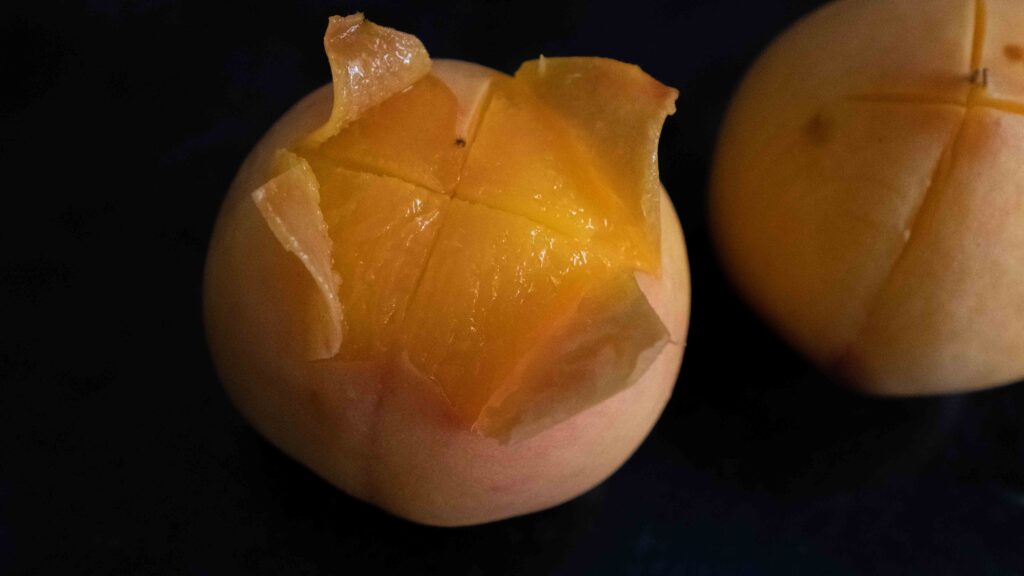
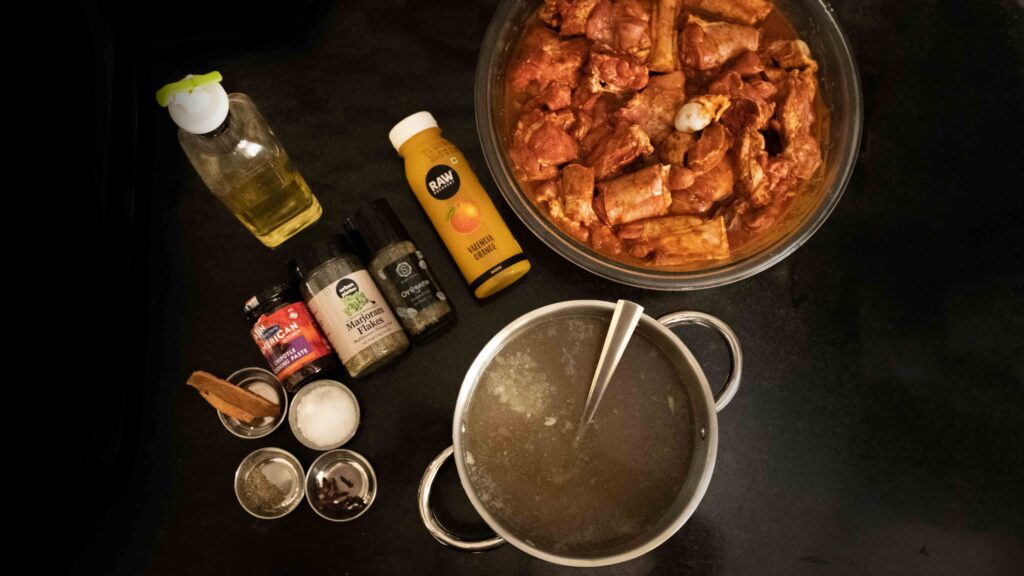
Stage 2: braised lamb (lamb barbacoa)
Originating from the Oaxacan region of Mexico, Lamb Barbacoa is a rich and robust dish featuring in-bone lamb, braised in a marinade of dried smoky chillies and warm spices. Traditionally prepared with an entire shoulder of lamb, I’m using portioned lamb shanks in this recipe, to ramp up the richness and flavour. Slow-cooked over gentle heat until it is juicy, tender, and falling off the bone, it’s the perfect protein component for tacos and burritos.
Ingredients
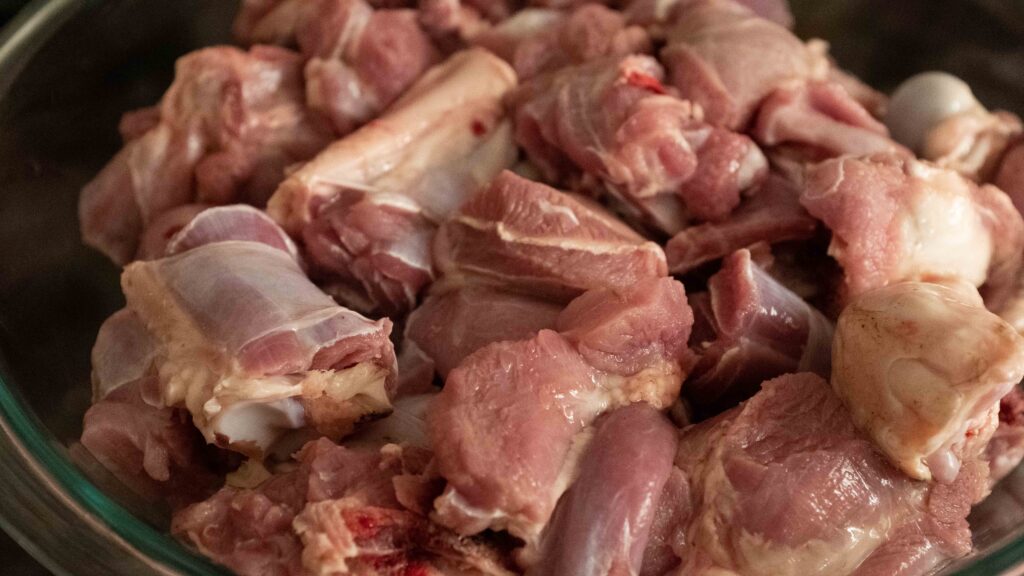
1. 3 kg portioned lamb shanks (or weight equivalent bone-in meat from the shoulder) to give 1.2 kg braised and shredded lamb
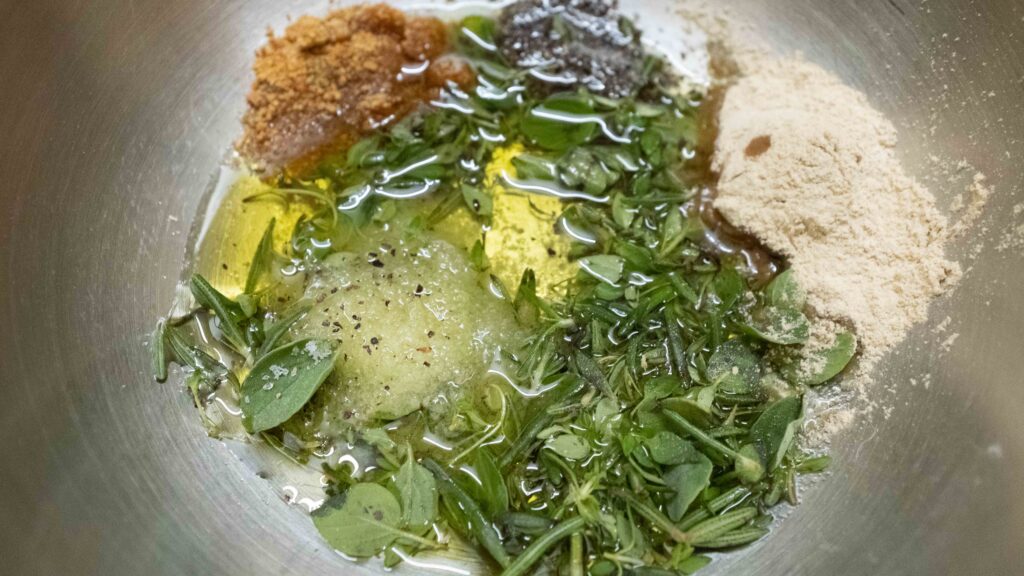
For the lamb marinade:
1. 2 dried Guajillo chillies like this
2. 250 ml hot water
3. 2 tbsp. tomato paste
4. 1 tbsp. apple cider vinegar
5. 6 medium cloves of garlic, peeled
6. 60 gm onion (roughly 1 small) peeled and quartered
7. 1 tbsp. freshly squeezed lime juice
8. 1 tbsp. freshly grated orange zest (from a Valencia orange)
9. 125 ml freshly squeezed orange juice (from a Valencia orange)
10. 2 tsp ground coriander
11. 2 tsp ground cumin
12. 1 tsp smoked paprika
For braising the lamb:
1. 2 tbsp. cooking olive oil per batch of lamb
2. Marinated lamb shanks + remaining marinade
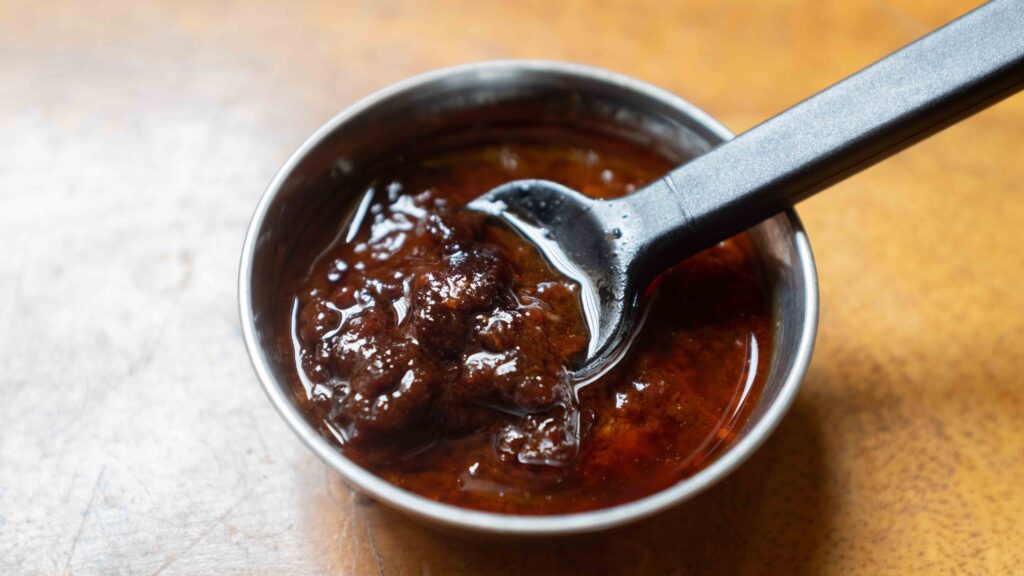
3. 1 tbsp. chipotle paste like this
4. 3 inch cinnamon stick
5. 1/4 tsp ground cloves
6. 125 ml freshly squeezed orange juice (from a Valencia orange)
7. 1.5 litre prepared lamb stock or readymade lamb stock
8. 3 tsp salt plus extra in case desired
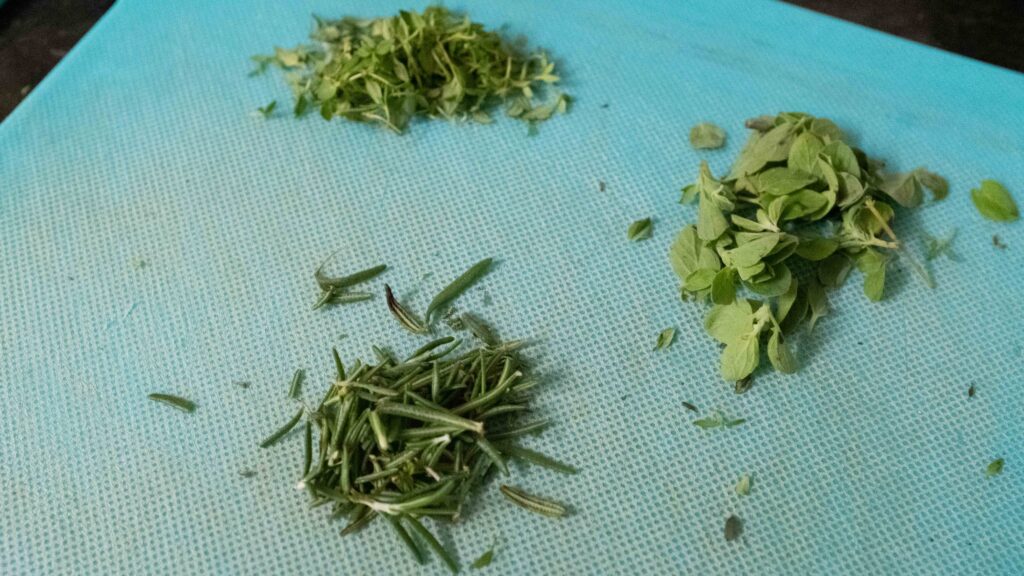
9. 1 tsp dried oregano
10. 1 tsp dried marjoram like this
11. ½ tsp freshly cracked black pepper
If you live in India and cannot get Mexican Guajillo chillies, you can sub them with 2 dried Kashmiri or 2 Bedgi chillies, both of which impart a smoky, mild heat, albeit a different flavour. If you have access to dried Mexican oregano (also known as Mexican marjoram or Mexican wild sage), replace the dried oregano and dried marjoram with 2 tsp Mexican oregano. If you’re using ready-made stock which is already salty, you will need to use less salt. Taste your stock first and add salt accordingly.
Prep
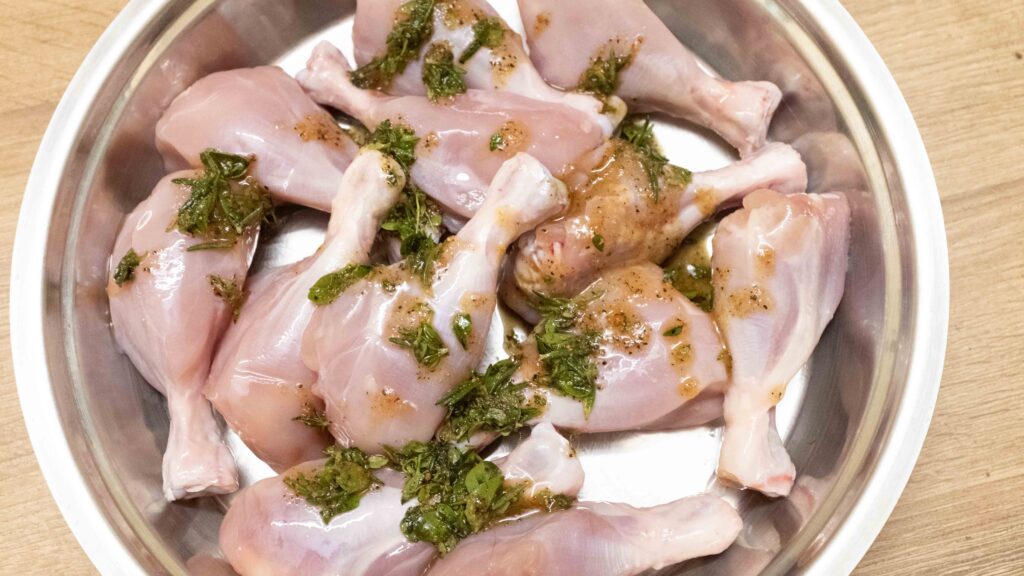
1 – Clean the lamb shanks and then pat them dry. Set aside in a bowl.
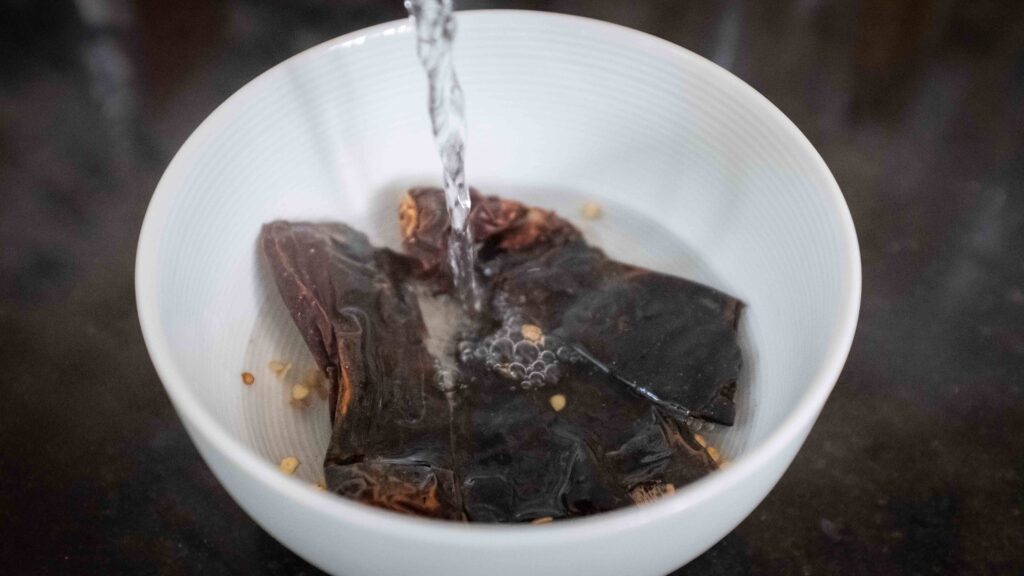
2 – Tear the Guajillo chillies in half and then place them in a heat proof bowl. Pour 250 ml hot water onto them. Leave them to soak for 20 minutes, bobbing them down in the water once in a while to fully submerge them. They will plump up and become soft.
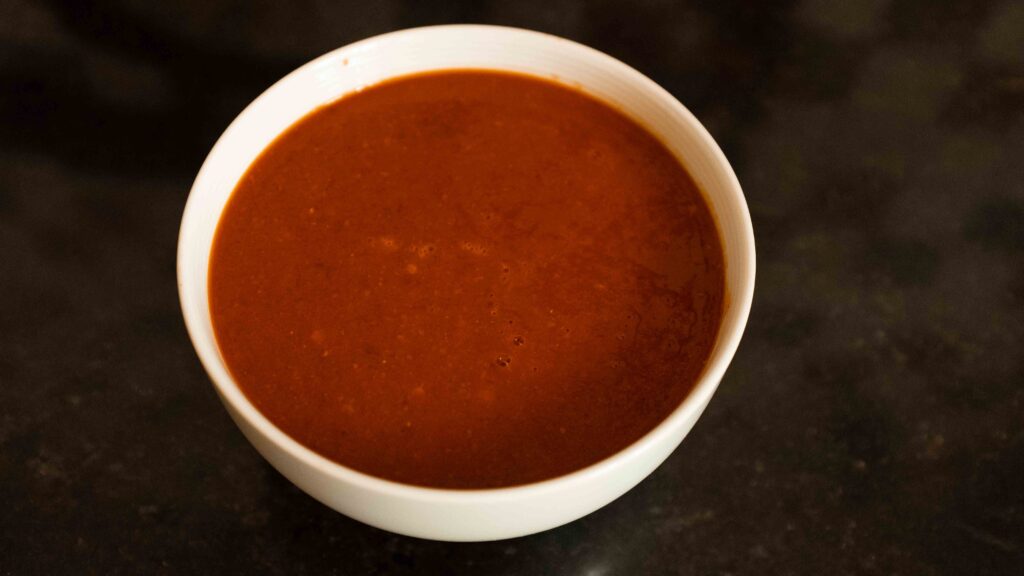
3 – Place the soaked chillies and their soaking water into the jar of a blender. Also add all the other ingredients listed in ‘for the lamb marinade’. Blitz to a very fine paste.
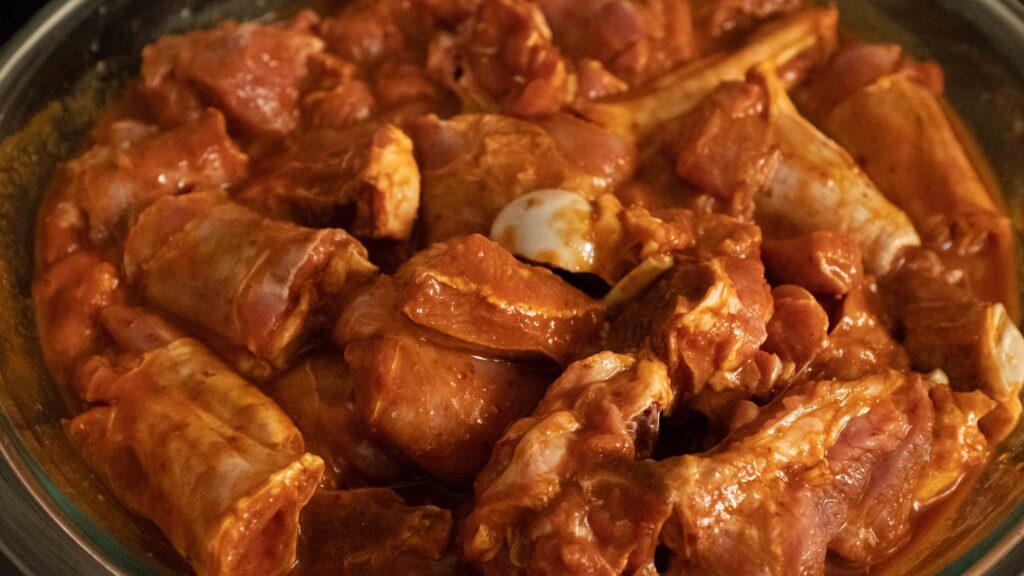
4 – Transfer the marinade to the bowl containing the lamb shanks and coat every piece very well. Cover the bowl in plastic wrap and place it in the fridge to marinate overnight.
Method
1 – After its overnight marination, take the lamb out of the fridge and bring it to room temperature.
2 – If you’re using the homemade lamb stock and it was stored in the fridge, it will need to be heated until fully liquid and just hot.
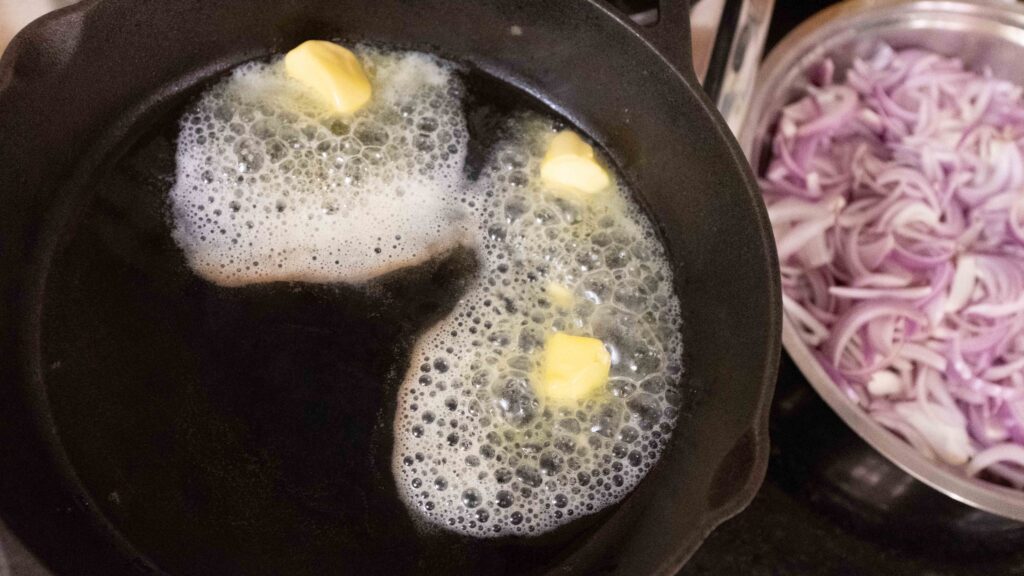
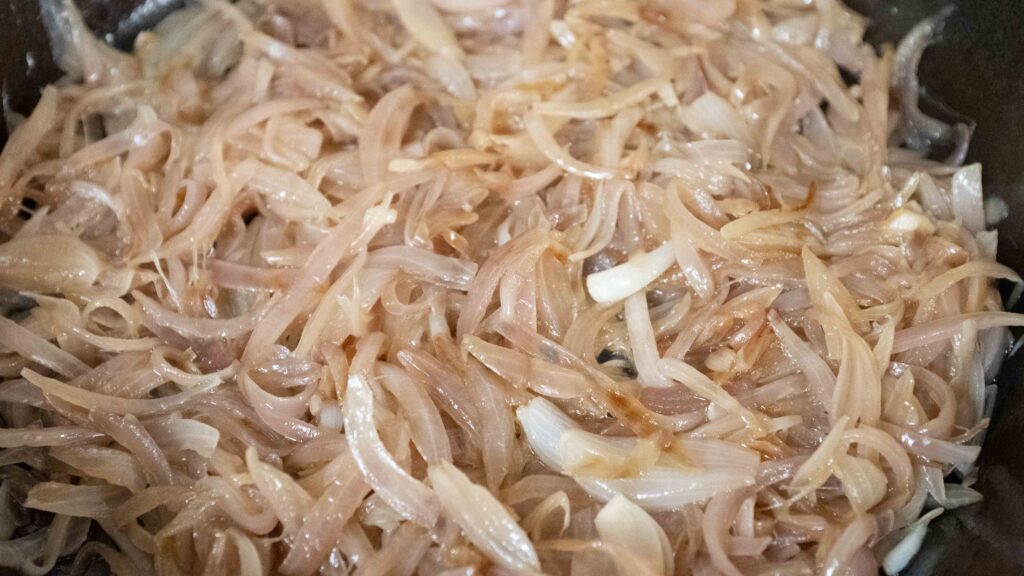
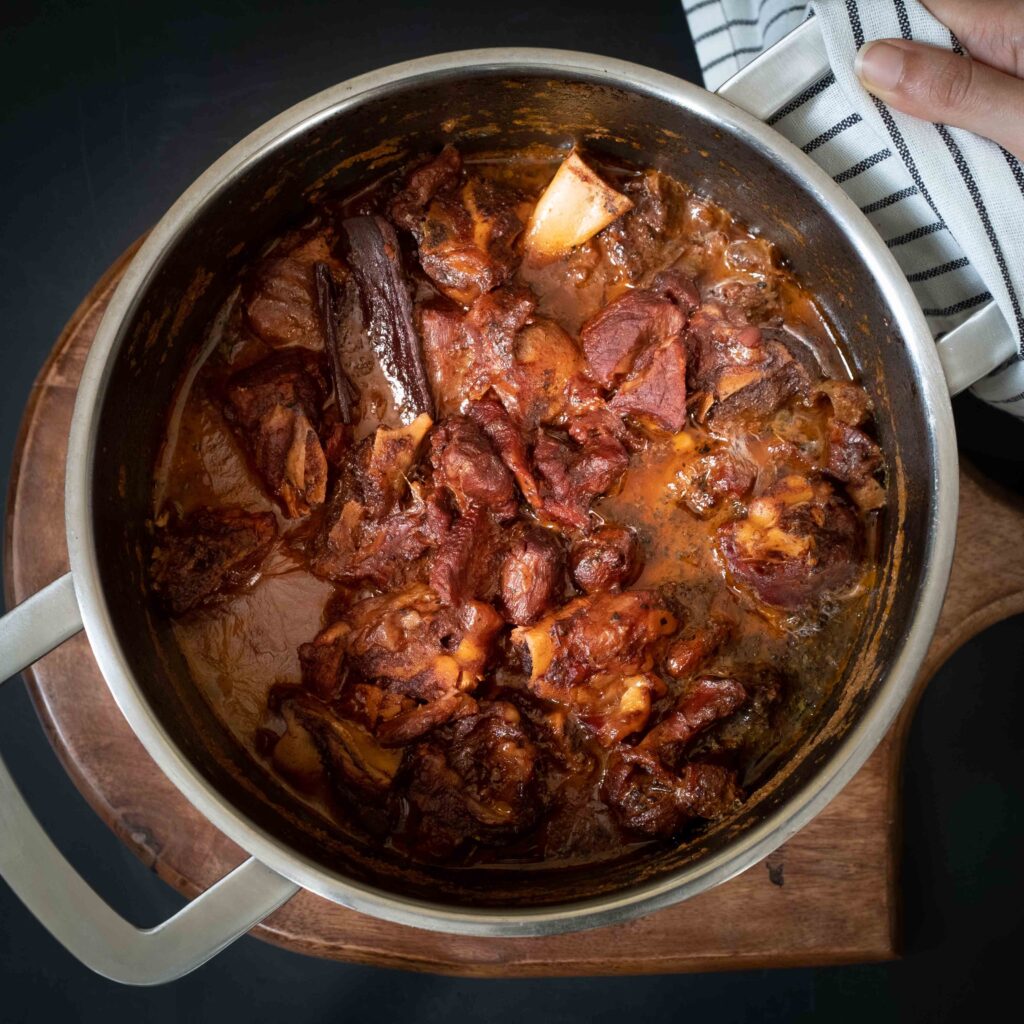
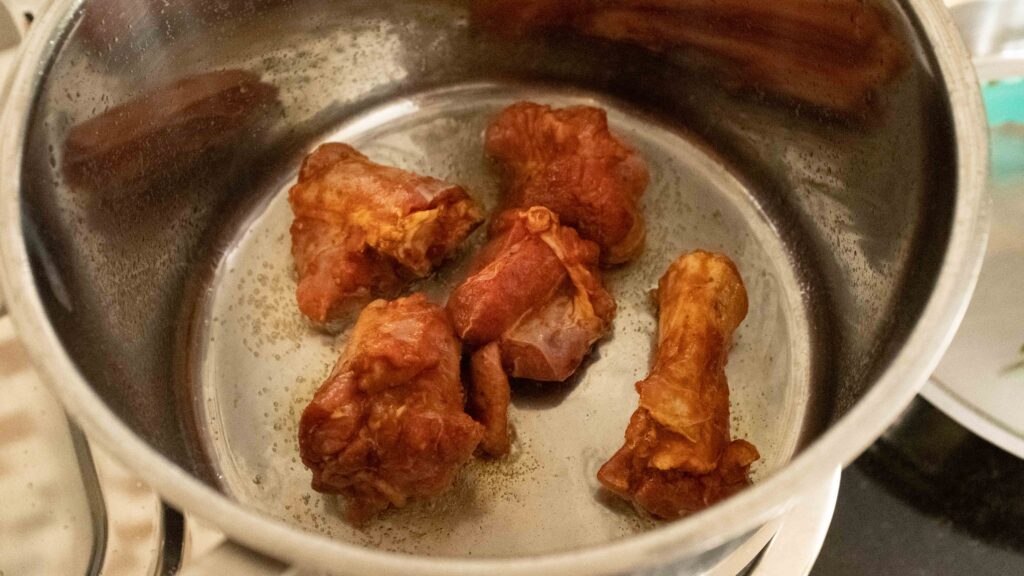
3 – Heat up 2 tablespoons of cooking olive oil in a 6 litre heavy-bottomed cooking pot. Keep the heat high.
4 – Once the oil is hot, add the lamb shanks and sear them on all sides in batches, roughly 2 minutes each side.
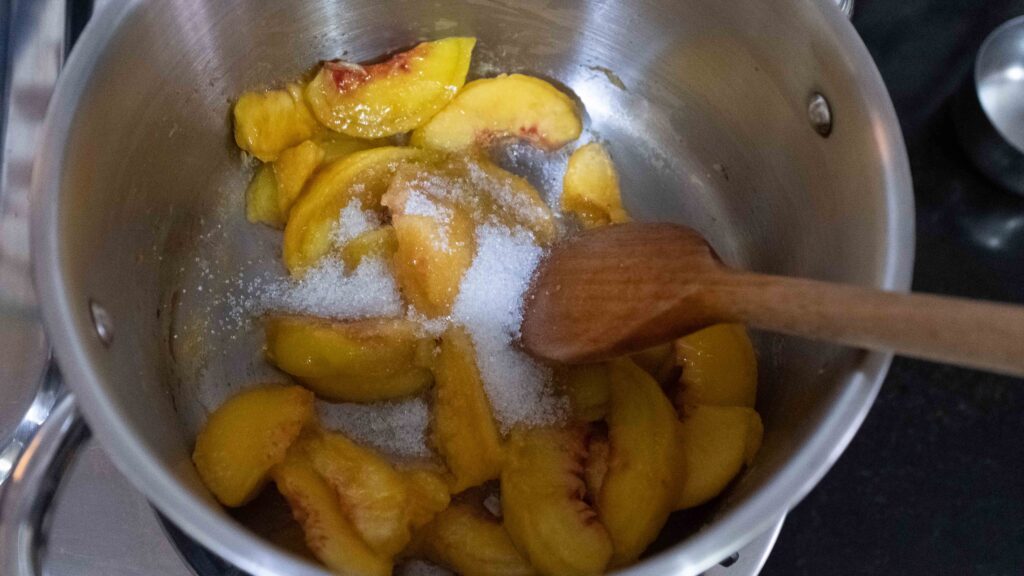
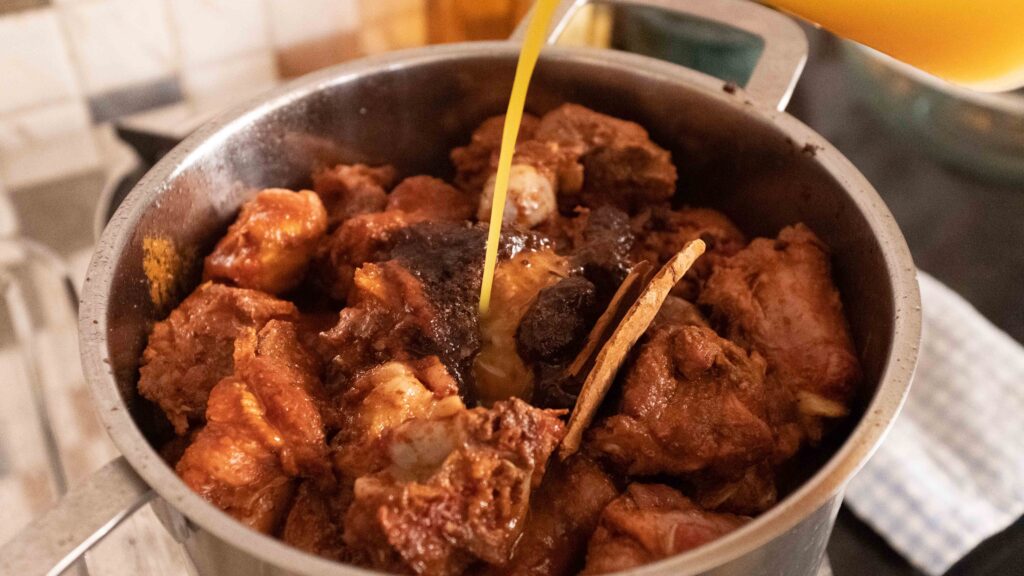
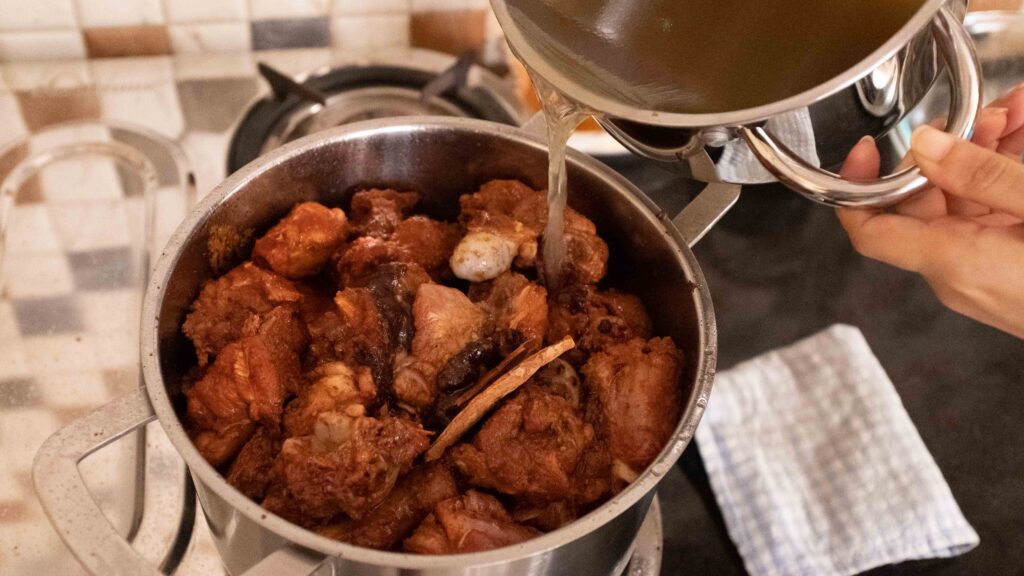
5 – Add back all the seared lamb, the remaining lamb marinade, chipotle paste, the cinnamon stick, ground cloves, and 125 ml orange juice.
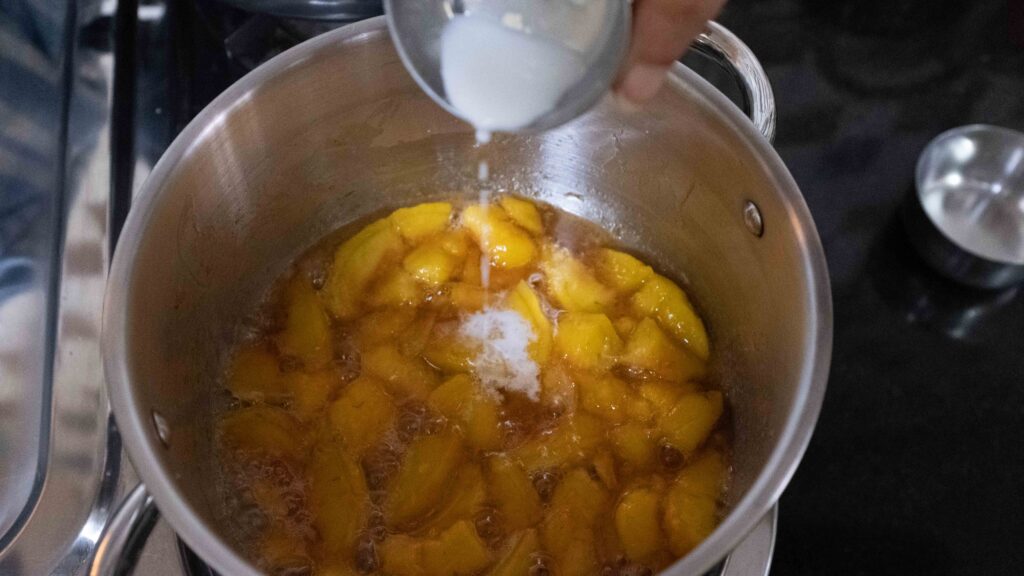
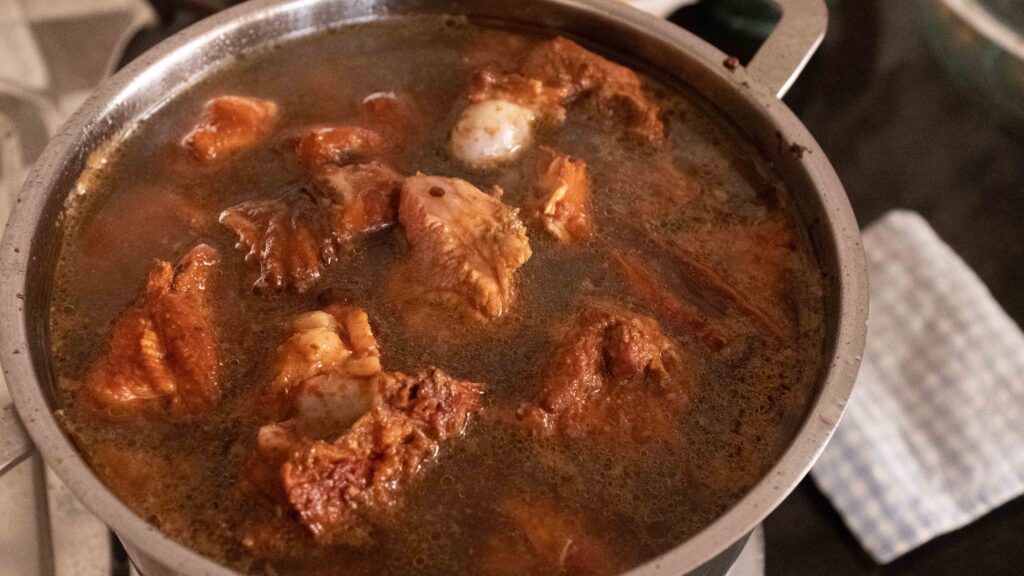
6 – Now add the lamb stock and salt to the pot. After adding all the stock, the lamb will be mostly submerged.
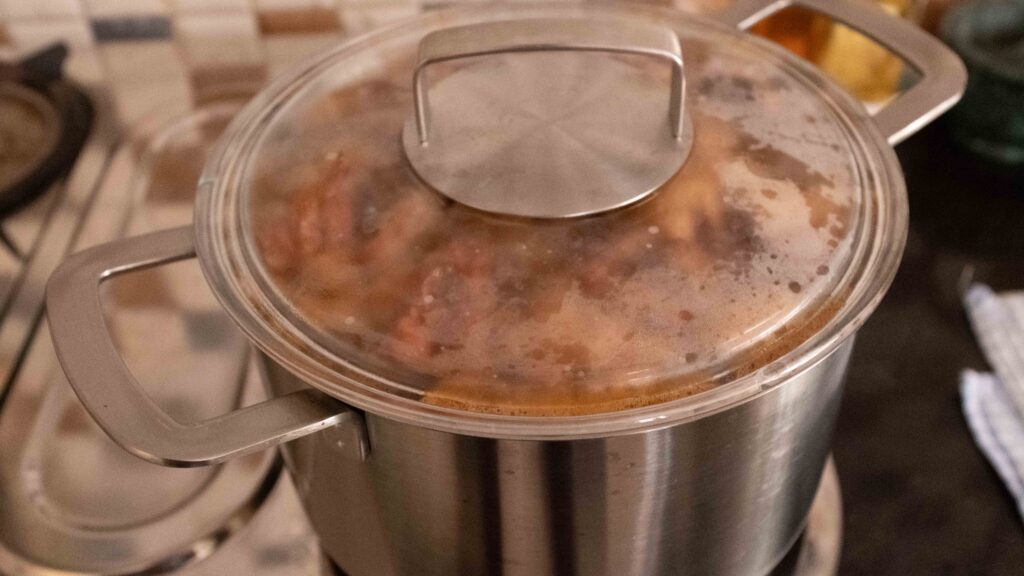
7 – Let the braising liquid come to a simmer. Then cover the pot with a lid and turn the heat to low. Simmer on low for 2 ½ hours or until the meat is almost falling off the bone.
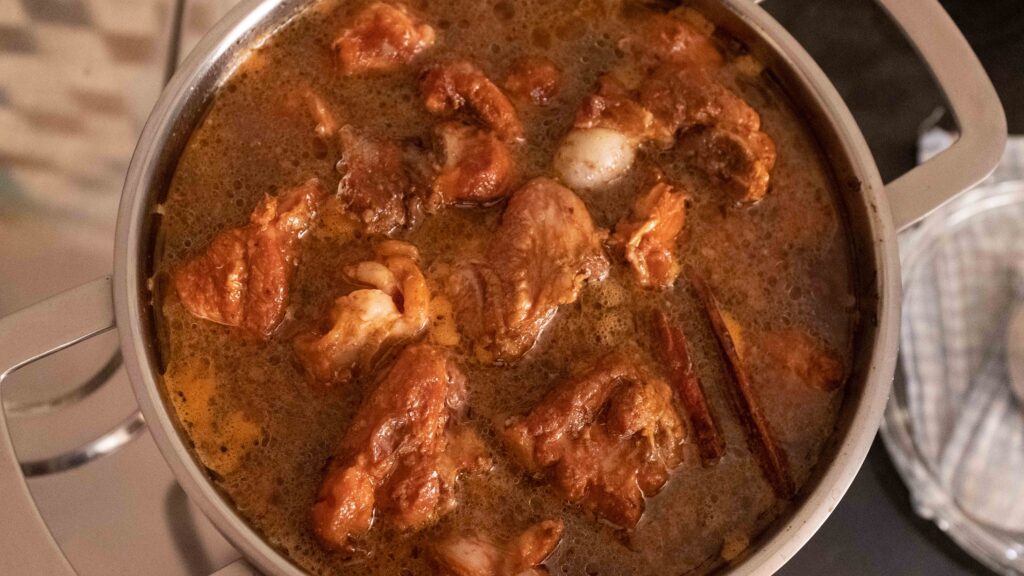
8 – At the 2 hour mark, or when the meat is almost done, remove the lid and add the cracked black pepper.
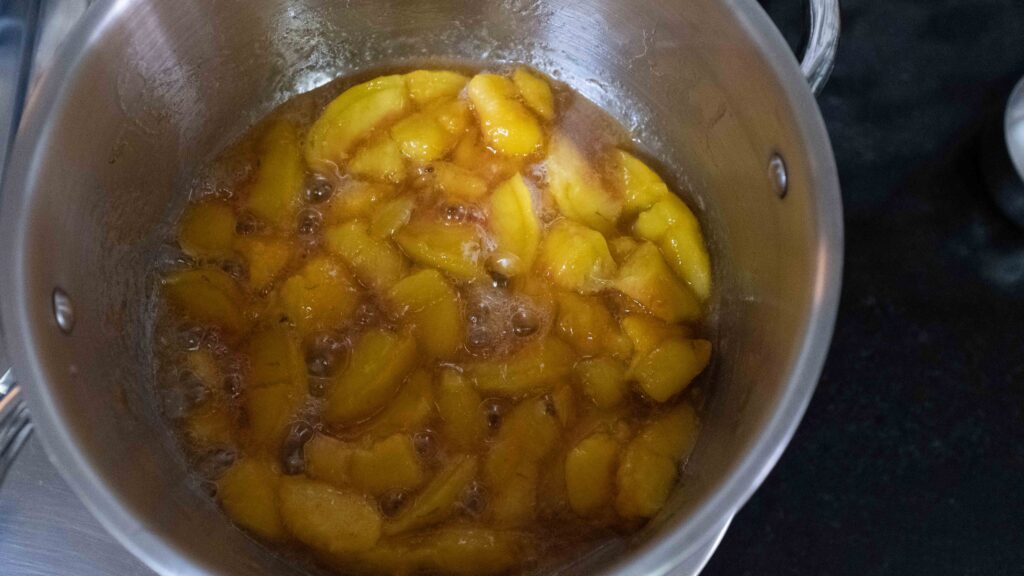
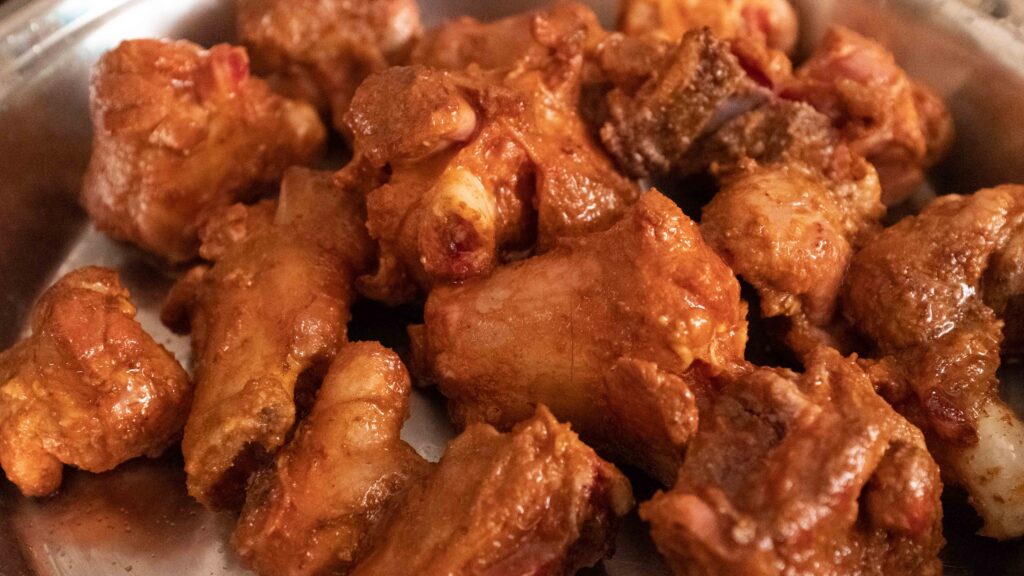
9 – Now take the dried oregano and dried marjoram in your palm and use your thumb to lightly crush it into your palm (like you are crushing tobacco). Add the dried herbs to the pot and continue to simmer for another 30 minutes or until the meat is falling off the bone. Mine took exactly 2 ½ hours . Switch the heat off and let the lamb rest for 30 minutes before proceeding with the next step.
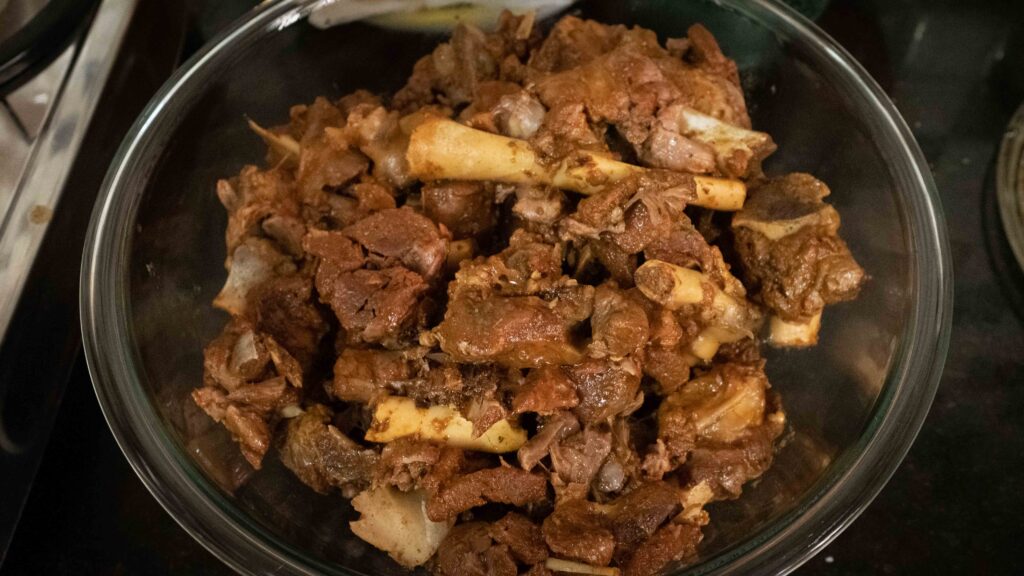
10 – Take the cooked lamb shanks out of the pot and place them in a fresh bowl. 800-900 ml braising liquid will be left in the pot.
11 – Pull the meat off the bone and transfer any fat or sinew back in the pot. Before discarding the bones, scoop out any marrow and add it back to the pot.
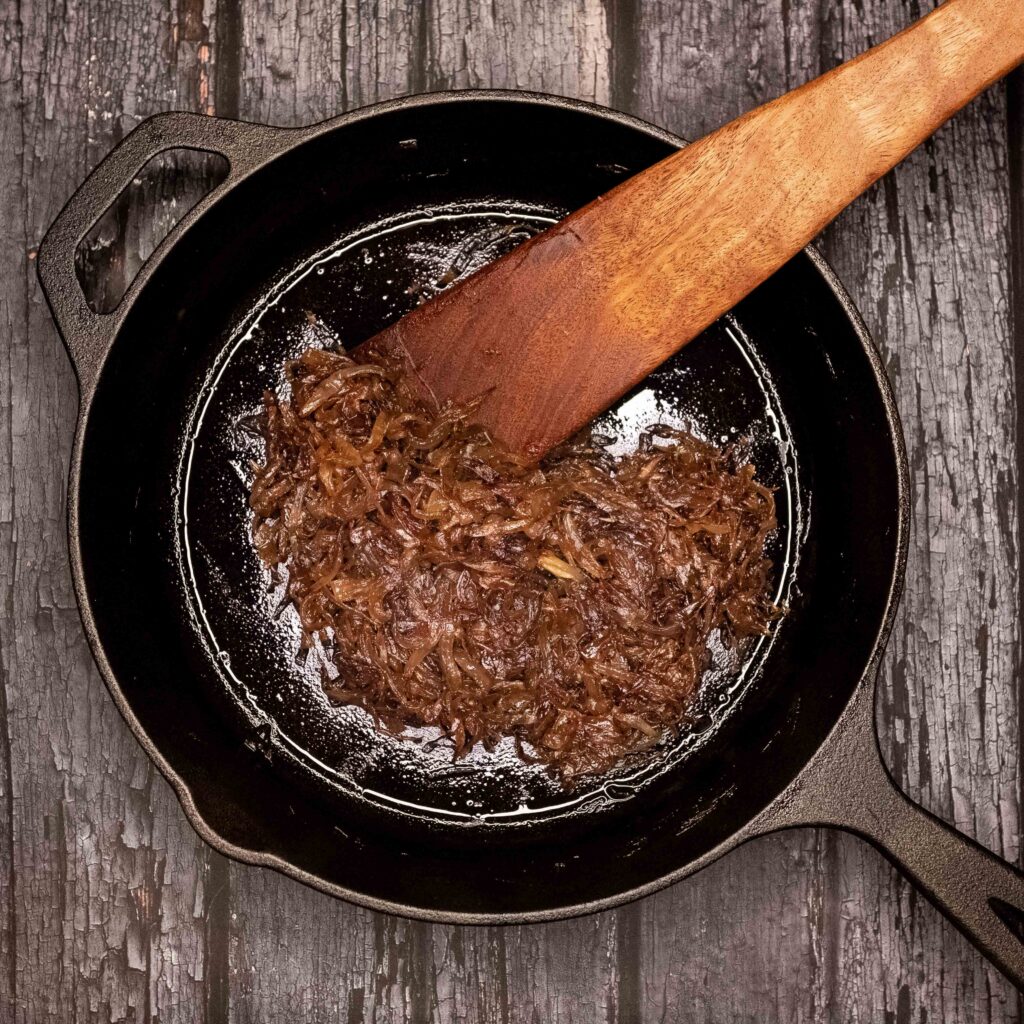
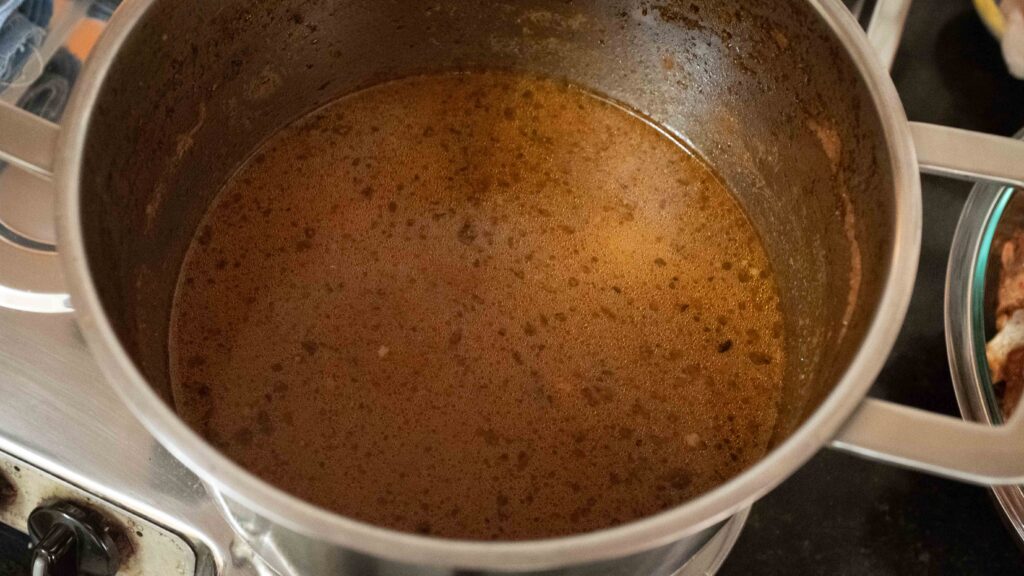
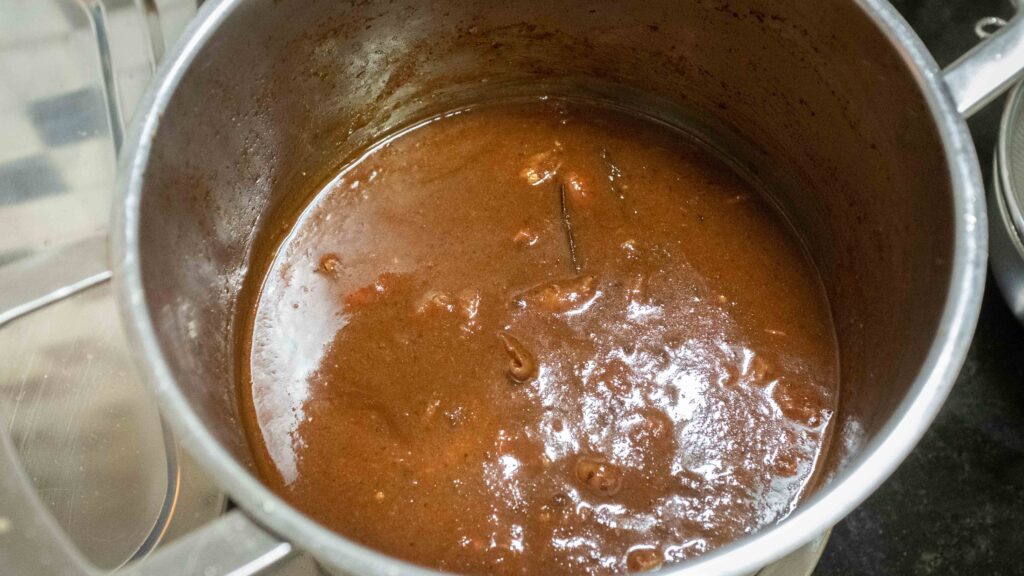
12 – Put the braising liquid back on the heat and begin reducing it on medium-high. Reduce it down to the consistency you like, stirring frequently to prevent it from sticking to the bottom of the pot. I simmered it for half an hour or until its volume had reduced by half.
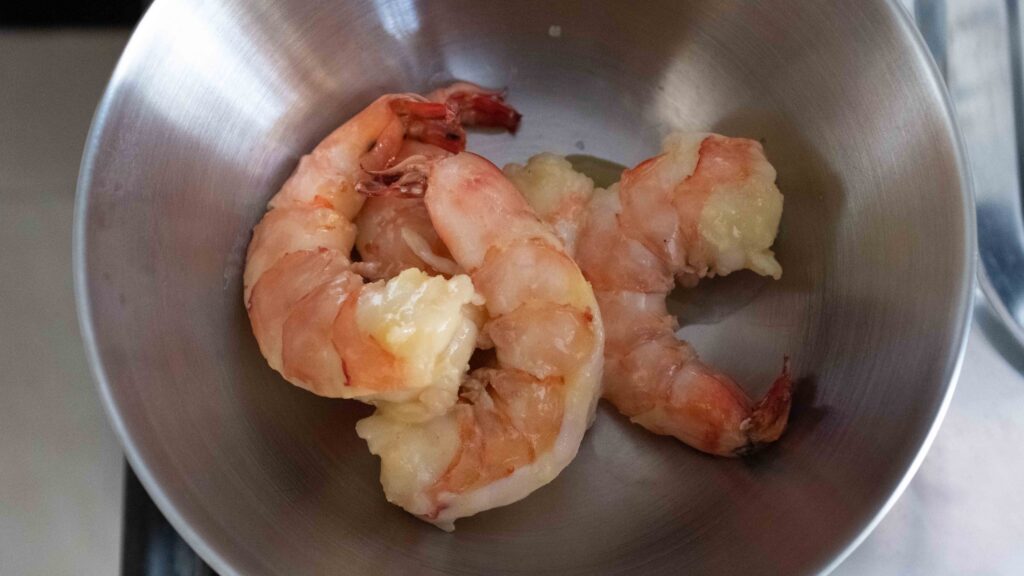
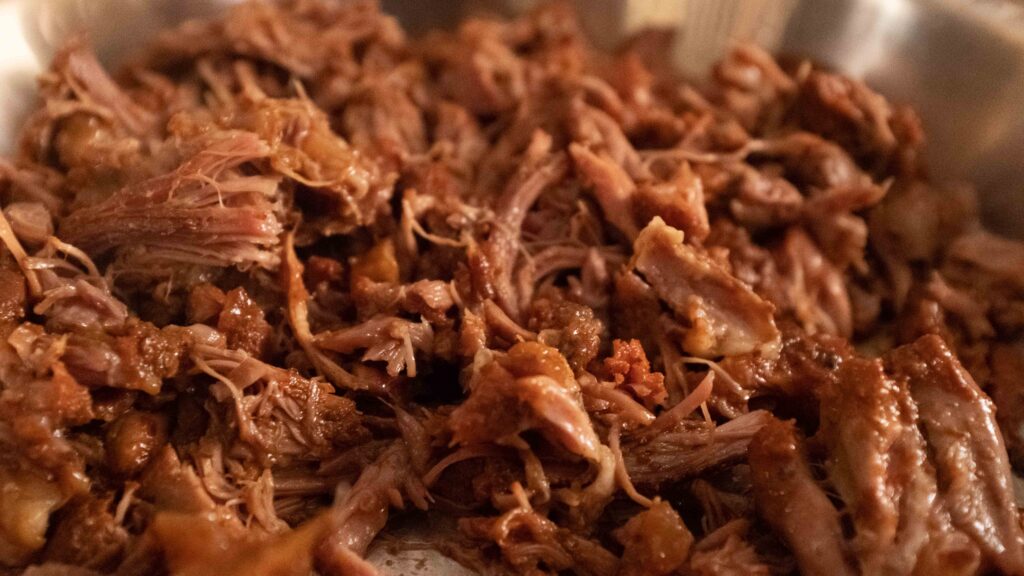
13 – While the braising liquid is reducing, use two forks to shred the meat into small pieces. Weigh the shredded meat after you’re done so you know how much you’ll have for each taco (mine came to a total of 1200 grams or 50 grams of shredded meat per taco).
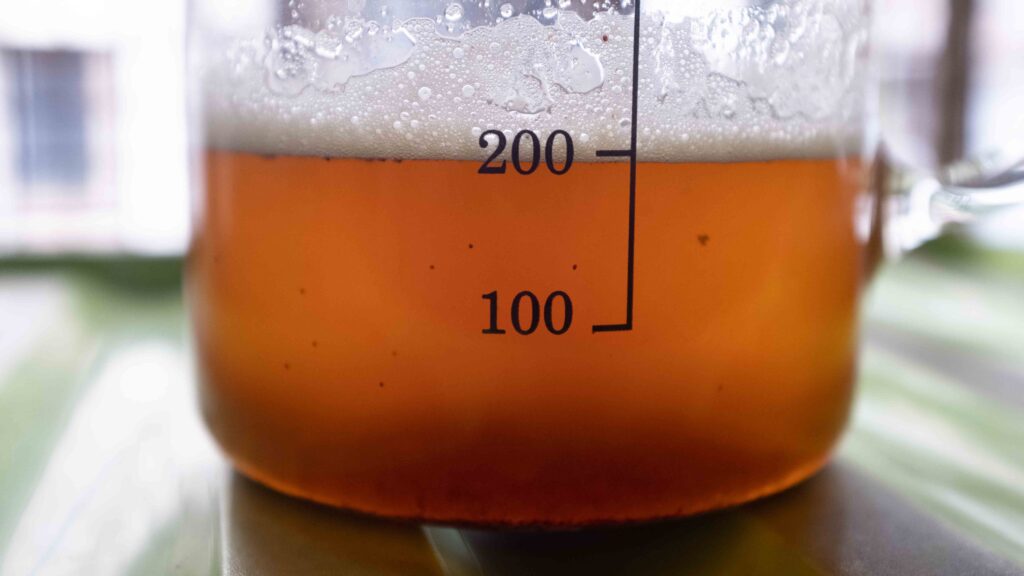
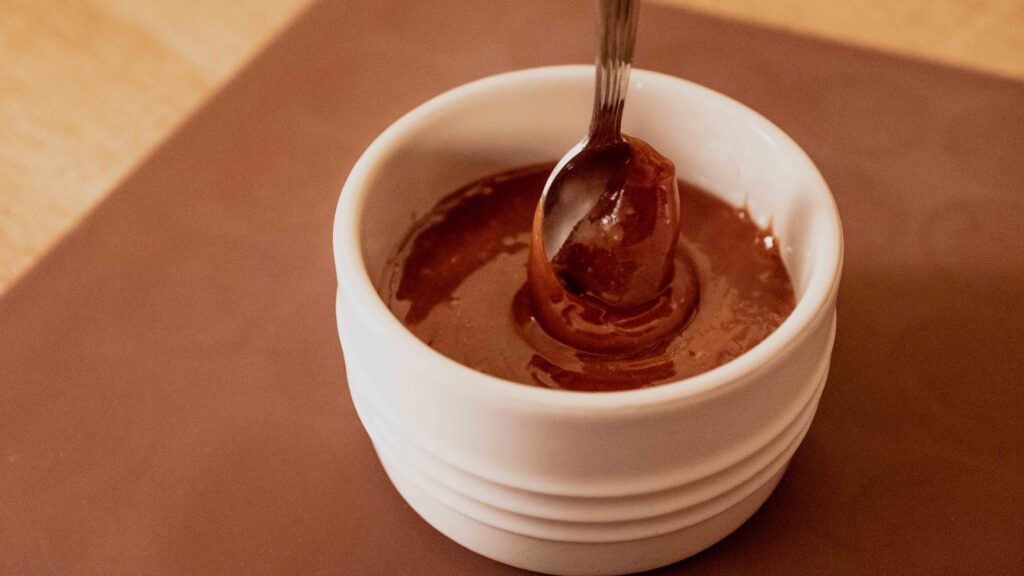
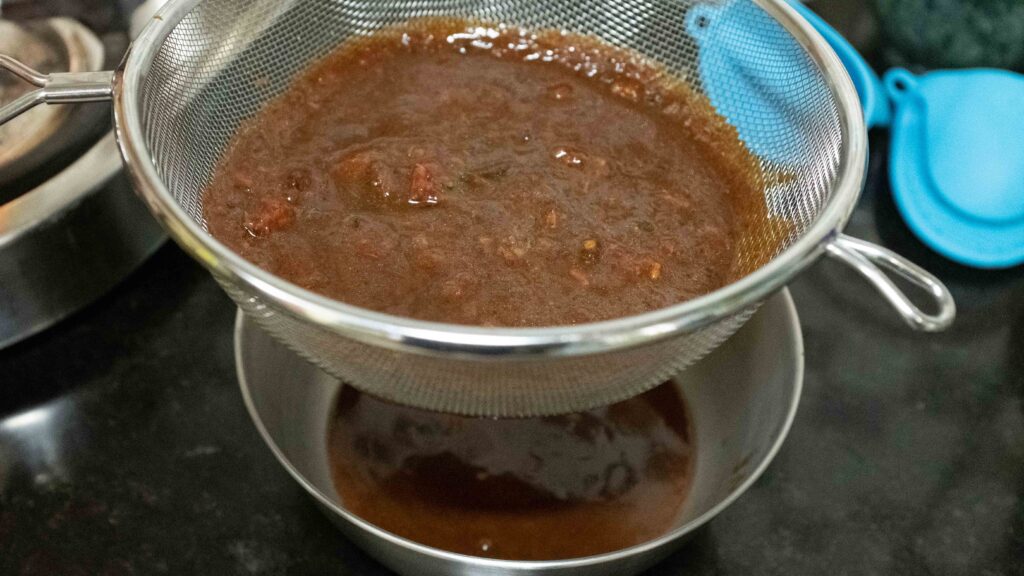
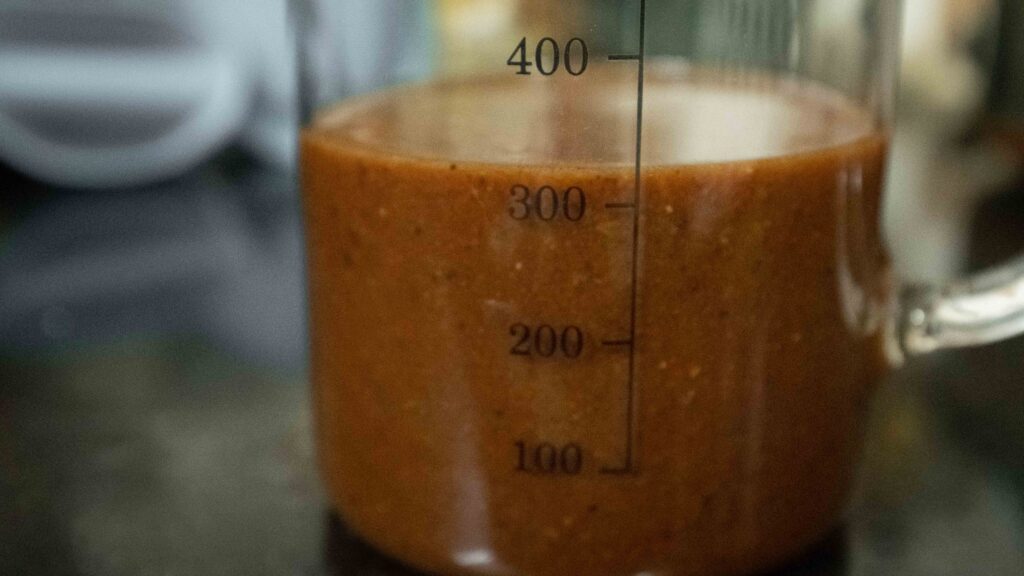
14 – After the braising liquid has reduced to your desired consistency, strain it using a medium mesh strainer. This will catch any bone fragments or undesirable bits. You now have a fabulously rich sauce! Post straining, my braising liquid came down to 320 ml. You might have more or less.
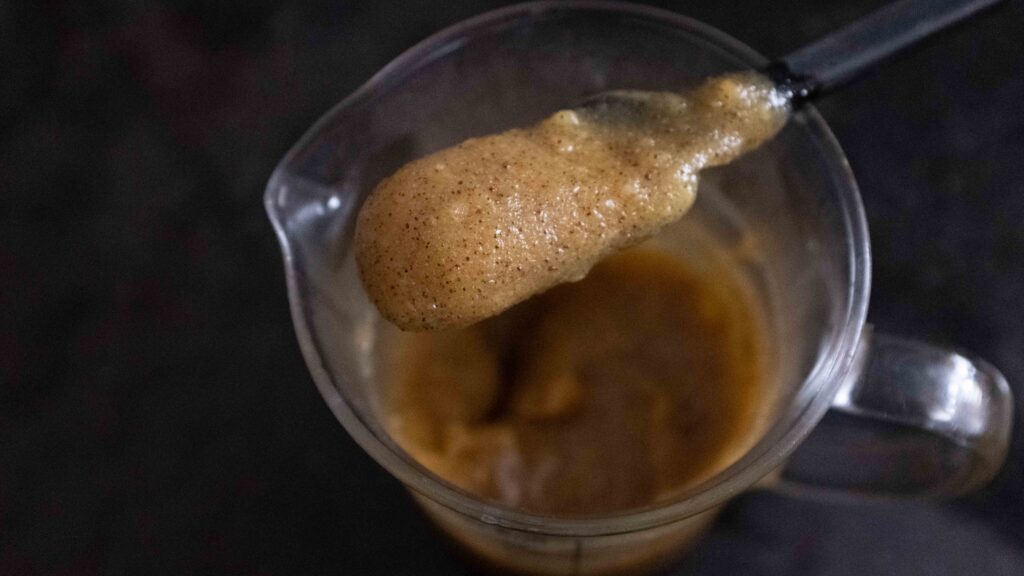
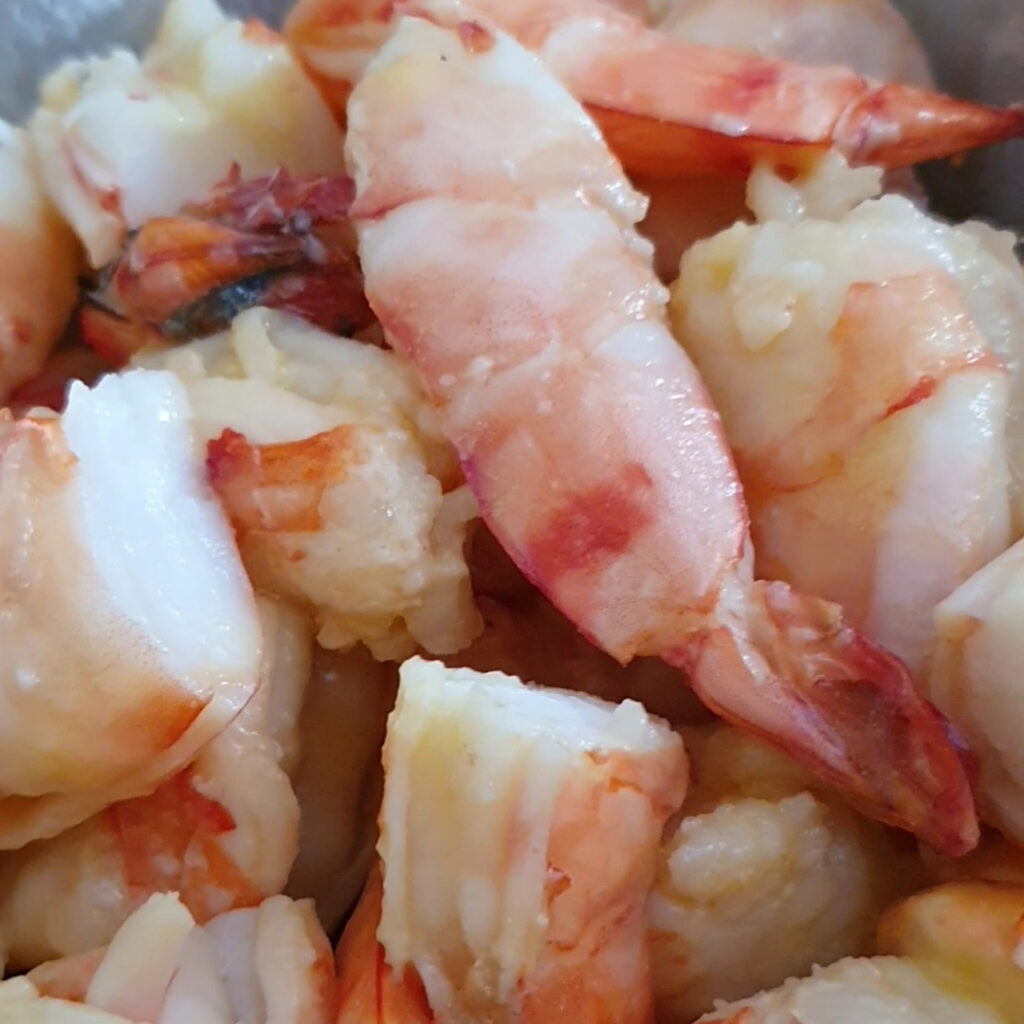
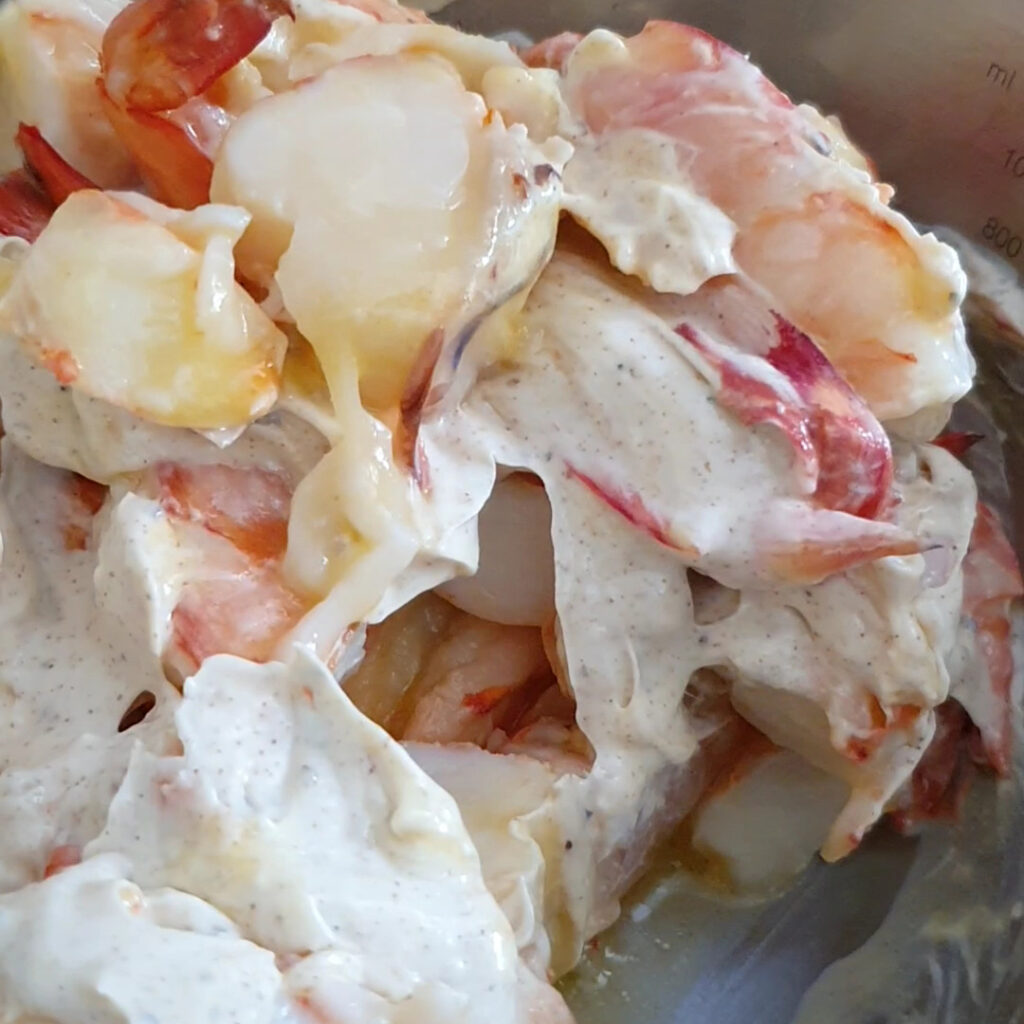
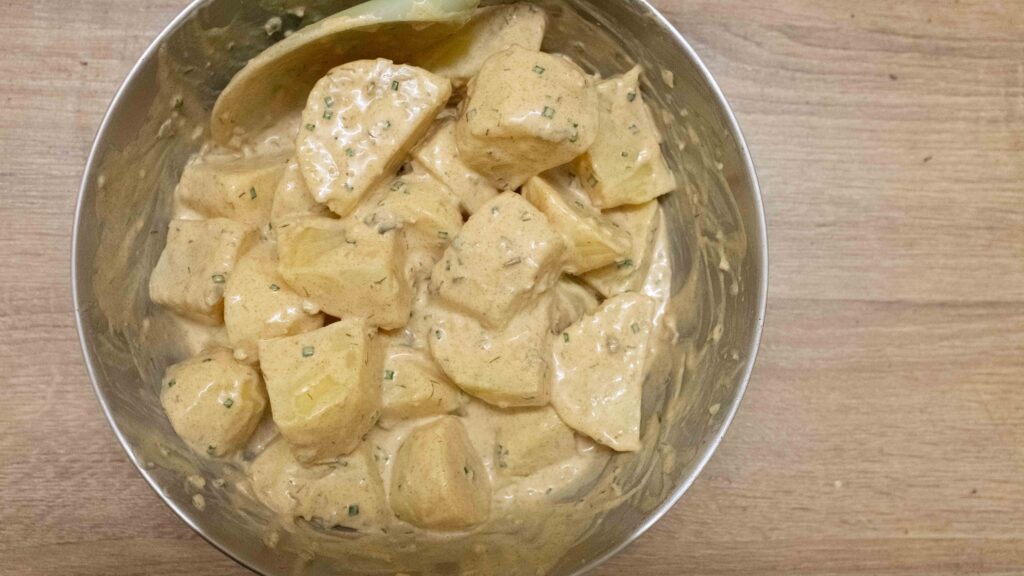
15 – Add 50 ml of the reduced braising liquid (now a sauce) to the shredded lamb and toss together to coat. Taste the lamb, and season with additional salt if desired (we didn’t).
16 – Place the shredded lamb in an airtight container and transfer any remaining braising sauce into another airtight container. Place both containers in the fridge until ready to use.
Lamb cooking times will vary based on weight and cut. I had my lamb shanks portioned into 4-inch pieces for faster cooking. Allow 2 ½-3 hours for small, portioned shanks and 3 ½-4 hours for an entire 3 kg bone-in shoulder piece. I always factor in an extra hour (just in case).
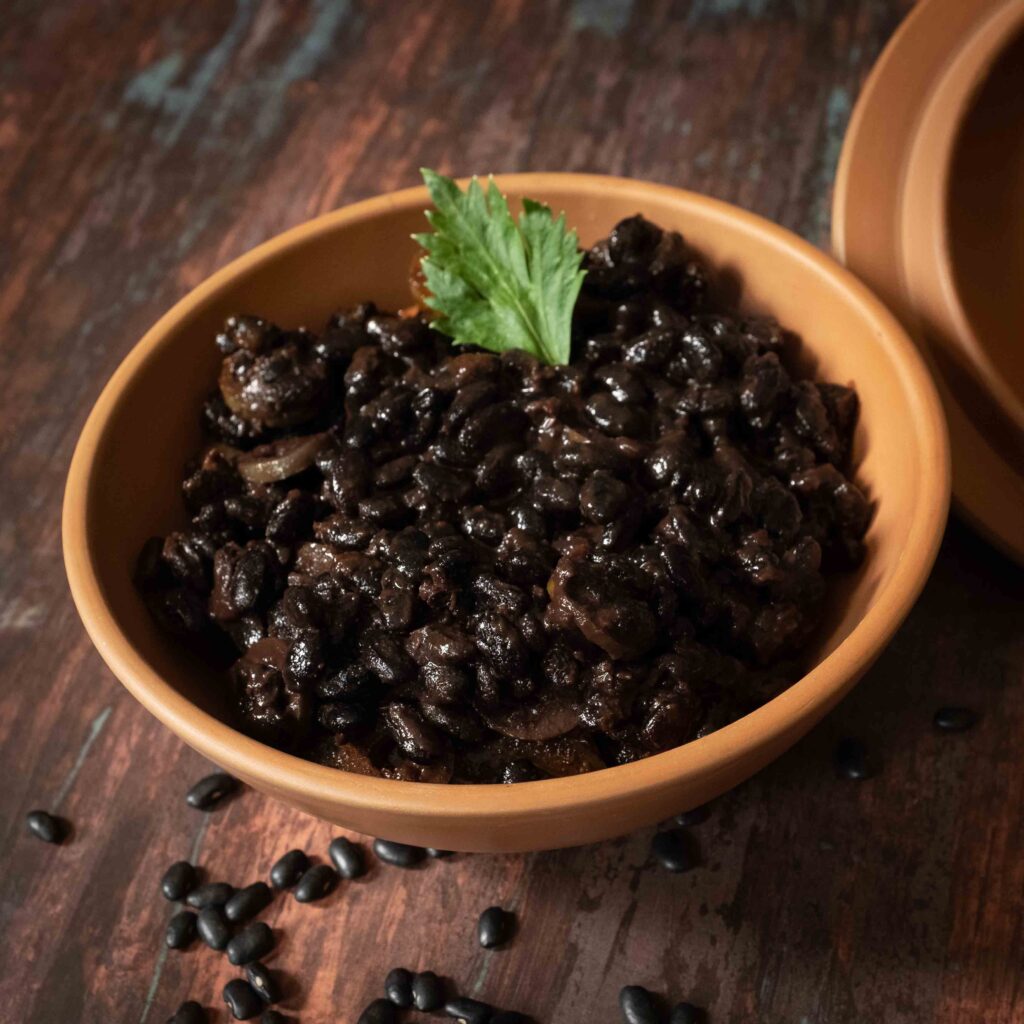
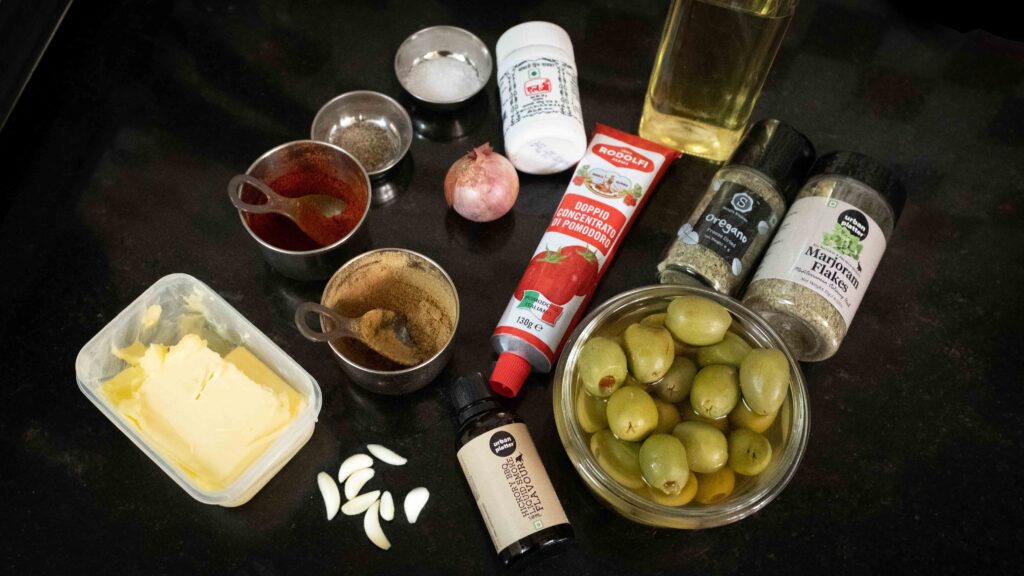
Stage 3: black beans (frijoles negros)
Black beans are medium to small, oval-shaped beans with a glossy black coat. Like most varieties of the common bean, black beans or turtle beans are native to the Americas, and date back over 7,000 years. Especially popular in Latin American cuisine, they can also be found in Cajun and Creole dishes. FYI, Indian food is no stranger to black beans! They’re called karuppu kaaramani in Tamil, and kala ghevada in Marathi. I know what you’re wondering—and no—they cannot be substituted with kidney beans (Hindi; Rajma), as they simply don’t taste the same. After they’re cooked, black beans have a creamy white interior (perfect for mashing) and a, smoky-meaty flavour, which kidney beans lack.
Ingredients
to pre-cook the beans:
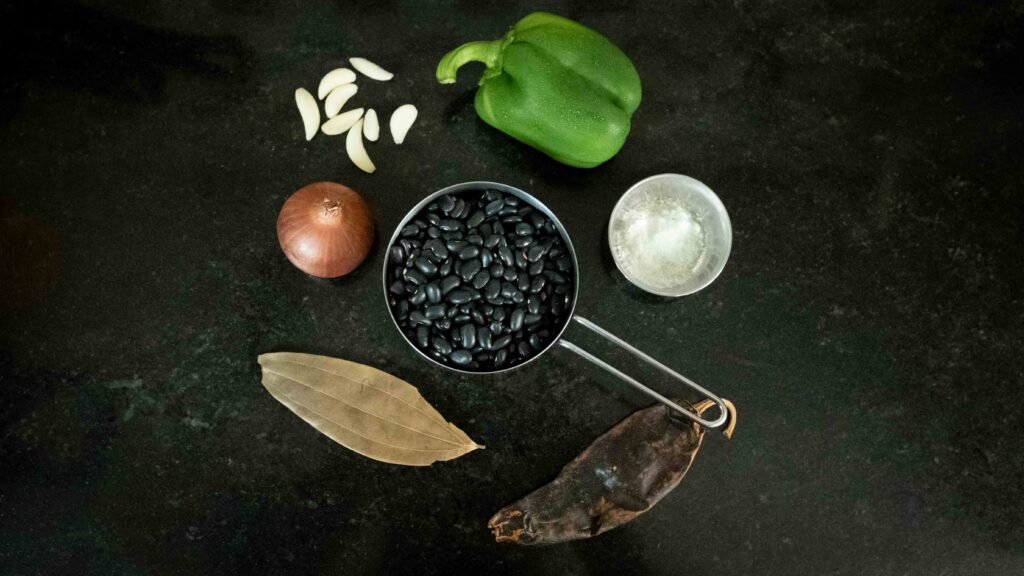
1. 180 gm dried black beans like this
2. 30 gm onion (roughly ½ small) finely diced
3. 30 gm green bell pepper(roughly ½ small) finely diced
4. 3 small cloves of garlic (minced)
5. 1 small bay leaf
6. 1 dried Guajillo chilli like this
7. 1 tsp salt
8. Enough plain water to submerge the beans by an inch (700- 800 ml) + hot water as needed
for the sofrito:
9. 1 tablespoon cooking olive oil
10. 1/16 tsp asafoetida*
11. 30 gm onion (roughly ½ small) finely diced
12. 3 small cloves garlic, finely minced
13. 2 tbsp. tomato paste
14. ½ tsp ground cumin
15. ½ tsp cayenne pepper or Kashmiri red chilli powder
16. 4 green olives stuffed with pimientos, sliced
17. 1 tsp sugar
18. ½ tsp freshly cracked black pepper
19. ½ tsp 1 tsp dried oregano
20. ¼ tsp dried marjoram like this
21. 1 tbsp. salted butter
22. 8-10 drops liquid smoke like this
23. 1 tsp salt
If you live in India and cannot get Mexican Guajillo chillies, you can sub them with a dried Kashmiri or Bedgi chilli, both of which impart a smoky, mild heat, albeit a different flavour. If you do have access to dried Mexican oregano, replace the dried oregano and dried marjoram with ½ tsp Mexican oregano. *Asafoetida (Hindi; hing) is a pungent seasoning used to ease digestive discomfort (typically caused by beans and cruciferous veg). It has a strong garlic/onion like aroma and taste, but since we’re using such a small amount, the overall flavour of the dish won’t be affected. I highly recommend adding it to the dish, else you’re in for a fart fest! If you cannot get asafoetida, add one 6×1 inch strip of kombu or one medium sprig of fresh epazote/1 ½ tsp dried epazote to the pot while pre-cooking the beans. Remember to remove the strip of kombu or sprig of epazote from the pot afterwards.
Method
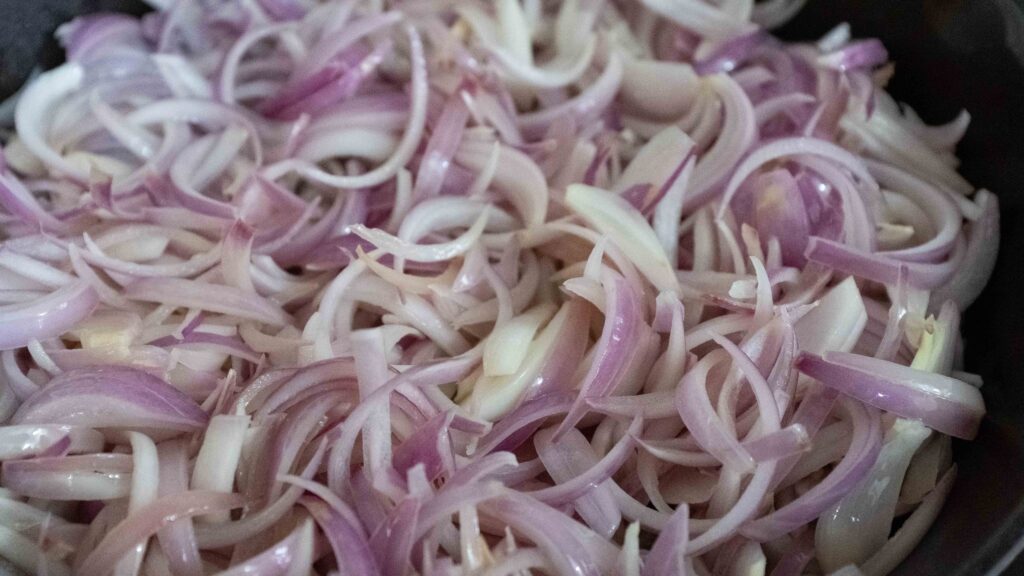
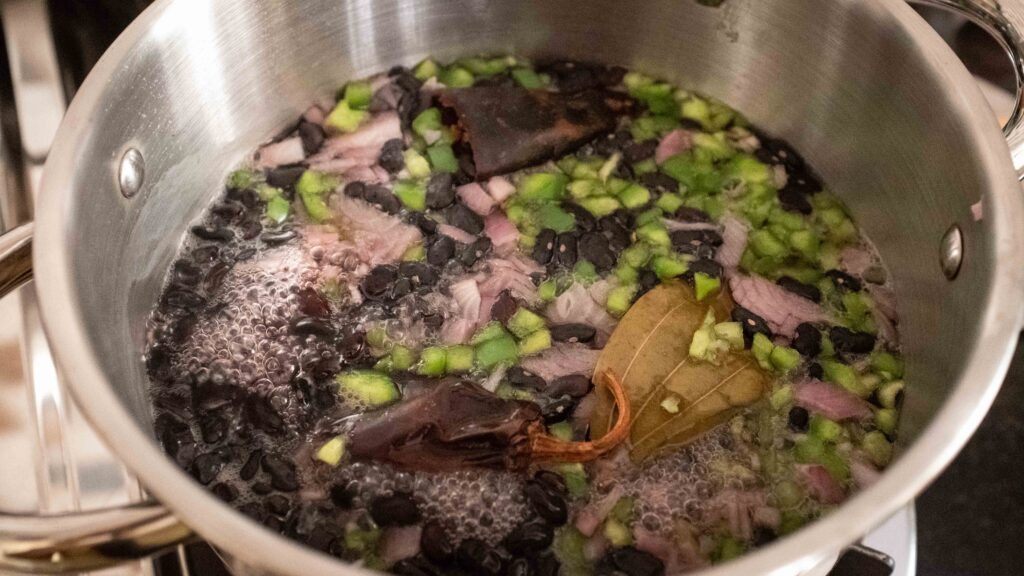
1 – First, rinse the black beans really well, drain them, and place them into your cooking pot.
2 – Add 1 small bay leaf, 1 guajillo chilli broken in half, half an onion diced, 1 small green bell pepper diced, and 3 minced garlic cloves. Add enough water to cover the beans by 1 inch, sprinkle in the salt, and then give everything a gentle stir.
3 – Cover the pot and bring it to a boil over high heat.
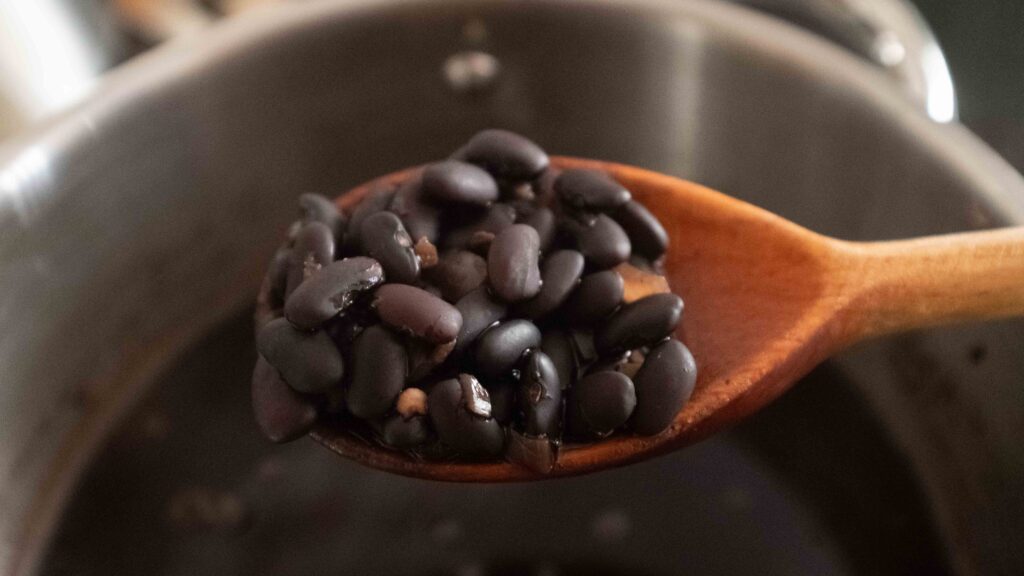
4 – As soon as it’s bubbling, remove the lid and reduce the heat to a gentle simmer. Maintaining a gentle simmer, cook the black beans uncovered for 1-2 hours.
5 – After 1 hour, test a couple of beans by using a spoon to press them against the side of the pot. If they squish down without any resistance, turn the heat off. Else, continue cooking; testing the beans every 15 minutes until they’re plump and tender. As water evaporates, periodically replenish it with about 250 ml hot water to ensure that there’s enough liquid in the pot to fully submerge the beans as they’re cooking. Mine took the full two hours and I used a total of 1500 ml water (750 ml to start + 750 ml additional hot water). If your beans are not tender even after 2 hours, add ¼ teaspoon baking soda to the pot and simmer for an additional 10 minutes. This should tenderise them, but if they’re still not soft, your beans are too old. Once ready, turn off the heat and set the beans aside.
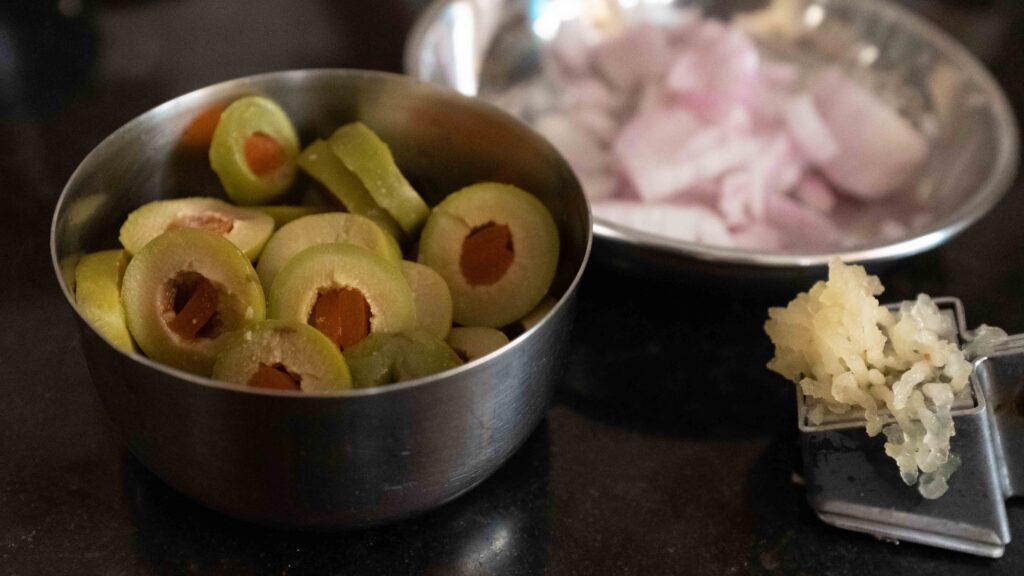
6 – Cut your stuffed olives into 3 mm thick slices, finely dice your onion and mince your garlic. Set it aside.
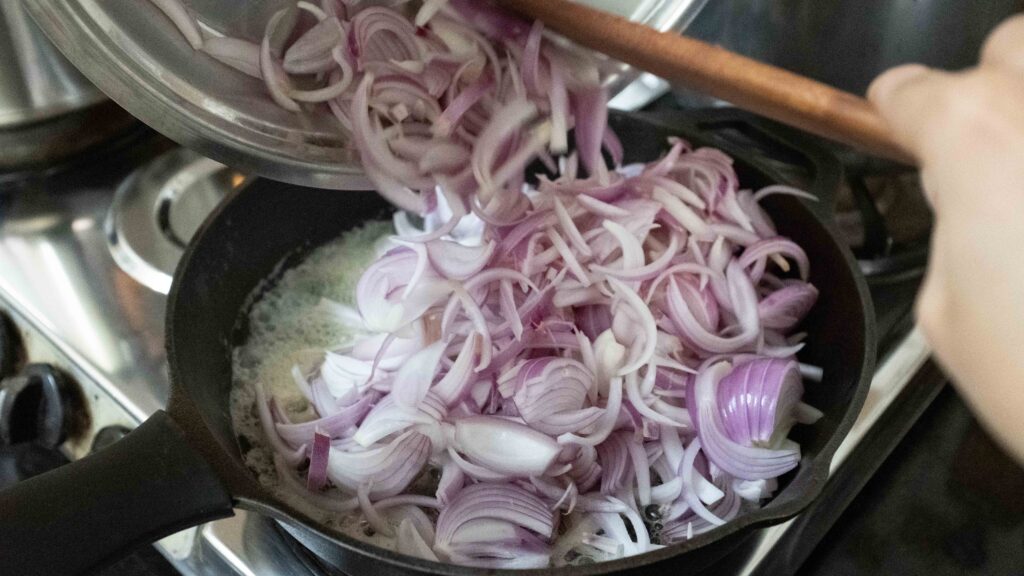
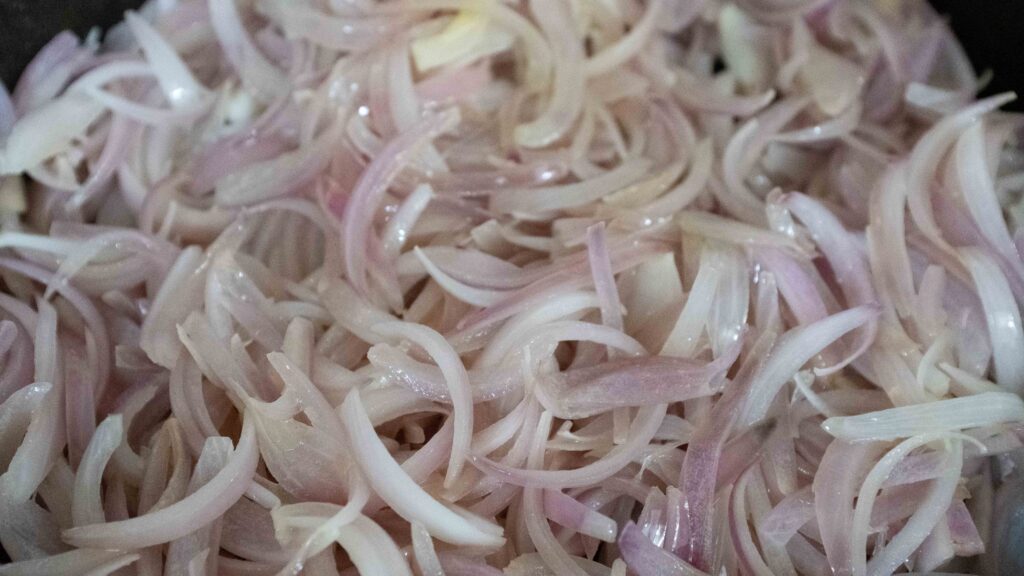
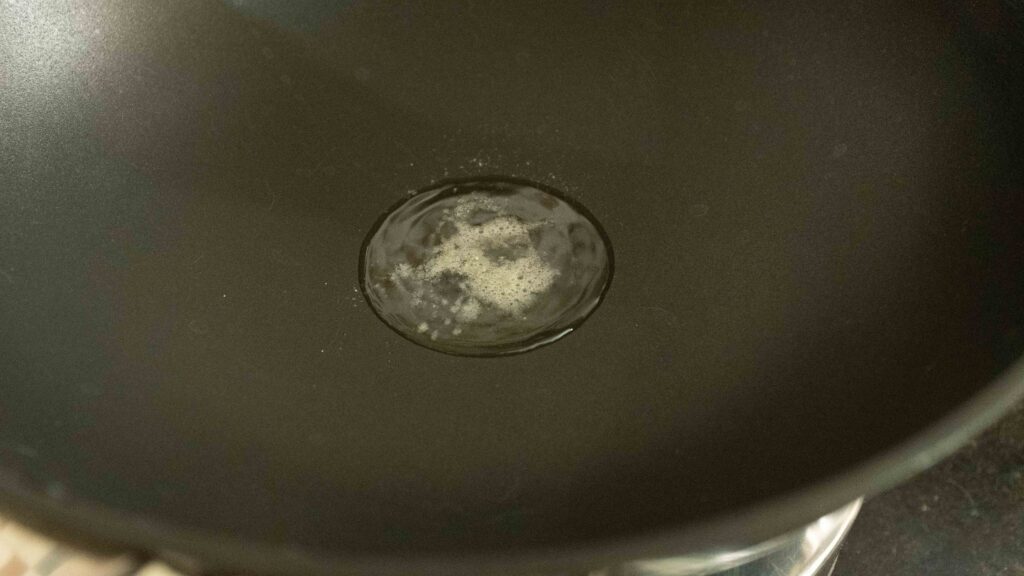
7 – Now heat up a large skillet over medium-high heat. Then add the olive oil and let it heat up.
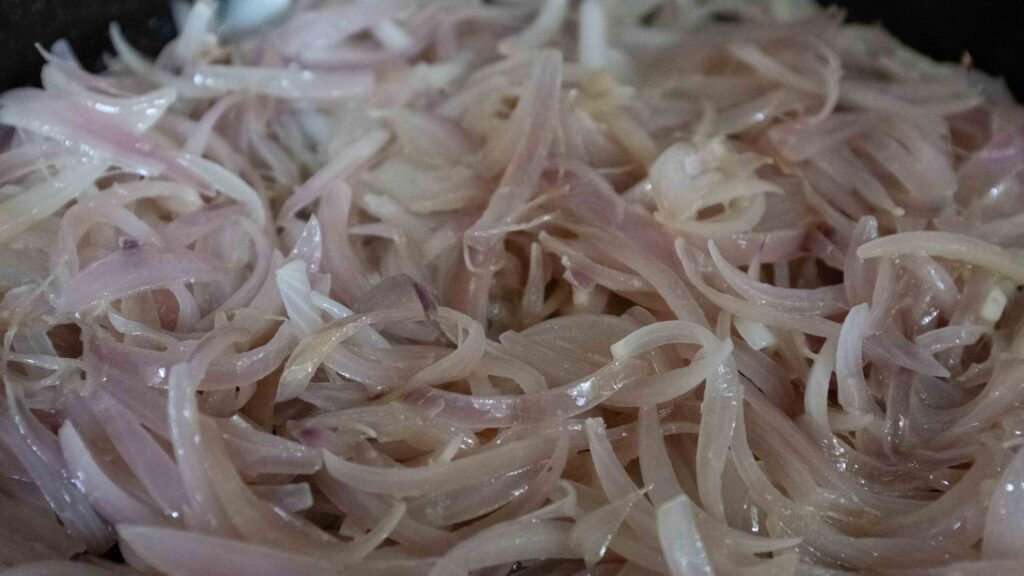
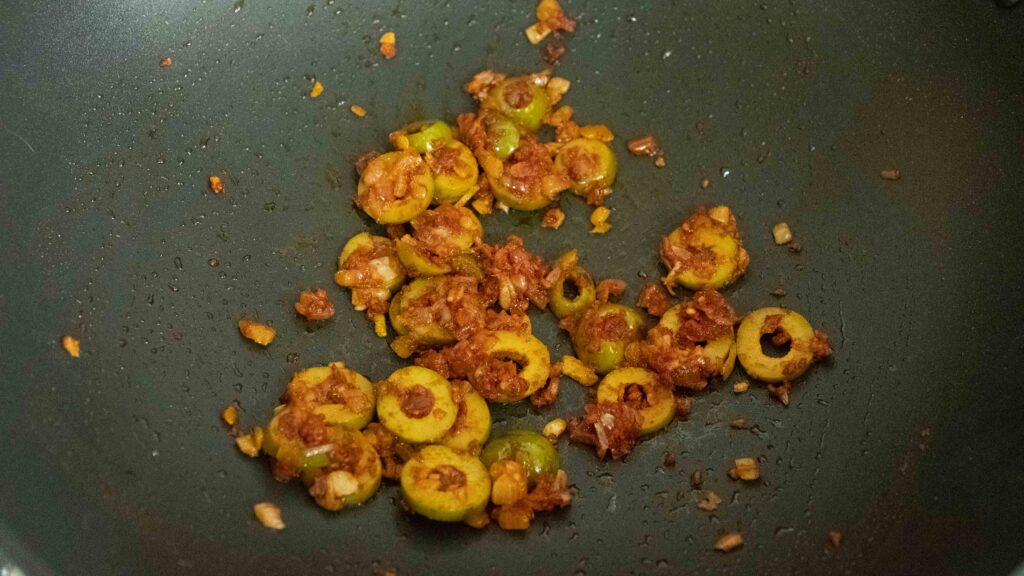
8 – Add in the asafoetida and the diced onions and sauté for 5 minutes until lightly softened.
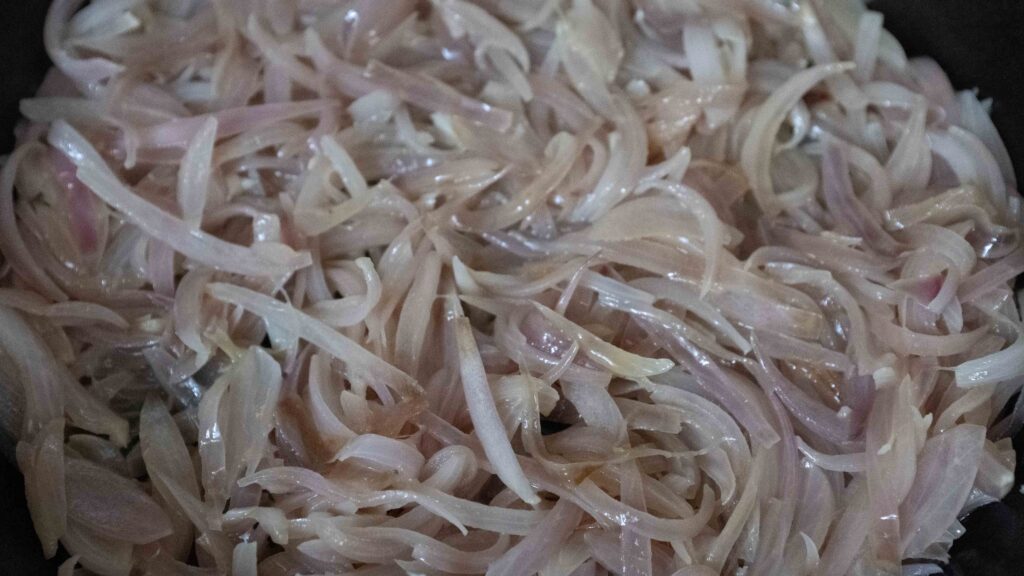
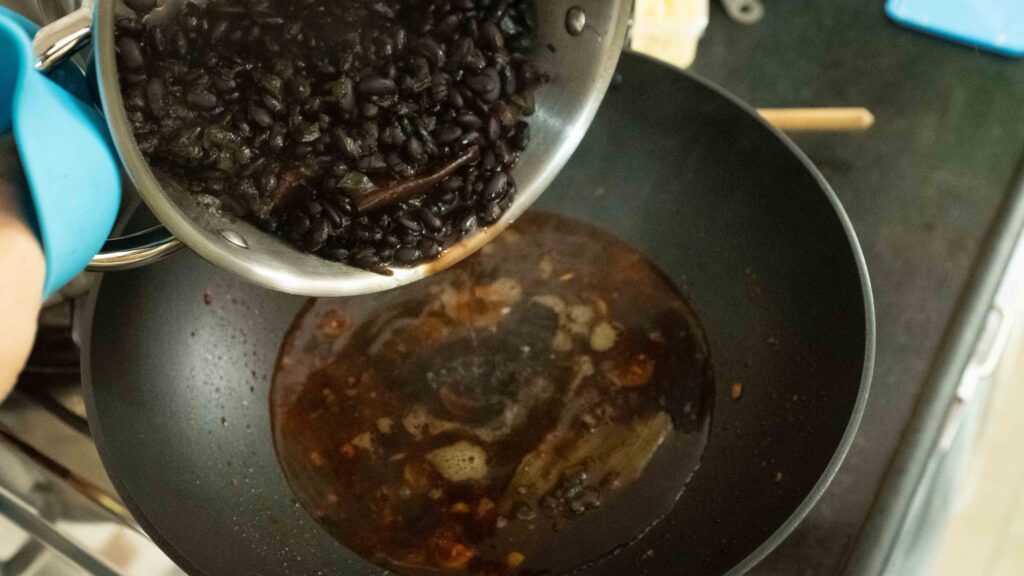
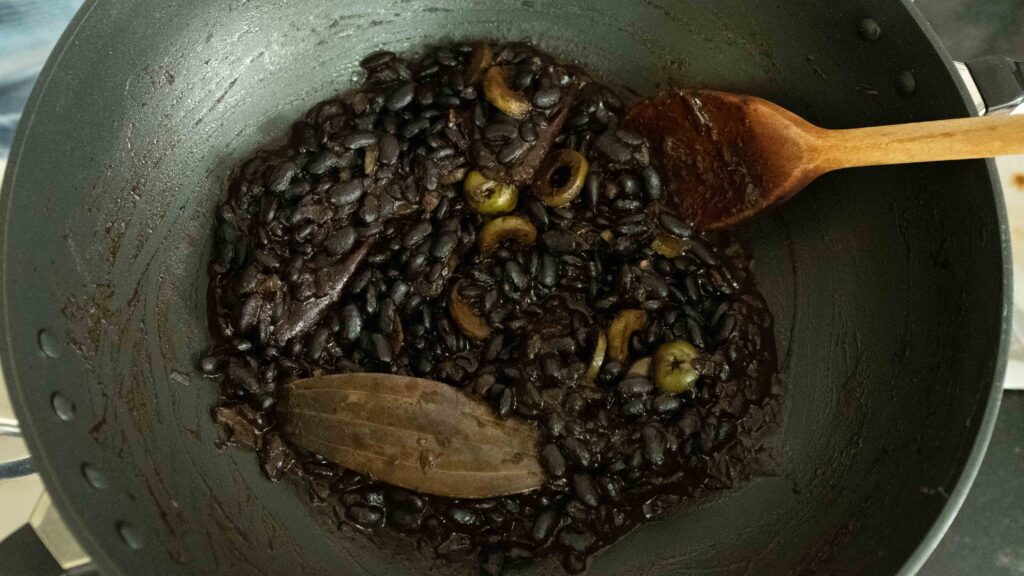
9 – Add in the minced garlic, tomato paste, the sliced olives, cayenne pepper, and cumin powder, and sauté 2 minutes. This is our sofrito.
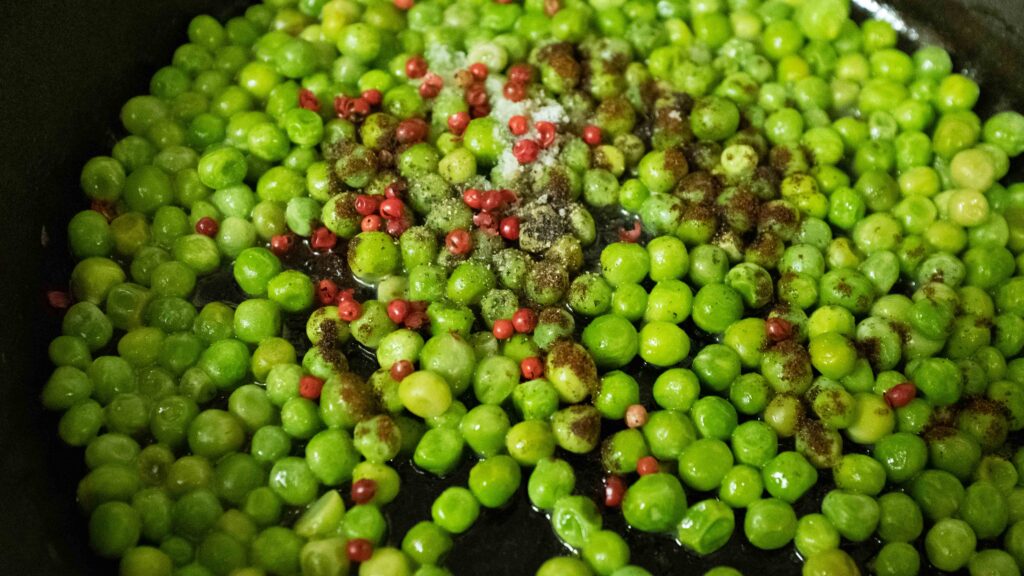
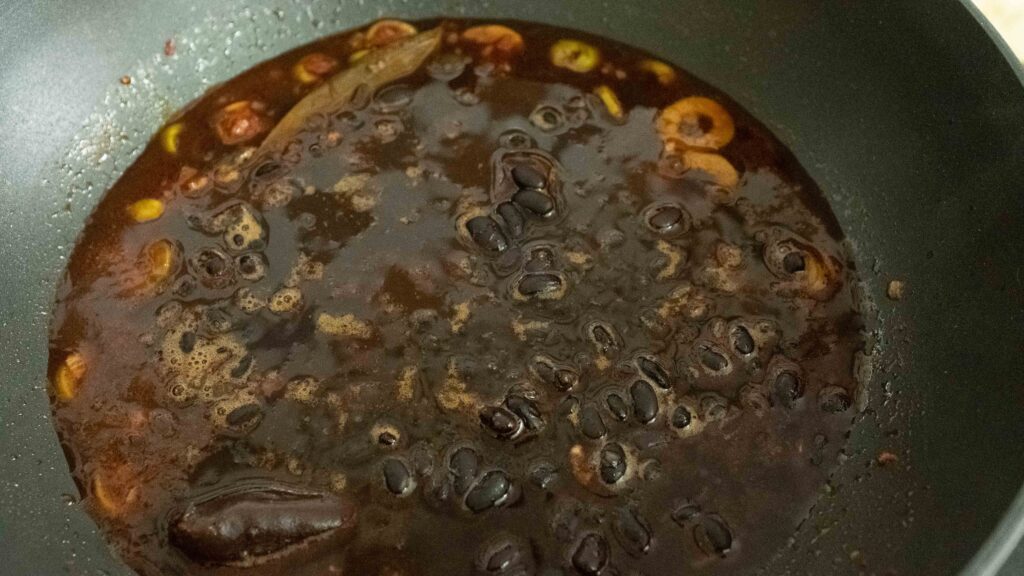
10 – Now add the cooked black beans plus all the juices from the pot. Let the beans simmer on medium-low for 15-20 minutes or until most of the liquid has evaporated.
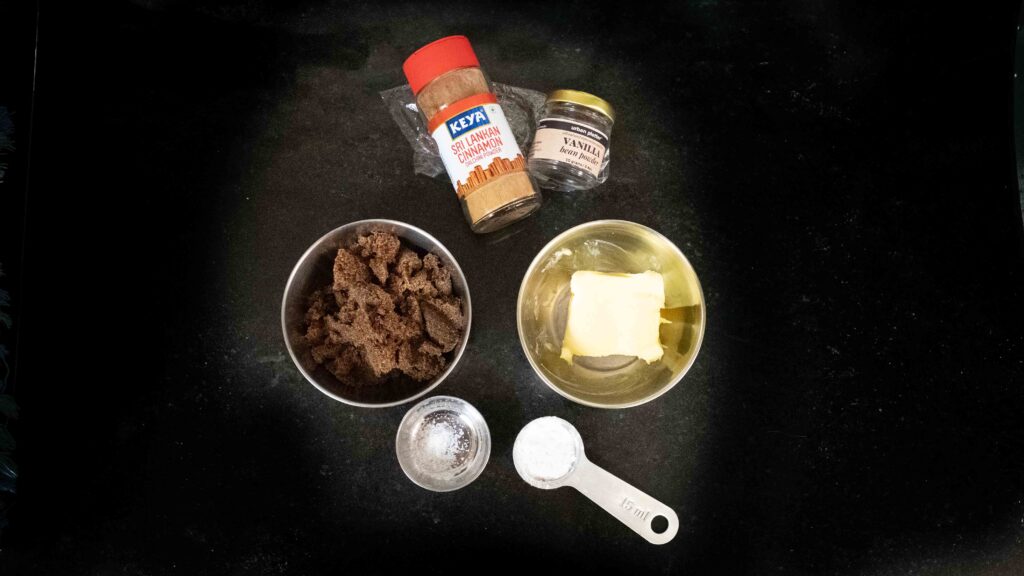
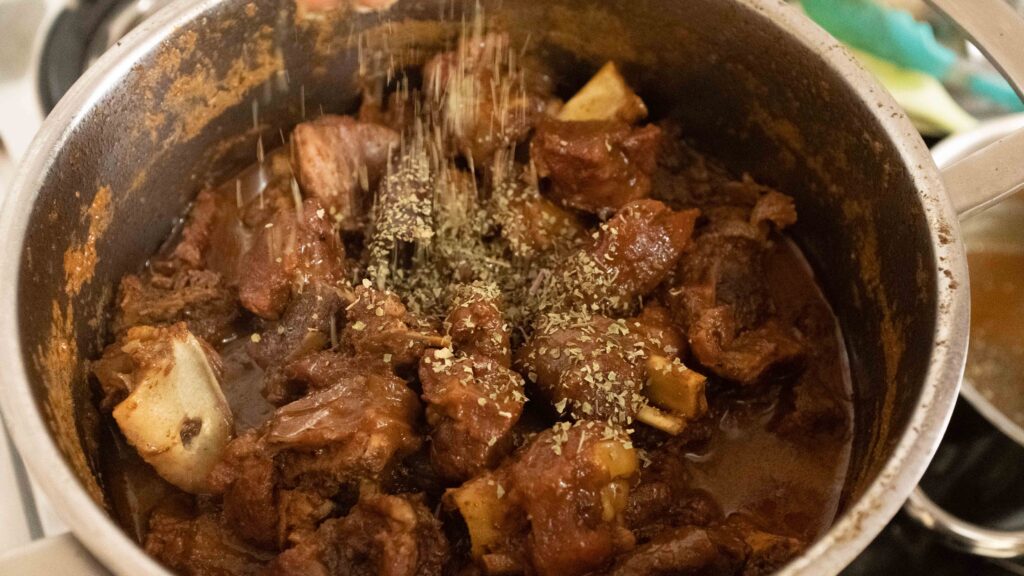
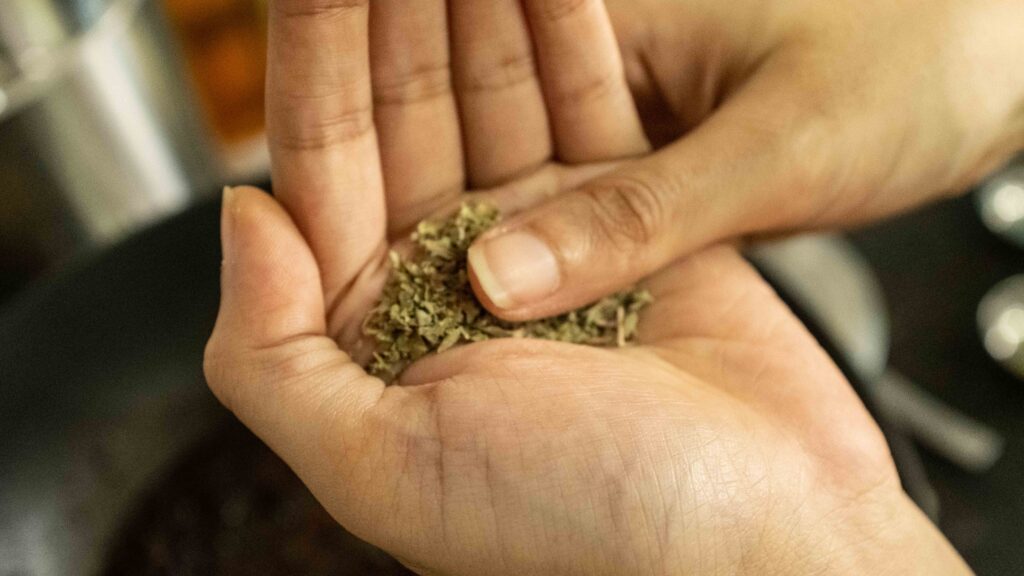
11 – Add the sugar and the freshly cracked black pepper. Now, take the dried oregano and dried marjoram in your palm and use your thumb to lightly crush it into your palm (like you are crushing tobacco). Add it to the pan as well and let everything simmer for another 2-3 minutes.
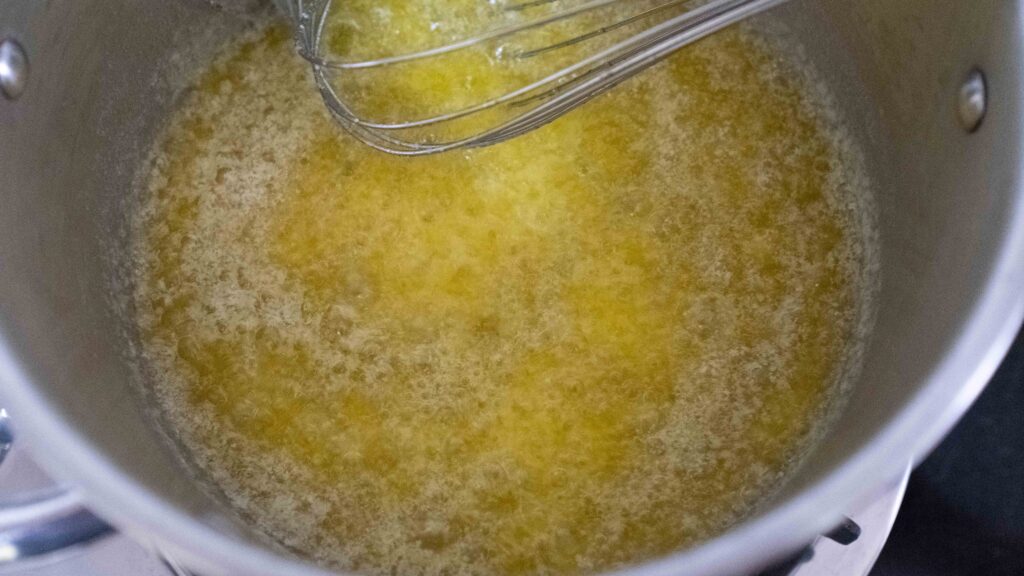
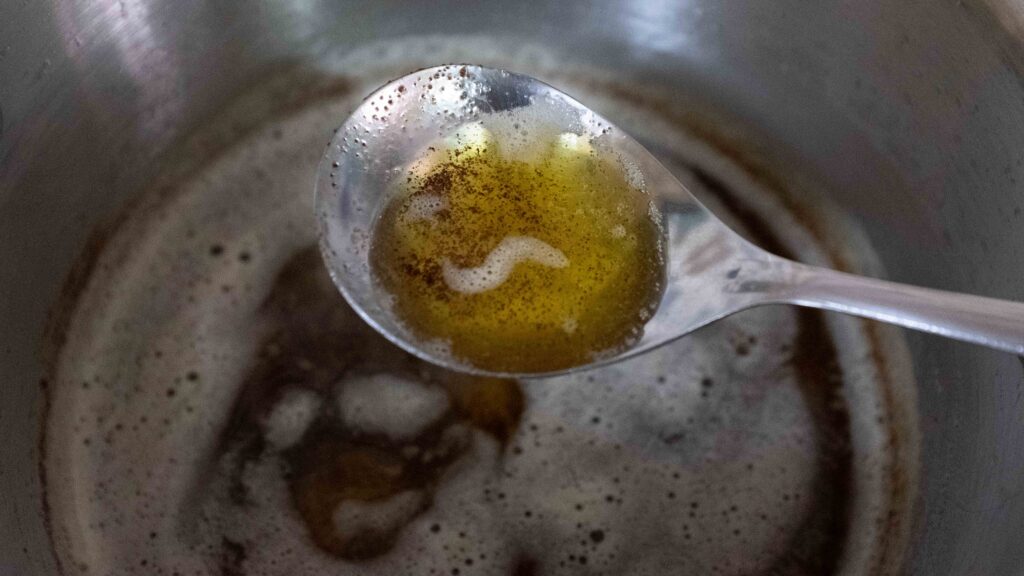
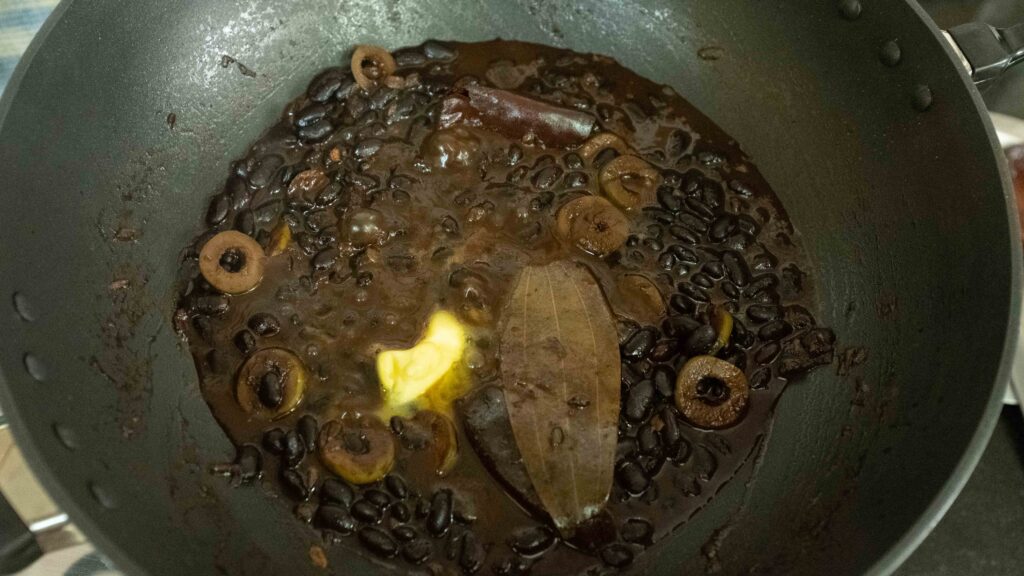
12 – Add the liquid smoke and butter to the bean mixture and let the butter melt down. Taste for salt and adjust as needed. I added 1 teaspoon at this point. Switch off the stove.
13 – Before serving, remove the bay leaf. If not serving immediately, cool the beans to room temperature and then store it in an airtight container in the fridge.

While researching this dish, I came across the Spanish term “sofrito”, which means ‘to lightly fry’. Generally comprising tomato paste, olive oil, onions, garlic, herbs, and peppers, a sofrito is the aromatic element of a range of Spanish-inspired dishes. It is used as a flavour-base for paella and stews, added to the stuffing for empanadas, or served with rice or eggs as a topping or side-dish. Unlike thick-skinned beans such as kidney beans, chickpeas, and certain lentils, black beans are thin-skinned and do not benefit from a pre-cook soaking. In fact, soaking black beans dulls their colour and flavour. Unless you have a batch of very stale or old beans, do not soak them before cooking. Here’s the unfortunate reality about cooking beans from scratch – you’ll never know exactly how long they’ll take to cook. Check your bag for a packaged/manufactured date. Ideally, the beans should be cooked within 4 months of that. If they’re reasonably fresh, they’ll be done cooking on the stove between 1-2 hours. If you store loose beans and don’t know their age, it’s impossible to say how long they might take and how much water you’ll need during cooking. In fact, sometimes, very old beans will never properly soften, making them unfit to eat. I do not recommend cooking black beans in a pressure cook to speed things up. For starters, you can’t keep an eye on them. And because cook times for black beans vary with every batch, there’s too much trial and error involved. If they’re undercooked, you’ll need to re-pressurize the cooker and cook the beans for longer (how much longer is always a guessing game). Sometimes, the beans cook unevenly because they run out of water along the way. Or you cook them a few minutes too long and they become mushy and bland. Moreover, whenever I have cooked black beans in the pressure cooker, 80-90% of the beans have blown out because they rehydrate too rapidly thanks to the intense, pressurised heat. When I make them on the stove, not a single bean blows out! So, while cooking black beans in an open pot does take time, the end results more than makes up for it in terms of flavour, texture, and saved time and effort. You can make these beans in advance and store them for 4-5 days in the fridge or even freeze them for up to 4 months to eat later! After cooking, bring the beans to room temperature. Then transfer them to freezer-safe containers before stowing them away. Defrost the beans in the fridge before using them in tacos or burritos, or just to eat with some plain rice.
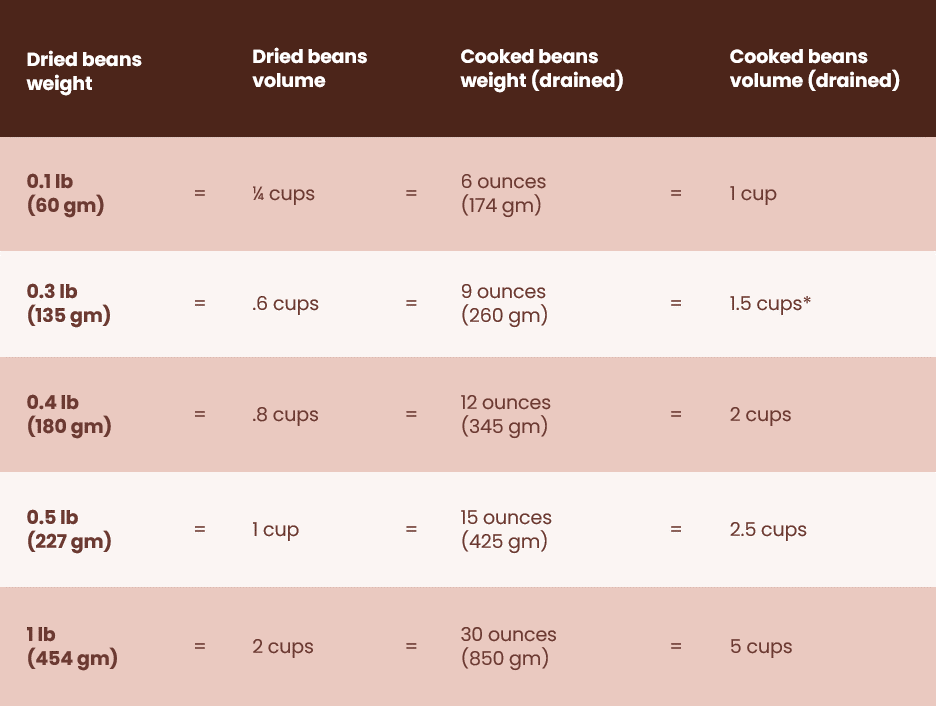
You can double or triple the amount of beans you want to make using the below table as a guide:
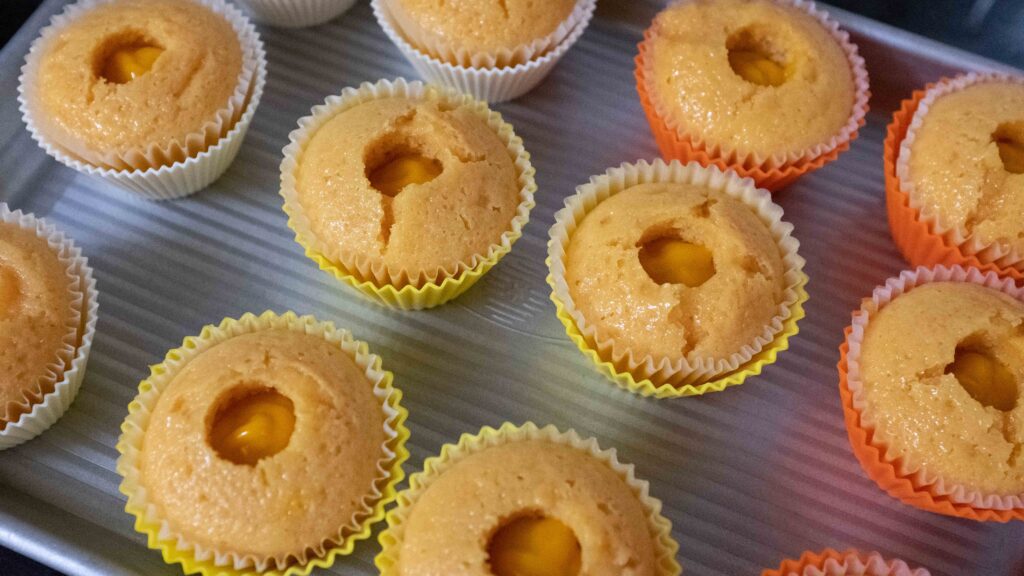
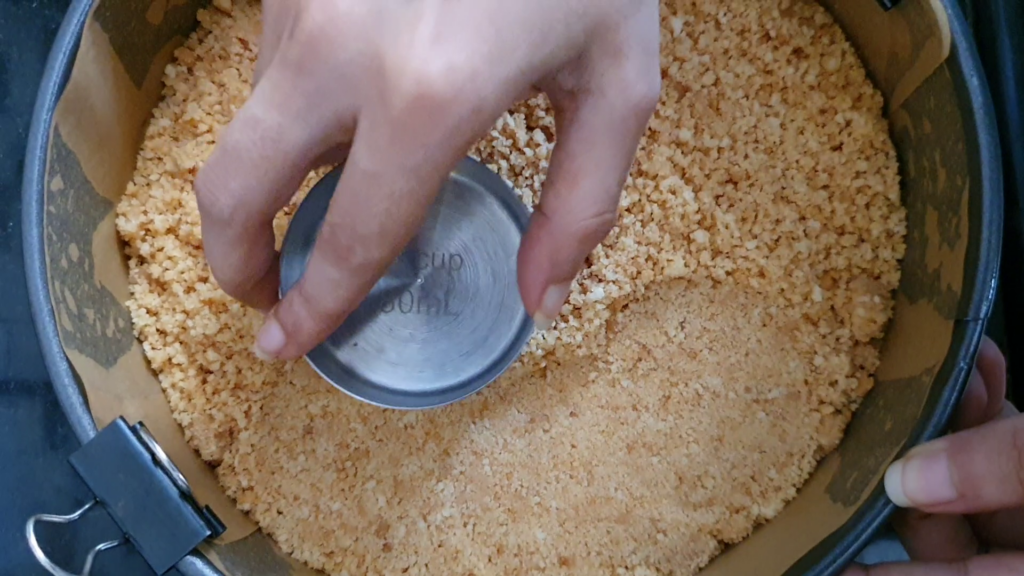
Stage 4: corn tortillas
Mayan legend has it that a peasant invented the corn tortilla (pronounced tor-ti-yaa) as a gift for his hungry king over 12,000 years ago. In fact, the corn tortilla can trace its roots back to the Sierra Madre Mountains of Mesoamerica, where it was called “tlaxcalli” in the native language. The term “tortilla” meaning “little cake” in Spanish, was only given in the 16th Century, with the Spanish colonization of the Americas. Made tremendously popular through the proliferation of Mexican cuisine, today, this humble unleavened flatbread is no stranger to Indian households.
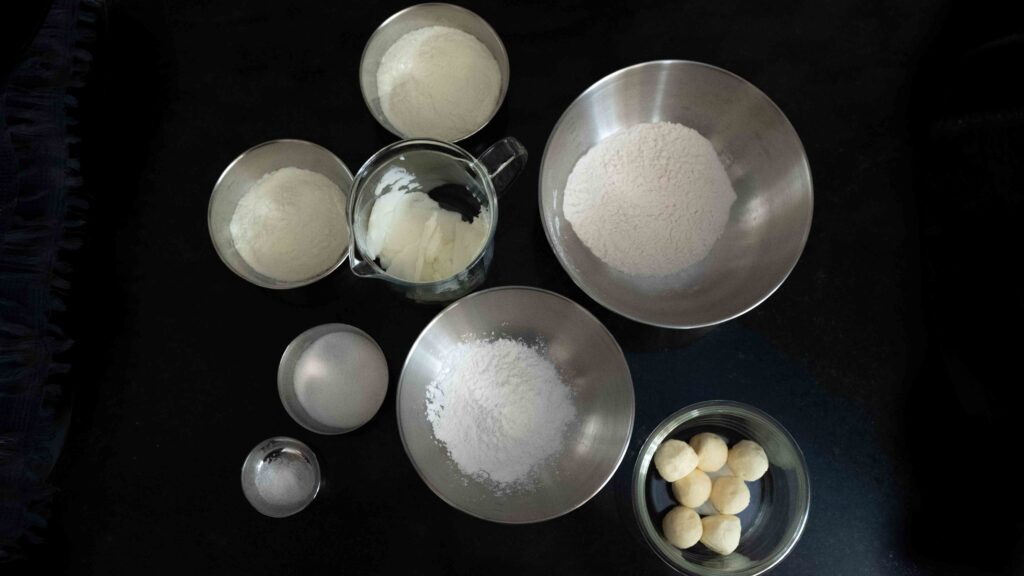
Ingredients
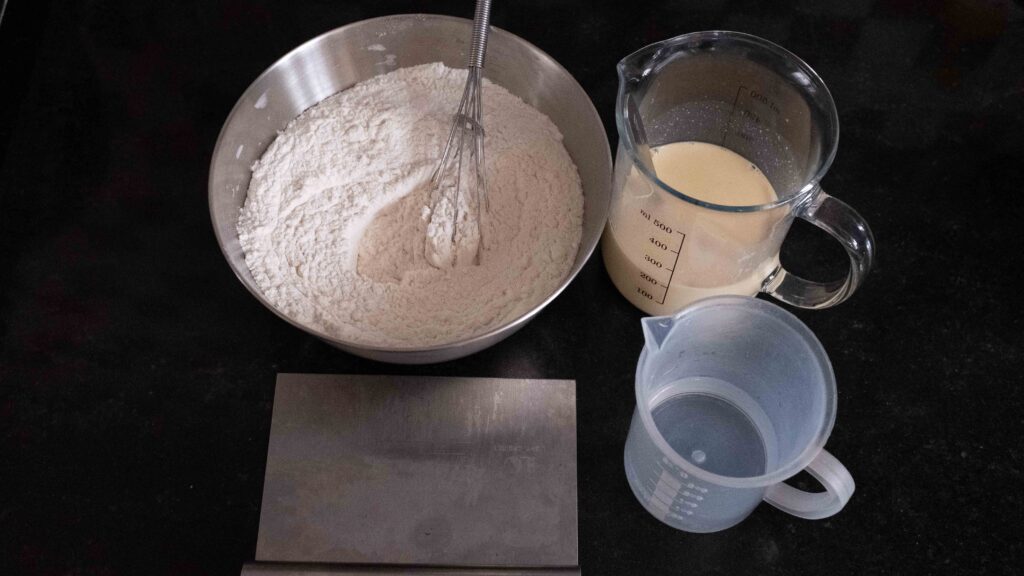
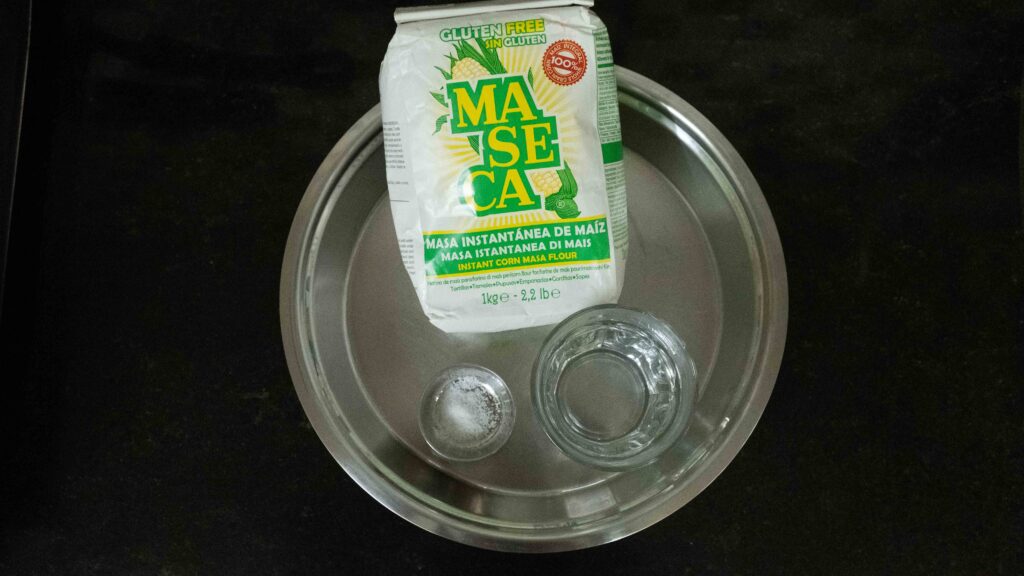
1. 400 gm instant corn masa flour aka masa harina like this
2. 720-740 ml hot water (55OC)*
3. 1 ½ tsp salt
Materials
1. A tortilla/poori press like this
2. A large resealable plastic bag
3. A bowl lined with a tea towel which can overlap to cover its contents or a chapati dabba lined with cloth
4. A flat griddle or skillet, preferably cast iron
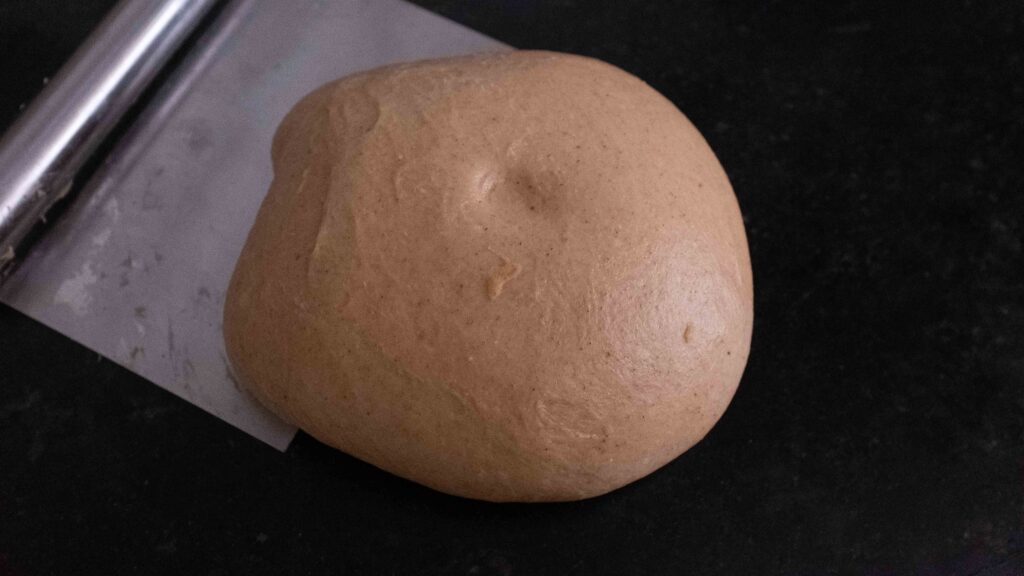
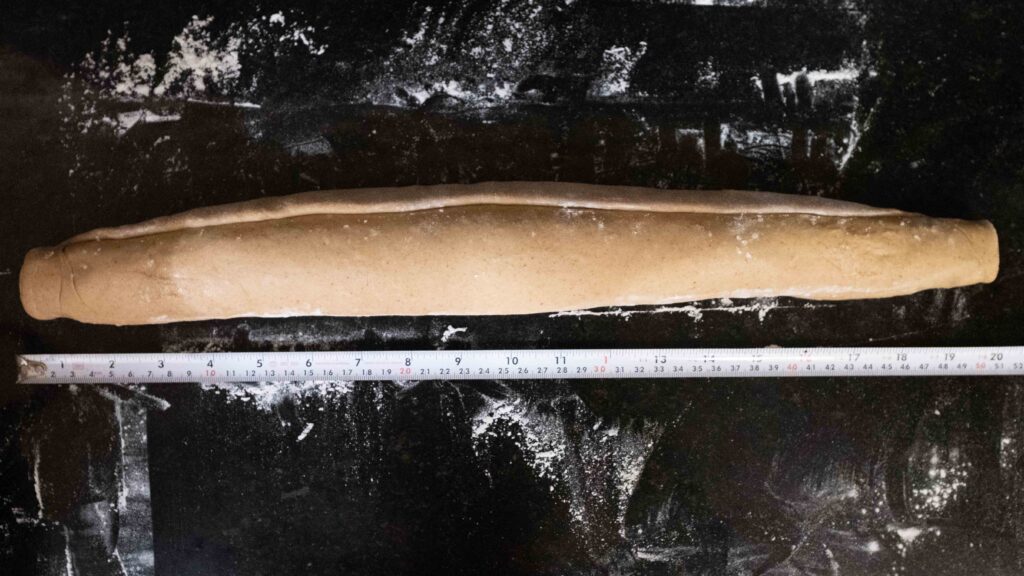
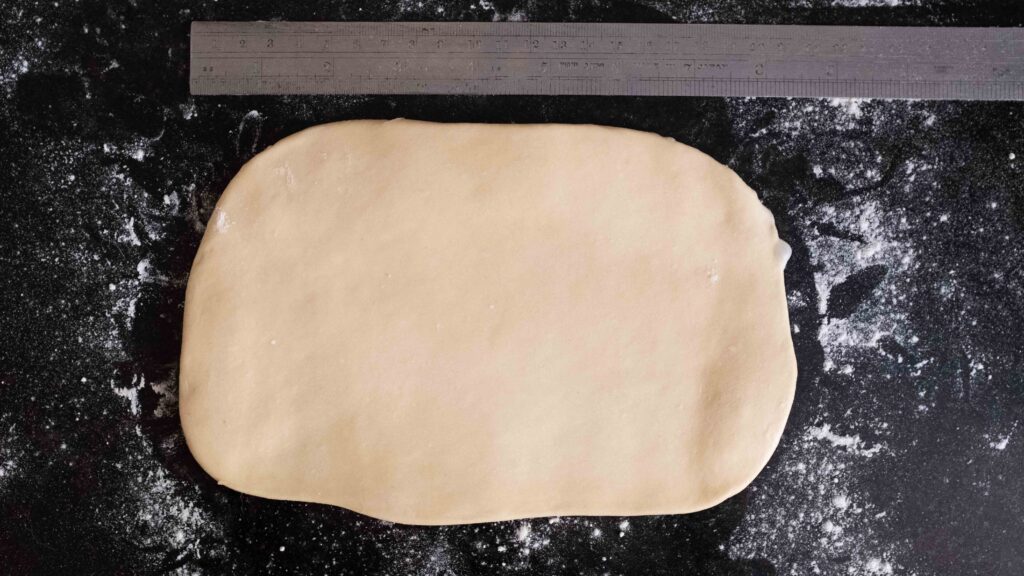
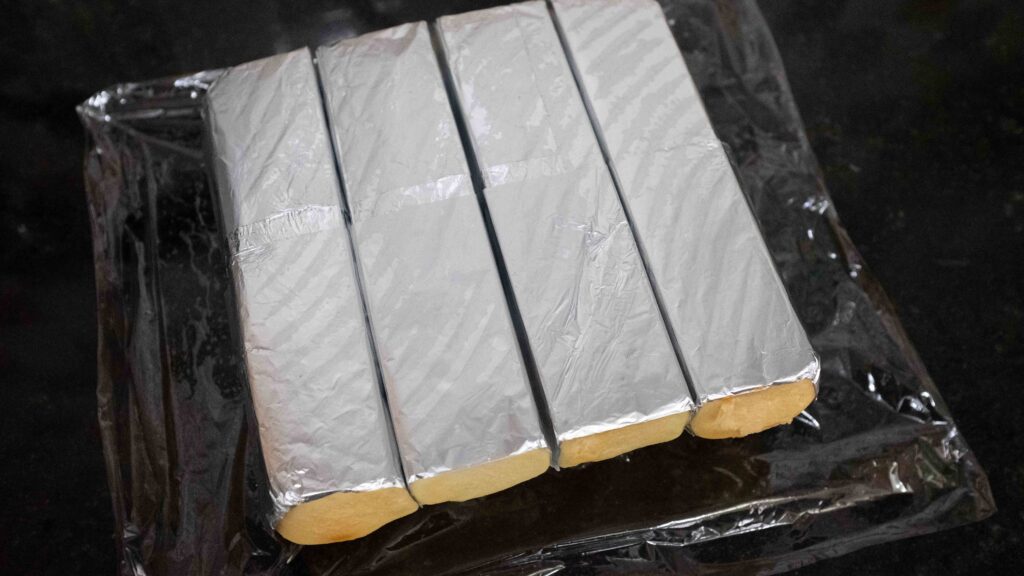
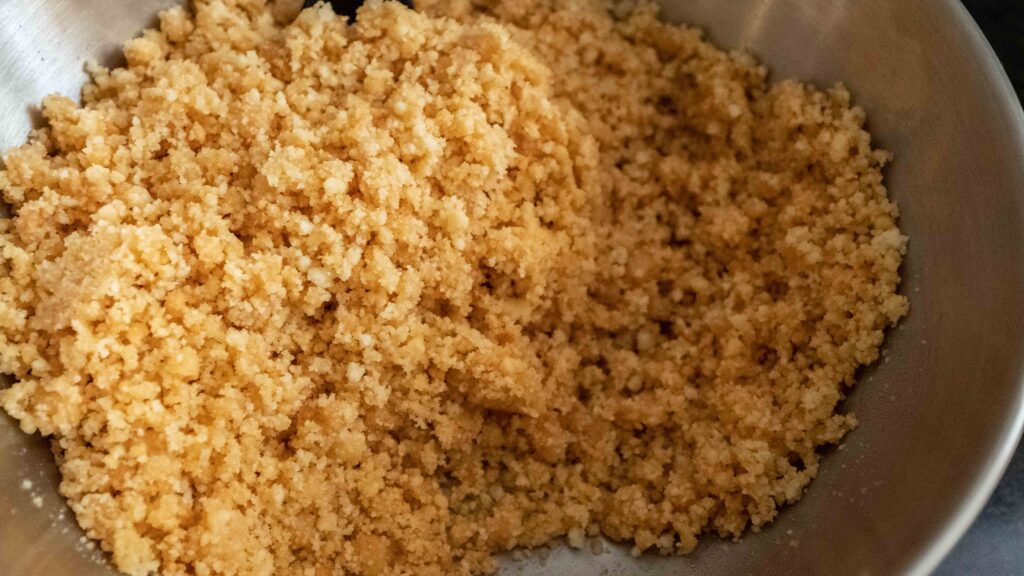
A traditional corn tortilla begins with nixtamalization; the process of curing dried corn kernels in an alkaline solution, which causes the skin to peel off. The corn kernels are then ground, cooked, and kneaded into a dough. This dough gets divided into golf ball-sized portions and then each ball is patted into a thin round and cooked on a hot griddle. Ain’t nobody got time for that! To make fresh tortillas in the kitchen, we’re going to use something called instant corn masa, or what’s popularly known as ‘masa harina’. Please note, masa harina is made from corn that has undergone nixtamalization and cannot be substituted for corn starch (aka corn flour), maize flour (Hindi; makki ka atta), or any other kinds of maize meal or cornmeal. This dough recipe makes twenty-four 5-inch tortillas. Please feel free to scale up or down according to how many servings you want to make.
Prep
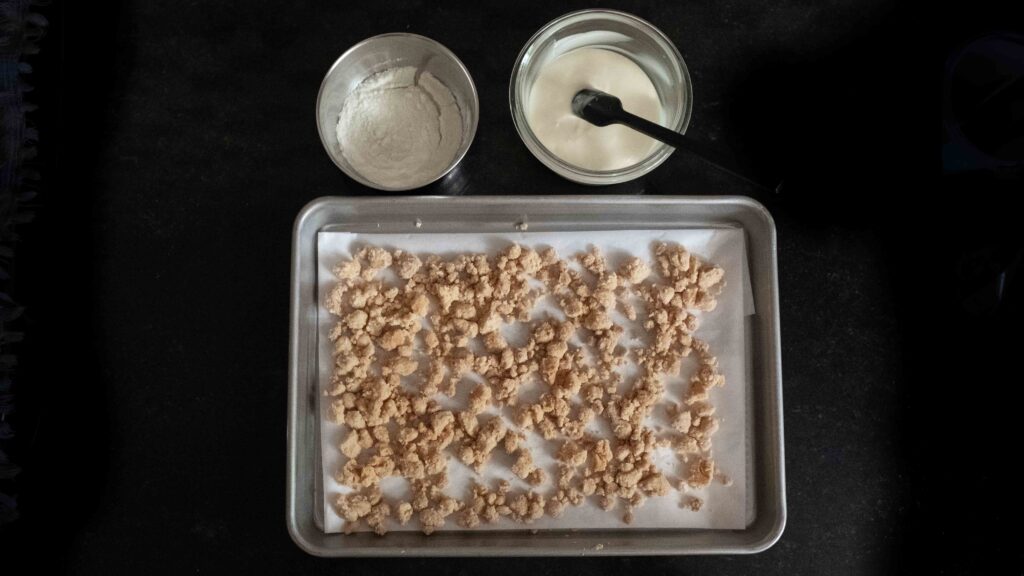
1 – Take your resealable plastic bag and cut out 2 rounds, slightly smaller than the size of your tortilla press plates. My press plates have a diameter of 8 inches, so I cut out two 7 ½ inch rounds. Make sure your rounds of plastic are completely free of wrinkles or folds.
Method
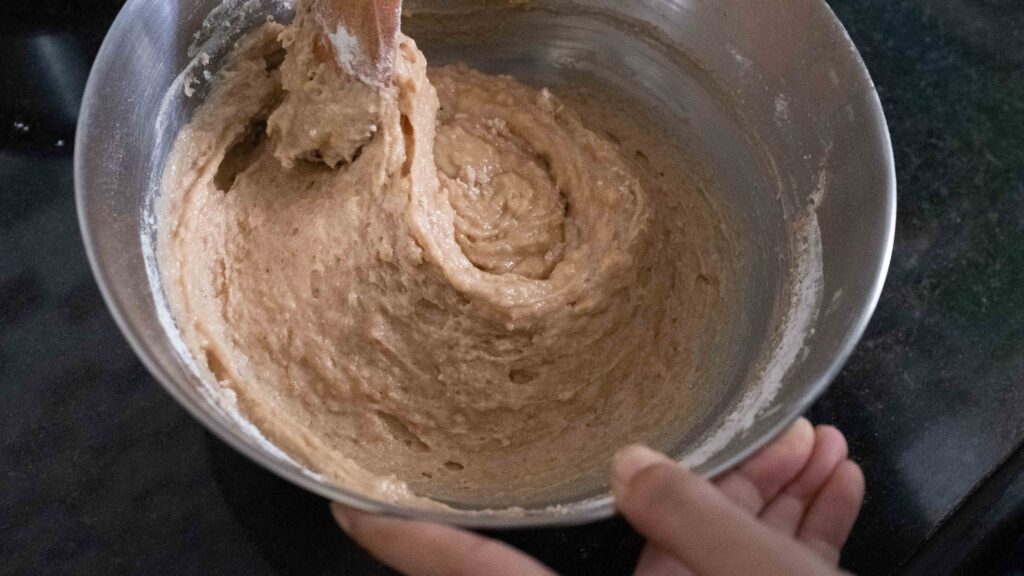
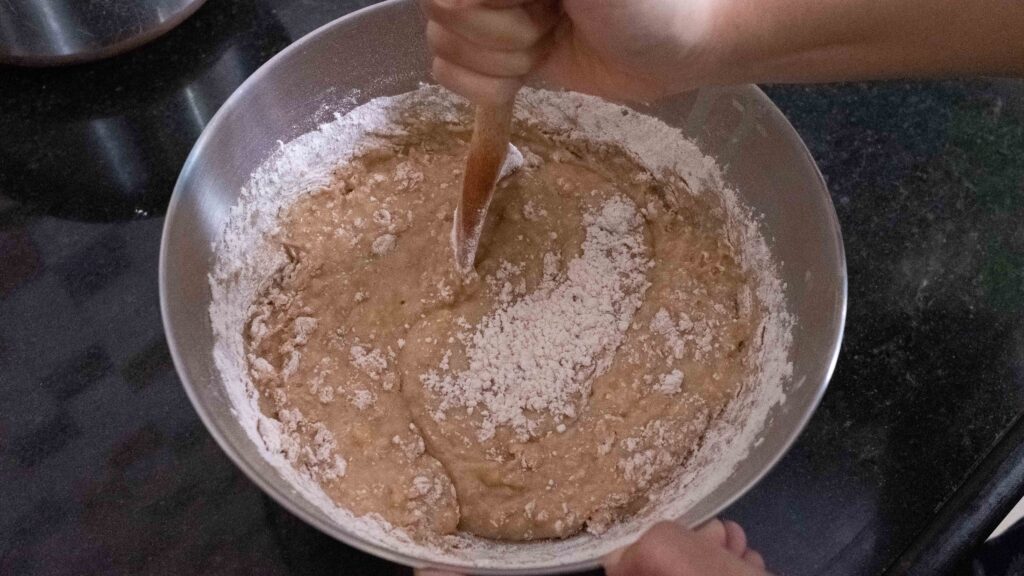
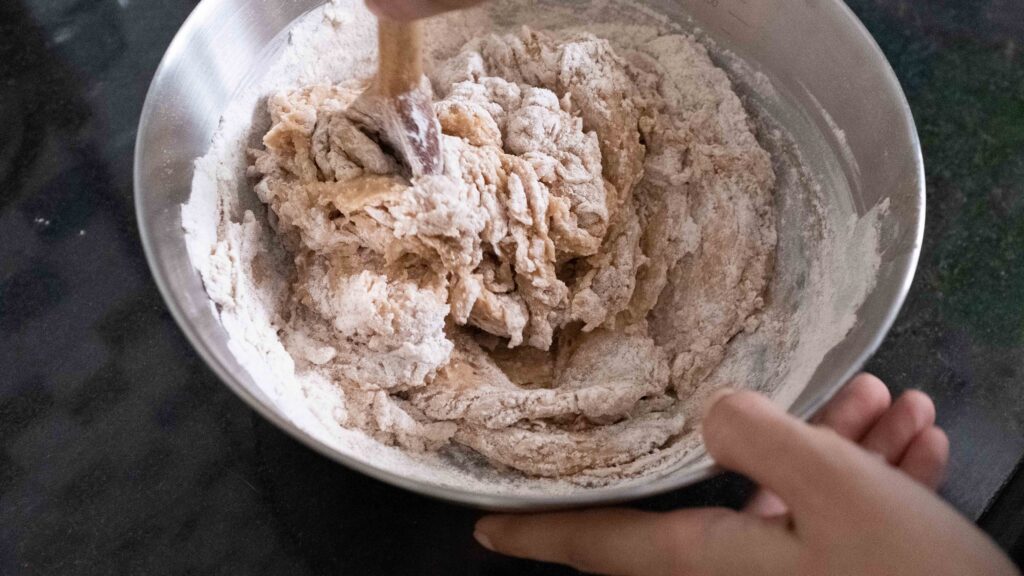
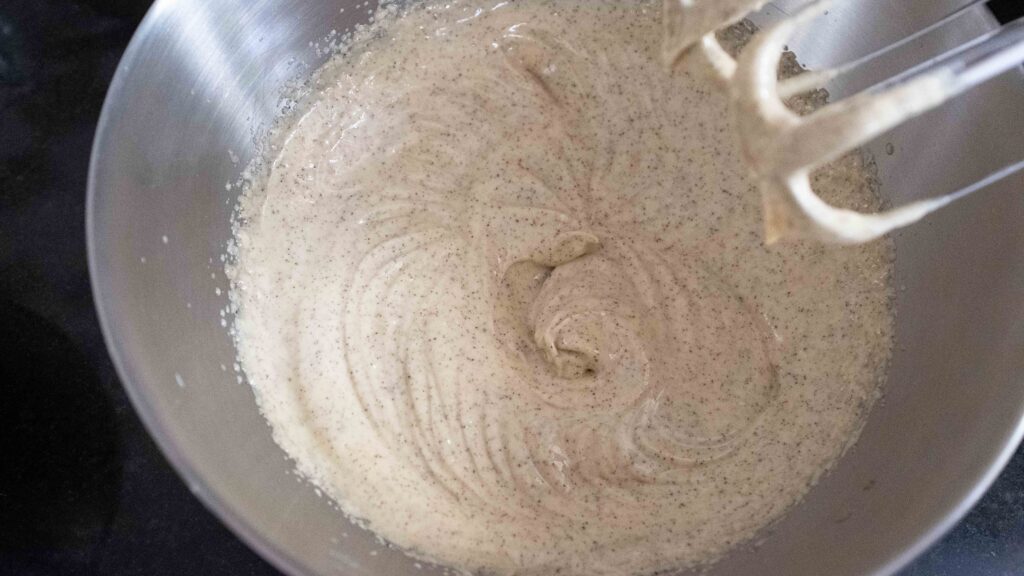
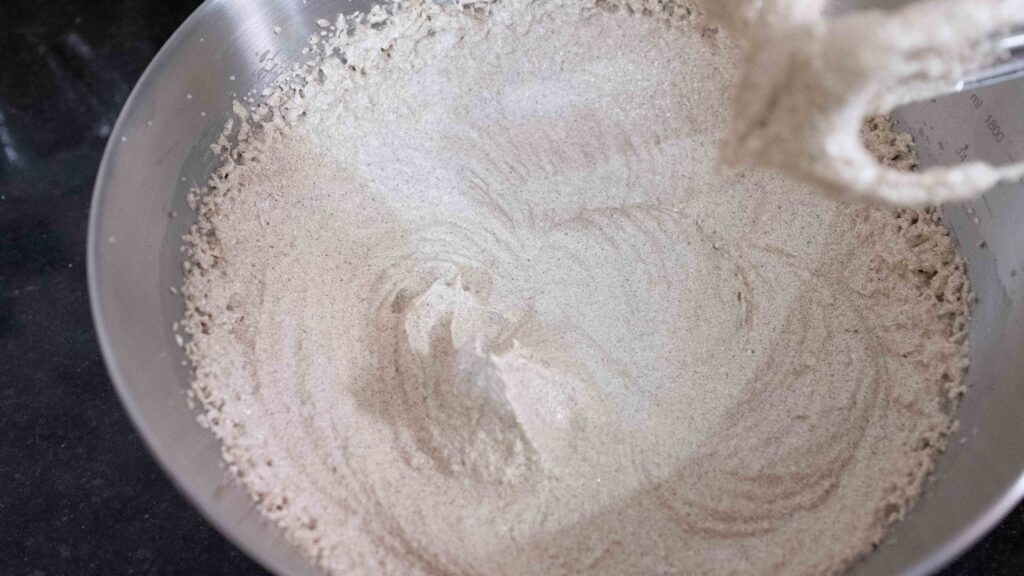
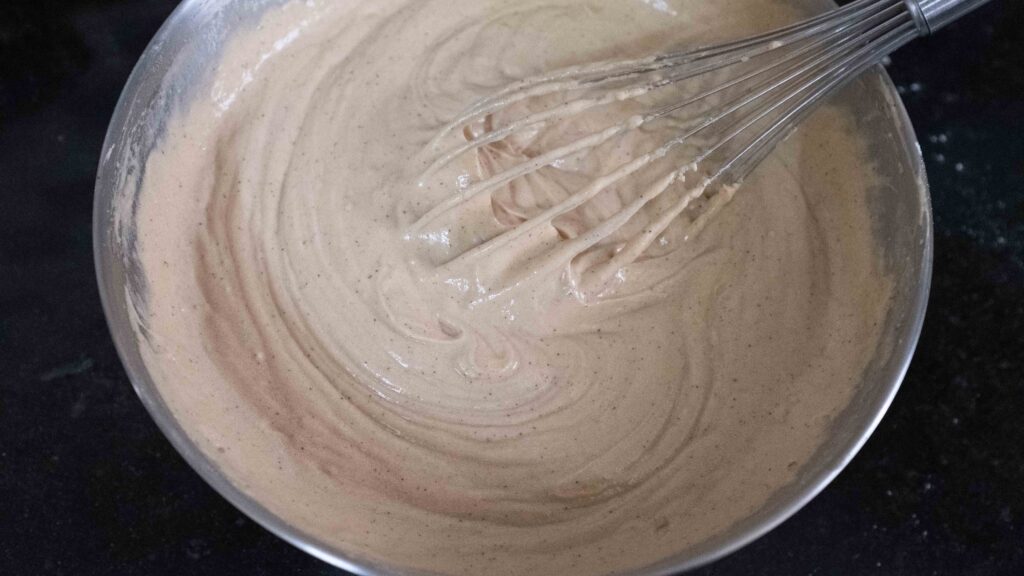
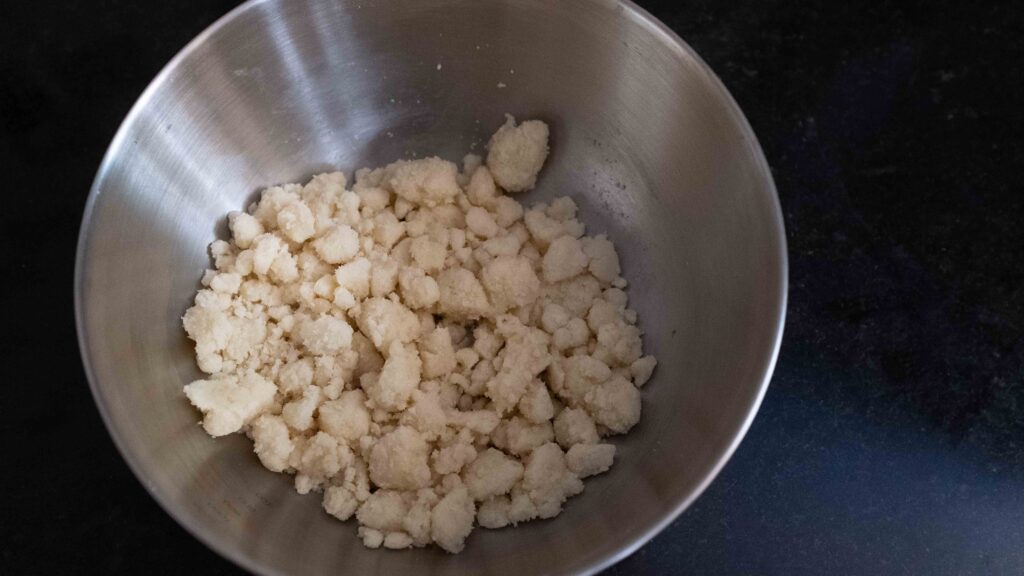
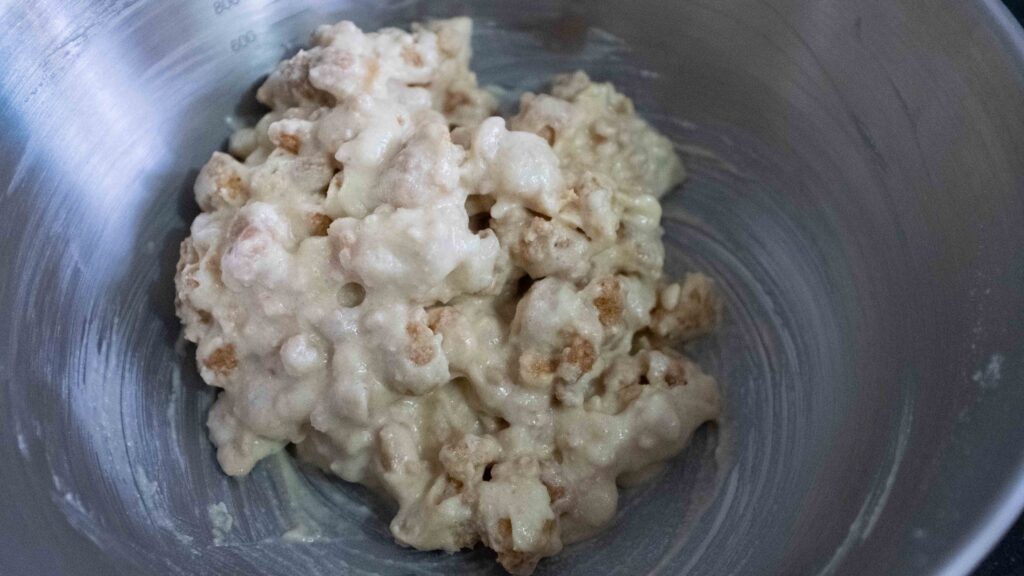
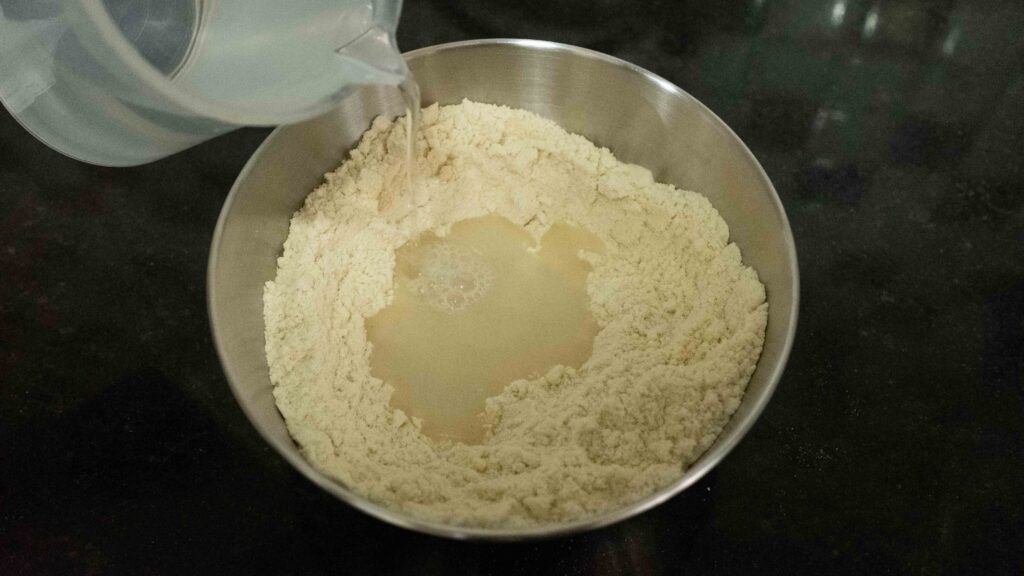
1 – Add the masa harina to a large bowl and sprinkle in the salt.
2 – Pour in the hot water, reserving 20 ml. Stir the mixture with your fingers until the dough starts to come together.
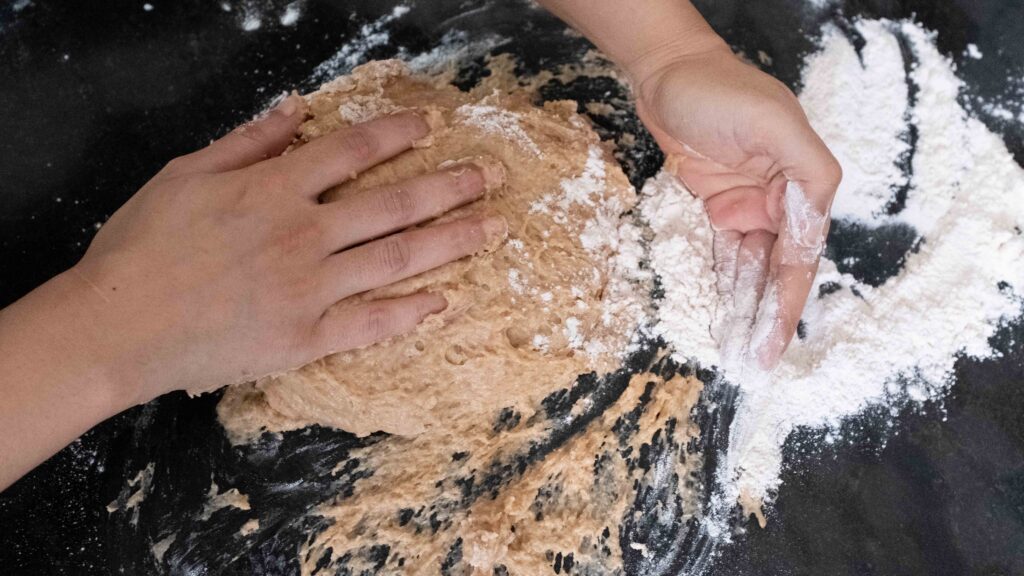
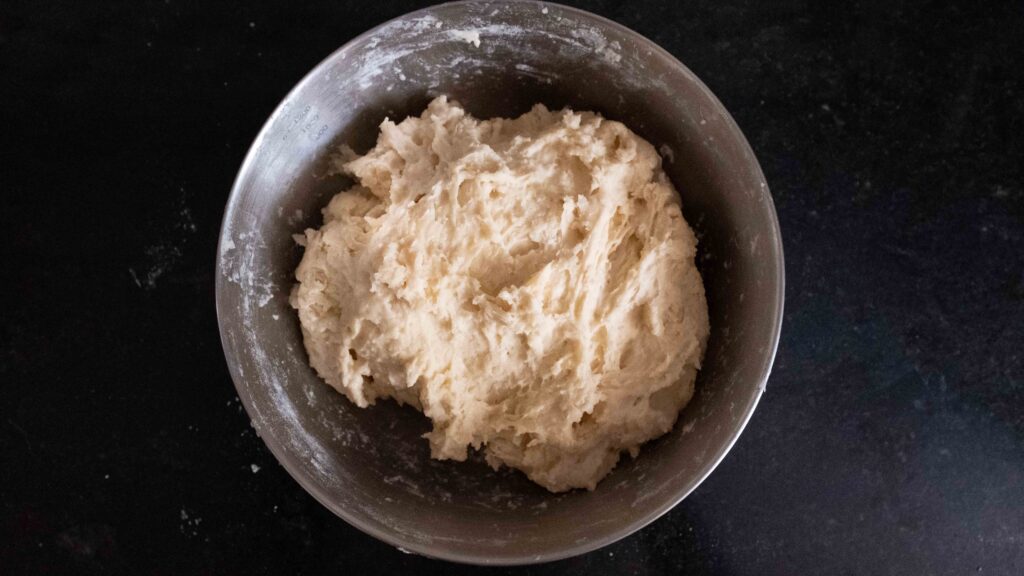
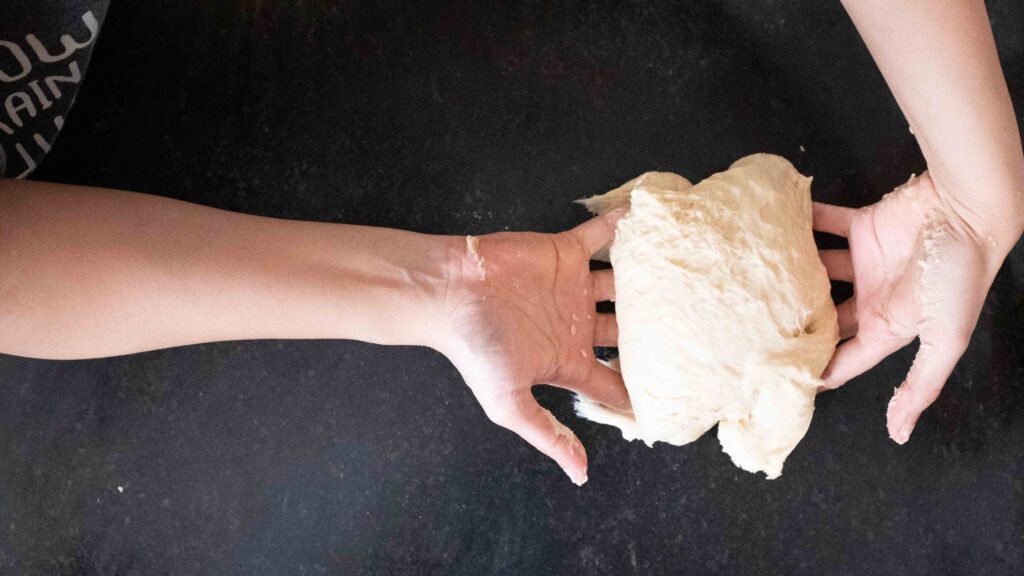
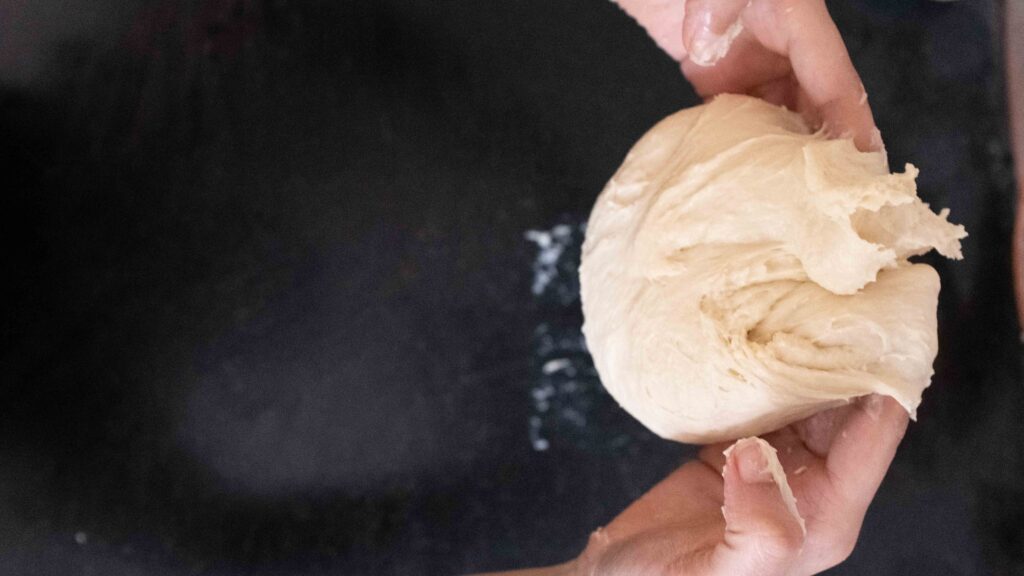
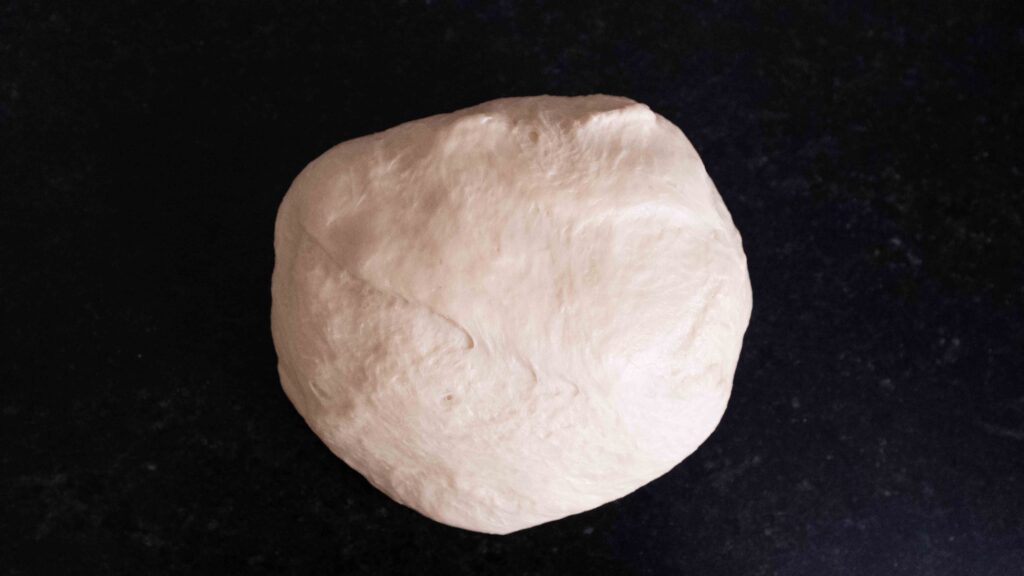
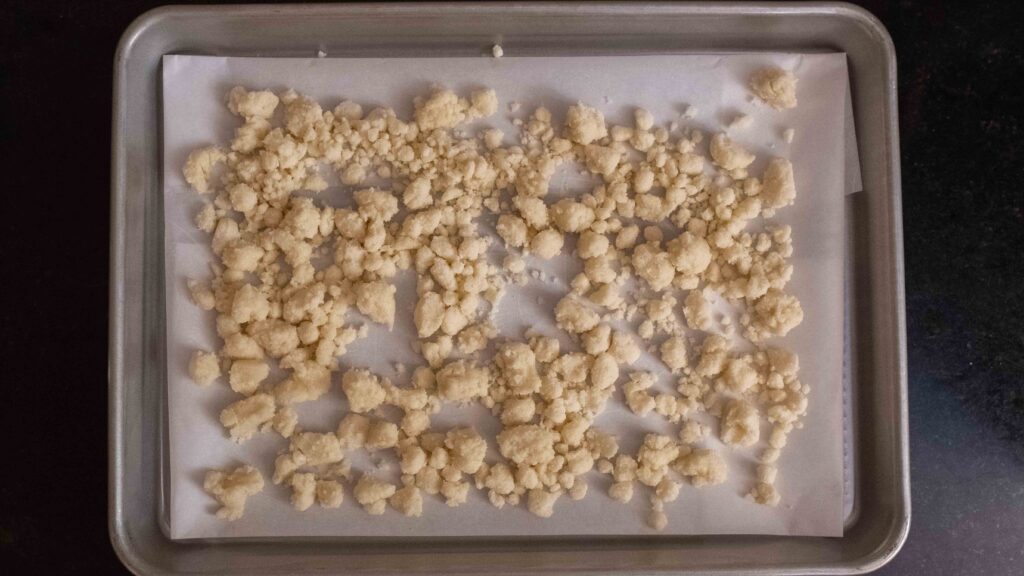
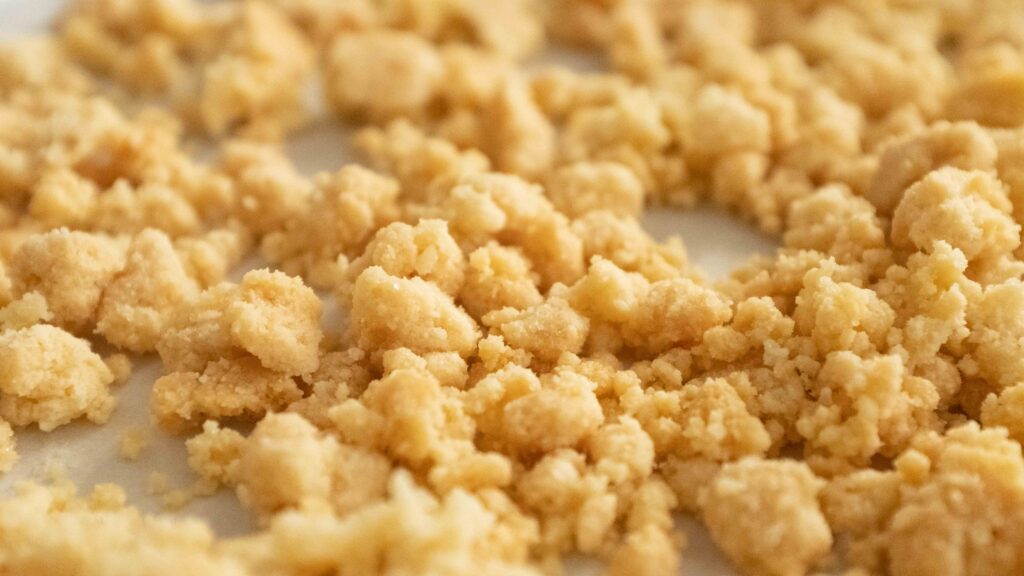
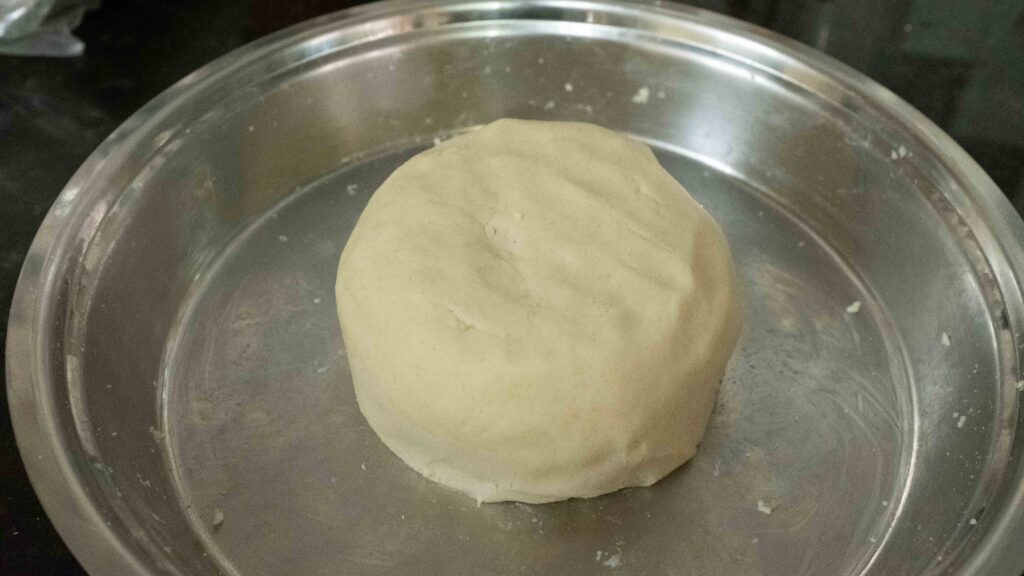
3 – Lightly knead the dough for a few minutes until you have a texture resembling modelling clay and can form a smooth ball. Add the rest of the water if you see the dough crumbling or cracking, or sprinkle in more flour if the dough feels wet or sticky. Your environmental humidity will determine how much water you end up adding. I added exactly 740 ml.
4 – Cover the ball of dough with a damp towel and let it rest for 30 minutes.
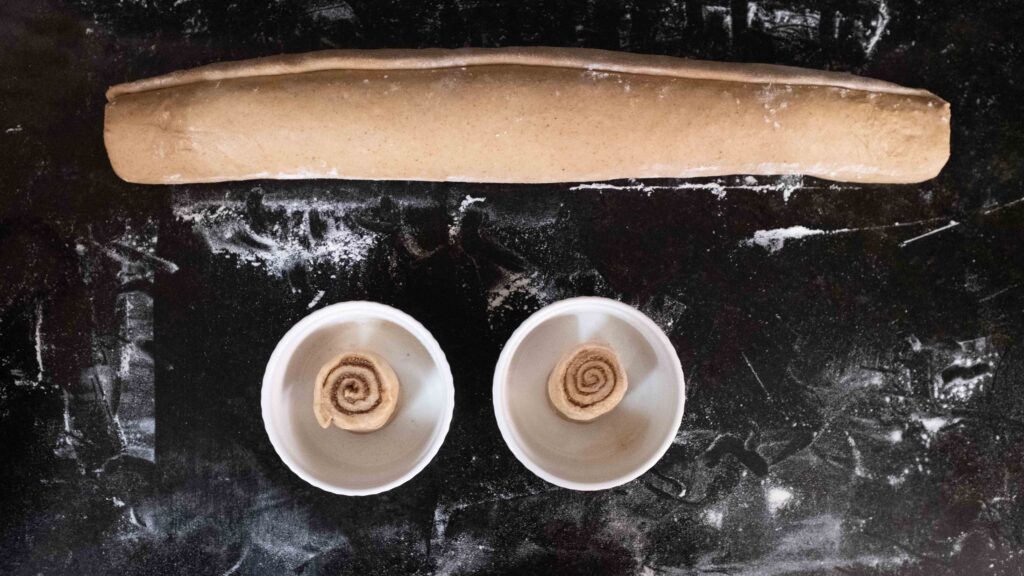
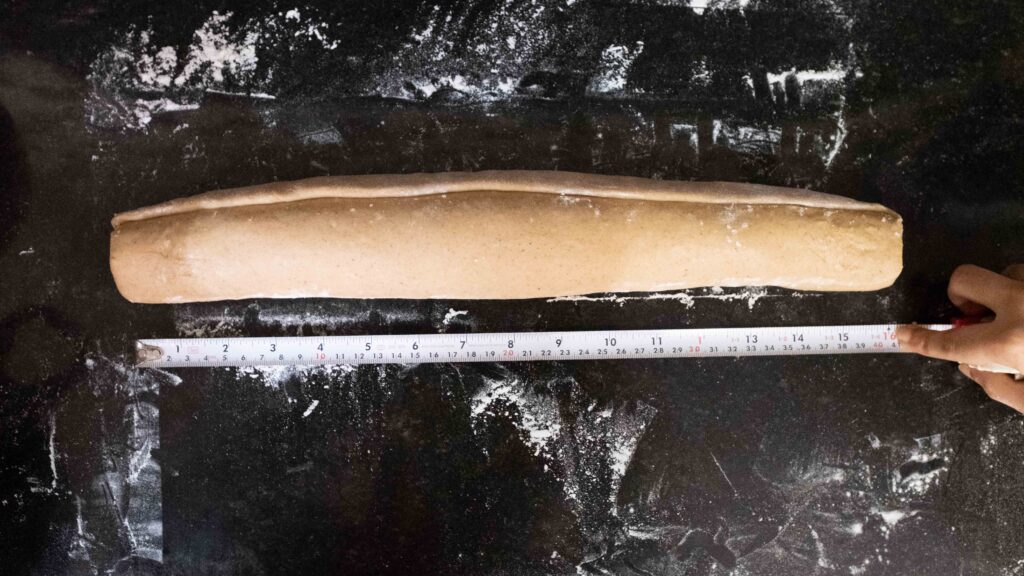
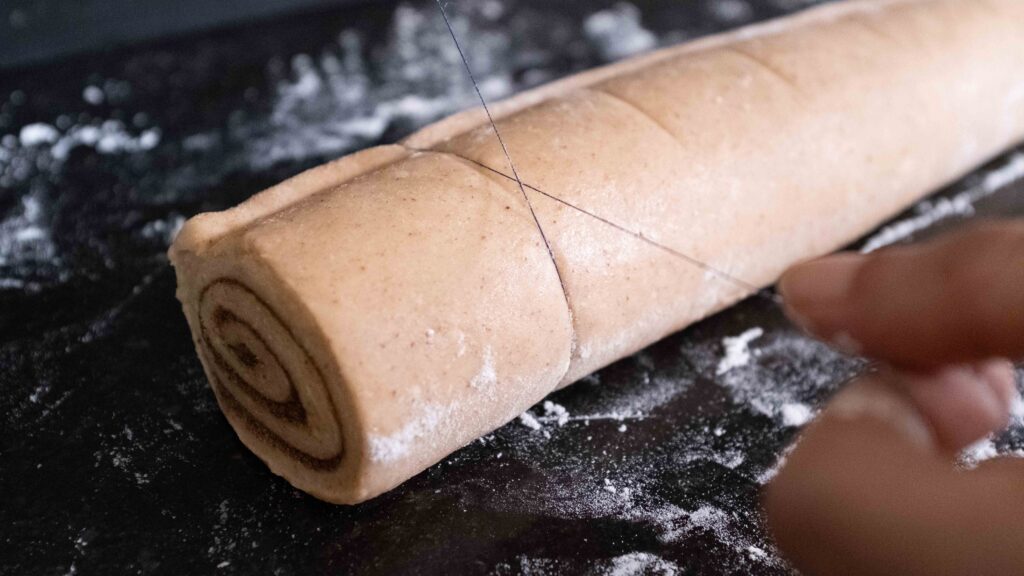
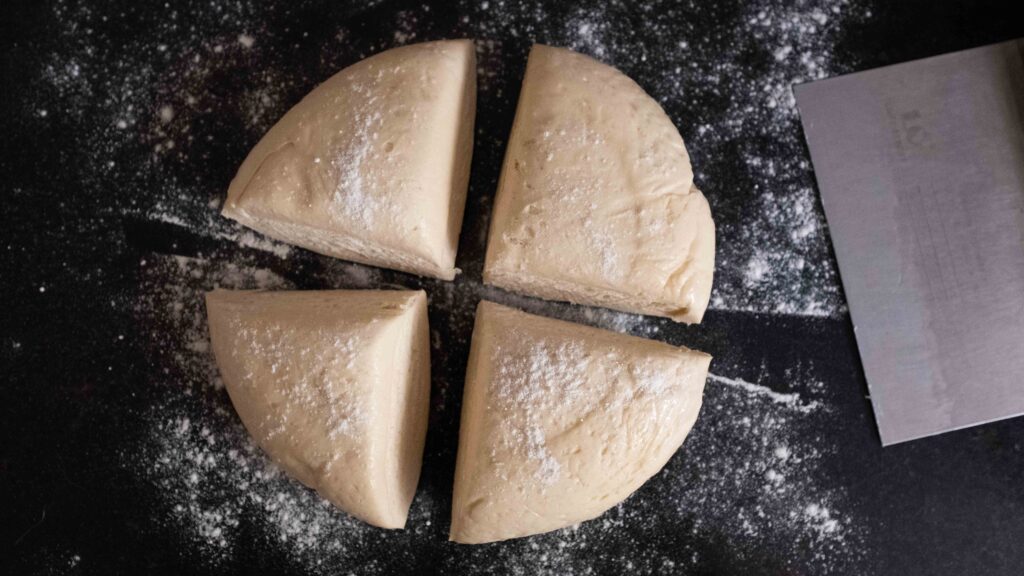
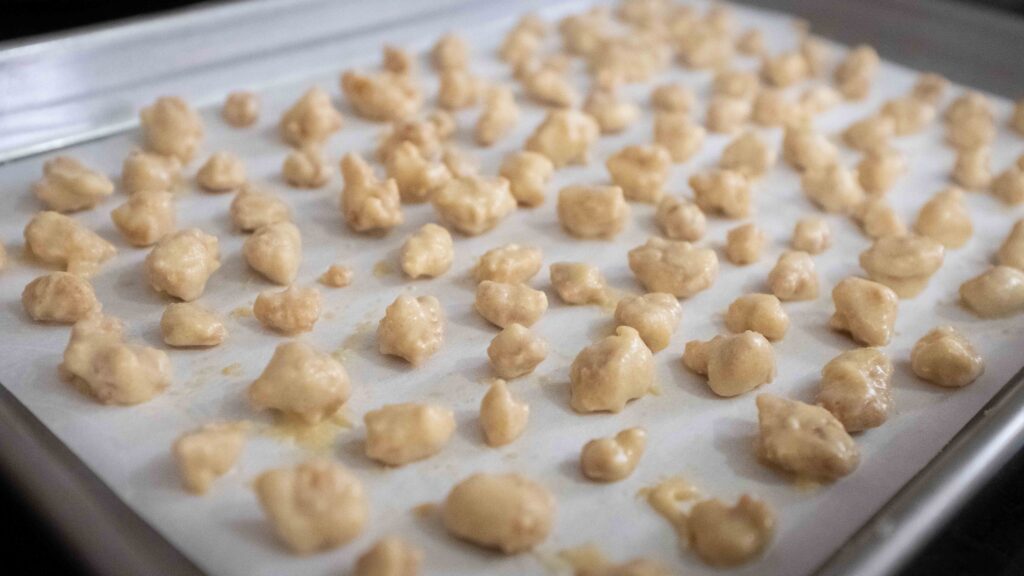
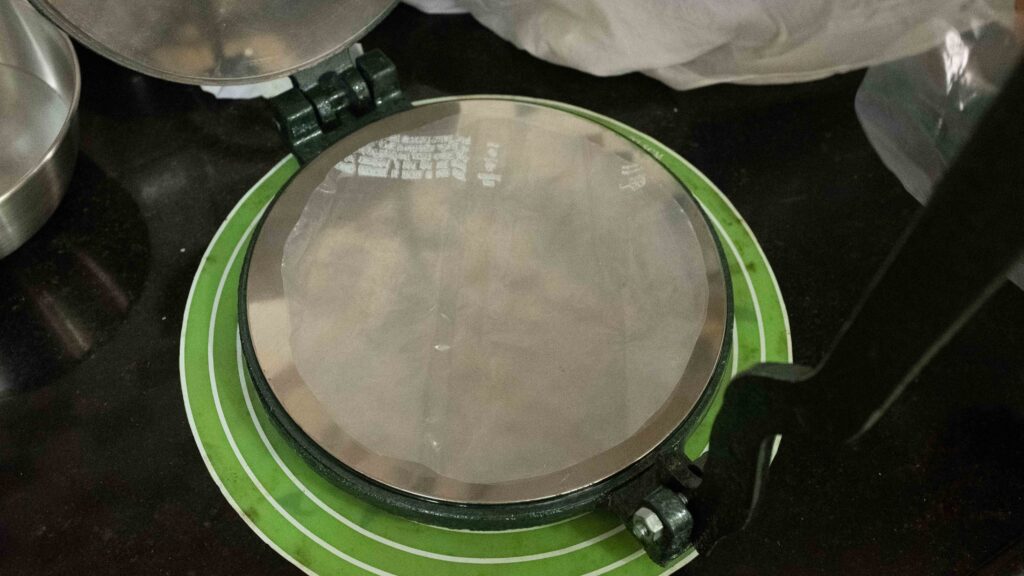
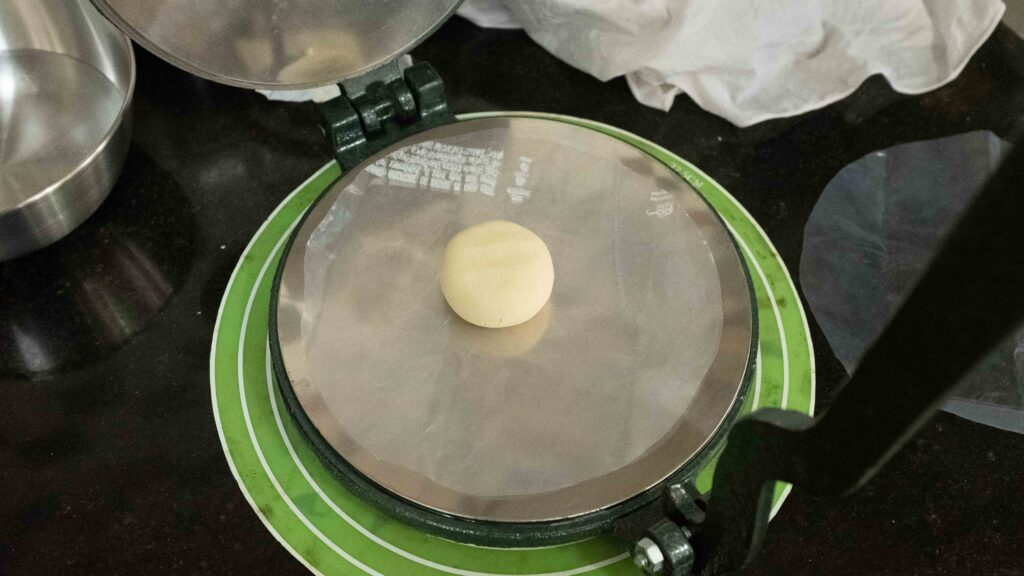
5 – Divide your dough into 24 equal portions, weighing 45 gm per portion, and roll each portion into a smooth ball. Cover again with the damp cloth. Now, begin heating your skillet on medium-high.
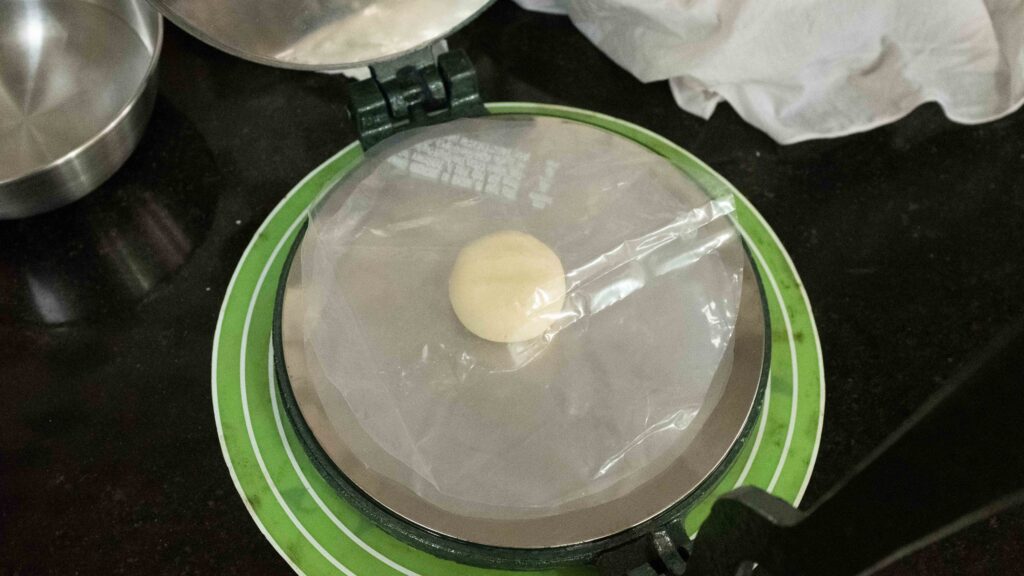
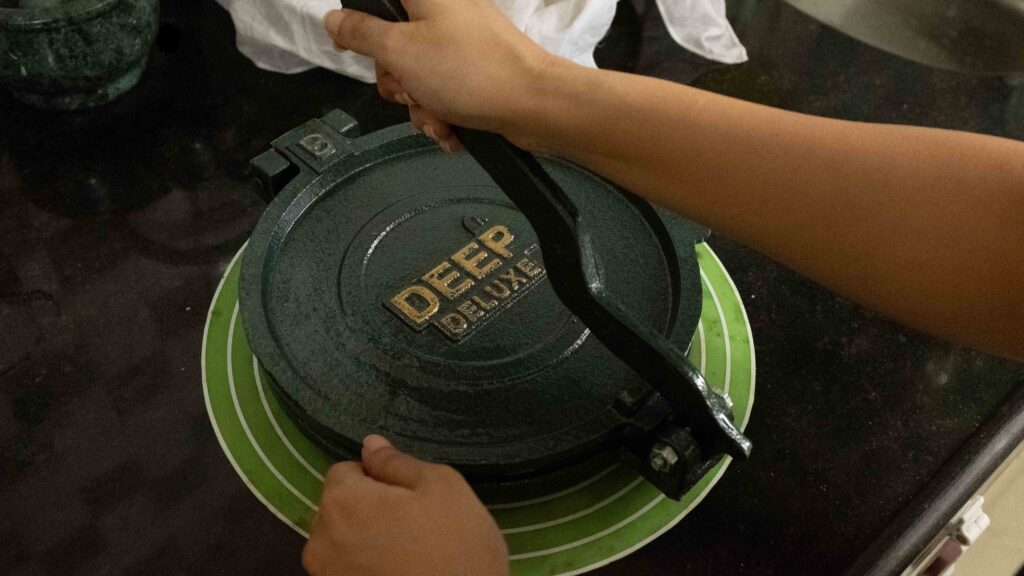
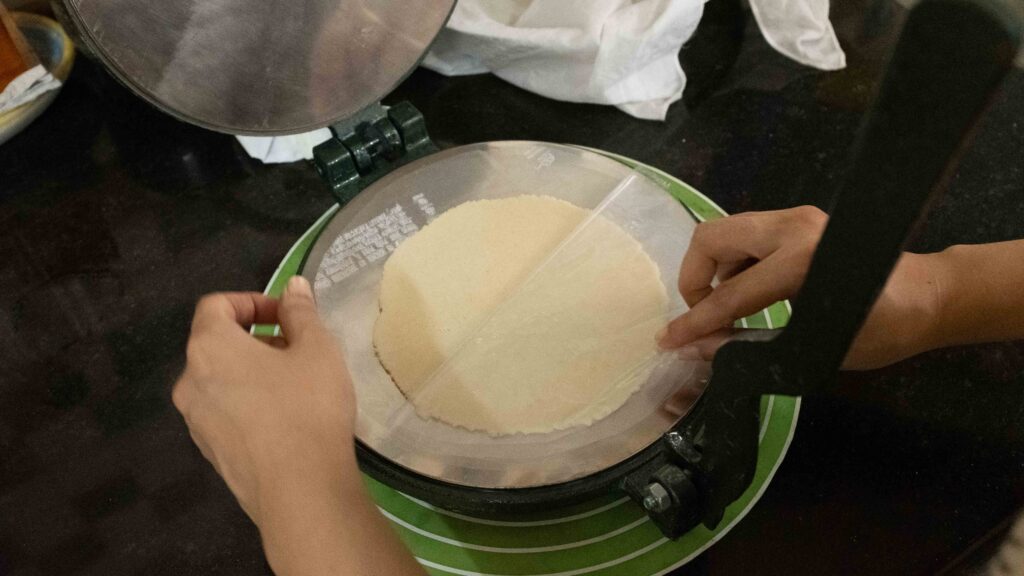
6 – Lay one round of plastic on the bottom plate of your tortilla press. Place one dough ball in the centre of the plastic, and flatten it lightly. Now cover the flattened ball with the second round of plastic.
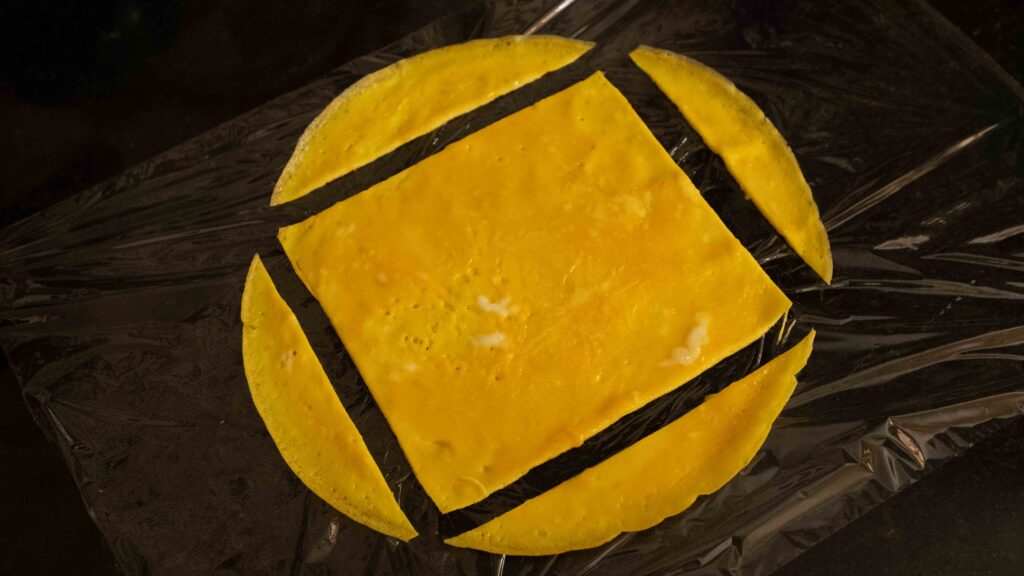
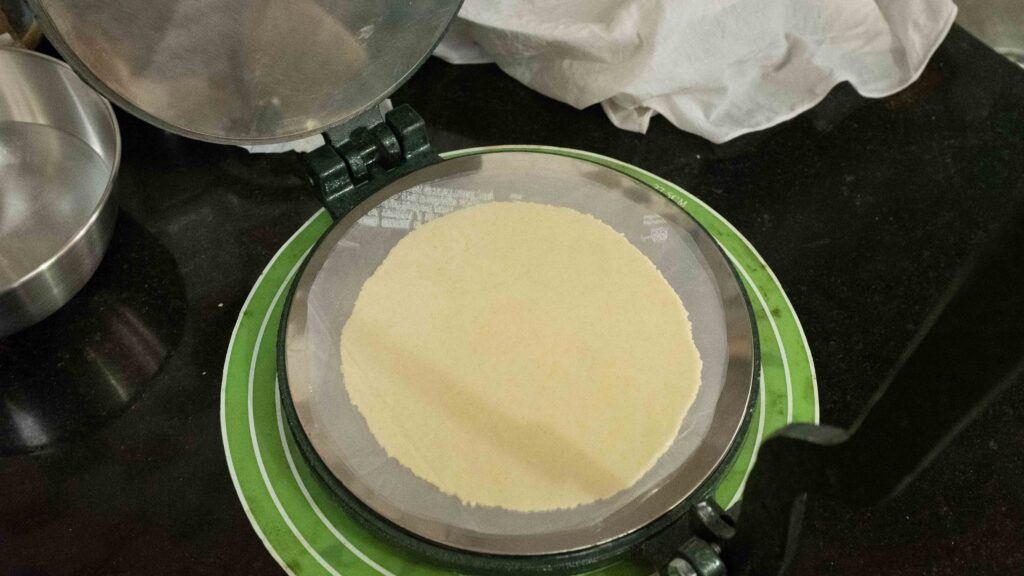
7 – Fold the tortilla press over, and press down on the lever until the tortilla flattens to a diameter of 5 inches.
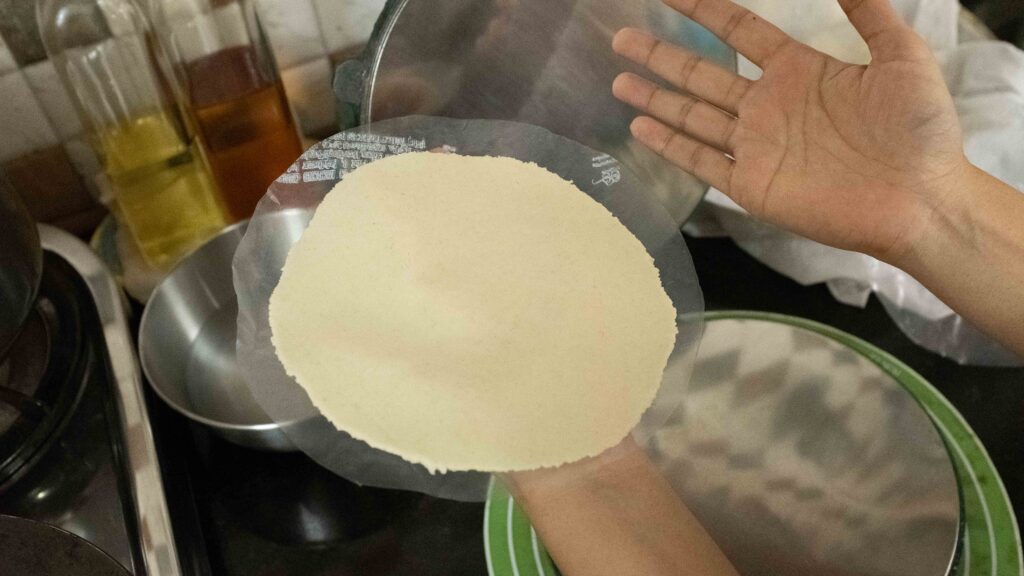
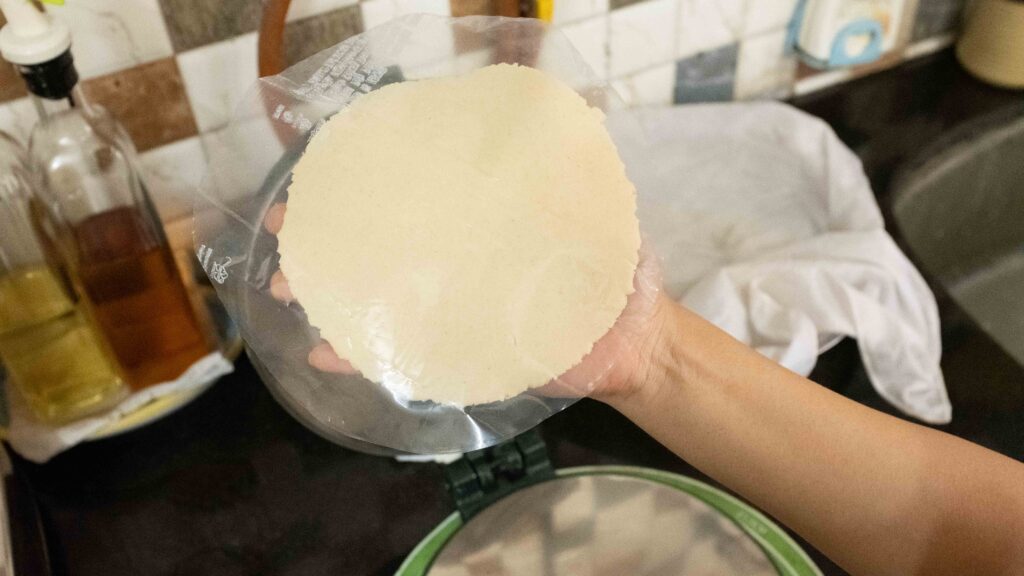
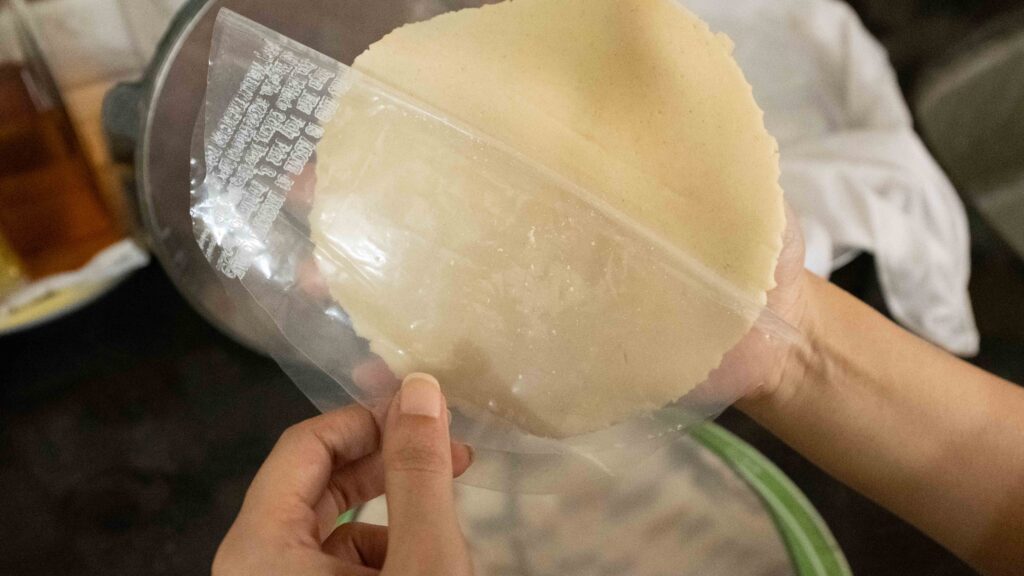
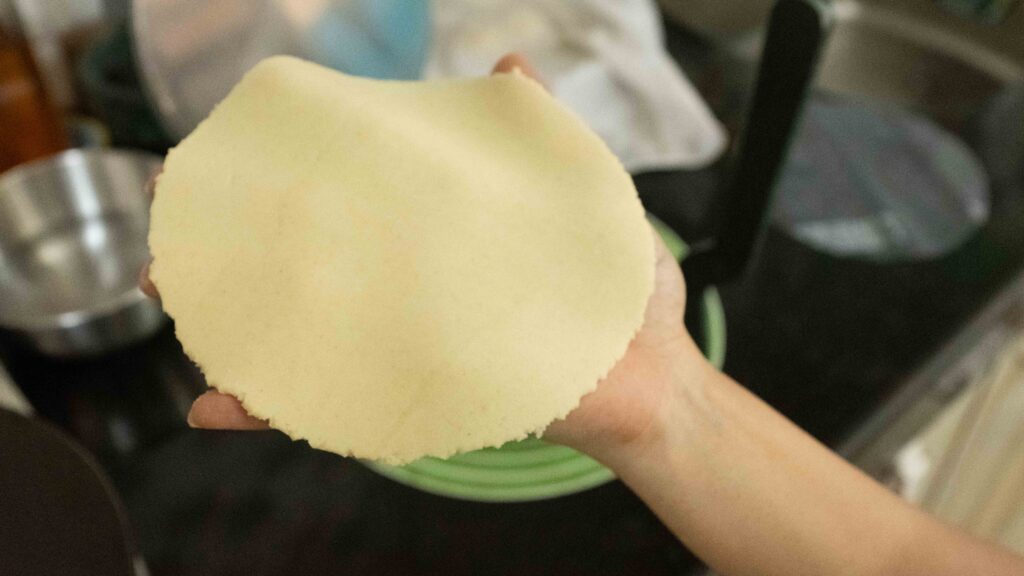
8 – Peel off the upper round of plastic and set it aside. Cradling the plastic, lift up the tortilla with one hand and gently flip it onto your second hand. Now use your free hand to carefully peel off the second round of plastic.
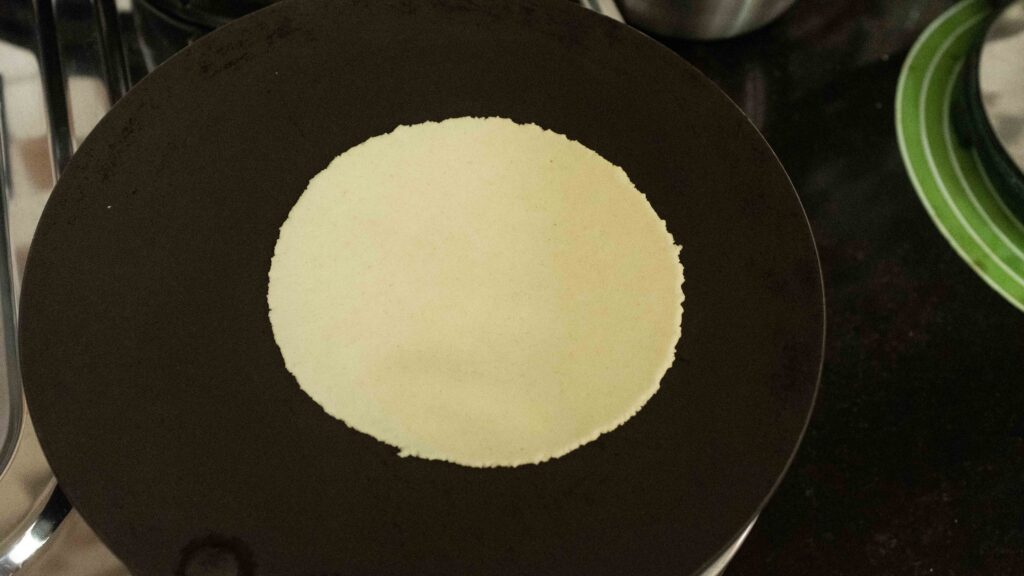
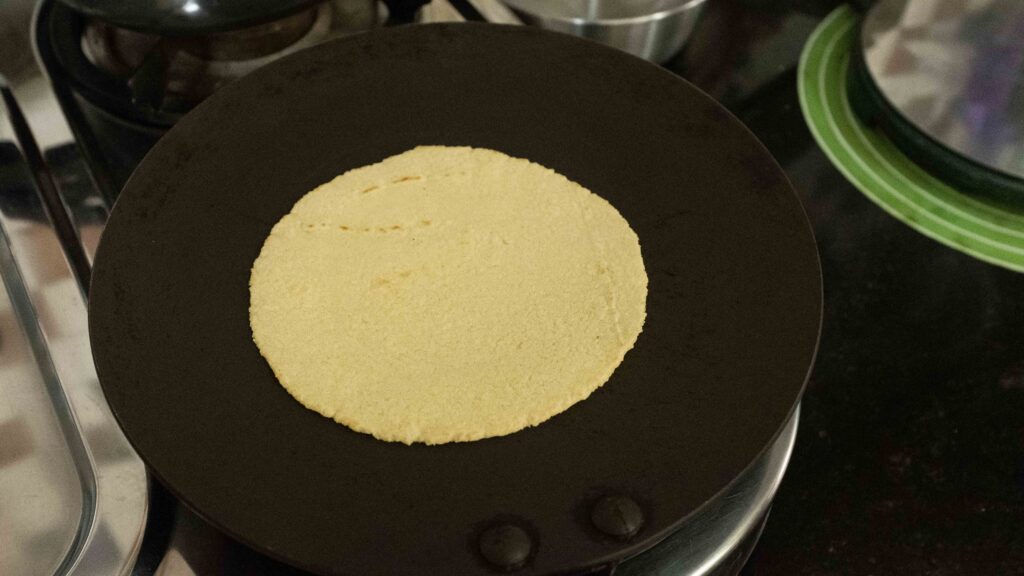
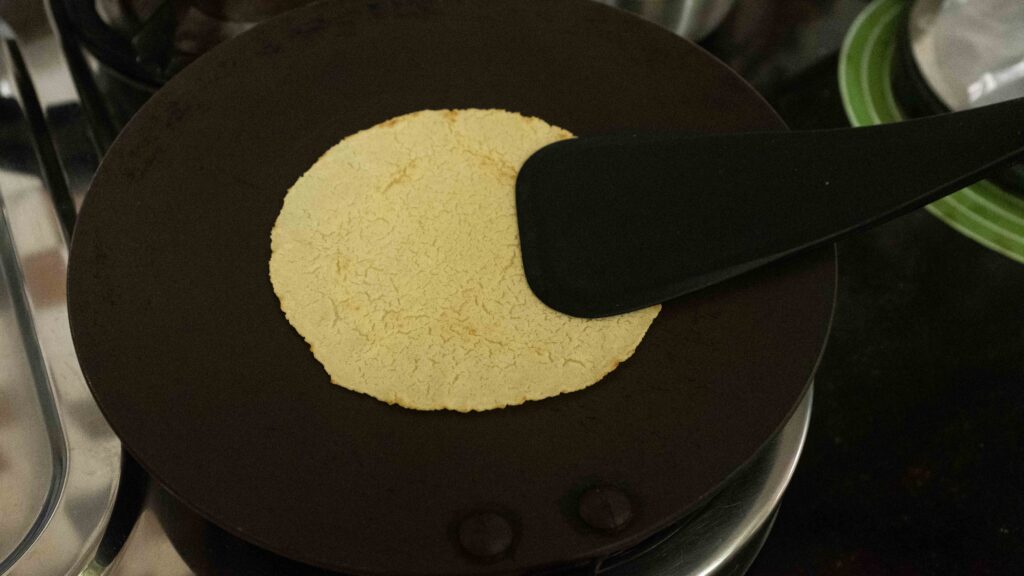
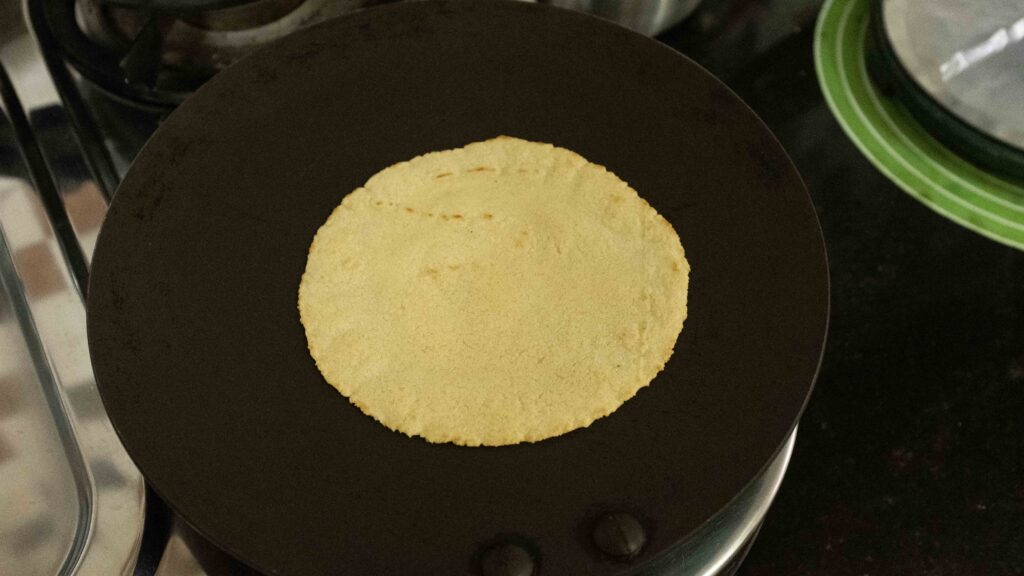
9 – Gently lay the tortilla on your hot skillet; any sort of violent slapping down of the delicate tortilla will cause it to break or tear!
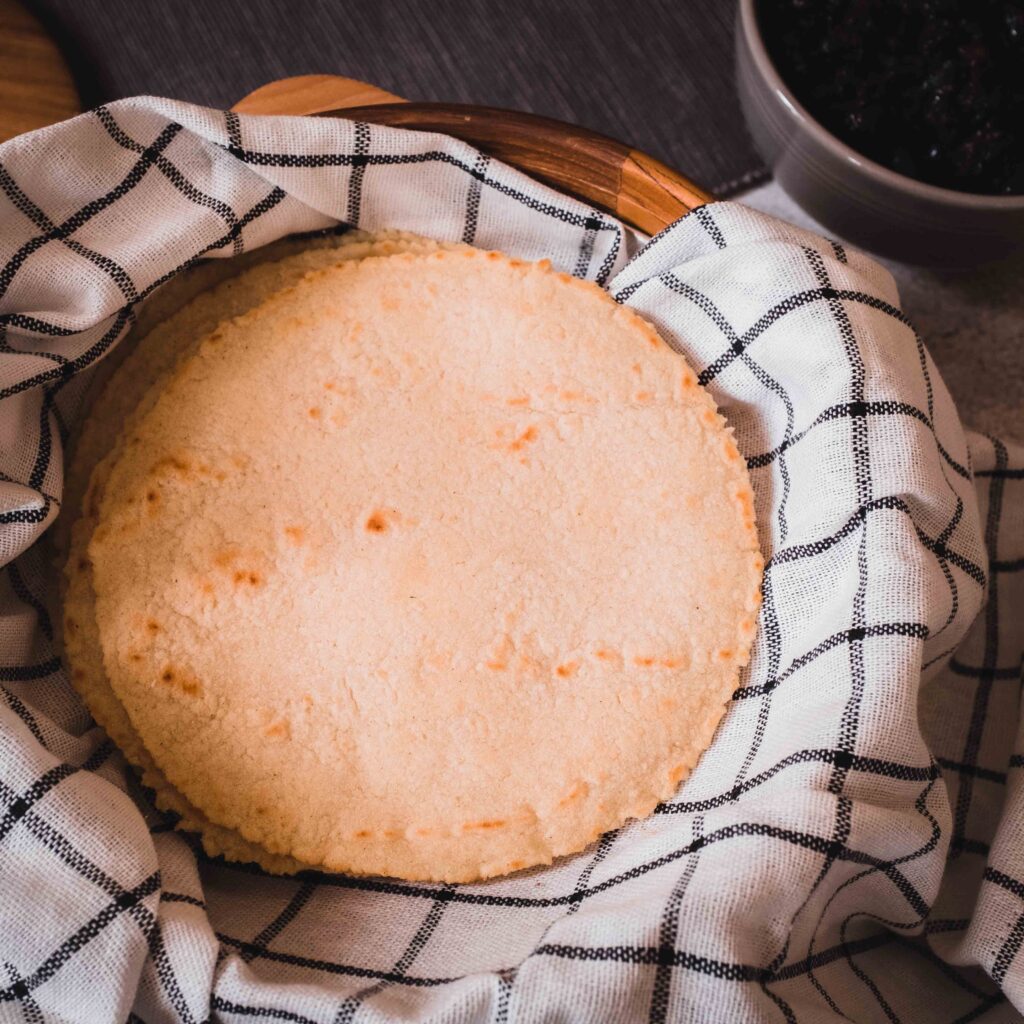
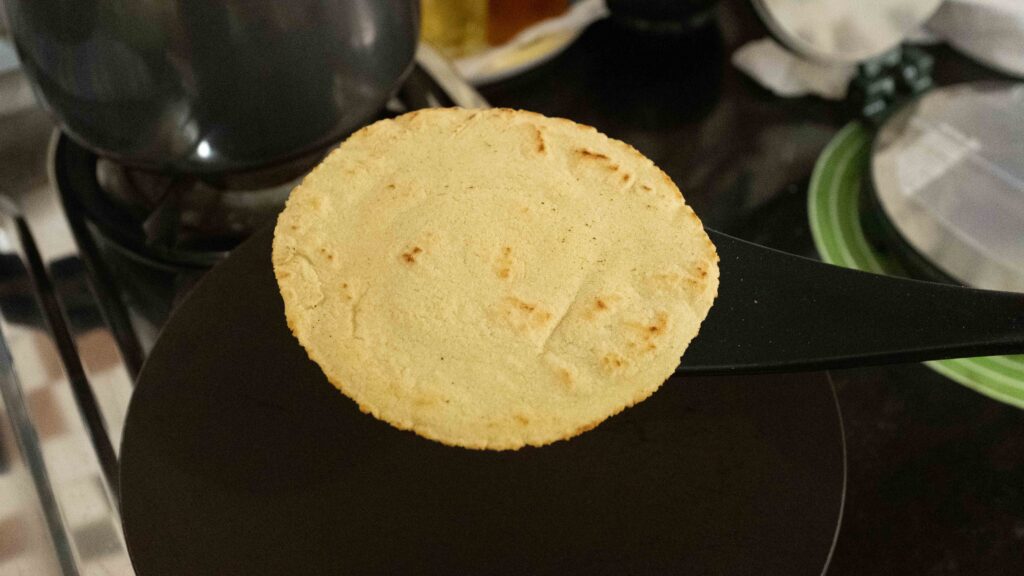
10 – Keeping the flame on medium-high heat, cook the first side for 60 seconds. When the tortilla releases naturally from the pan, it’s ready to be flipped. Gently flip it over with a spatula and cook the second side for 60 seconds. Flip it a third time and cook for 30 seconds, lightly pressing down on the tortilla once or twice with a spatula until it puffs up slightly. Flip it one last time and cook for 15 seconds. The fully-cooked tortilla will be white with a few brown spots and appear to be a little dry. Don’t worry if it doesn’t puff, it will still be great!
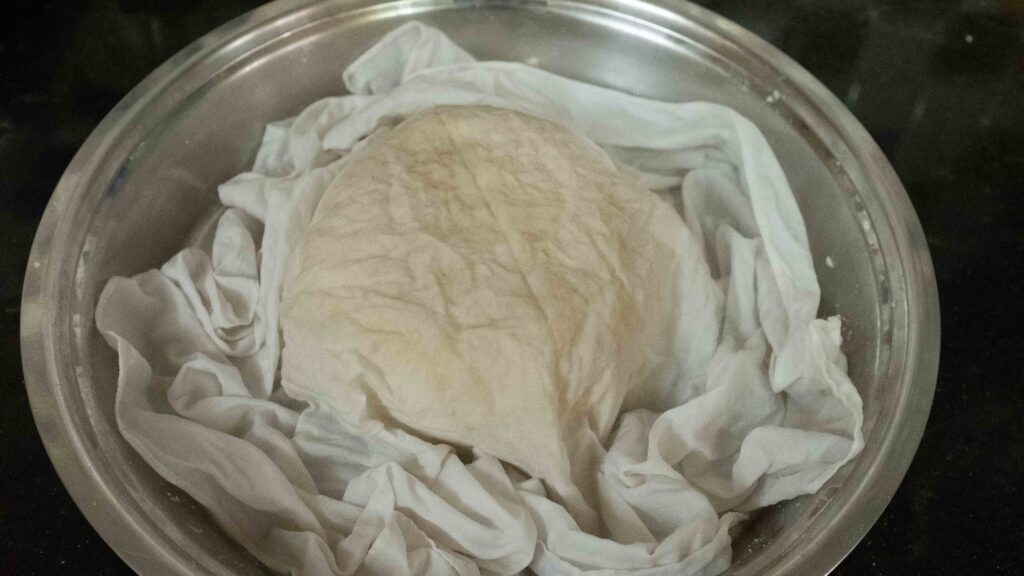
11 – Transfer the tortilla to the tea towel-lined bowl and immediately fold the cloth over to trap any heat and lightly steam the tortilla. This will soften it up.
12 – Repeat Steps 6-11, pressing and cooking the rest of the balls of dough, and placing each fresh tortilla on top of the previous one until you have a stack of 24 tortillas.
13 – Leave the stack of tortillas wrapped for at least 15 minutes or until ready to serve. They will stay warm and become soft and supple. This gives you ample time to prepare some fresh toppings and finish the cook on your lamb in Stage 5.


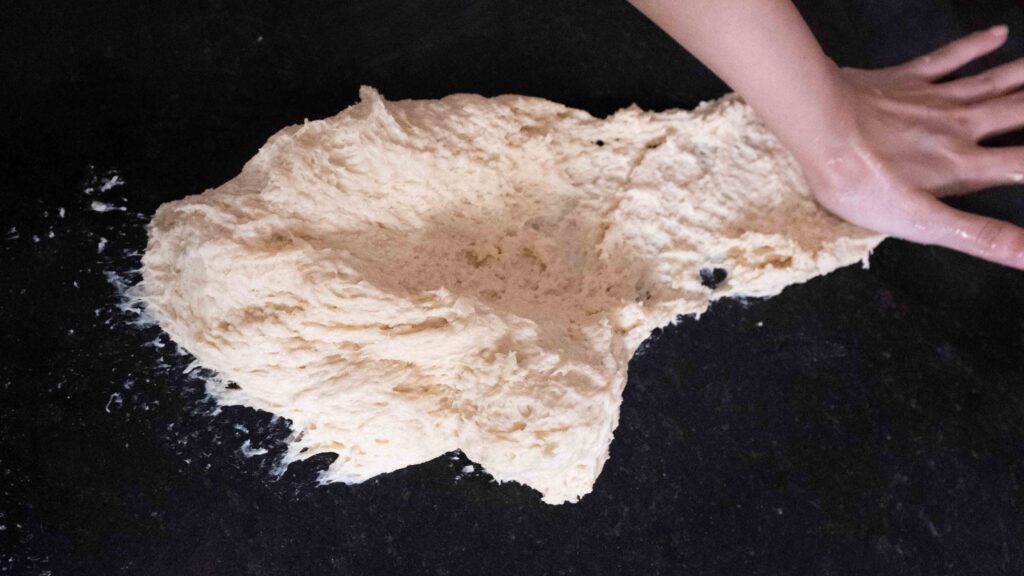
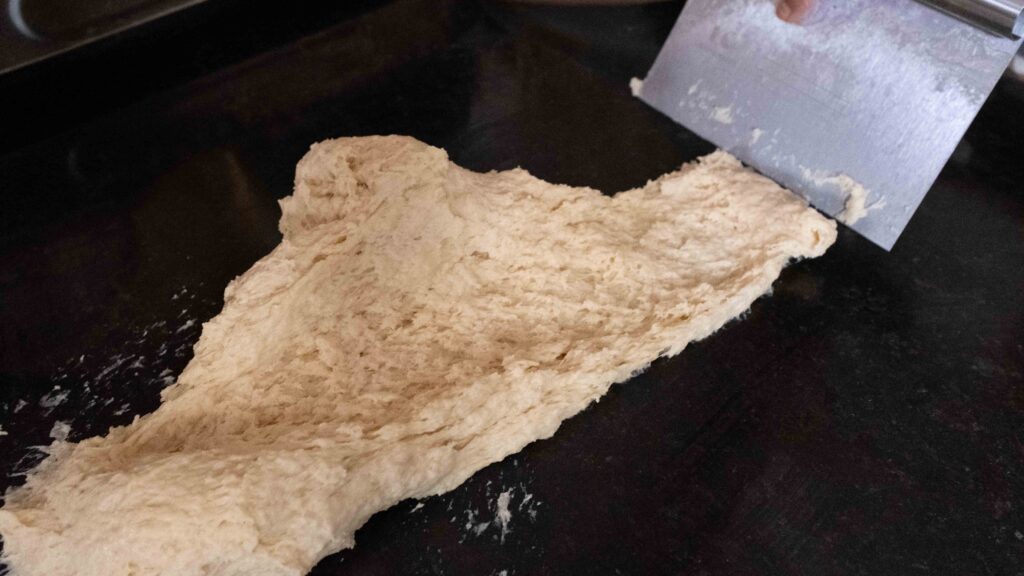
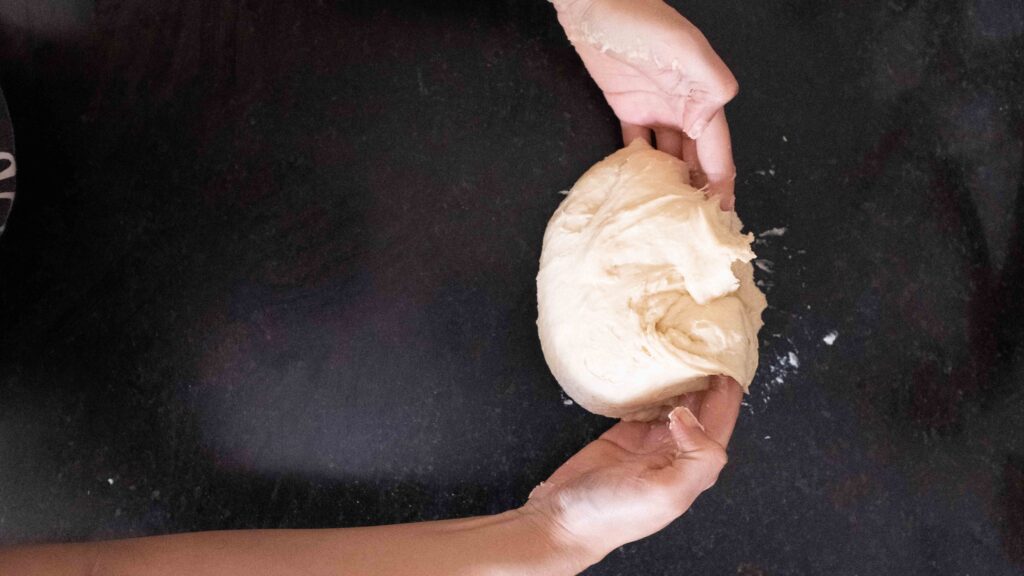
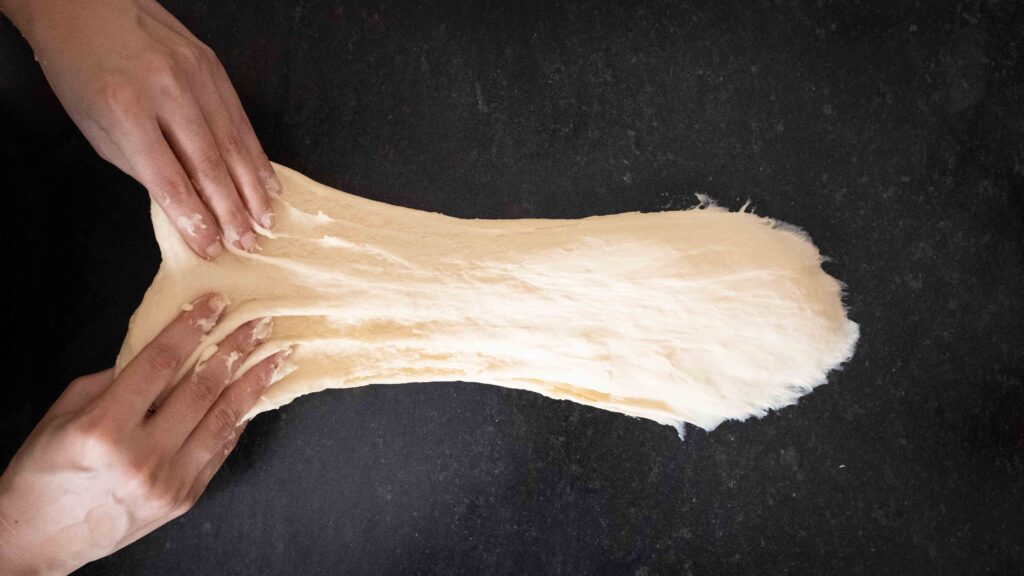
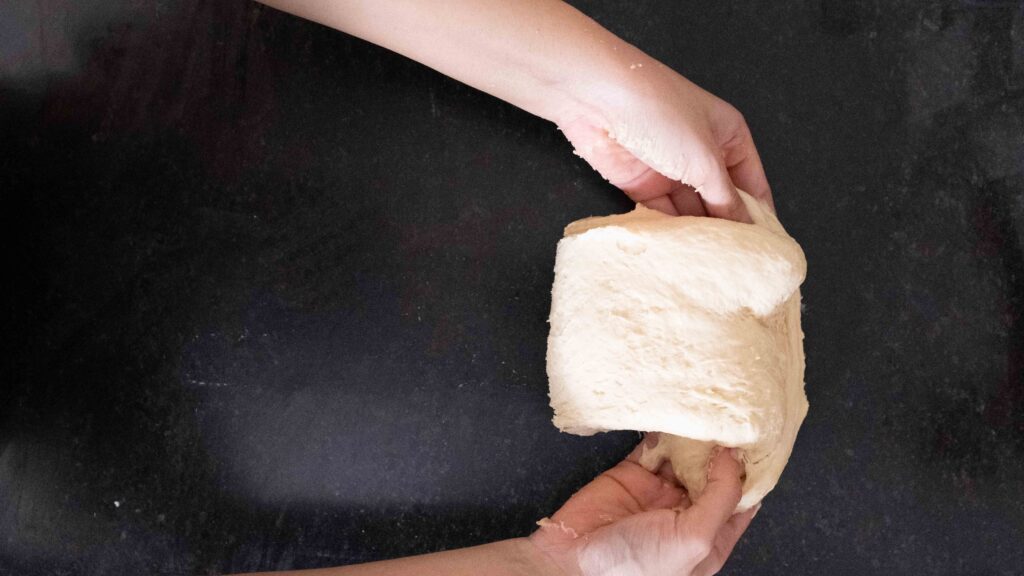
Although they only require three ingredients and sound easy to make, homemade corn tortillas take a bit of practice to get right. Because masa harina is gluten free, it’s not a stretchy dough and does not behave like other unleavened flatbread doughs made from wheat flours (such as chapatis). Being more delicate, it needs to be treated with gentle hands. Here are some things I learnt (the hard way) while making corn tortillas. 1) Not to press them too thin, or else they will get stuck to the plastic and you’ll have to scrape off the dough and start over. 2) To only press them as wide as your hand-span! If you try to make tortillas that are bigger than the diameter of your splayed-out hand, you risk breakage at two junctures. The first is when you’re peeling off the plastic sheet as you’re cradling the tortilla in your hand. And second is when you’re transferring the tortilla from your hand to a hot skillet. So, if you want bigger than 5-inch tortillas, please get yourself bigger hands! If you don’t have a tortilla or poori press, you can roll out the tortillas or flatten them by using your own body weight, as demonstrated here. Corn tortillas are traditionally served and eaten warm. When they get cold, they tend to become dry and mealy, so keep them warm until ready to serve. If they do happen to get cold, simply reheat them in the microwave for 30 seconds with a cup of hot water to create a steamy environment.
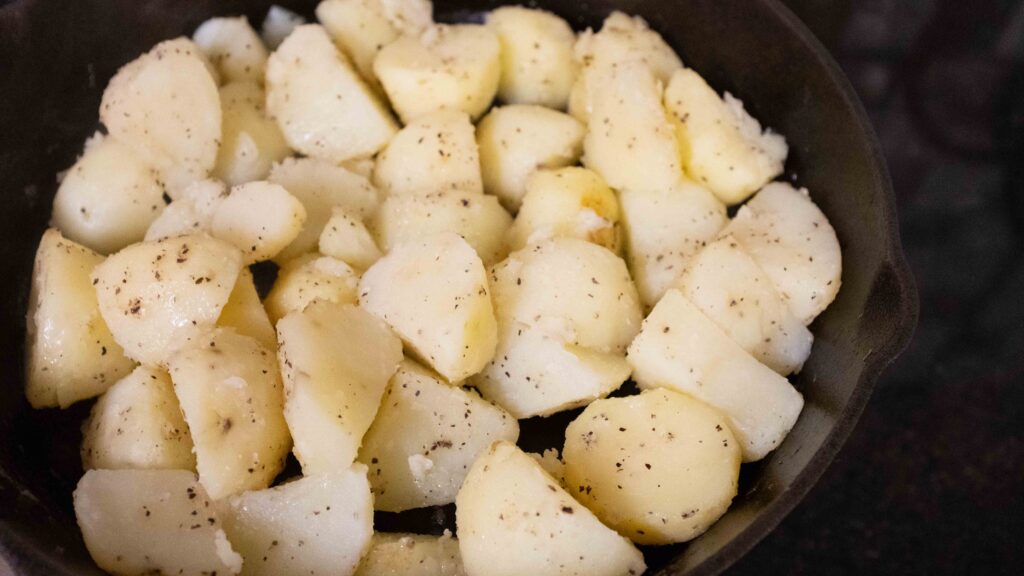
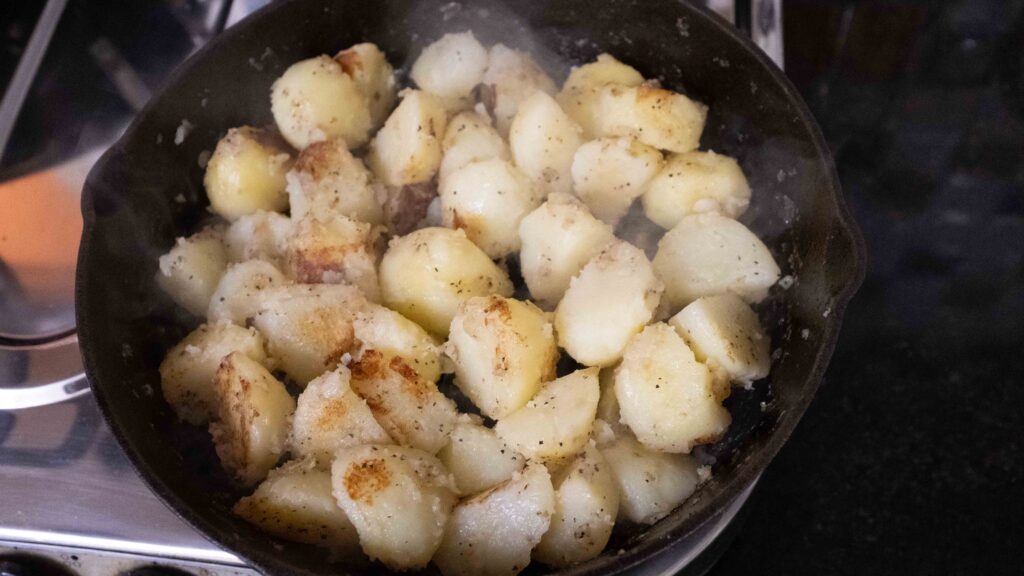
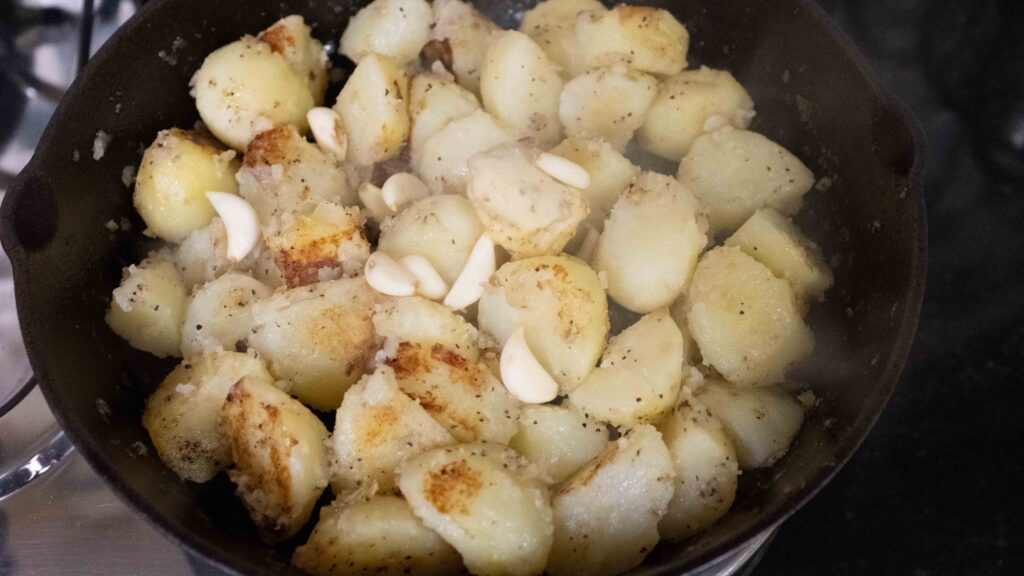
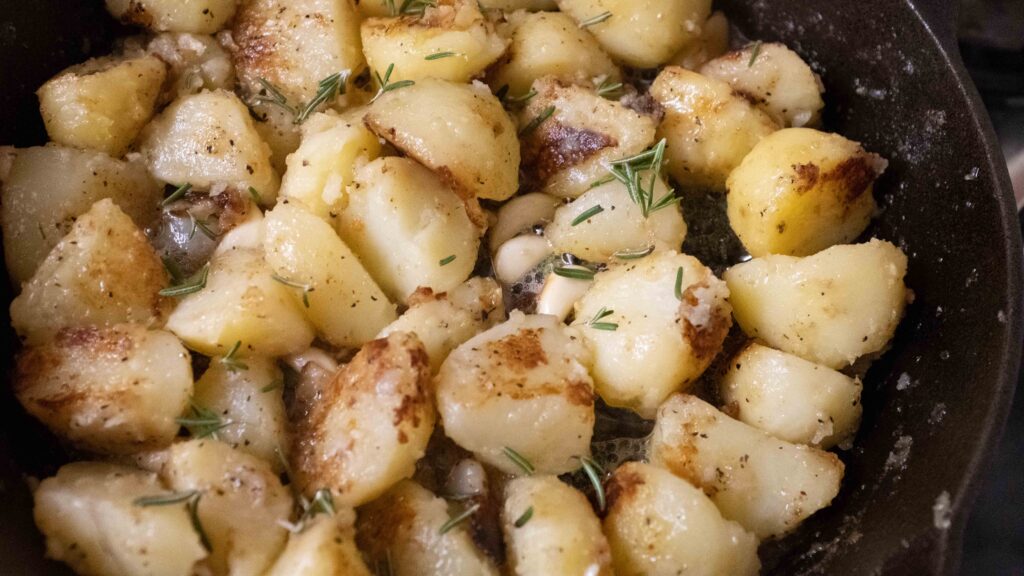
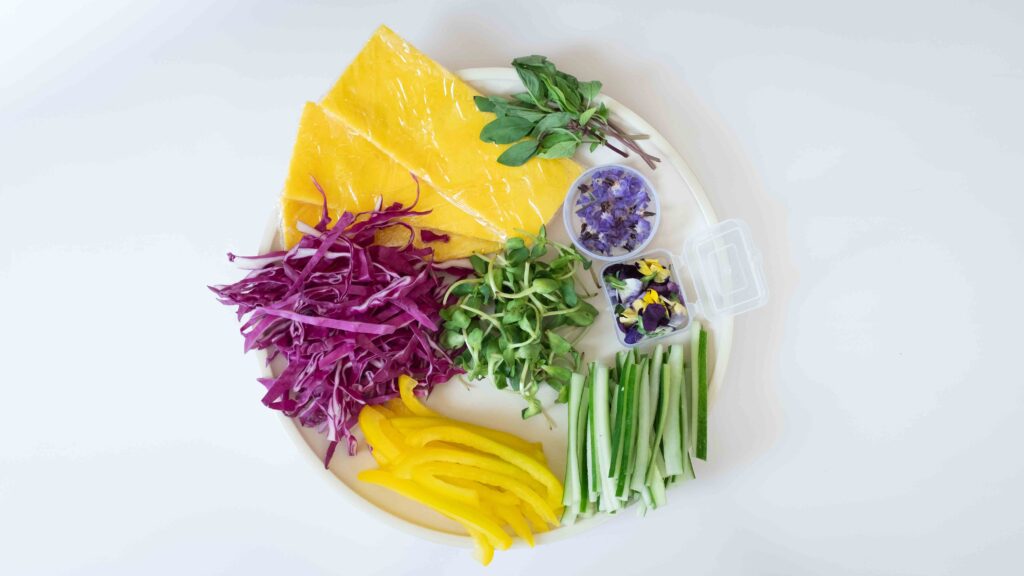
Stage 5: toppings & mise en place
Before we get to assembling, we need to prep some fresh toppings. For this taco, I’ve put together a range of sweet, sour, salty, and spicy toppings while keeping them traditional. Both guacamole and fresh salsa are classic taco condiments, so please do not leave them out. We also need to turn our shredded lamb into “carnitas”. In case you were wondering, I have put the term “carnitas” within quotes throughout this recipe, because carnitas (meaning little meats) actually refers to braised pork chunks that are then crisped up.
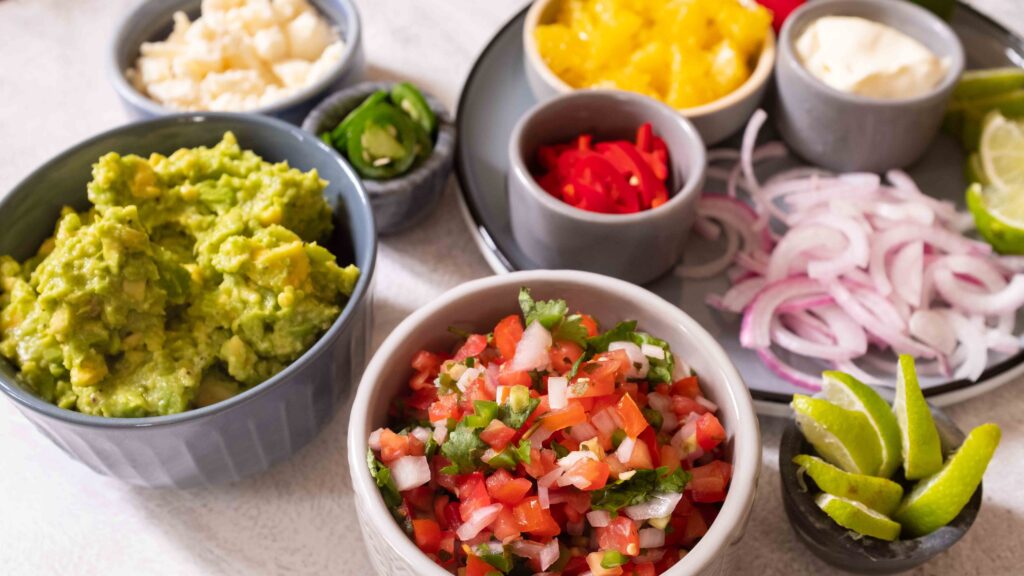
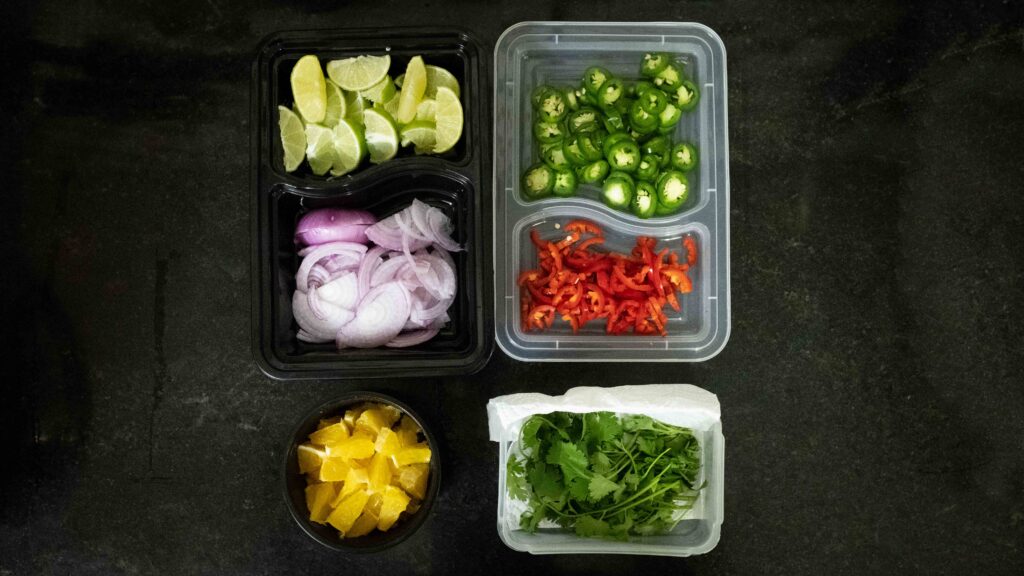
Raw toppings
1. 2 juicing oranges ( I used Valencia oranges)
2. 2 green limes
3. 12 fresh coriander sprigs, leaves only
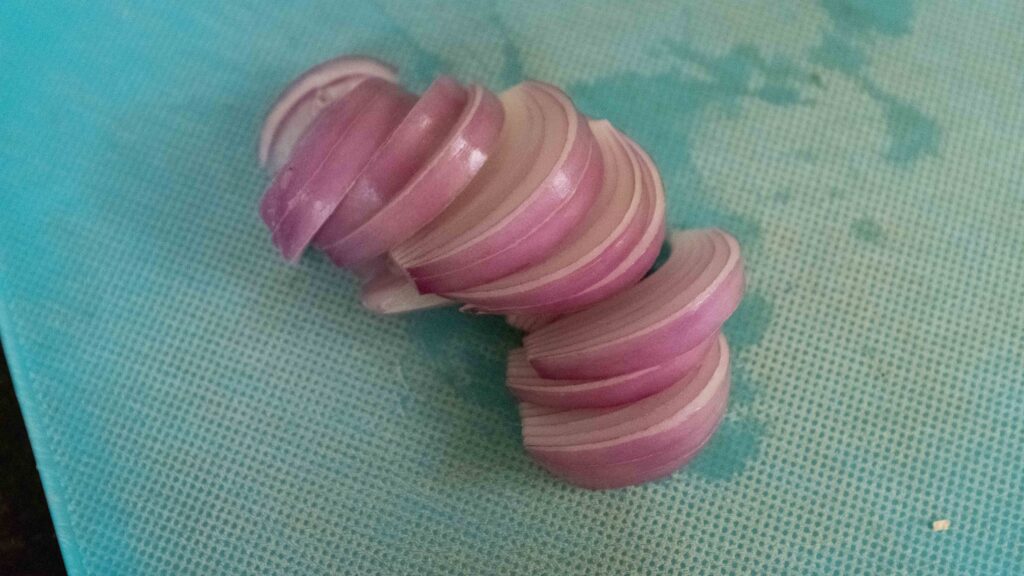
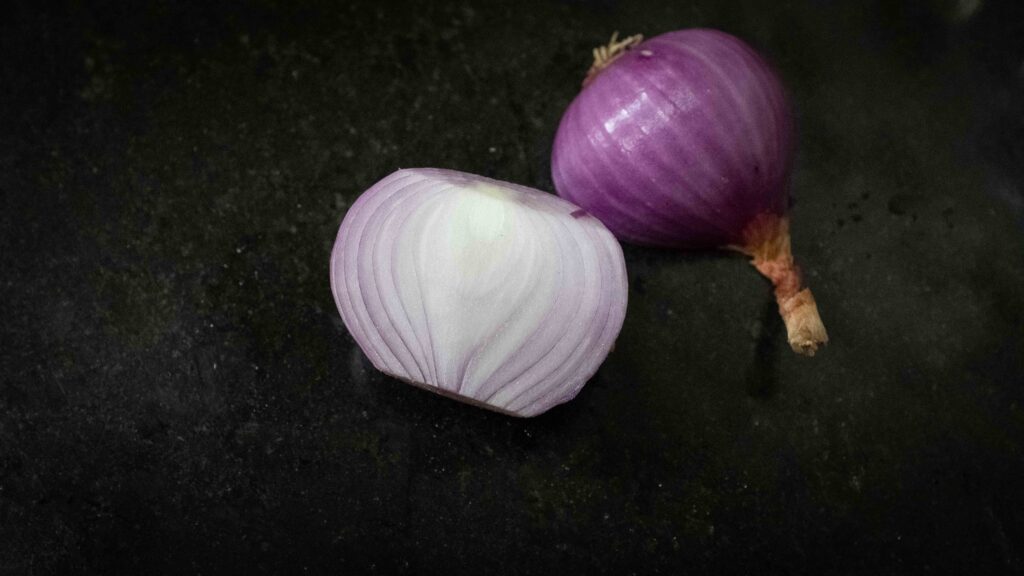
4. 80 gm red onion (roughly 1 medium)
5. 40 gm red jalapenos (roughly 2)
6. 40 gm green jalapenos (roughly 2)
Wet toppings
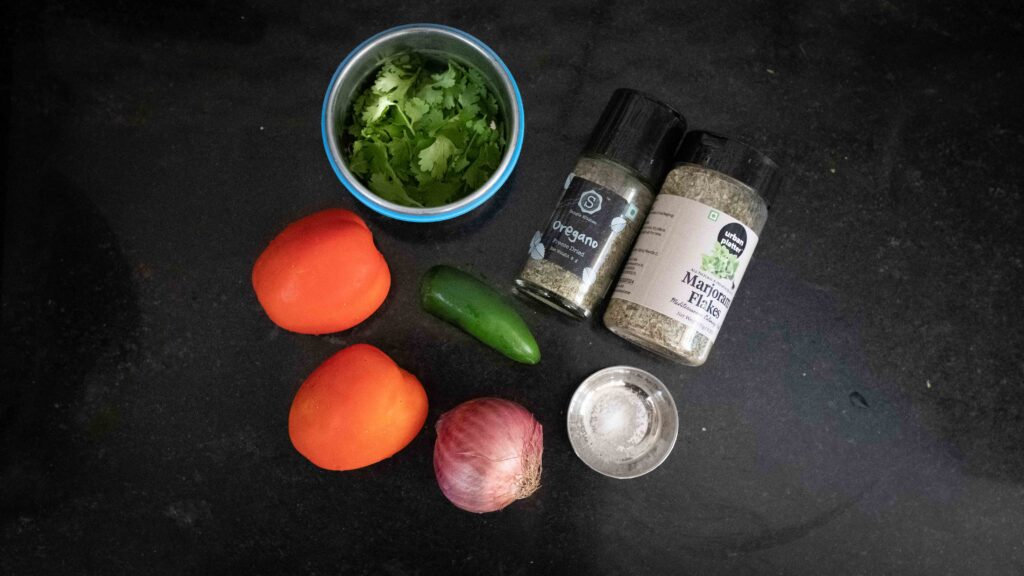
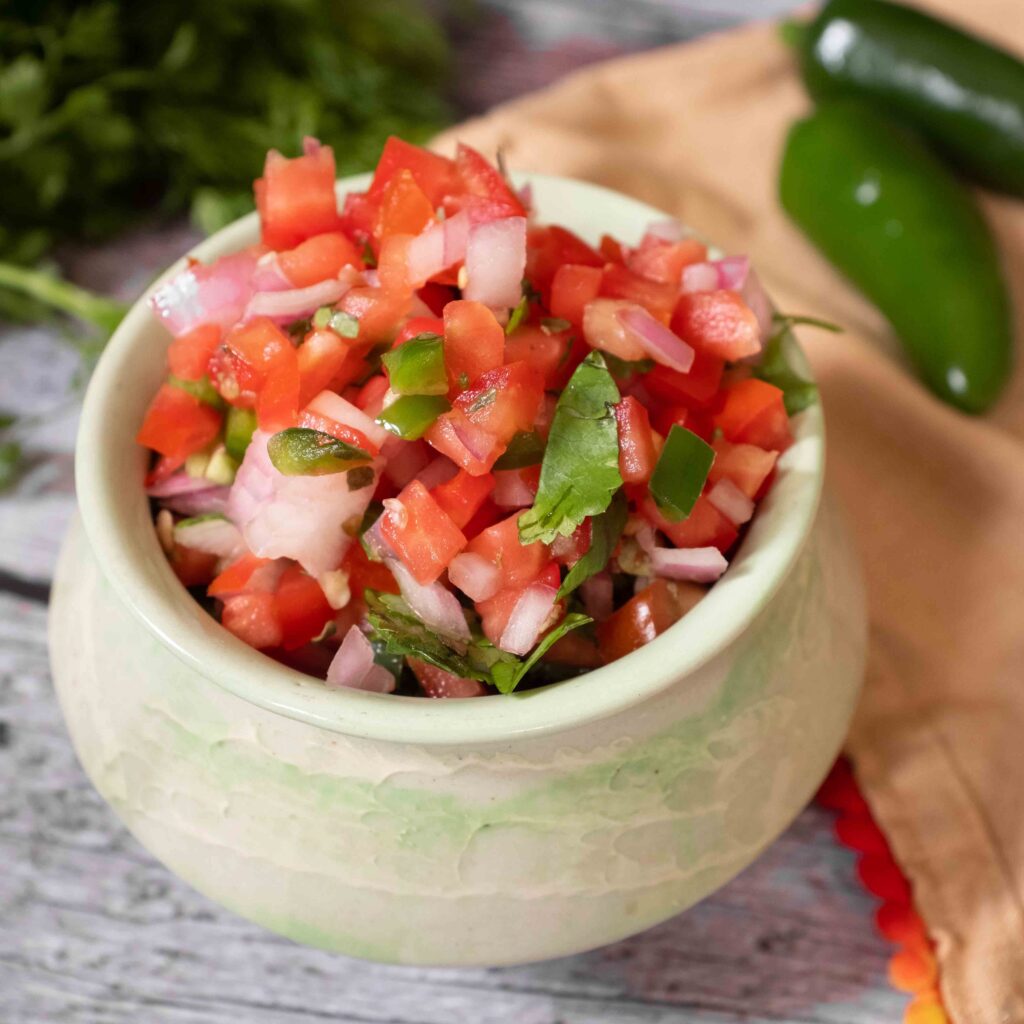
Fresh salsa (salsa fresca/pico de gallo):
1. 200 gm tomatoes (roughly 2 medium), finely chopped
2. 60 gm onion (roughly 1 small), finely chopped
3. 20 gm green jalapeno (roughly 1), finely chopped
4. 4-5 sprigs of fresh coriander, finely chopped
5. 1/2 tsp salt
6. 1/4 tsp dried oregano
7. 1/4 tsp dried marjoram like this
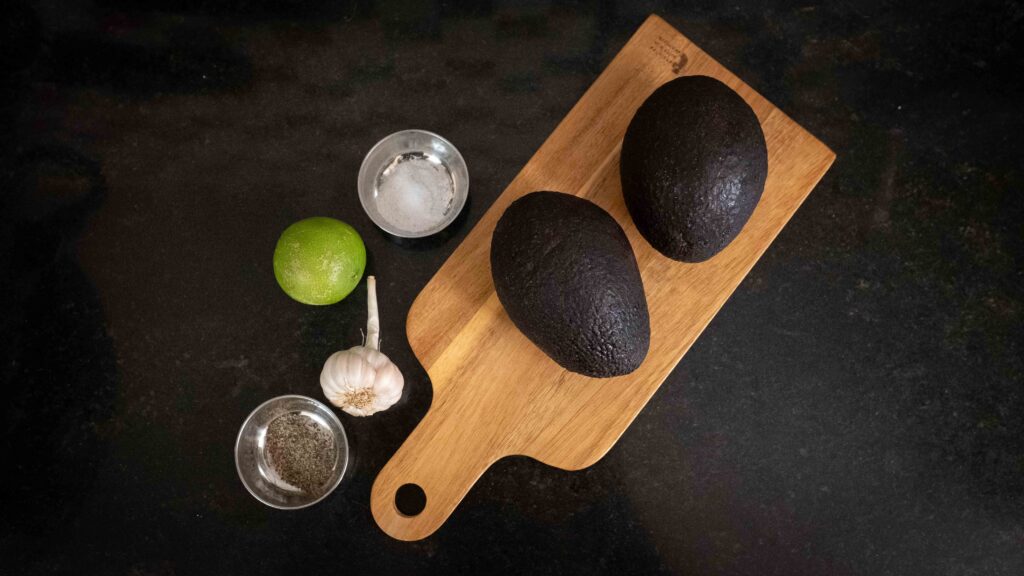
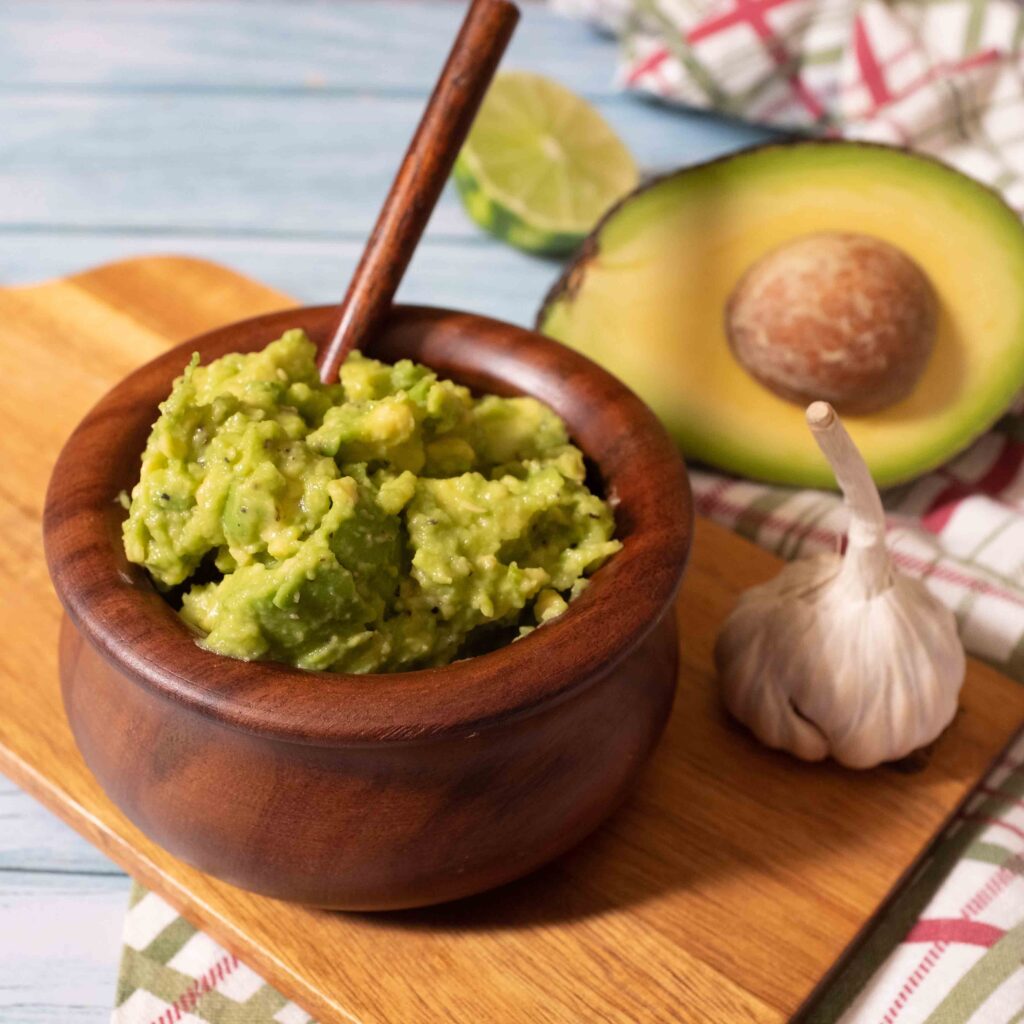
Guacamole:
1. 480 gm Hass avocados (roughly 2 medium)
2. 2 small cloves of garlic, minced
3. 3/4 tsp salt
4. 1/2 tsp freshly cracked black pepper
5. 1 tsp freshly grated lime zest (from 1 medium green lime)
6. 1 – 1 ½ tbsp. freshly squeezed lime juice (from 1 medium green lime)
Readymade:
1. 200 gm sour cream
2. 200 gm feta cheese
To be warmed:
1. Prepared black beans
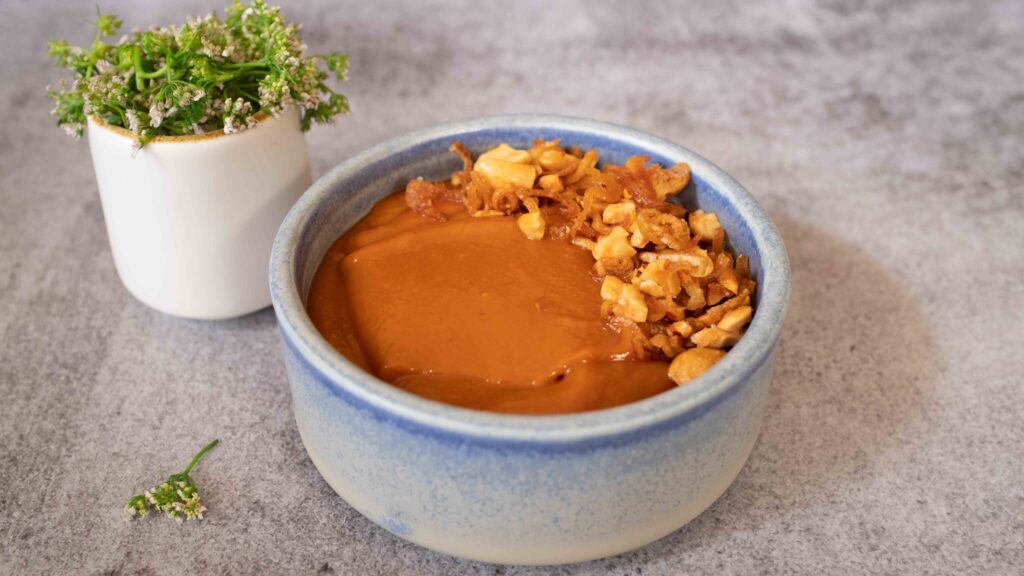
2. Prepared braising sauce
Protein
Lamb barbacoa “carnitas”:
1. Shredded braised lamb + 1 tbsp. cooking olive oil per batch of shredded lamb
Method
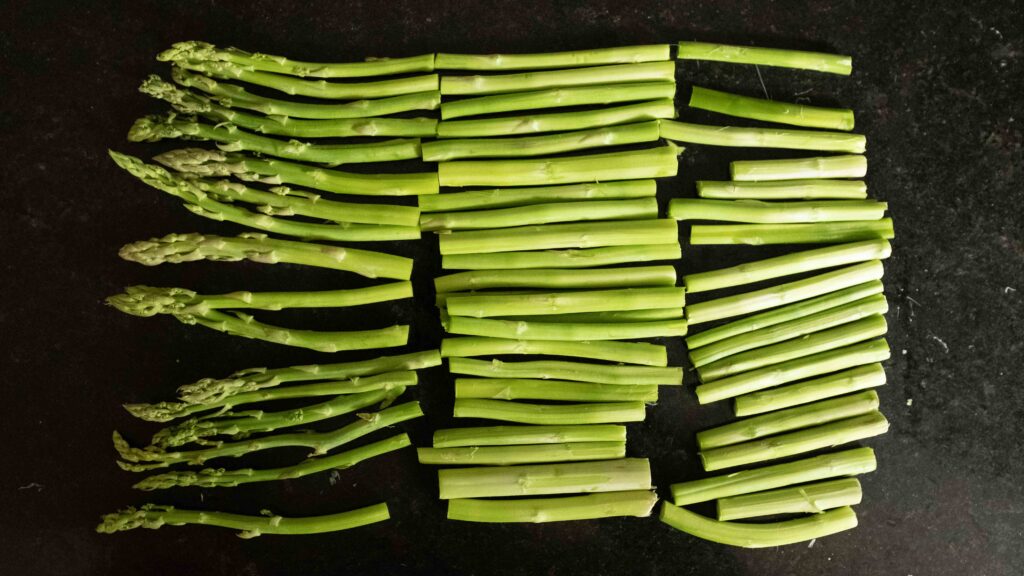
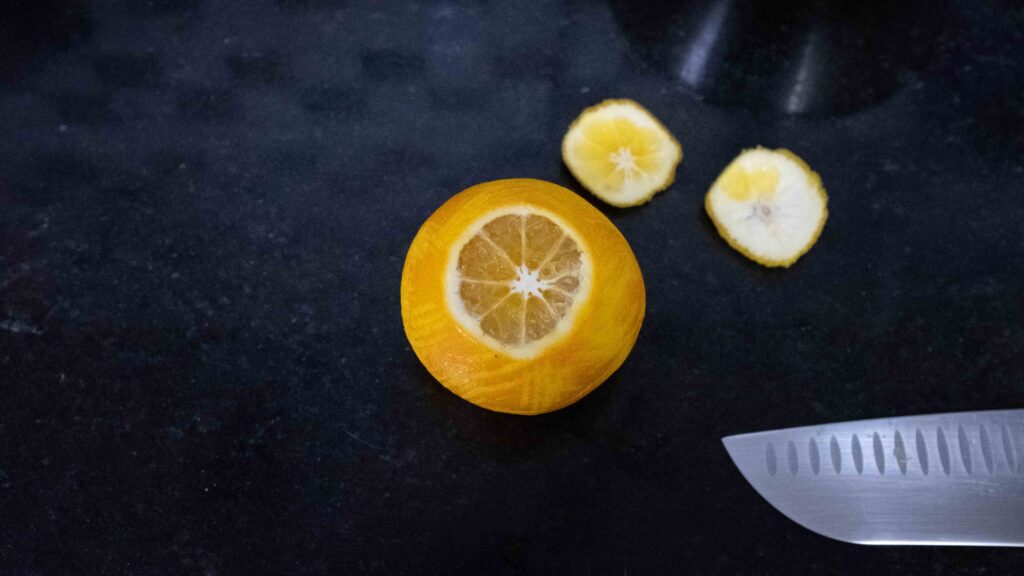
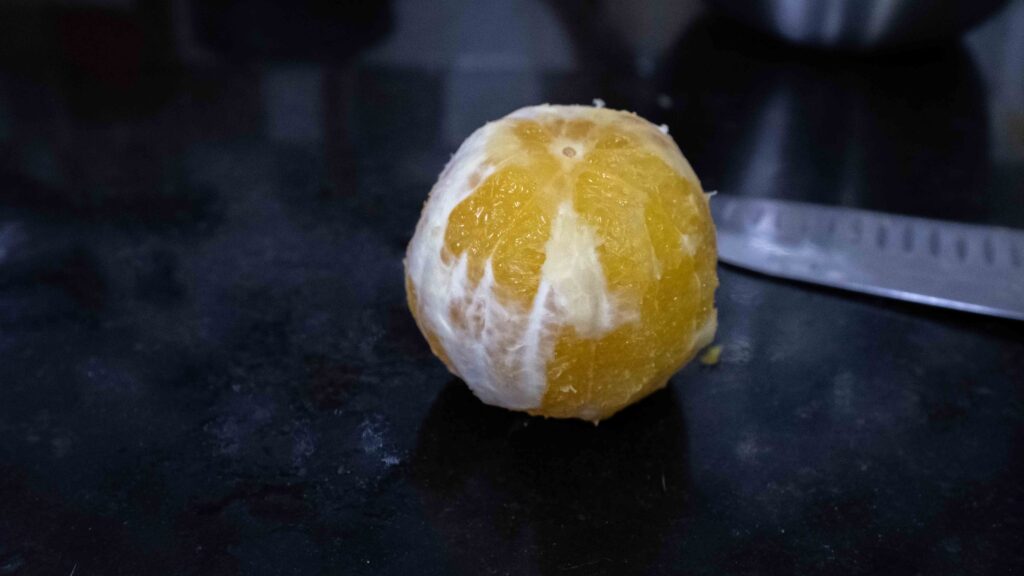
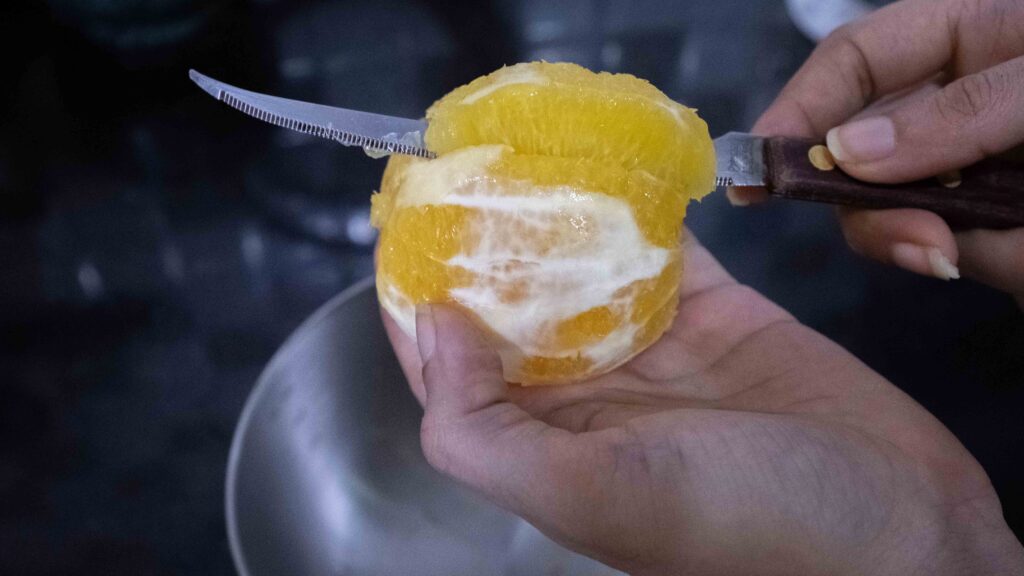
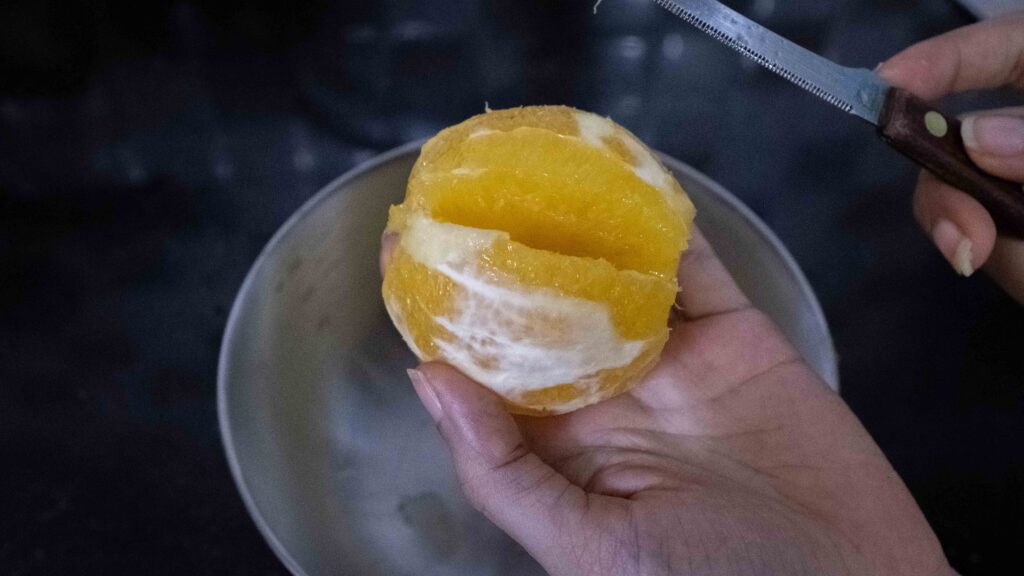
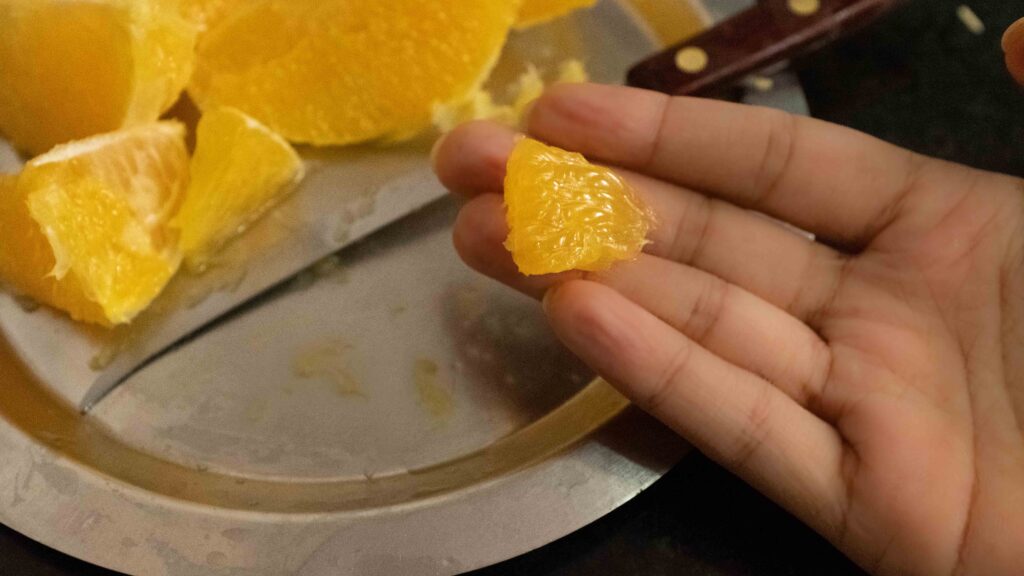
1 – Cut the peel off your oranges and portion them into segments. Then cut the segments into 1 cm wedges. Set aside.
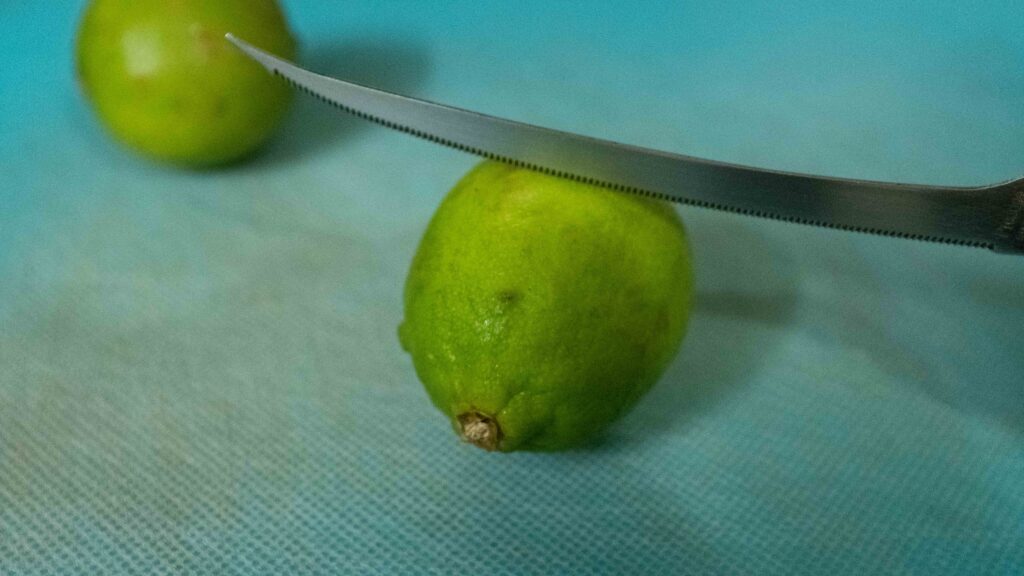
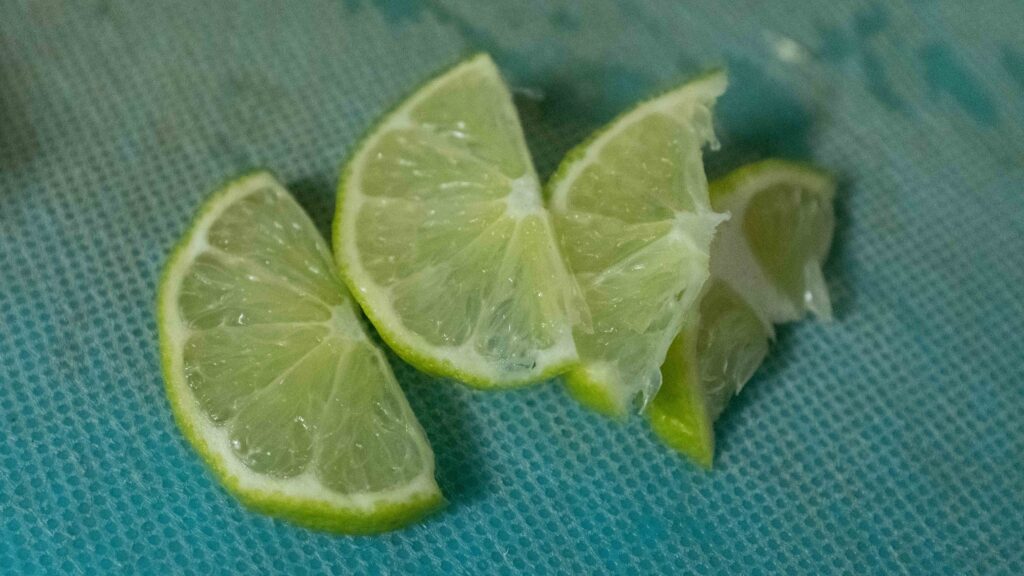
2 – Cut each lime in half crosswise and then cut each half into 4 wedges. Set aside.
3 – Pluck the leaves off your fresh coriander stems. Save the leaves as garnish and set aside the stems for the fresh salsa.
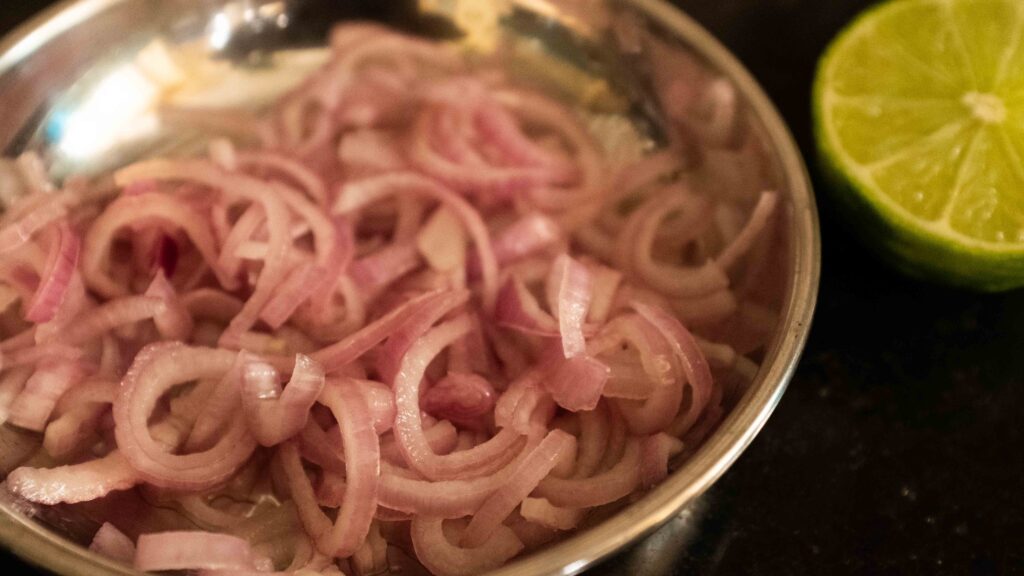
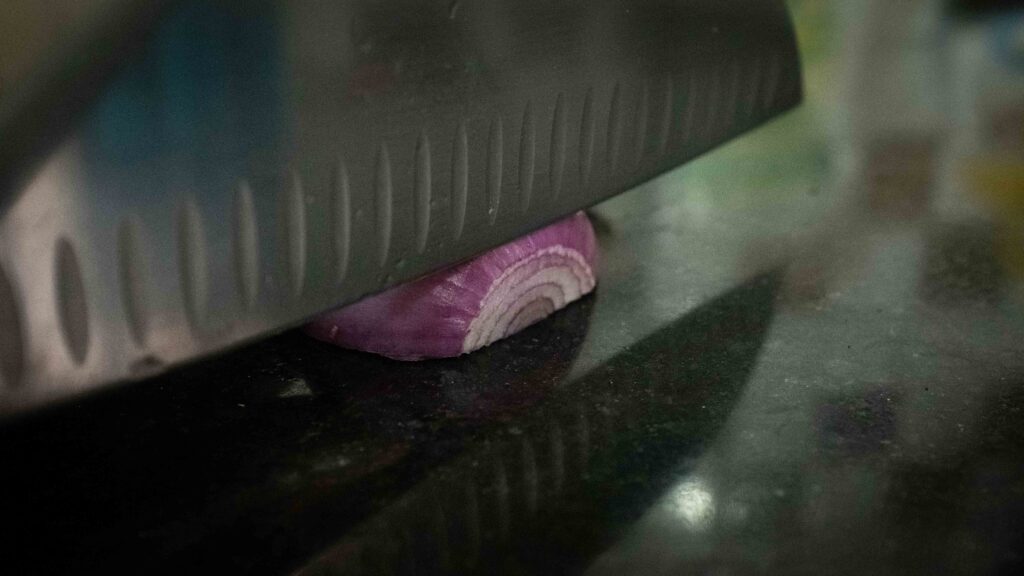
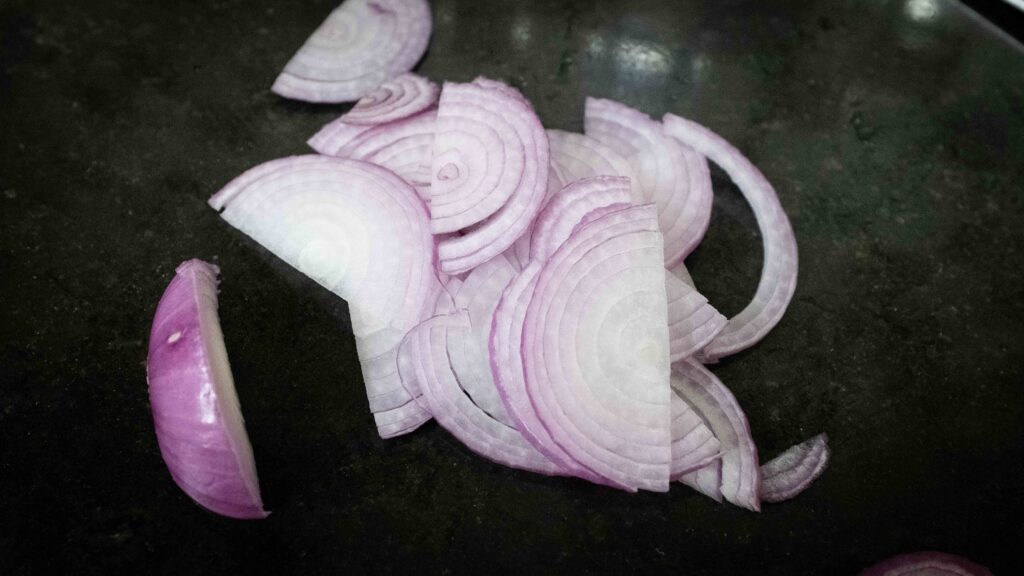
4 – Cut your onion into half rings; cut it in half lengthwise and then cut each half crosswise into 2 mm slices. Set aside.
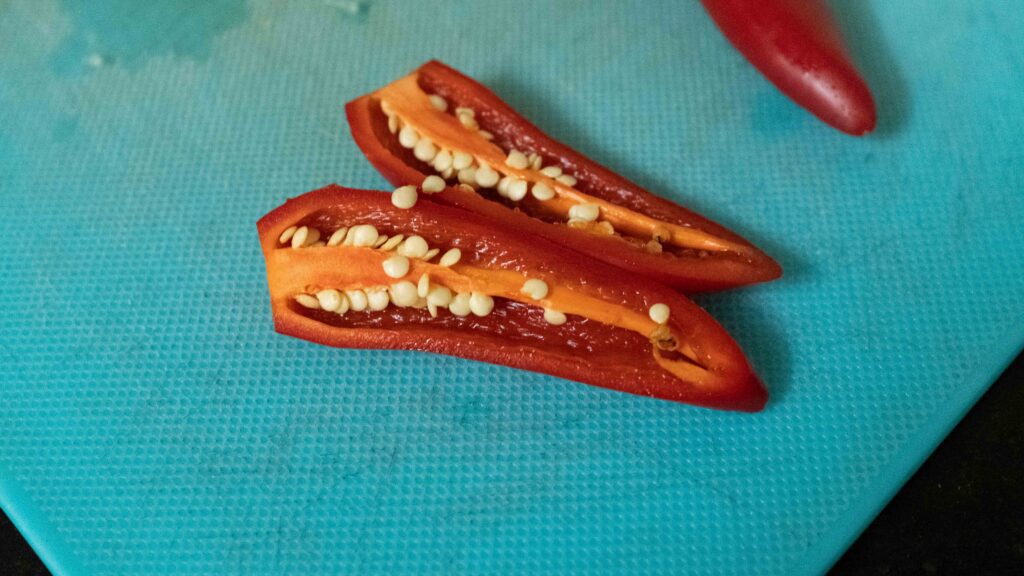
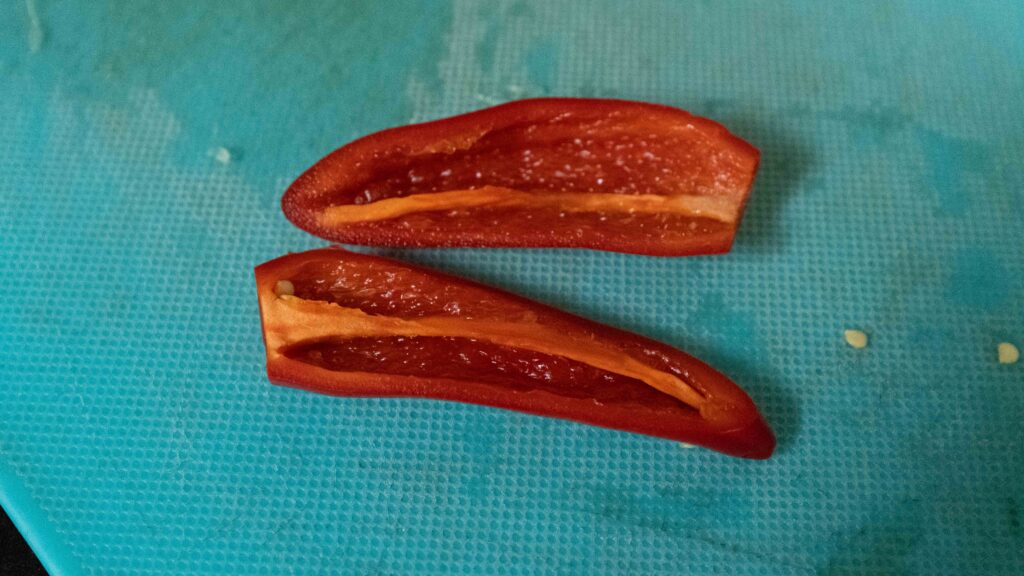
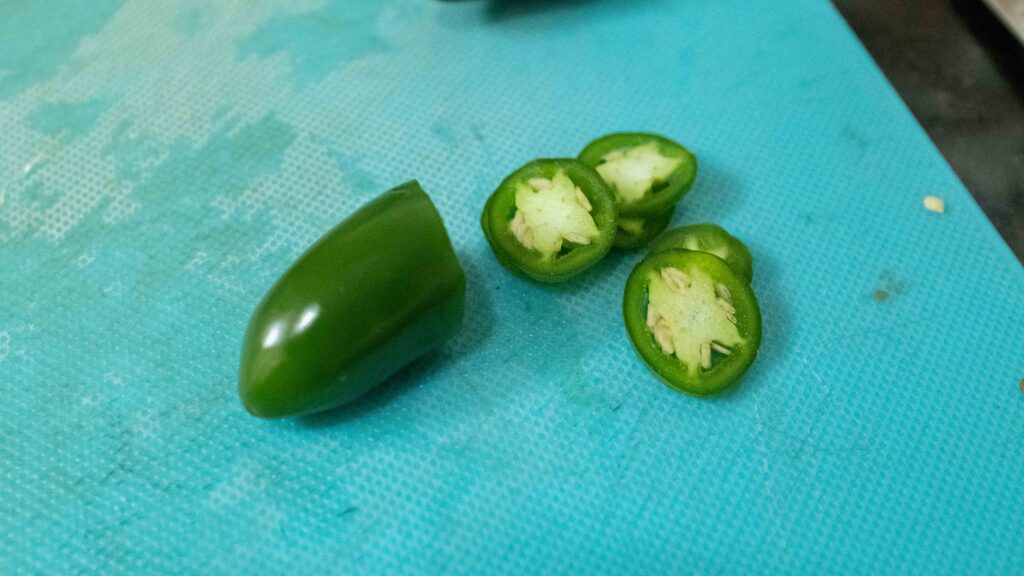
5 – Cut you red jalapenos in half, deseed them, and then cut the halves crosswise into thin slices. Set aside.
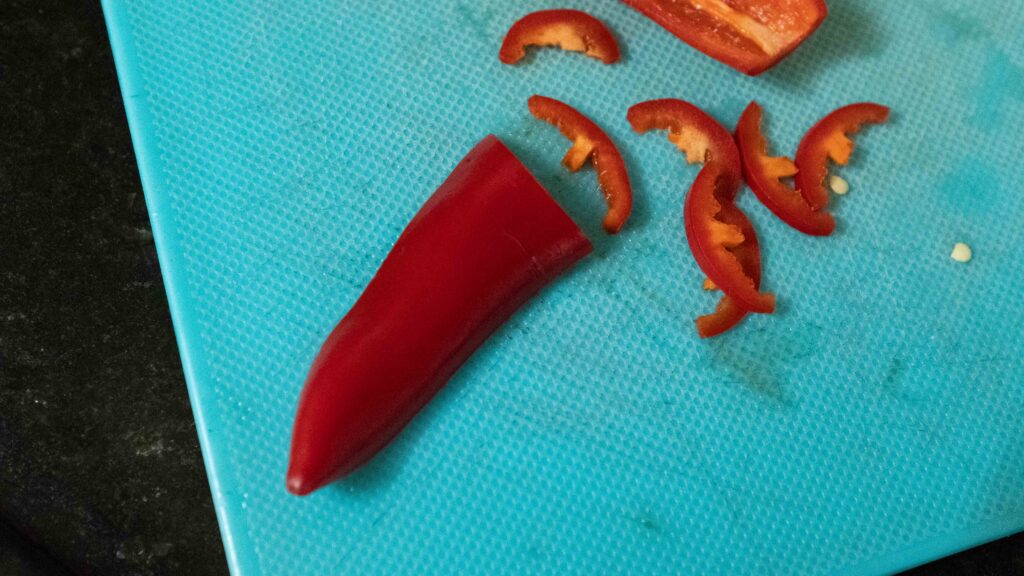
6 – Cut your green jalapenos into thin rondels (do not deseed) and set aside.
7 – Make your fresh salsa; finely chop your tomatoes, onion, fresh coriander, and green jalapeno. Season with salt, dried oregano + dried marjoram (or Mexican oregano if you have it). Set aside.
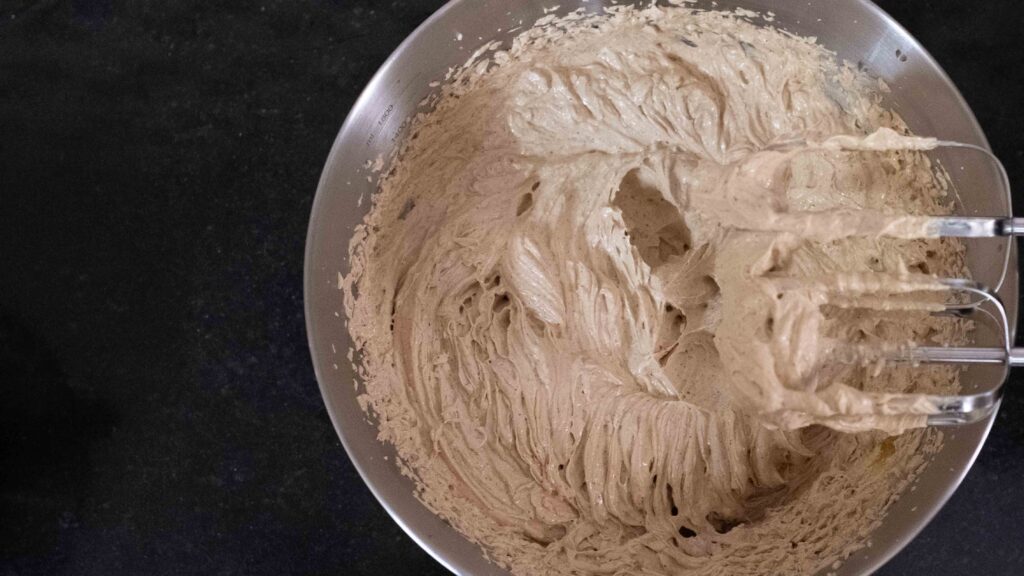
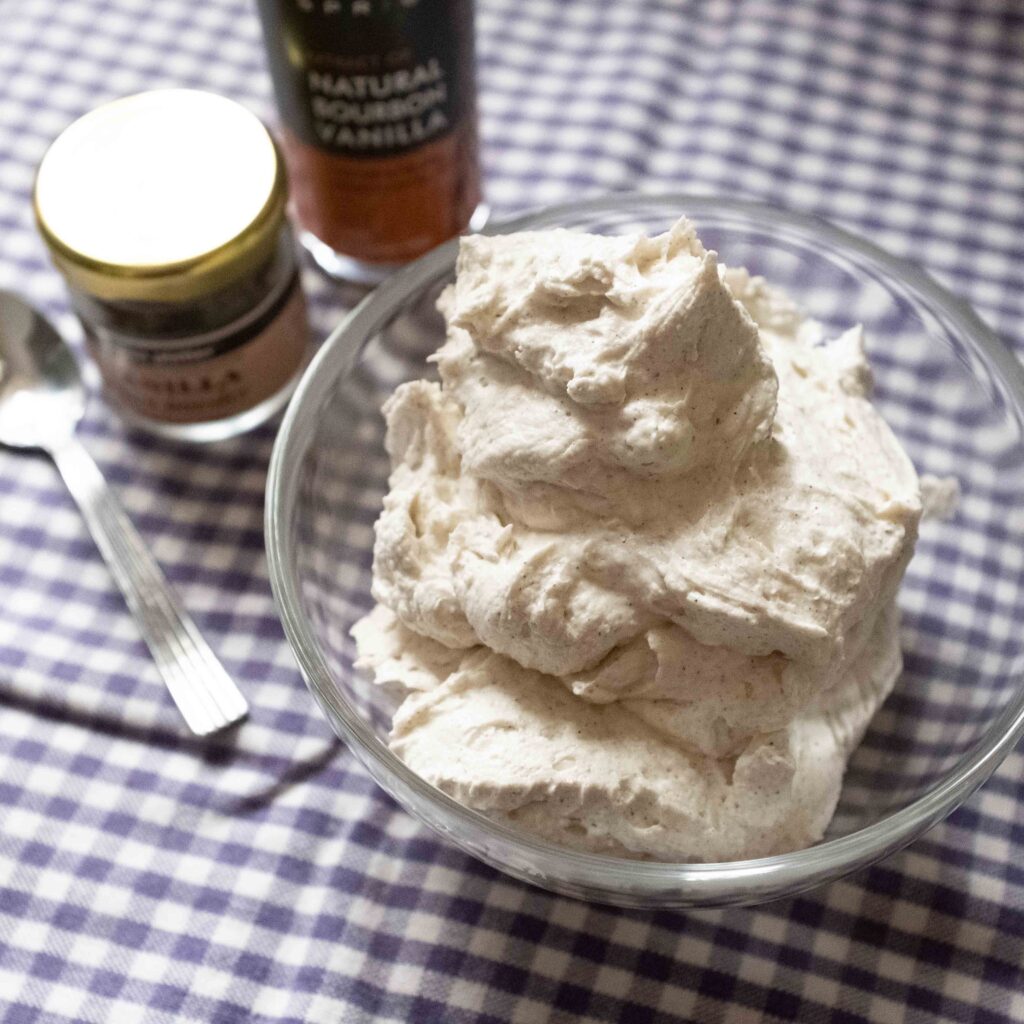
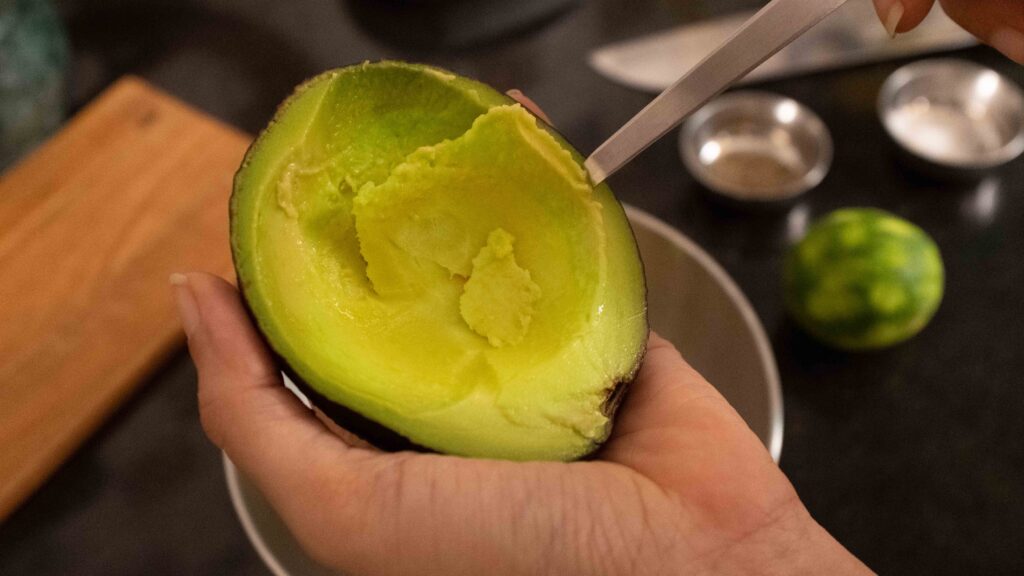
8 – Make your guacamole; deseed your avocado and then scrape out the flesh. Lightly mash it into chunks, and then add the minced garlic, salt, pepper, and lime zest and juice. Using a fork, stir everything together. We like our guacamole a little chunky-a little smooth. Make yours how you like it. Cover it with cling wrap, pushing the plastic down onto the surface of the guacamole. Set aside.
9 – Transfer your sour cream into a bowl, and then crumble your feta cheese into another bowl. Set them aside.
10 – If they’re cold, warm up the braising sauce and the black beans. Set aside.
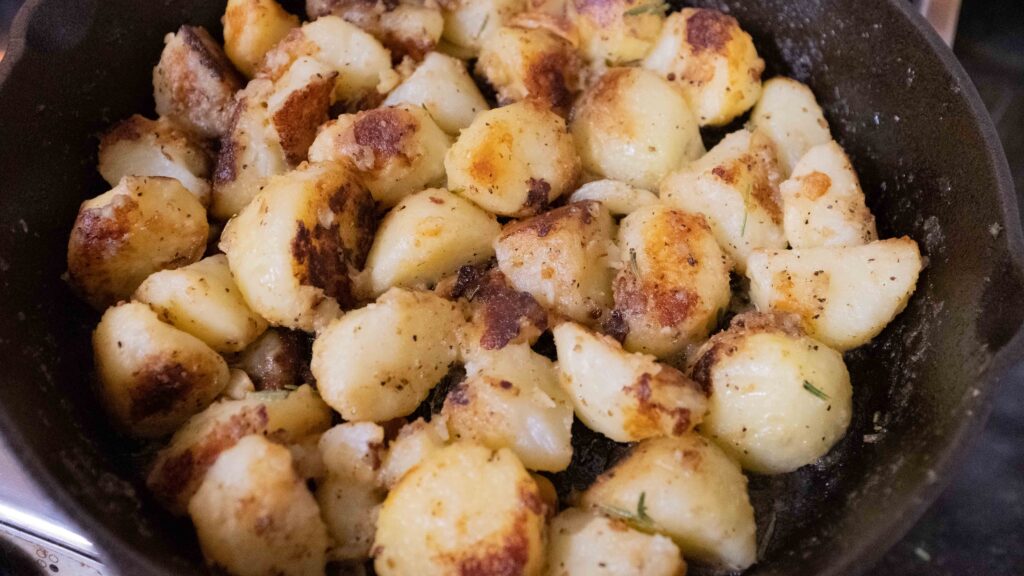
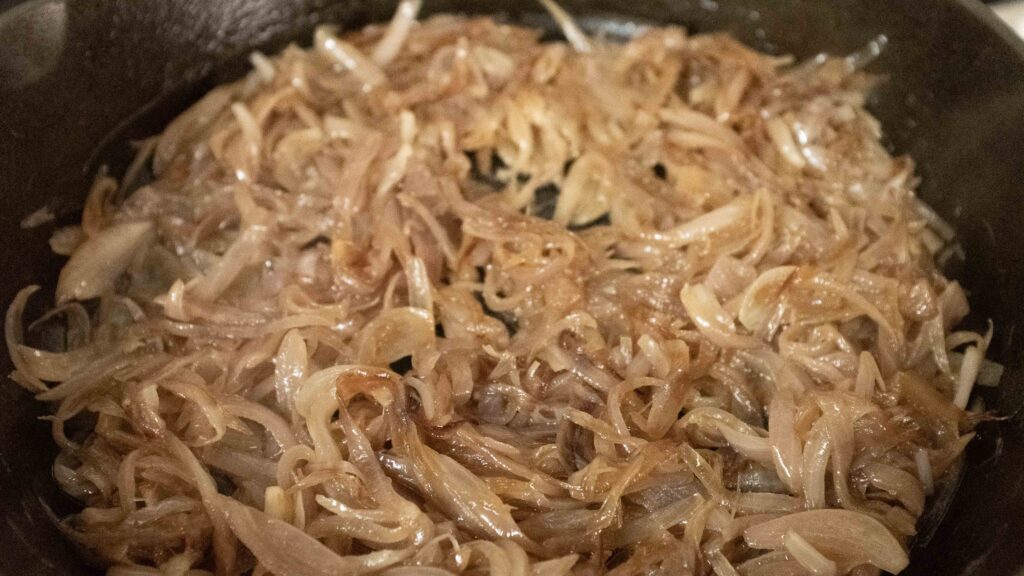
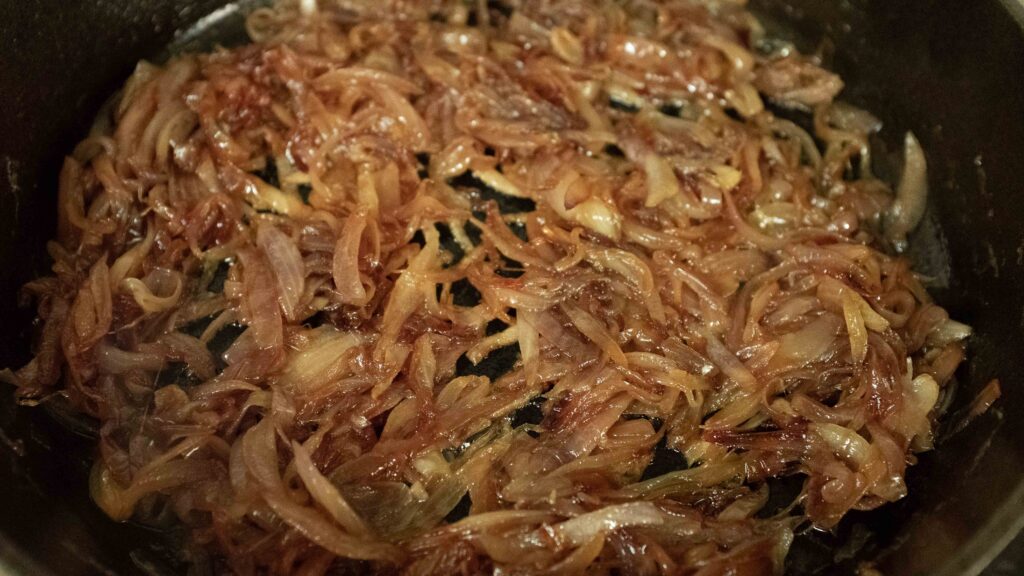
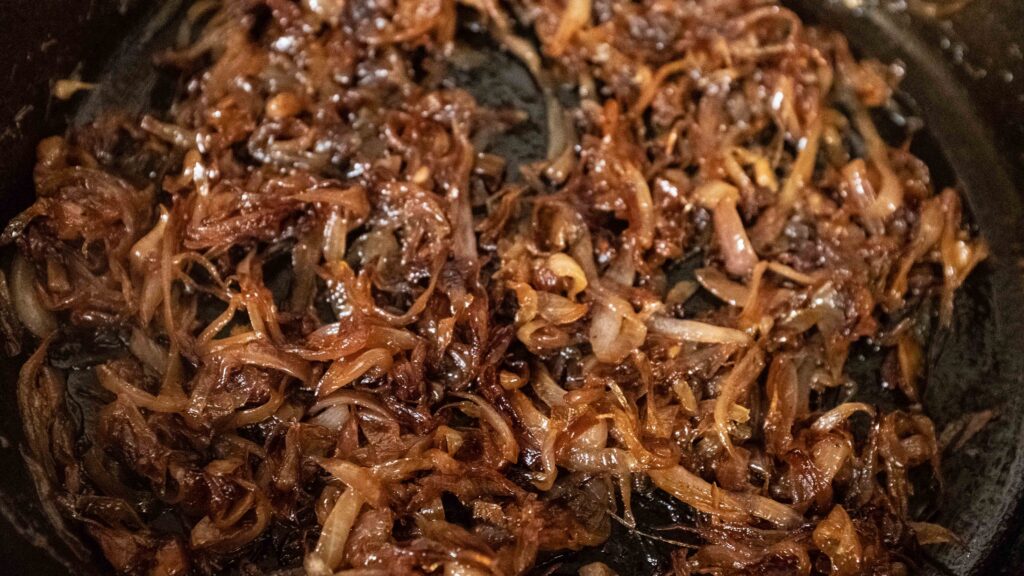
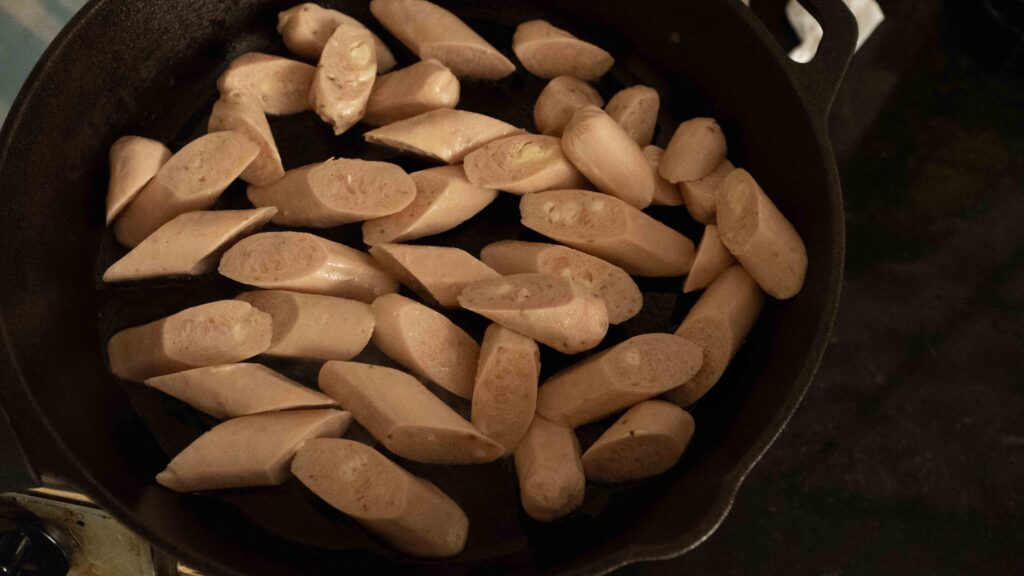
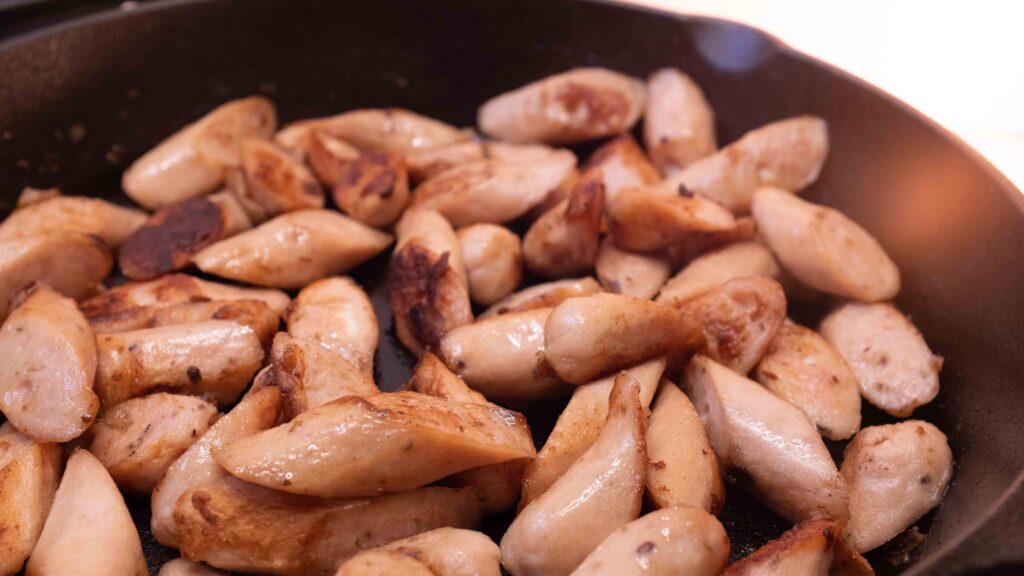
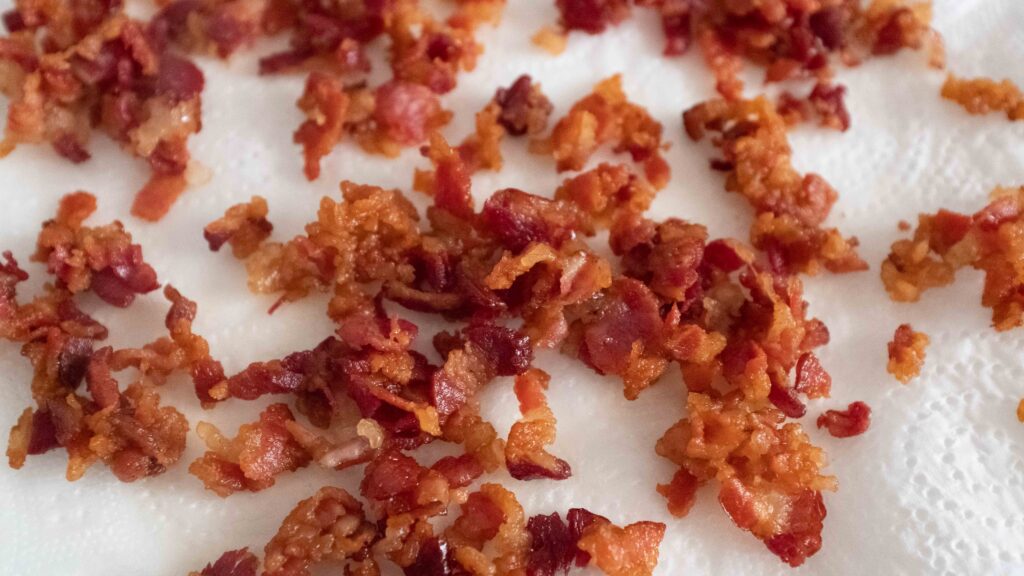
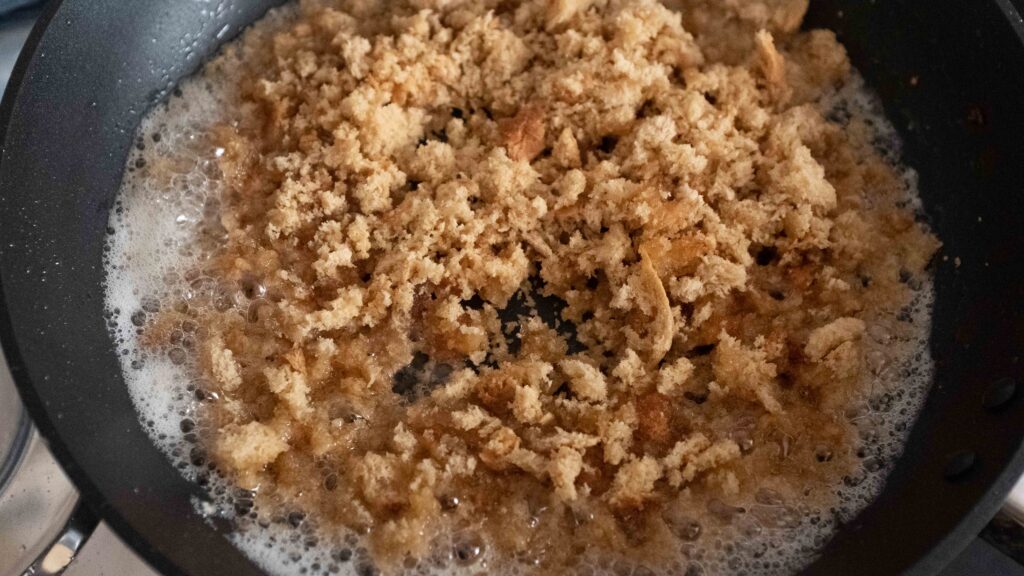
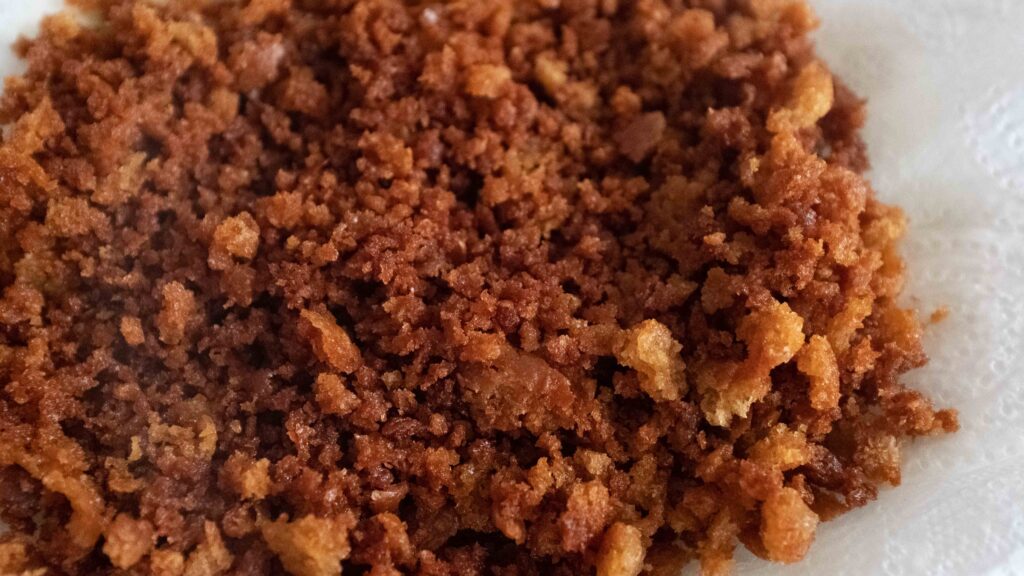
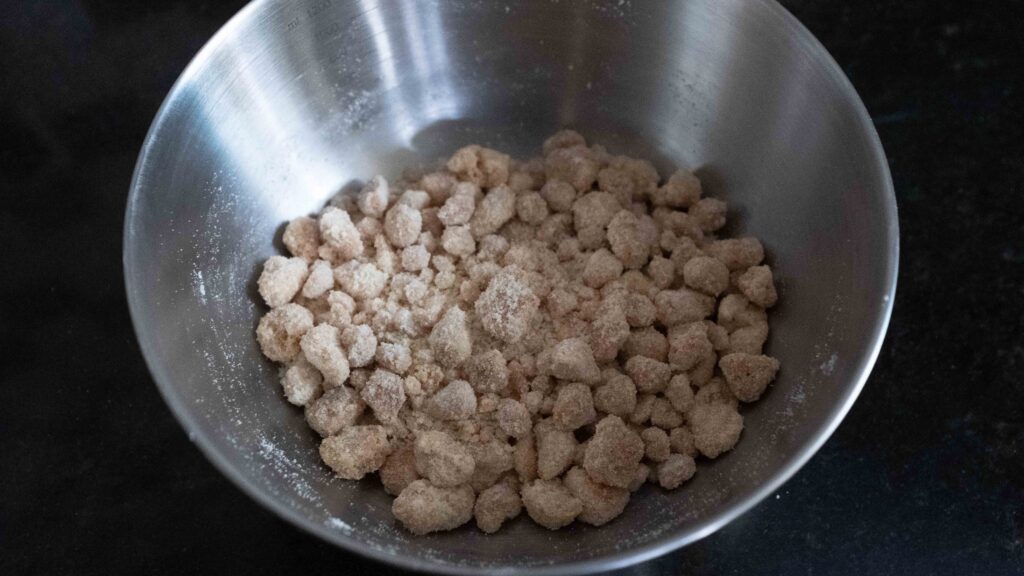
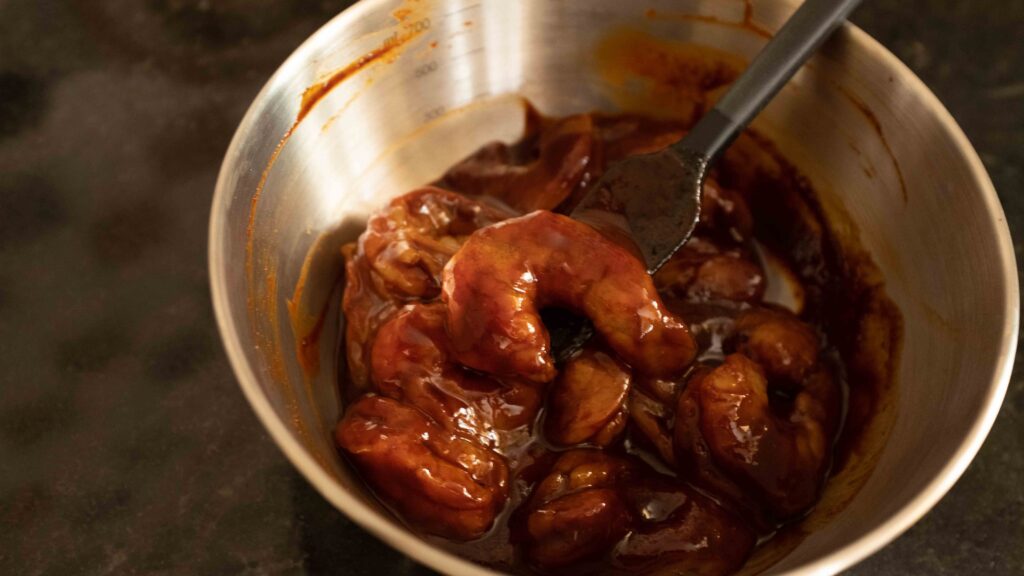
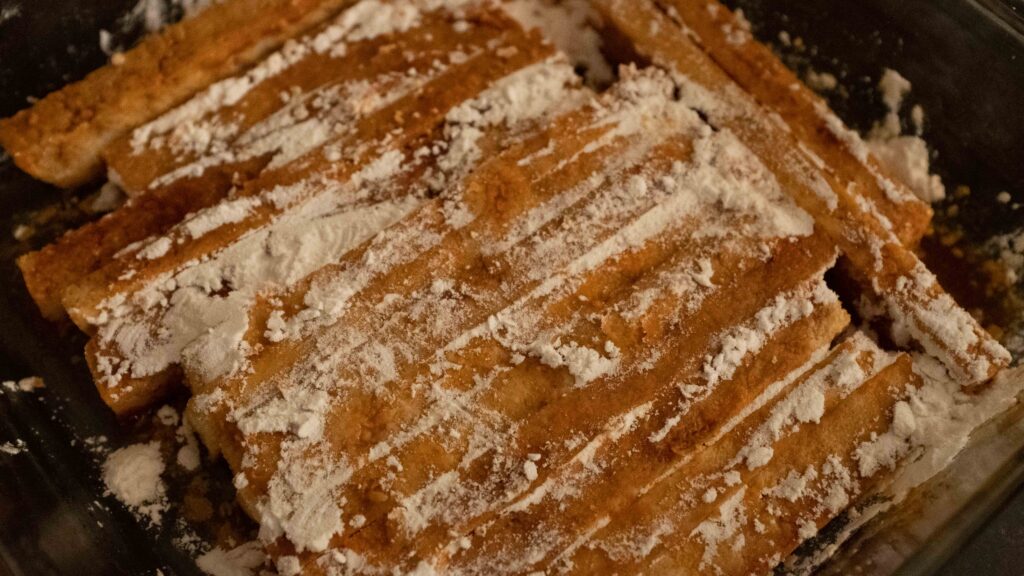
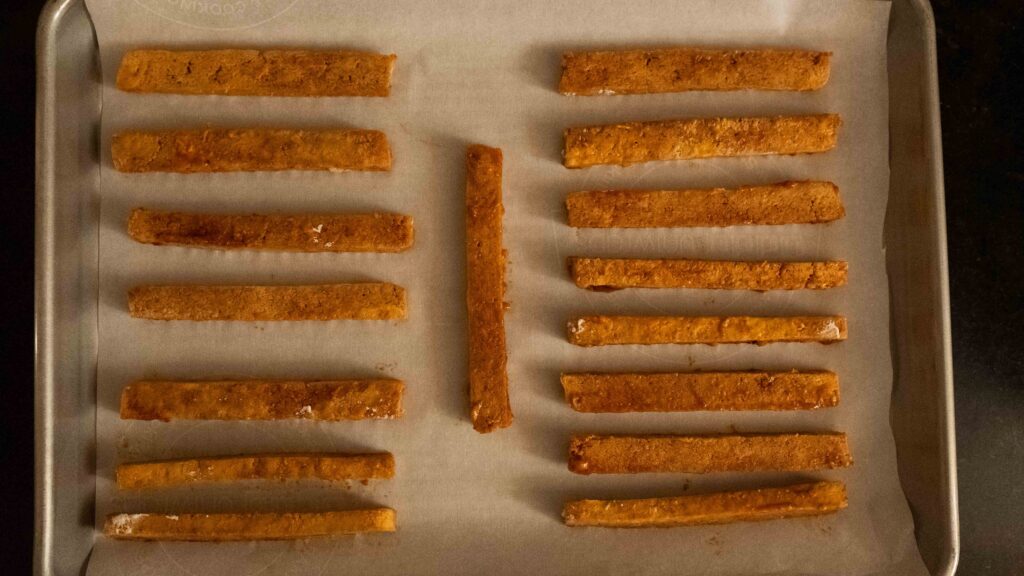
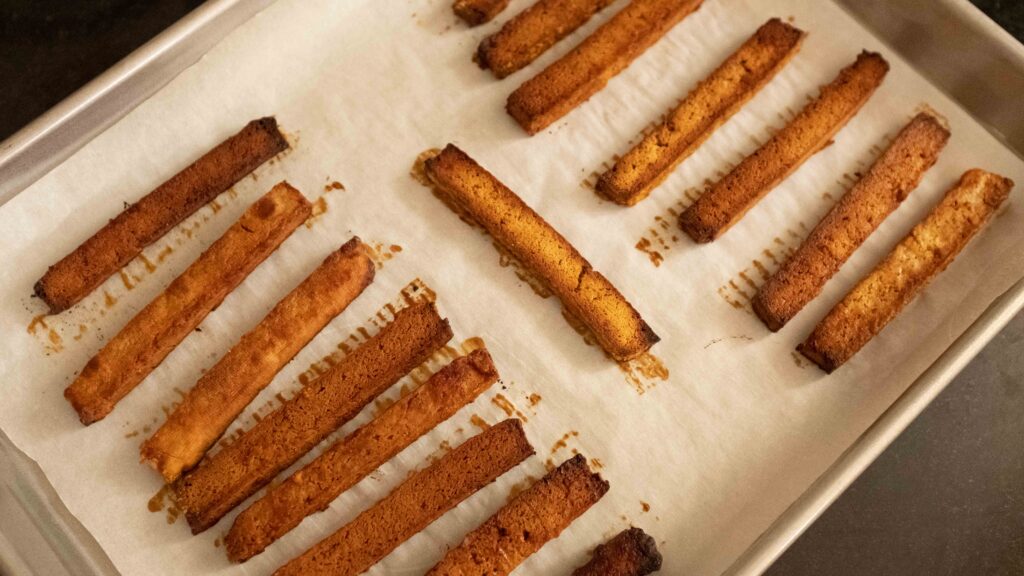
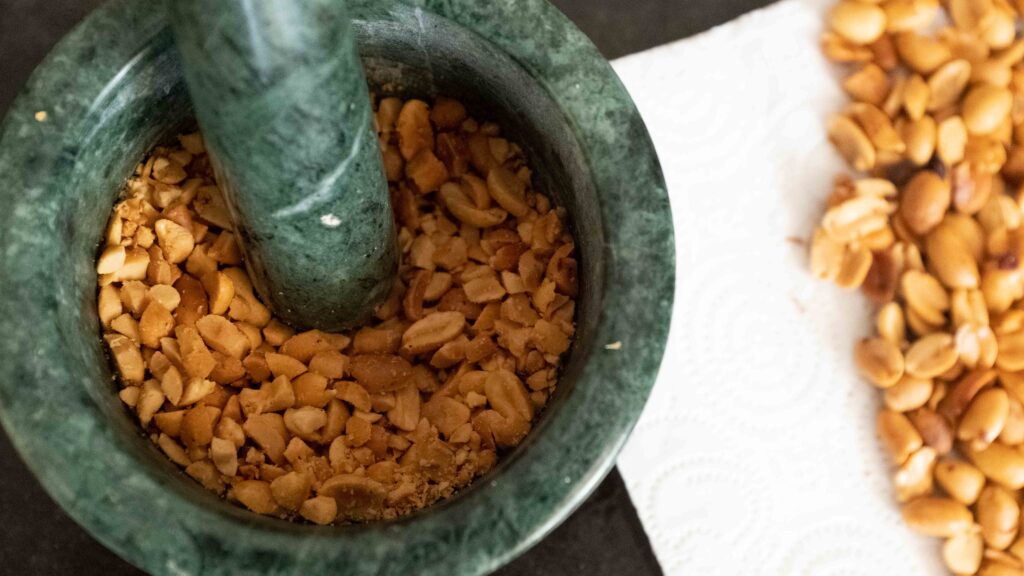
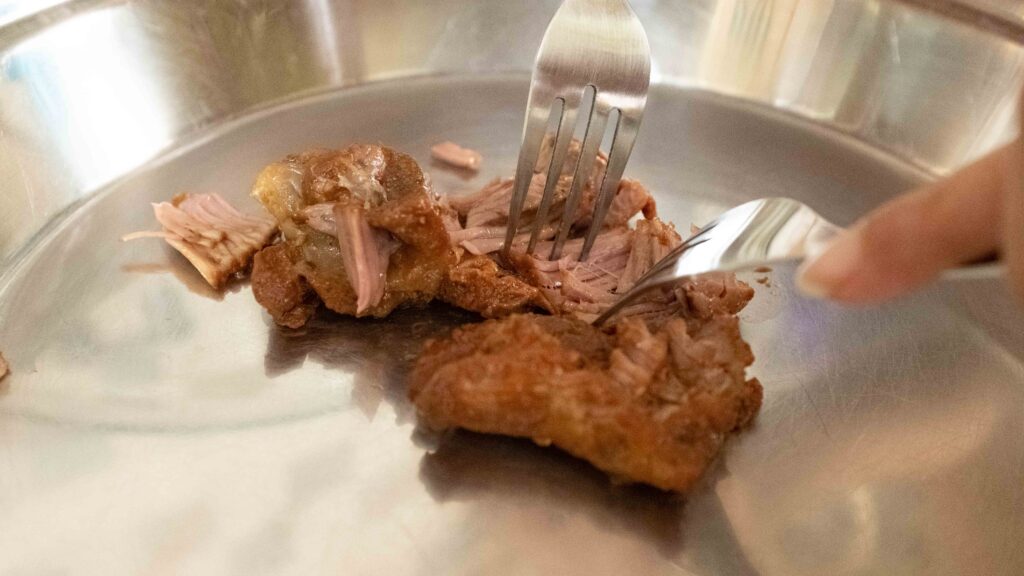
11 – Finally, the main event! We’re going to turn our braised lamb or lamb barbacoa into crispy “carnitas”. Heat a wide skillet over high heat with 1 tablespoon of cooking olive oil so that there’s a very thin layer of oil in the skillet. Fry the shredded lamb in batches on high heat for 3-4 minutes, turning every minute or so, or until golden and just crispy around the edges (I did 4 batches, and fried each batch in 1 tablespoon of oil). Set aside.

Fresh salsa also known as salsa fresca, salsa cruda, and pico de gallo should be made as spicy as you like it. Don’t deseed the jalapenos if you like it hot! If you want to make your guacamole well ahead of time, you will need to prevent it from browning. To do this, flatten the guacamole in the bowl, gently pour enough water to come up by 1 cm and then cover and store it in the fridge. When you’re ready to serve, pour off the water and give the guacamole a stir.
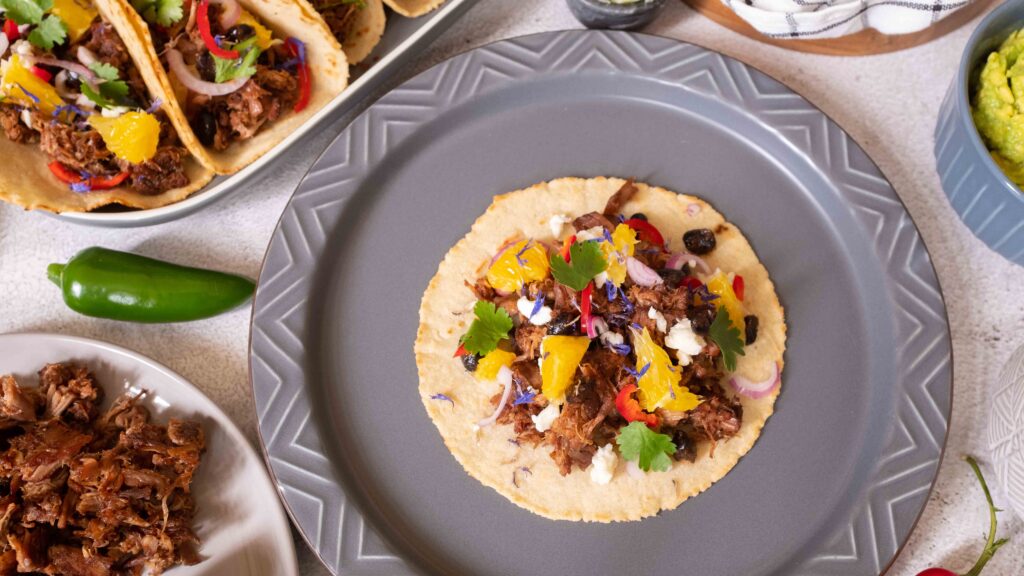
Stage 6: assembly & service
When building a taco, you want to work fast and pile on the components starting with the protein followed by the raw toppings, and then serve the wet toppings alongside so that the tortilla doesn’t get soggy. Here’s how I layer my tacos.
Components
1. Tortillas (warm)
2. Lamb barbacoa “carnitas” (hot & crispy)
3. Crumbled feta
4. Black beans (warm/room temperature)
5. Orange segments
6. Sliced red jalapeno (deseeded)
7. Sliced red onions
8. Fresh or dried blue cornflower petals (optional)
9. Coriander leaves
10. Fresh salsa
11. Guacamole
12. Braising sauce (warm/room temperature)
13. Sour cream
14. Lime wedges
15. Sliced green jalapenos
Method
1 – Place a warm tortilla on a plate.
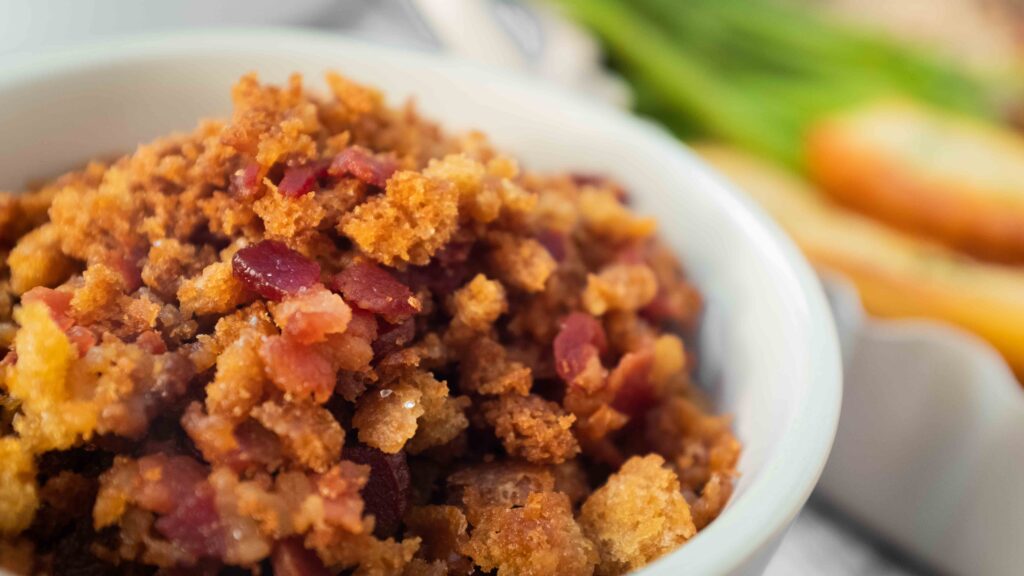
2 – Place 50 gm (roughly ¼ cup) lamb barbacoa “carnitas” in the centre of the tortillas.
3 – Crumble 1 tablespoon of feta onto the meat.
4 – Scatter 1 tablespoon black beans onto the pile.
5 – Add 4-5 orange segments to the pile.
6 – Scatter some red jalapeno slices (to taste).
7 – Scatter some red onion slices (to taste).
8 – Scatter some fresh or dried blue cornflower petals if you have them. They have a gentle clove-like flavour which echoes the actual cloves in the lamb (plus their cobalt blue hue makes the dish extra gorgeous).
9 – Arrange 4-5 fresh coriander leaves (to taste).
10 – Serve each taco open, with extra coriander leaves, wedges of lime, slices of red and green jalapeno, and the bowls of fresh salsa, guacamole, sour cream, braising sauce, and black beans alongside. Let everyone add as much of the wet toppings as they like. Now eat!
And that’s it! Legit Lamb Barbacoa Tacos made entirely from scratch! They completely outshine anything you’ll get at a fast-food chain or even your favourite Tex-Mex restaurant, so it really is worth all the trouble. Although a great amount of research went into this recipe, I dare not claim that this is a totally authentic Mexican taco—it’s simply what I could create with what I could reasonably source (Abuelas everywhere will be confused by my use of asafoetida). But like a traveller who absorbs local culture, this Mexican dish has taken on a tiny hint of Indianness while staying here.
Tips & Tricks
How to flatten tortillas without a press:
How to segment oranges:
How to cut limes into small wedges: